Hi sandeep Patnaik,
Thank you for reaching out to us on the Microsoft Q&A forum.
In the Exercise - Create an Azure virtual machine under Task 1: Create a Linux virtual machine and install Nginx we have two steps:
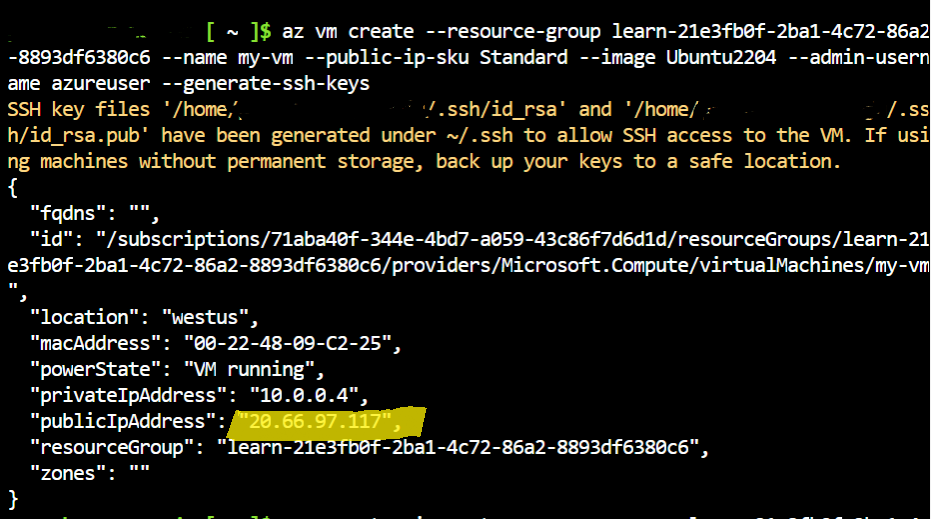
Step 1: To create a Linux VM using "az vm create" command and
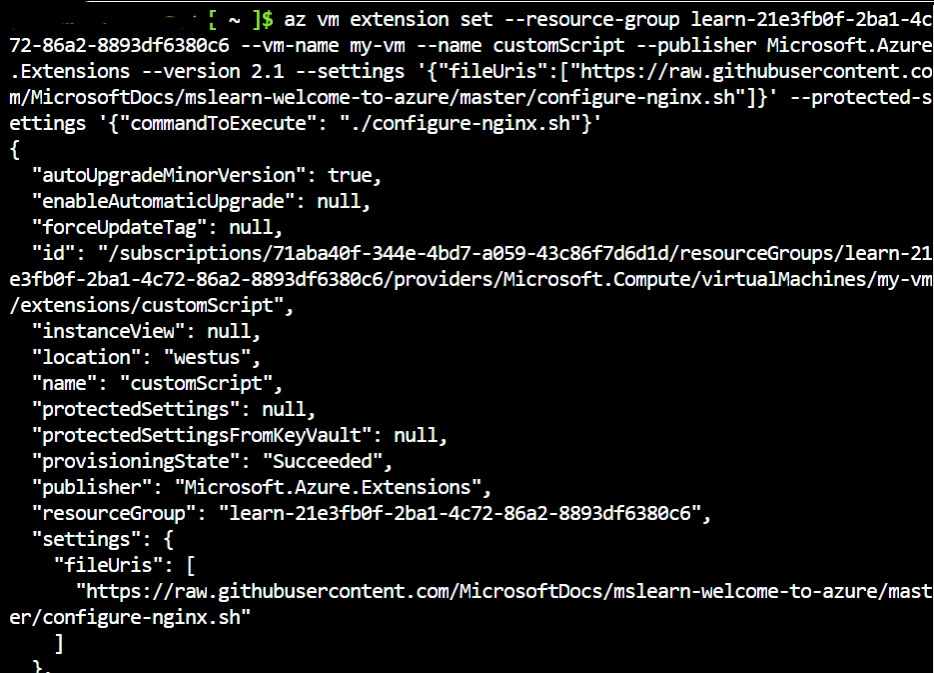
Step 2: To configure Nginx on the VM created using "az vm extension set" command.
As mentioned in the exercise, we have used generate-ssh-keys for authentication while creating the VM using "az vm create" command rather than a password.
The "az vm extension set" command uses the Custom Script Extension to run a Bash script on your VM to configure Nginx.
We can successfully create a Linux VM and configure Nginx on the VM created by following the above steps of Task 1 and complete the exercise without any password. Kindly find the screenshots attached for reference.
We don’t have to manually run the command "sudo apt-get update" separately. The Custom Script Extension used in "az vm extension set" command to run a Bash script takes care of invoking "sudo apt-get update" automatically with elevated permissions. By running the script, the command automatically runs 'sudo apt-get update' with the saved SSH key files.
If we manually run the command "sudo apt-get update"(not required as per the exercise), the system prompts us to enter a password.
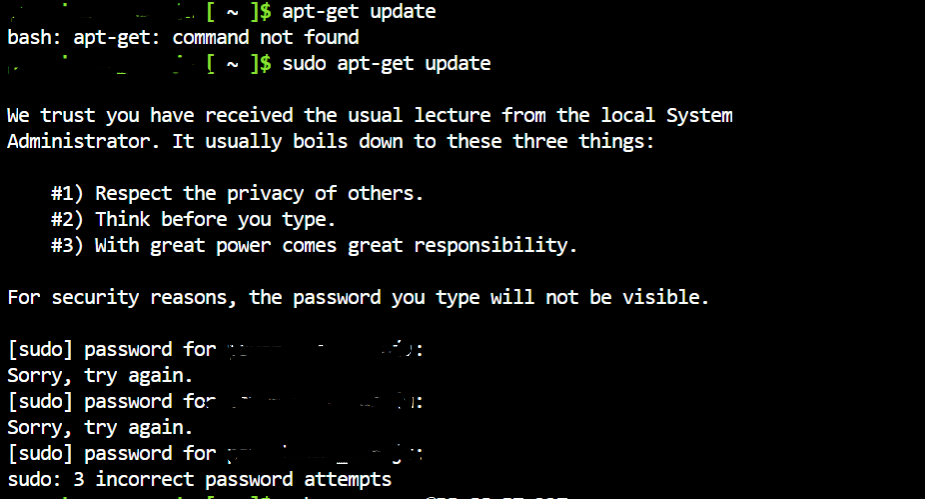
As we have used SSH key pairs for authentication rather than a password, we cannot enter a password.
If we want to connect to the VM created (without a password in this case for Linux VM) we need to do ssh to the vm created, before we can use sudo.
After completing Step 1, create a Linux VM of Task 1, make a note of the publicIpAddress that was assigned to the VM (for example:20.66.97.117).
Connect to the newly created VM using ssh (in cloud shell). We need to substitute the publicIpAddress noted above for <VM public ip address> in the command below:
"ssh azureuser@<VM public ip address>"
Enter 'yes' when you are prompted.
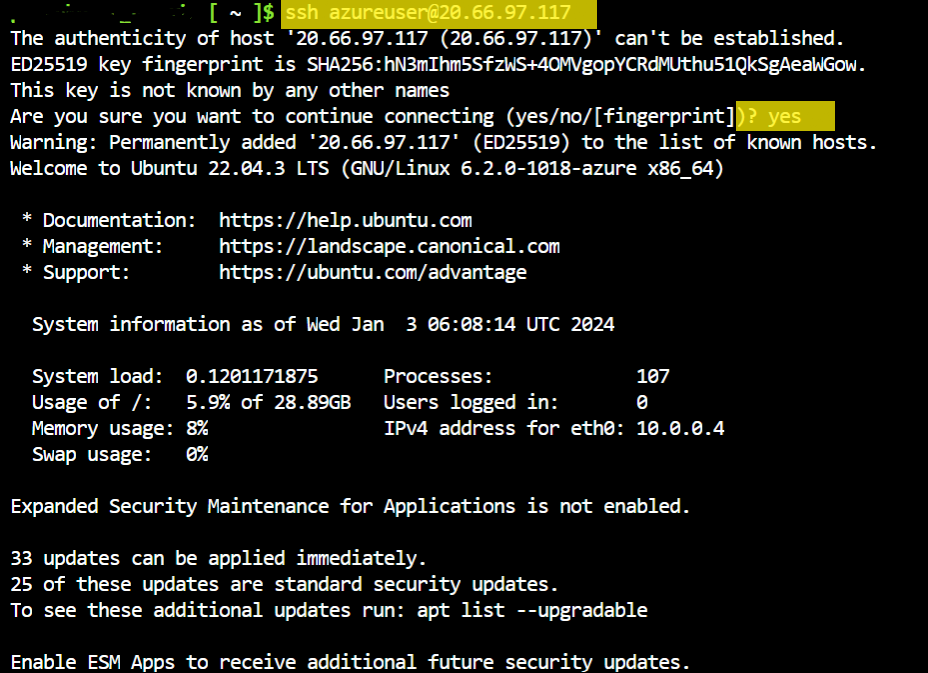
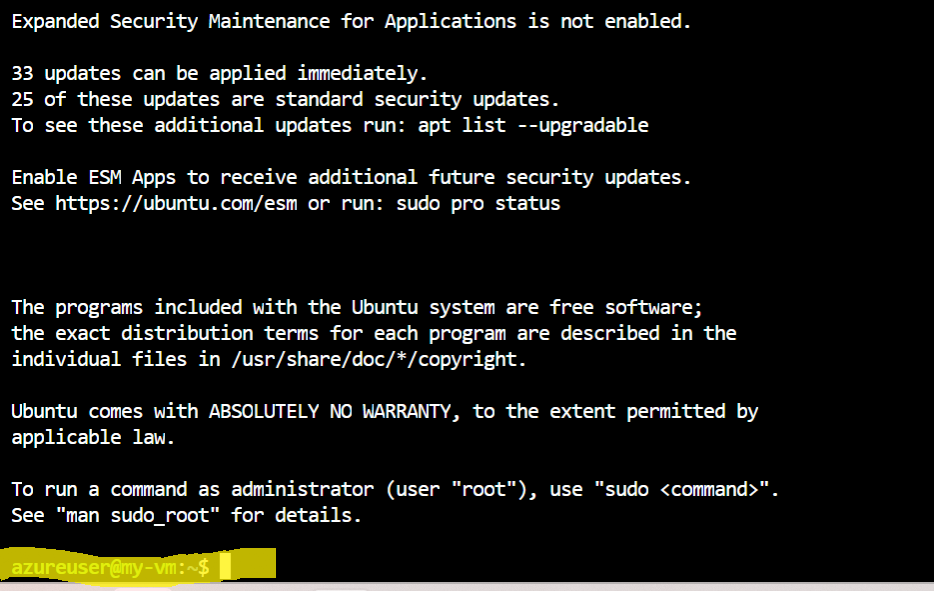
Now we have successfully connected to the VM without using password and we can work in the VM. We can see our VM name as "my-vm" in the screenshot below which is same as given in "az vm create" command.
Copy and right-click, then paste the following commands in the Cloud Shell window one after another. Wait for each command to complete before pasting the next command.
1.sudo apt-get update
2.sudo apt-get install -y nginx
3.echo "<html><body><h2>Welcome to Azure! My name is $(hostname). </h2></body> </html>" | sudo tee -a /var/www/html/index.html
By following these steps, we can successfully complete Task 1 of the exercise.
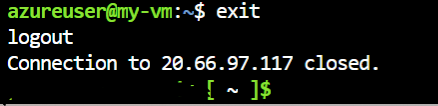
If we want to exit from the VM and come into CLI screen we use "exit" command.
Should you have further questions or need additional assistance, please feel free to reach out. We are happy to help you.
If you find this information beneficial, please indicate your acknowledgment by clicking the "Upvote" and "Accept Answer" buttons on the post.
' cx='32' cy='32' r='32' /%3E%3Ctext x='50%25' y='55%25' dominant-baseline='middle' text-anchor='middle' fill='%23FFF' %3ESP%3C/text%3E%3C/svg%3E)
' cx='32' cy='32' r='32' /%3E%3Ctext x='50%25' y='55%25' dominant-baseline='middle' text-anchor='middle' fill='%23FFF' %3EP%3C/text%3E%3C/svg%3E)