Microsoft Teams
A Microsoft customizable chat-based workspace.
10,085 questions
This browser is no longer supported.
Upgrade to Microsoft Edge to take advantage of the latest features, security updates, and technical support.
' cx='32' cy='32' r='32' /%3E%3Ctext x='50%25' y='55%25' dominant-baseline='middle' text-anchor='middle' fill='%23FFF' %3EKM%3C/text%3E%3C/svg%3E)
One of our users contact card in Teams isn't updating to her new name. In Azure, the "IM Address" property shows her SIP address just fine, but when I go to Teams admin center, her contact card isn't showing that same SIP address from Azure.
I've tried desyncing her from AD Connect and editing properties in Azure, but nothing seems to change what shows up in that contact card that everyone sees in Teams? Any help would be appreciated with this!
Hey Robin, I appreciate the quick response, thank you! Unfortunately that won't work, our user account is synced from our on-prem active directory, so I see this if I try to edit anything in Office 365.
There isn't an issue with the on-prem info either, not is there an issue with what's listed in Azure. The on-prem AD account has the correct email address for the SIP proxy address, and that info is shown correctly in Azure\Entra as well. It's only in Teams and the Teams Admin Center where this information is incorrect.
' cx='32' cy='32' r='32' /%3E%3Ctext x='50%25' y='55%25' dominant-baseline='middle' text-anchor='middle' fill='%23FFF' %3ERS%3C/text%3E%3C/svg%3E)
Hi @Kris Masoner
It sounds more like you are experiencing a situation where user information is not updating in Teams. According to our official documentation:
After user attributes are updated in Microsoft Teams, users continue to see the old information in the Teams client. User attributes include information such as display name, telephone number, manager, and profile photo.
This behavior is by design.
Classic Teams has a caching scheme that's designed for capacity and performance optimization. The Teams service caches general user information for up to three days. The Teams client also caches general user information locally. Some data, such as display name and telephone number, can be cached for up to 28 days in the client. Profile photos can be cached for up to 60 days.
To clear the cache and receive updated information, sign out of Teams, and then sign back in. Or, manually clear Teams cache.
If the issue persists after manually clearing the cache, also try these steps:
Make sure the synchronization status between Azure AD and Microsoft Teams is normal. You can check it by following the steps below:Sign in to the Azure AD admin center. Navigate to the "Azure AD Connect" section to see if the synchronization status is normal.
Check and update the user's SIP address using PowerShell. Here are some commonly used PowerShell commands:
# Connect to Microsoft Teams

$credential = Get-Credential
Connect-MicrosoftTeams -Credential $credential

# Get the user's SIP address

Get-CsOnlineUser -Identity "user@domain.com" | Select-Object SipAddress

# Update the user's SIP address

Set-CsUser -Identity "user@domain.com" -SipAddress "sip:newaddress@domain.com"
Make sure the relevant policies are correctly configured in the Teams admin center: Sign in to the Teams admin center. Navigate to the "Users" section, find and select the relevant user. Check the user's calling policy and other related settings to ensure that the SIP address is configured correctly.
Hopefully these steps will help you resolve your issue! Feel free to let me know if you have any more questions or need further assistance.
So not sure why, but after a week her name showed up correctly? It doesn't make sense that it was an issue with the local client machine, because I cleared my own cache for Teams and didn't see her name change. Also, as I've said before, her contace info was showing up incorrectly in the Teams Admin Center as well. The Teams Admin Center is server based (I'm assuming), so it shouldn't have issues with the cache being wrong. I'm guessing it just took that long for changes to take place?
Hi @Kris Masoner
Glad to hear the issue seems to be resolved. Information changes in Teams can take a while to implement.
If an answer has been helpful, please consider accepting the answer to help increase visibility of this question for other members of the Microsoft Q&A community. If not, please let us know what is still needed in the comments so the question can be answered. Thank you for helping to improve Microsoft Q&A!
Hi @Kris Masoner
To change what's shown on the contact card in Microsoft Teams, you need to make some settings in the Microsoft 365 admin center. Here are the steps:
After the changes are made, sign out of Teams and sign back in. Please note that it may take some time for the changes to take effect in all users' Teams clients.
If you don't see the option to change your personal information in the Teams admin center, sign in to the Microsoft Entra admin center and follow the steps below to modify your information.
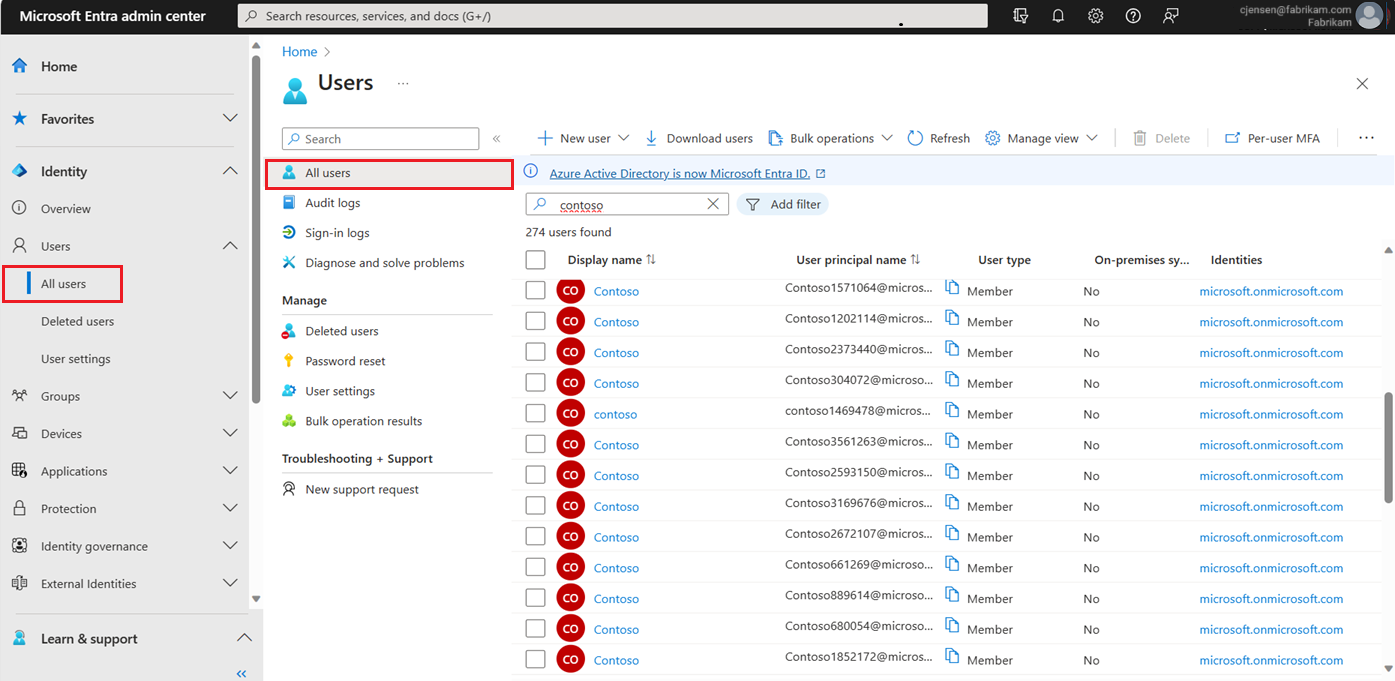
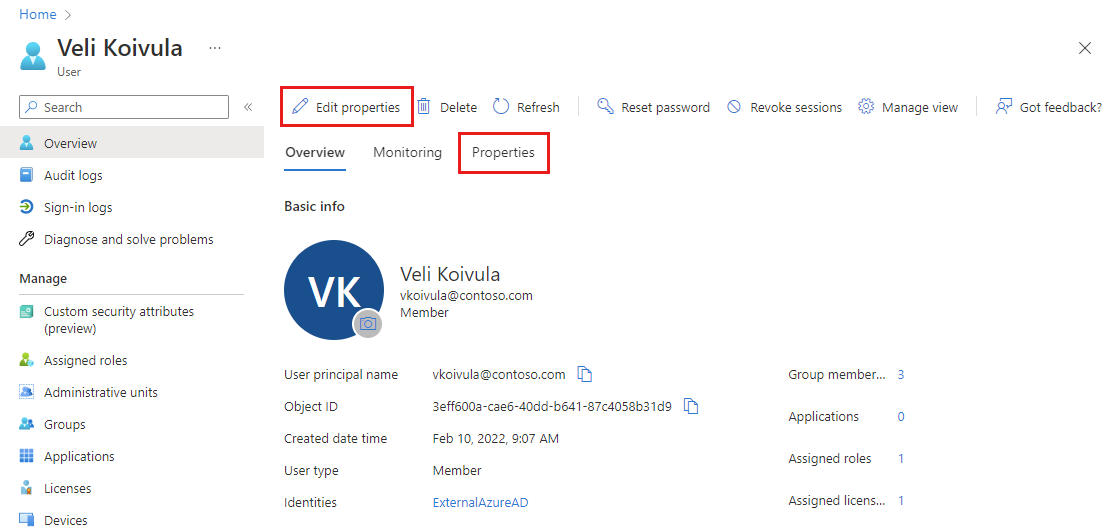
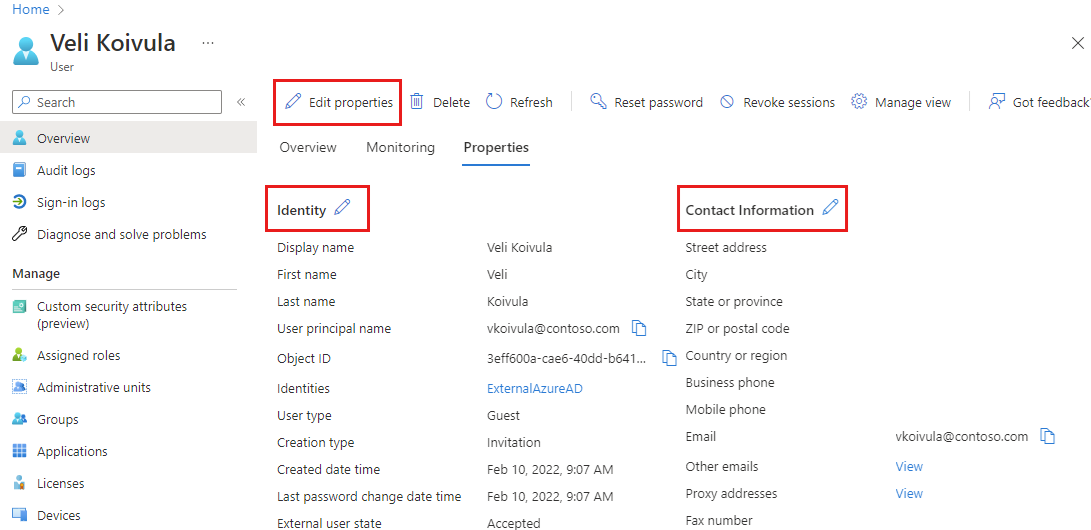
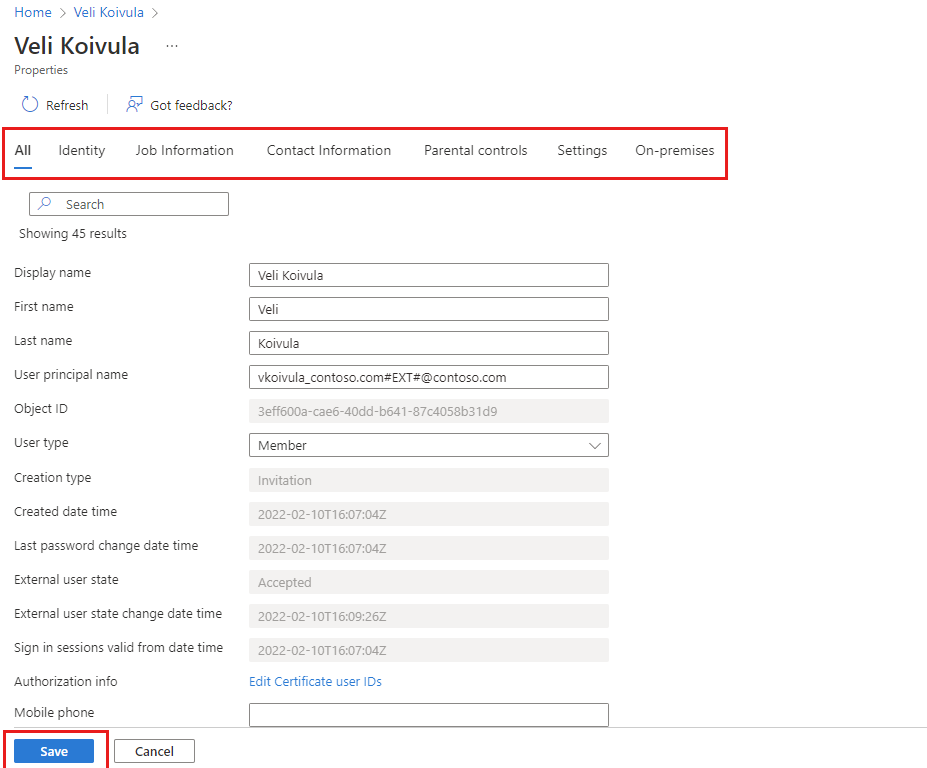 If you selected the Properties tab option:
If you encounter problems or have other questions, feel free to let me know. Thanks for your understanding and support.
If the answer is helpful, please click "Accept Answer" and kindly upvote it. If you have extra questions about this answer, please click "Comment".
Note: Please follow the steps in our documentation to enable e-mail notifications if you want to receive the related email notification for this thread.
Hi @Kris Masoner
I am checking the status of this case. Please let us know if you would like further assistance.
Meanwhile, if the reply is helpful to you, please try to mark it as an answer to help others who encounter the same issue and read this thread.
Thank you for your understanding and patience!
Hi @Kris Masoner
It has been a while, how is everything going? If you have any update about this issue, please feel free to post back.