Hi Dev9900-8314,
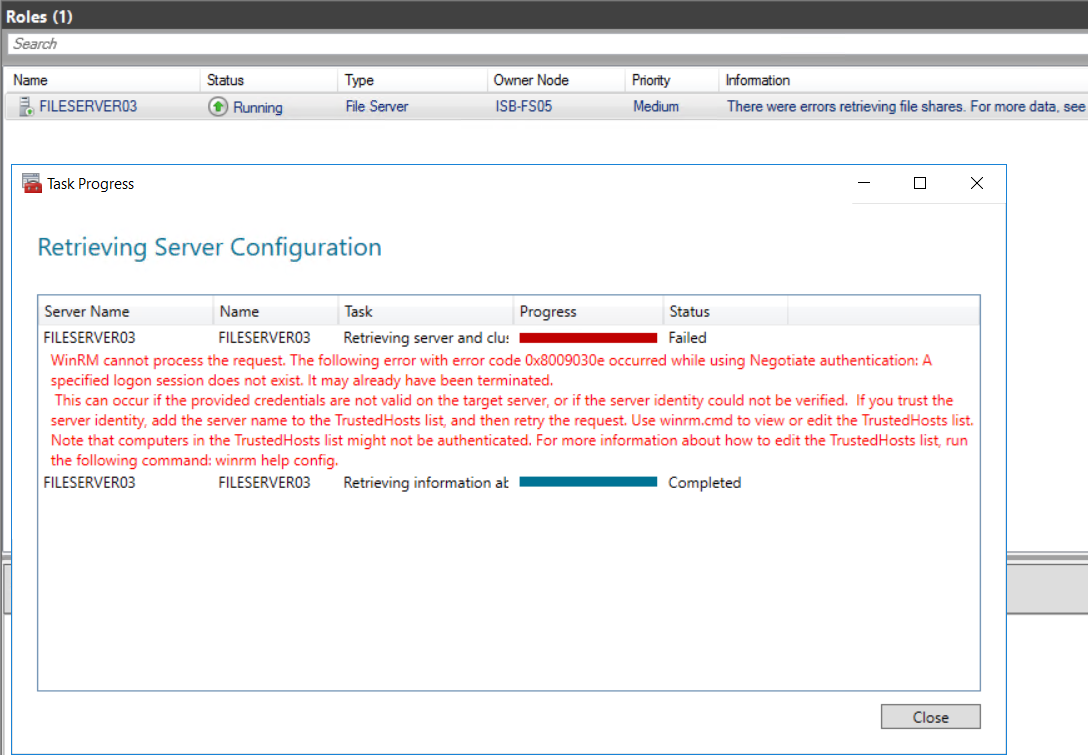
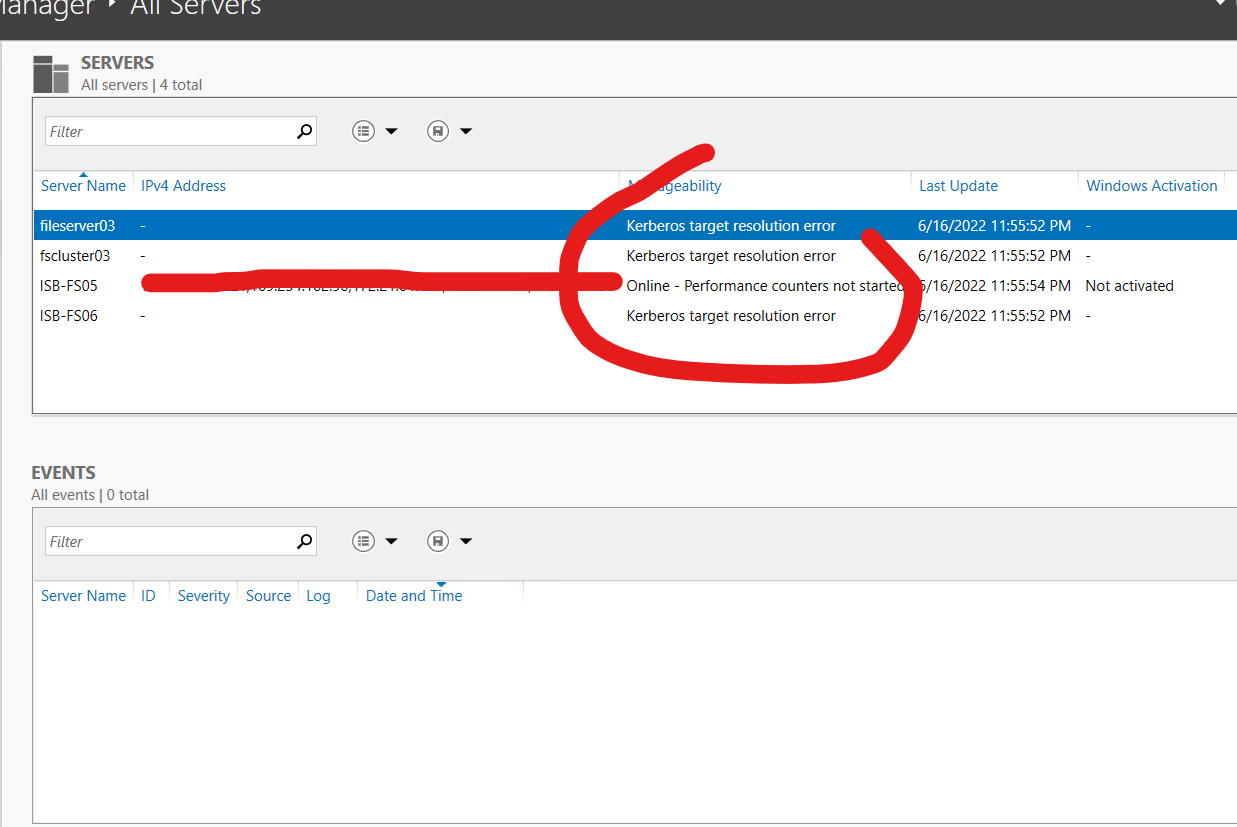
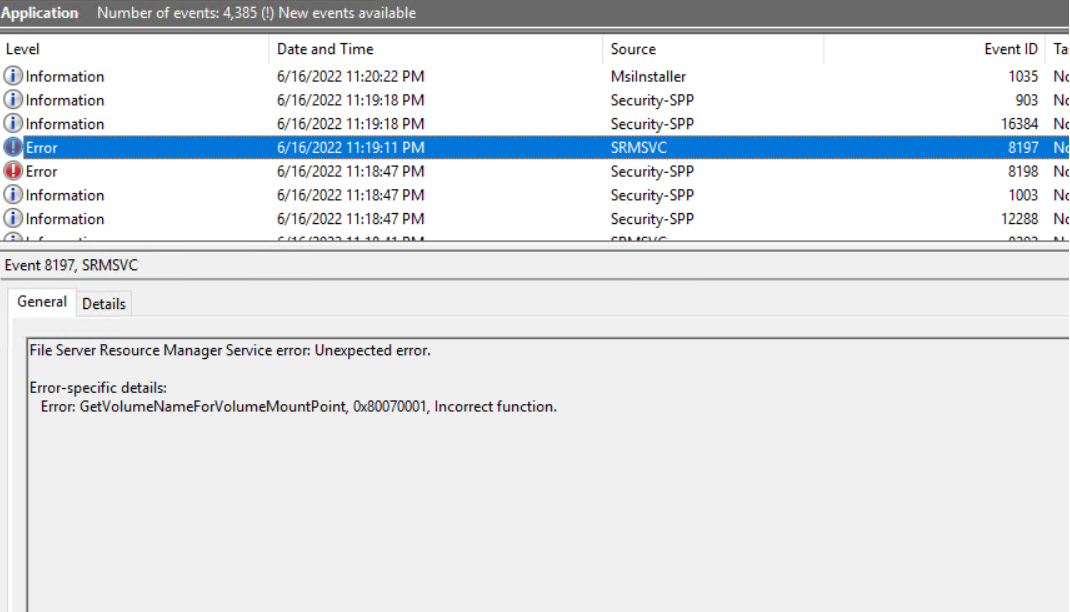
You can add the file sharing role to a Windows Server 2016 failover cluster by following below steps without facing above screenshot based errors :-
- Open Manager on a Windows 2016 server.
- This also works on older and newer versions as well.
- So in the Roles section, as you can see there underneath "my cluster",
- right-click, and choose Configure Role.
And the wizard will come up.
- Click Next.
And choose the file server.
- Click Next.
- Now it will give you the option for file server for general use
or for scale-out file server.
Now, the file server for general use will use
what's called available storage.
The scale-out file server will use what's called cluster shared volume storage.
you can check out that will explain what cluster shared volumes do and how they work.
- Take a look at your storage before you do this and see what you have available.
So if you go into Disks, you will see that DHCP is being used for my cluster disk 3.
You'll see you disk witness is being used for the cluster disk 1 and I see available storage for the-- that you can use for the file share.
Now, if you right-click on this and you chose to add the cluster shared volumes, then you would be able to use the scale-out file share.
But instead, You'll need to use the normal file share.
- Go back into the roles.
once again, right-click on Roles,
choose Configure Role, and go back to that file server role.
Click Next.
So choose the general use file server.
Give it a name.
And you've got to give it a unique IP address.
And if it's not available, it will warn me.
Now, it's going to show me the only storage that I have free.
So basically, every time you add a role,
you've got to have storage that could go with it.
And then it assigns that storage to that role.
So if you don't have enough storage, you'll need to add additional storage, which, basically, you could just partition up a bunch of hard drives and give yourself storage as needed.
So I'll click Next.
Now it's adding the role, and it's pending.
I'll click Finish.
And now what it's also doing is it's also adding this DNS name for example - file.techpub.us, which will be your Active Directory domain name.
It's adding that into the domain DNS server.
So when users want to connect into the storage, they're going to do so using file.techpub.us(example), or whatever it is that you call it.
Let's make sure you can ping it, So ping, Filename.
And it's already added in the DNS.
So we know it's working just fine.
Now, the next thing you'll need to do is right-click and choose an Add File Share option.
So you need to come up with a file share in order to make this work.
Otherwise, it's just a drive that doesn't actually do anything.
Now, you'll get lots of different ways you can create this.
You can choose the quick share, the advanced share.
If this is an application, you could do it that way.
If it was NFS for Linux or Unix, I could do that.
You can choose the Quick.
And if you choose Advanced, basically, you just get some more options, such as setting the folder owners for access denied assistance.
And you can set up classifications and quotas.
If you do Quick, you don't get a lot of that kind of thing.
But it's good for general file sharing, as it says there.
So click Next.
Under the server name, choose File because that's what you'll be using this for.
And under the Select by Volume.
it's going to use the entire Volume/drive.
If you choose a custom path, you could use just a section or a folder in drive.
It's completely up to you.
Considering you'll choose the entire volume for your share.
And you're going to call it File Share.
So this is not the same as the name of the server
or the name of the service, in this case, called File or "File name"
This is a share name instead.
So you can see it's going to be under Volume name, Shares, File Share.
If you don't want to put it under a folder called Shares, you can just delete it.
But that is the default. And you will see the remote path to the share is backslash, backslash File.
So that takes the place of a server name.
You'll be using what's called a shared name instead, where both server nodes will respond to it.
Then I have backslash File Share.
So I'll click Next.
Choose the defaults here.
But I'll explain what this is.
So access-based enumeration basically says, hey, if you don't have access to this, then you're not going to be able to see it.
And that really helps keep the phone calls down from people who say,
hey, I see a file share that Mary has access to, but "John/Username" doesn't.
So why is that?
So this way, they won't be able to see it
if they don't have access to it.
Continuous availability just makes it so that the failover happens a little bit more quickly.
Allow caching of shares also makes access to the file shares more quickly.
And you can also encrypt data access.
That slows things down a little bit.
But if you need that extra security, you can do that.
So click Next.
Now we have to set permissions.
So by default, you can see the administrators have full permissions, and the users are going to have special permissions, which is mostly just read and execute, that kind of thing.
So let's say you're going to add in--
select the principal, type "domain users."
let's say domain users have everything except for full control.
So they can do everything except for take away the ability to share.
Click OK and OK, Next, and Create.
And that was quick.
So now our file share is done.
So how do you access that?
Well, just like it said, backslash, backslash File, and then the shared folder inside it called File Share--
backslash, backslash File.
Hit Enter.
And there's the folder called File Share.
---------------------------------------------------------------------------------------------------------------------------------------------------
--If the reply is helpful, please Upvote and Accept it as an answer–


