Arduino Uno & Visual Studio
Today, I took some time to break out my Arduino Uno and have some fun. Before writing this post, I had no experience with Arduinos, but I did have some with building circuits.
Step 1: Take it out of the Box
I had received the Vilros Arduino Uno Rev 3 Ultimate Starter Kit for Christmas. It’s really awesome. I have like 20 LEDs, a nice breadboard, a motor, and a bunch of other neat components (photo resistor, potentiometer, etc.) It also came with a nice instruction booklet
Step 2: Install & Configure your computer for the Arduino IDE
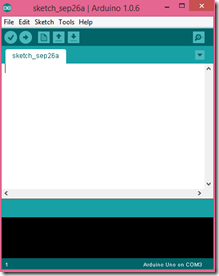
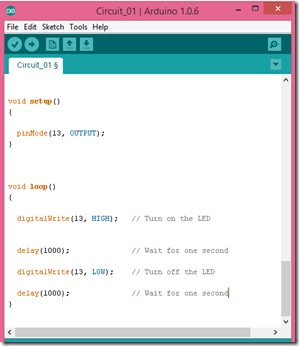
I started my journey with just following the directions and seeing where I could go. Being me, I followed the directions and downloaded the arduino IDE. The arduino IDE appears like this:
Pretty clean and easy to use, it looked like a great place to start. I started with a simple circuit which cycled a LED on and off.
After building a few more circuits (potentiometer, 8 LEDs color cycling, and push buttons) I thought to myself, there must be a better way of doing this than having tons of windows open (one for each individual project). I love Visual Studio, and use it all the time already, I wondered if there was an extension for VS, and with a quick search, I found it.
Step 3: Arduino in Visual Studio
VisualMicro provides arduino programming in Visual Studio.
Once you’ve downloaded and installed it, you’ll notice some changes in your version of Visual Studio, for example, below, I can customize what Arduino I’m compiling for and which port I’m sending my data through.
I did notice that there were many features and optional paid addins which I didn’t know anything about, but I decided to ignore them for a while.
A Quick Exercise with Visual Micro
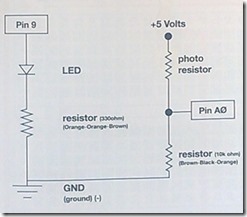
I built the following circuit:
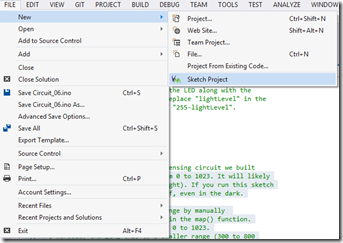
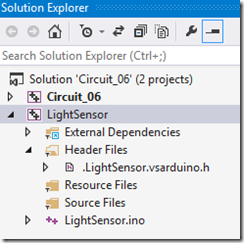
Then created a new VisualMicro Sketch Project called LightSensor
My code is below:
 // We'll create constants to name the pins we're using.
// This will make it easier to follow the code below.

const int sensorPin = 0;
const int ledPin = 9;

// We'll also set up some global variables for the light level:

int lightLevel, high = 0, low = 1023;


void setup()
{
   // We'll set up the LED pin to be an output.

    pinMode(ledPin, OUTPUT);
}

void loop()
{

   lightLevel = analogRead(sensorPin);


 autoTune();  // have the Arduino do the light tuning for us!


    analogWrite(ledPin, 255 - lightLevel); //light up when it's dark outside

}
void autoTune()
{


   if (lightLevel < low)
    {
       low = lightLevel;
   }


   if (lightLevel > high)
   {
       high = lightLevel;
  }


   lightLevel = map(lightLevel, low + 30, high - 30, 0, 255);
  lightLevel = constrain(lightLevel, 0, 255);

 // Now we'll return to the main loop(), and send lightLevel
 // to the LED.
}
Then I went up into Tools>Visual Micro>Tutorial Mode and disabled it, otherwise it would try to teach me how to use breakpoints and other helpful hints.
Then I simply went and ran my code: 
The code compiles and starts to run on my Arduino.
[View:https://blogs.msdn.com/cfs-file.ashx/__key/communityserver-blogs-components-weblogfiles/00-00-01-60-92/1565.LightSensorCircuit.mp4]
In Conclusion
It’s pretty simple and familiar running Arduino projects in Visual Studio, I look forward to my next project :)
[Video]
Comments
- Anonymous
September 26, 2014
Check out Fritzing for your electronic diagrams.
