Celebrate the new year: Create your own Minecraft server running in Azure!
This holiday season I wanted to take a bit of a break and do something fun with Azure. I’ve spent a lot of time around children recently, and many of them Minecraft. I had heard that we now support Minecraft VMs in Azure, and decided it’d be a perfect time to try it out. I’d finally get to figure out if am as a pick-axe or sword person.
Requirements:
- Azure account. If you don’t have one yet, sign up for a free trial
- Minecraft account & installed on your computer. $27 available here
- You can spin up a Minecraft server in Azure without the Minecraft account, but you won’t be able to play it without the account.
Steps:
- Log into your account at https://portal.azure.com/
- Go to New-> Search the marketplace and search for Minecraft
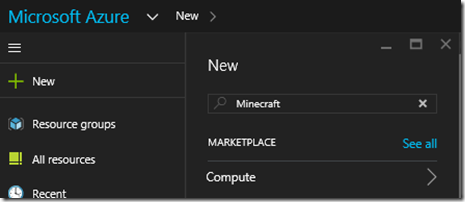
- You’ll end up with the following results.
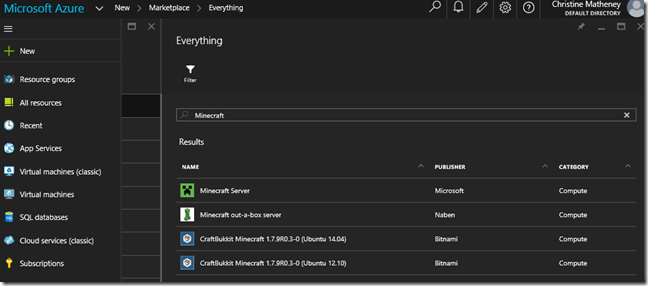
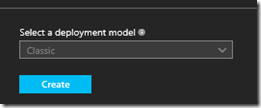
- My personal favorite is the Minecraft out-a-box server, but all of them will work. Select it, and at the bottom, select Create
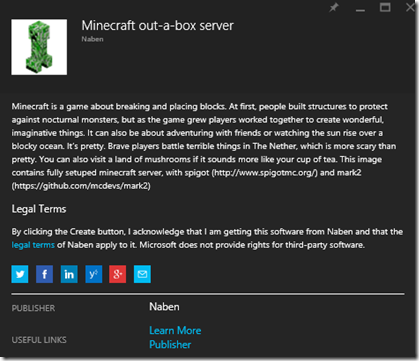
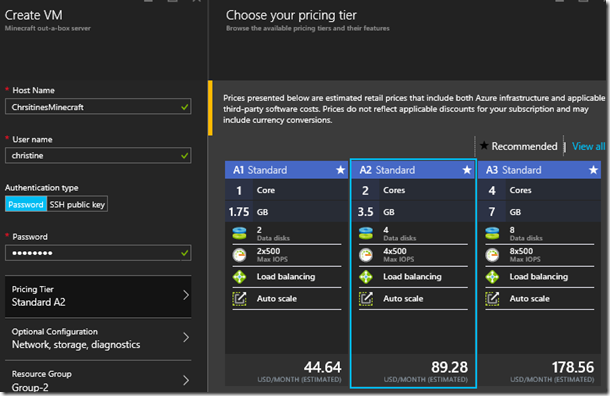
- We’ll now be presented with options for creating our Minecraft VM. There are 4 things we need to customize.
- Host name - name of your server. This will be <hostname>.cloudapp.net
- Username & Password – how you’ll log into the server
- Pricing Tier – when we click on this, we can see the recommended sizes for our Minecraft VM. I suggest at least the A2 Standard, we don’t want our server to lag when we’re fighting a skeleton.
- Location – this is where your VM is hosted. For best results, pick the location closest to you. Since I’m in the Bay Area, and since there’s no West US, I picked Central US

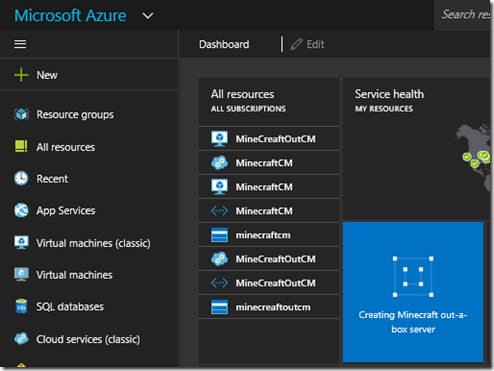
- Select Create to kick off the creation of our Minecraft VM. I suggest leaving the “Pin to Dashboard” box checked, to make it easy for us to check it’s status and find it in the future.

- Azure will redirect you back to your Dashboard, and you’ll be able to see it processing.
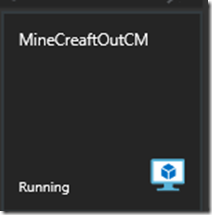
- Once your VM has been created, click on it to see more information. (NOTE: This may take up to 20 minutes, depending on resources)
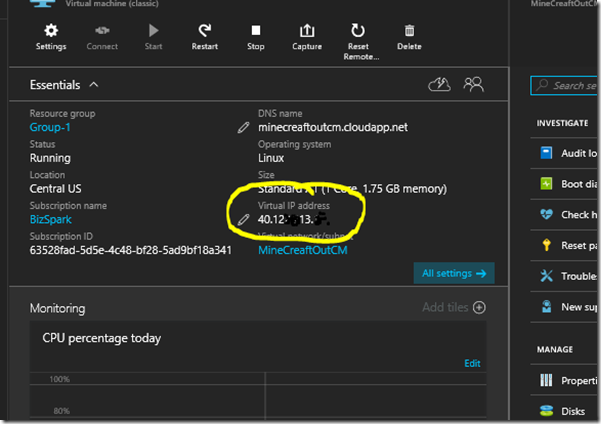
You’ll see a page like this, and you’ll need to record the Virtual IP Address.
- That was our last Azure step, now launch Minecraft on your computer & log in.
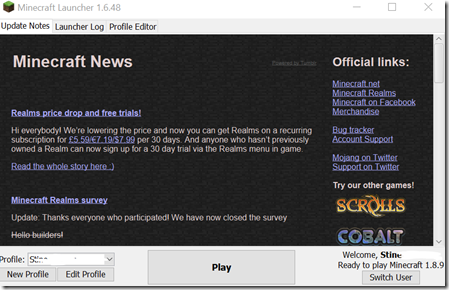
Select Play
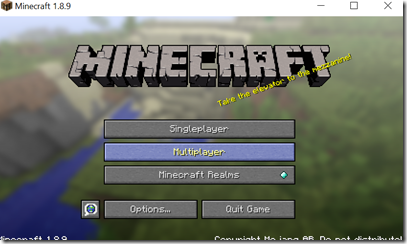
Select Mulitplayer
Select Direct Connect
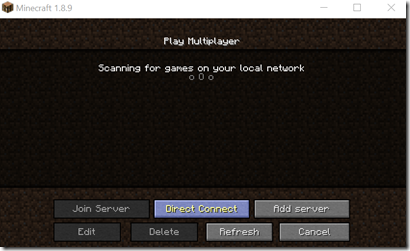
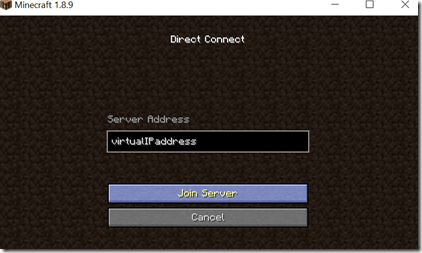
enter your Virtual IP Address & Join Server
