Ink in Silverlight 2 (Beta 1)
I am very excited to write my first blog post about Silverlight 2 today, the project I am currently working on. In early March 2008 we shipped a public Beta for Silverlight 2 that you can download (along with all the neccessary tools) from https://silverlight.net/.
Today I want to introduce you to using Ink in your Silverlight 2 application, using the new managed object model. This post has two versions of a basic inking sample attached - a C# version and a VB.NET version. Let's take a look at the XAML first. The relevant piece here is the InkPresenter element, which is our inking surface that will host the ink strokes collected by the user:
<InkPresenter x:Name="inkCtrl" Cursor="Stylus"
MouseLeftButtonDown="inkCtrl_MouseLeftButtonDown"
MouseMove="inkCtrl_MouseMove"
MouseLeftButtonUp="inkCtrl_MouseLeftButtonUp"/>
Now we need to add a little bit of code behind in the mouse event handlers in order to collect strokes from the user's input. Note that the 'GetStylusPoints()' calls actually obtain the high fidelity stylus input when using a stylus, so you get optimal, smooth ink on a Tablet PC - or with an external Tablet input device on your desktop.
public partial class Page : UserControl
{
public Page()
{
InitializeComponent();
}
private void inkCtrl_MouseLeftButtonDown(object sender,
MouseButtonEventArgs e)
{
// capture mouse and create a new stroke
inkCtrl.CaptureMouse();
newStroke = new Stroke();
inkCtrl.Strokes.Add(newStroke);
// set the desired drawing attributes here
newStroke.DrawingAttributes.Color = Colors.Blue;
newStroke.DrawingAttributes.OutlineColor = Colors.Yellow;
newStroke.DrawingAttributes.Width = 6d;
newStroke.DrawingAttributes.Height = 6d;
// add the stylus points
newStroke.StylusPoints.AddStylusPoints(e.GetStylusPoints(inkCtrl));
}
private void inkCtrl_MouseMove(object sender,
MouseEventArgs e)
{
if (newStroke != null)
{
// add the stylus points
newStroke.StylusPoints.AddStylusPoints(e.GetStylusPoints(inkCtrl));
}
}
private void inkCtrl_MouseLeftButtonUp(object sender,
MouseButtonEventArgs e)
{
if (newStroke != null)
{
// add the stylus points
newStroke.StylusPoints.AddStylusPoints(e.GetStylusPoints(inkCtrl));
}
// release mouse capture and we are done
inkCtrl.ReleaseMouseCapture();
newStroke = null;
}
private Stroke newStroke = null;
}
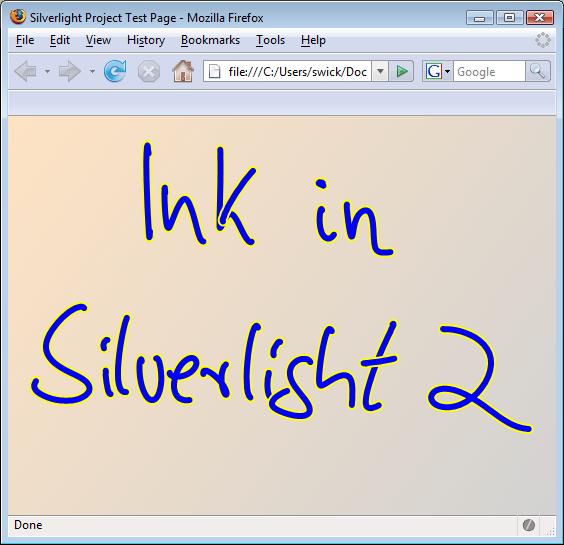
And here is the result at runtime, after collecting a couple of strokeson my Tablet PC:
For a more advanced sample app that uses ink to annotate pictures and has support for erasing ink, please visit the Silverlight 2 Beta1 Gallery and look for the 'Image Snipper' sample. You can also run it directly from the below IFrame (requires the Silverlight 2 Beta1 runtime to be installed on your computer):
<embedded sample removed, since Silverlight 2 Beta1 is no longer relevant>
Comments
Anonymous
March 25, 2008
Now you're cooking... Very good! :-)Anonymous
April 11, 2008
Is there anyway to save this ink? I remember in one of your blogs for Silverlight 1.0 there was a comment about saving the ink using javascript. Is there some way like that for Silverlight 2.0?Anonymous
May 27, 2008
The comment has been removedAnonymous
August 04, 2008
Hi, thanks for the wonderful code it works perfectly. I have tried to add pressure sensitive input to this with the following code ... private void inkPresenterElement_MouseMove(object sender, MouseEventArgs e) { if (newStroke != null) { StylusPointCollection c = e.StylusDevice.GetStylusPoints(inkCtrl); while (c.Count > 0) { StylusPoint p = c[0]; c.RemoveAt(0); p.PressureFactor = 0.1F; newStroke.StylusPoints.Add(p); } } } However this is not working :/ any ideas what may be wrong, is it a bug with Silverlight beta2 ? Regards Mat.