FIM CM Reference: Improve Search Performance When Using Custom or AD Attributes
In some cases, especially in smart card rollout scenarios, many approved requests may need attention. Loading all approved requests or searching/sorting these requests while using a non-default or customized column may degrade FIM CM performance.
FIM CM queries the active directory for each item in the query result list. This AD query process contributes to the performance degradation. The more items in the results the more noticeable the delay in returning the results to the FIM CM portal.
In most cases the use of these non-standard columns in the search results helps sort the list of requests to more easily identify a desired item. For instance adding the DN column makes it easier to find a user based on OU. In other cases a custom column for Employee ID may be added in order to find users by that criteria.
The following information provides to main components. First I show you how to add the custom column for the AD attribute Employee ID. Secondly I show you the best way to search for the desired user, based on Employee ID, and the subsequent steps to quickly find the request.
There is no “employee ID” column to include in the search
Correct, in the default FIM CM configuration no employee ID column is available to select.

Add “employee ID” to the column options
This step involves editing the FIM CM web.config file. Great care should be taken when making any modifications of this file. Please save a backup version of this file.
The web.config file is typically located in the Program Files directory (C:\Program Files\Microsoft Forefront Identity Manager\2010\Certificate Management\web). We just need to extend the web.config so that the user search contains the employee ID. Make the following addition to the string below in the web.config file.
<add key="Clm.UserSearch.DisplayColumn.ActiveDirectoryAttributes" value="{User!distinguishedName[Dn]!string},{User!businessCategory[Business Category]!string},{User!displayName[Display Name]!string},{User!memberOf[Member Of]!string},{User!employeeID[Employee ID]!string}" />
I prefer to make any changes in the web.config by commenting out the original data and adding a new entry, as shown in the following screenshot.
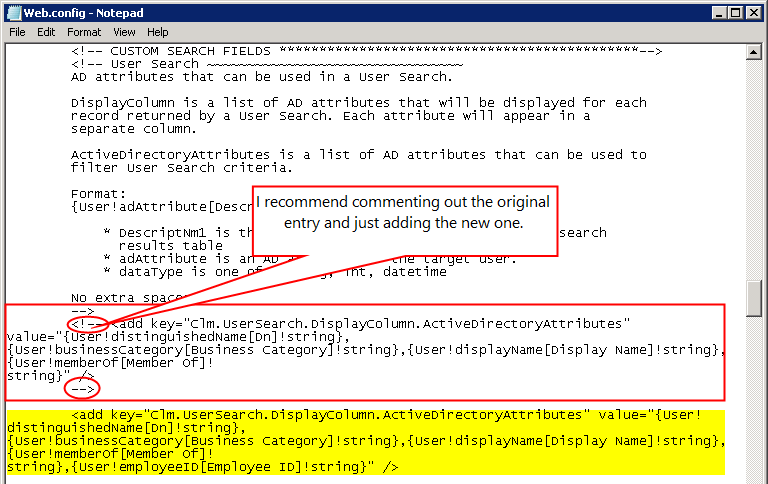
After making the modification save the web.config file. Perform an IIS reset and the new column appears in the user search.
Search for users incorporating the new employee ID column.
Remember that the goal to identify specific users by employee ID. We may have several users with similar names but the employee ID will readily identify them.

Search for the user by given name (partial name should work). Be sure to choose the domain context. If not the search goes against the GC naming context and the employee ID attribute may not be replicated there.

In the search results note the user logon string as we’ll need that in the next search step. Note that the user logon string cannot be copied in the initial search results page. You may click on the name link of that user and copy the logon from the subsequent screen.

With the user logon information we’re ready for the final search step.
Search for the requests of the desired user
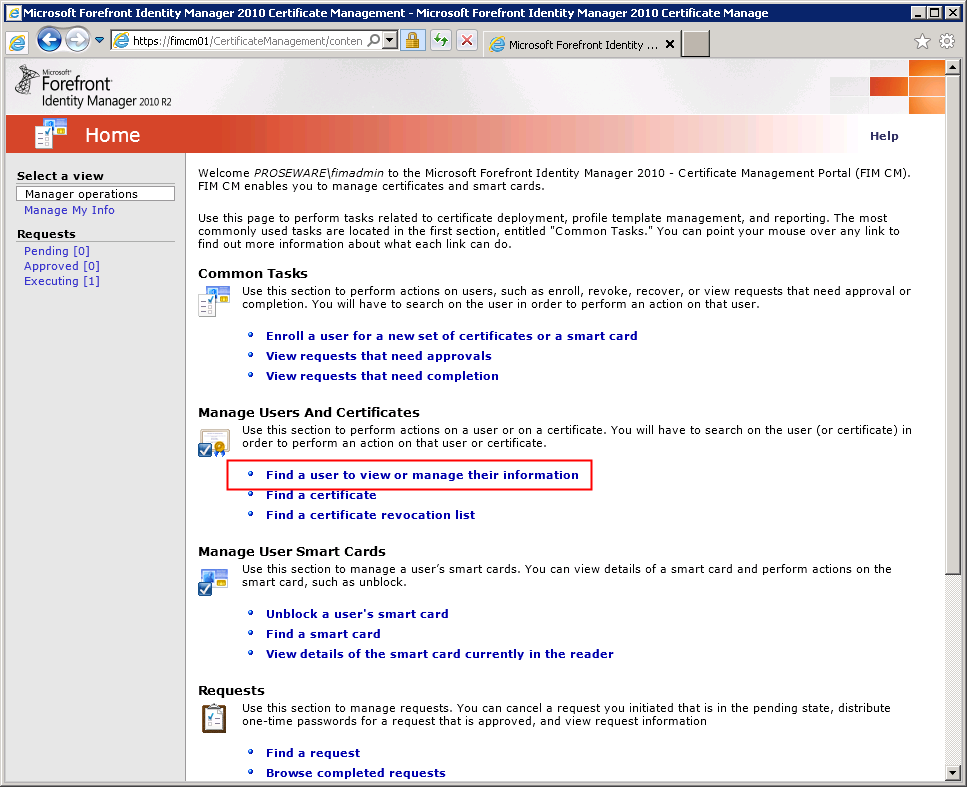
Use the “find a request” search from the CM home page.

Use the user logon information in the “user name” field of the search requests page. Use additional filters for specific request types, request statuses, request start/end dates, or by request priorities.

The results should contain the needed items. This avoids waiting for CM to search all requests against the AD.

Applies to:
I’ve personally tested this on the FIM CM 2010 R2 SP1. However this should work on all FIM CM 2010 and FIM CM 2010 R2 versions.