Server 2008 R2: Install RDS as Remoteapp Server
Applies to
This article is based on RDS 2008 (R2) and might not apply to newer versions
Introduction
With Windows 2008 R2 there is a common service used in the daily management of network: Terminal Services, aka Remote Desktop Service (RDS) in Windows 2008 R2. The Remote Desktop Connection is another tool that we use every day to manage our network remotely. Now with RDS is also possible to use a type of application virtualization called RemoteApp. With it the application’s installation is done on the server and all its services, file, registry and hardware are used on the server itself. Users connect remotely to the application using Remote Desktop Protocol with a real experience of the application running locally. This scenario is very interesting for applications that require enhanced hardware for centralized management and rapid provisioning and efficient.
Procedure
To install the Remote Desktop Services, click on the Start menu and then click Server Manager. Right click on Roles and then Add Roles. Select the Remote Desktop Services and click Next.
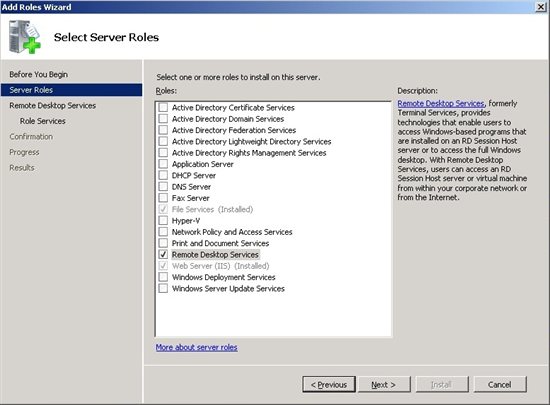
Figure 1 - Installation of Remote Desktop Services
In the Select Role Services, select the option Remote Desktop Session Host. To provide access through the web portal you must install the Remote Desktop Web Access Role. Click Add Required Role to confirm the installation of IIS and then click Next.
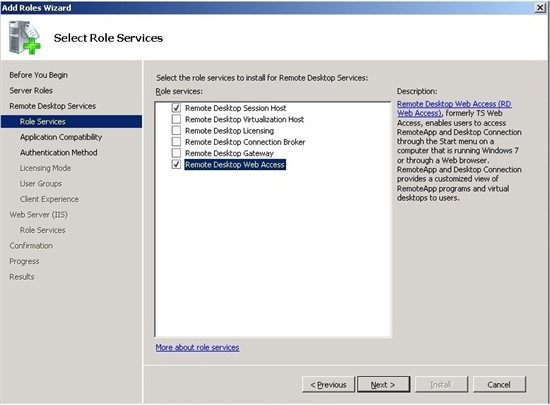
Figure 2 - Installing the Role Services
For clients running Remote Desktop Connection Client version 6 and above you can create a connection to the server securely, protecting it against unauthorized access. Therefore, before connecting to the server the user must specify the username and password and then have the connection made.
If all your clients have the RDS Client 6.0 and above, choose Require Network Level Authentication (see Figure 3). Otherwise, select the option below.
It is strongly recommended to use this feature, since it offers more security when connecting to servers.
To download the RDP Client 6, visit this link: http://support.microsoft.com/kb/925876
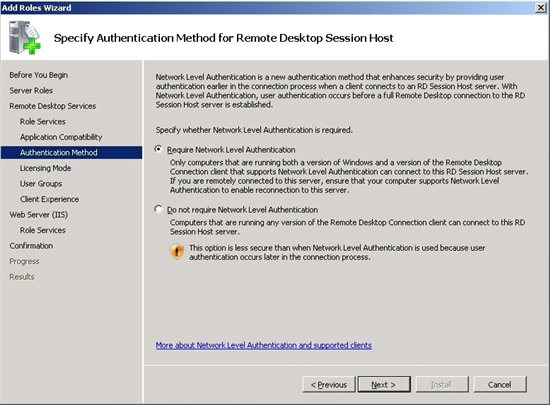
Figure 3 - Option to enable Network Level Authentication
You can choose the license type that will be used to receive connections from clients. A good example to explain them is a company that has five computers, but only 3 users using them. In this case the choice is paying only 3 per user licenses. In the case of 6 users with different working hours using three computers the best option would be paying 3 Per Device. For more information on licensing of RDS, visit the link below:
http://technet.microsoft.com/en-us/library/cc753650.aspx
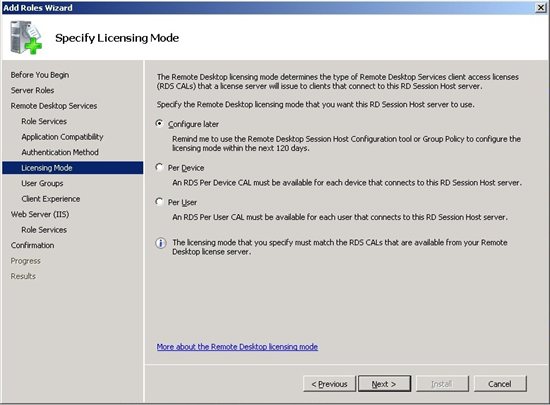
Figure 4 - Licensing
On the next screen you must specify the user groups that can use RDS to connect to their RemoteApps. In the example in Figure 5 the administrators group is
already added by default. The RD Users group makes reference to all users who will use the RemoteApp. Click Add, select the desired groups and click Next.
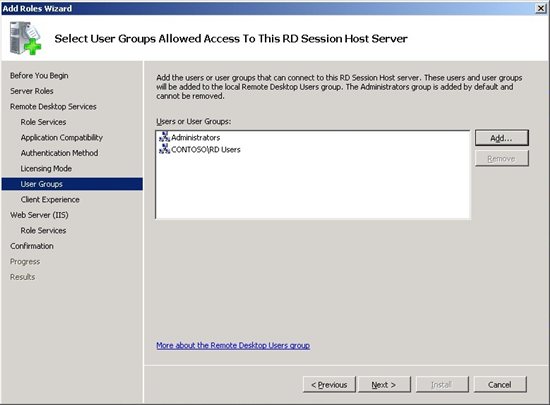
Figure 5 - RDS Access Group
If the server has audio and video resources available as a video card for example, you can enable some features to enhance user experience when using applications through the RemoteApp. Even programs that have graphics that use the Windows Aero may have the same connection’s functionality from clients. Choose the options that suit your setting and click Next 3 times and restart the computer.
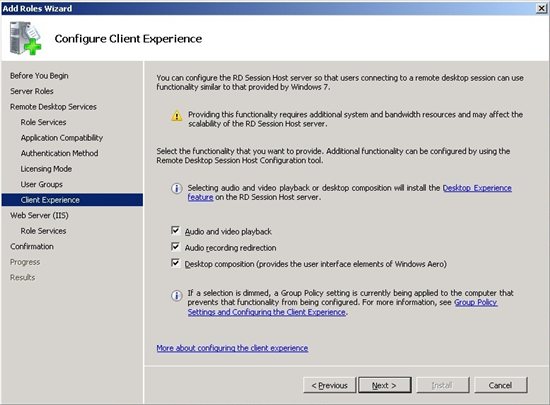
Figure 6 - Audio and video features
After installation, click Start, then right-click Computer and then Properties. Click Remote Settings and enable the Remote Desktop Connection in accordance
with Figure 7 to provide more security.
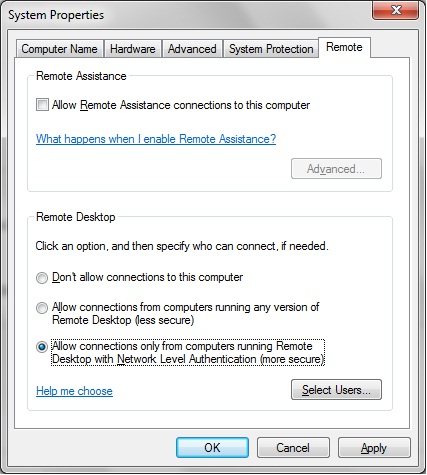
Figure 7 - Enabling Remote Desktop
After these procedures is possible to create applications to be available to customers. To start using RemoteApp Manager, click Start> Administrative Tools> Remote Desktop and Services and click RemoteApp Manager.
In Figure 8 you can see some applications being accessed by the web portal, which can be accessed by the path https://servername/rdweb.
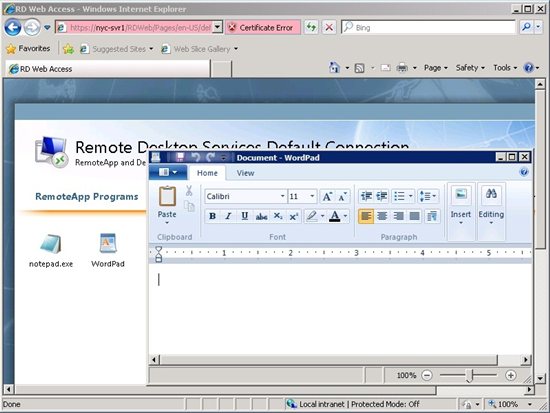
Figure 8 - RDWebr foneticameFFF