Introduction to Microsoft Azure Mobile Services
Credits
Channel 9 - Introduction to Windows Azure Mobile Services
Microsoft Azure Mobile Services
This article describes how using Microsoft Azure Mobile Services one can add a cloud backend to a Windows Store application in literally minutes.
Use Windows Azure Mobile Services to:
- Create turnkey backend solutions to power your mobile apps.
- Accelerate your mobile app development. Incorporate structured storage, user authentication and push notifications in minutes.
- Create a straightforward and secure backend-as-a-service to handle common tasks and free yourself to focus on the front end that your users value.
Getting Started
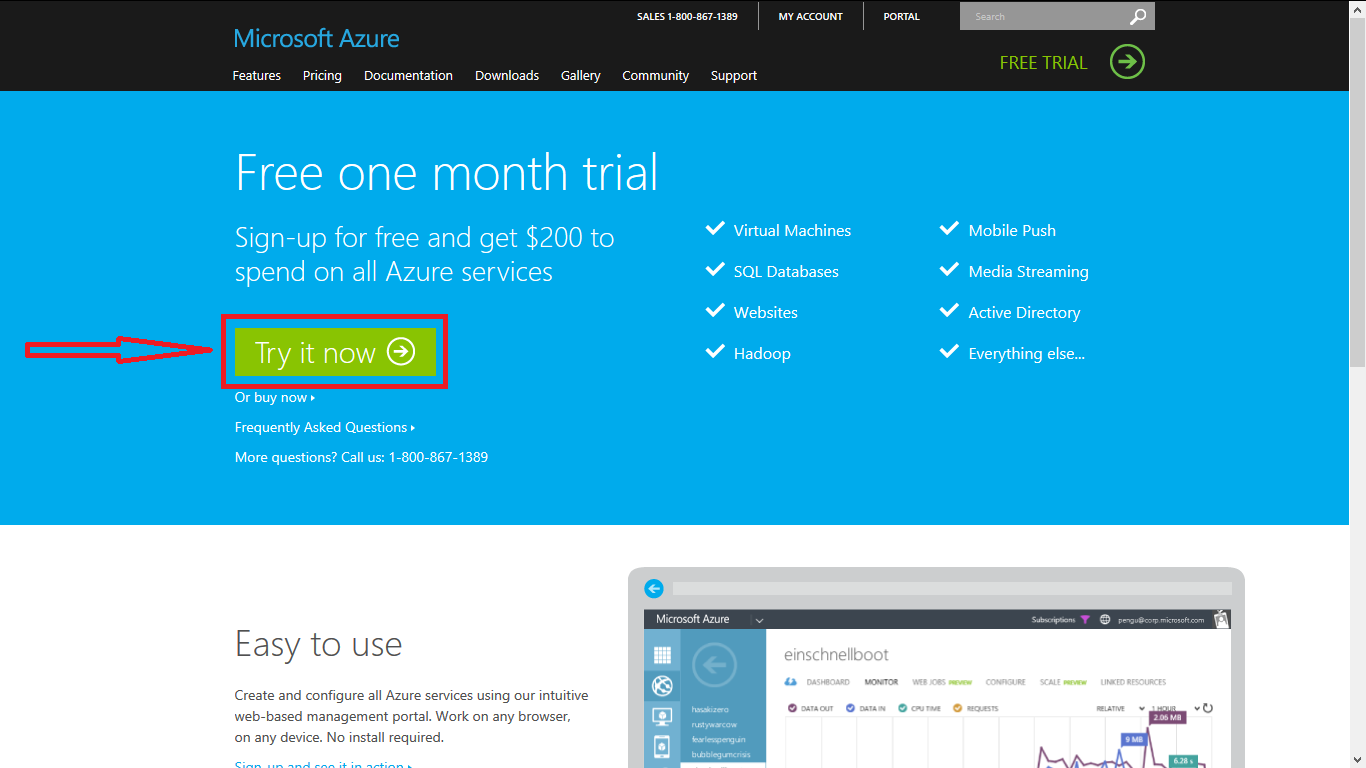
So, what i have to do is, go to Microsoft Azure website. If you don’t already have a Windows Azure account, you can sign up for a no-obligation Free Trial.
Click "New" at the bottom of the page, choose the new “Mobile Service” and click "Create". You'll see the pop-up window as shown below.
Write URL for the service. (Any unique URL) I'm using abdulrehmandemo.azure-mobile.net as a URL. Use the Existing or Create New Database. In this case, I'm using an existing database. If you are having any trouble creating new database, write in comment.
Select your Region and Click Arrow button.

Now, you'll see the "Database Settings" pop-up window. There are 3 fields here. 1 is to select your database, 2nd is the login name, and 3rd is for password. Chose the database and write its login and password credentials. Click the Tick Mark button (See the image below). It'll take few seconds to create a Mobile Service for you.

Once the Mobile Service is created, click on the mobile service, you'll see the Dashboard containing multiple options and resources.
This mobile service will make it really easy for you to walk through connecting this backend to your Windows Store / Phone app.
You'll see there are 2 options under GET STARTED heading. In order to use existing application, click the 2nd option "CONNECT AN EXISTING WINDOWS STORE APP", Select the language C# and copy and past the code given below in your app and use Azure SDK to connect to Microsoft Azure.
Or if you don't have a Windows Application, all you need to do is to click on the 1st option "CREATE A NEW WINDOWS STORE APP" tab. This will walk you through the simple tutorial how to build your new application. This is what we are going to do now.
So all you need to do is Download and Install Visual Studio 2013 for Windows and Install Azure SDK.
Once you are done, Now click on "Create TodoItem Table" in Step 2. It'll take few seconds to create a table. See image below.

Here let me discuss one more thing, if you don't want to create TodoItem table, and want to create your own, there is a "DATA" link on the top, next to the Dashboard. Click it and create your own table.
Coming back to the work, you have noticed that your TodoItem table is created. Now Download the C# or JavaScript version of the application, that will be the client component of the app. I'm going to choose C# and click Download.

It'll download a zip file, extract it and double click the .sln file in order to open it in Visual Studio.
In Solution Explorer, you'll notice there are a couple of files, one is called App.xaml and the other one is called MainPage.xaml. This will provide a little bit of stub code that is already been added for you which is going to help you in building your application.
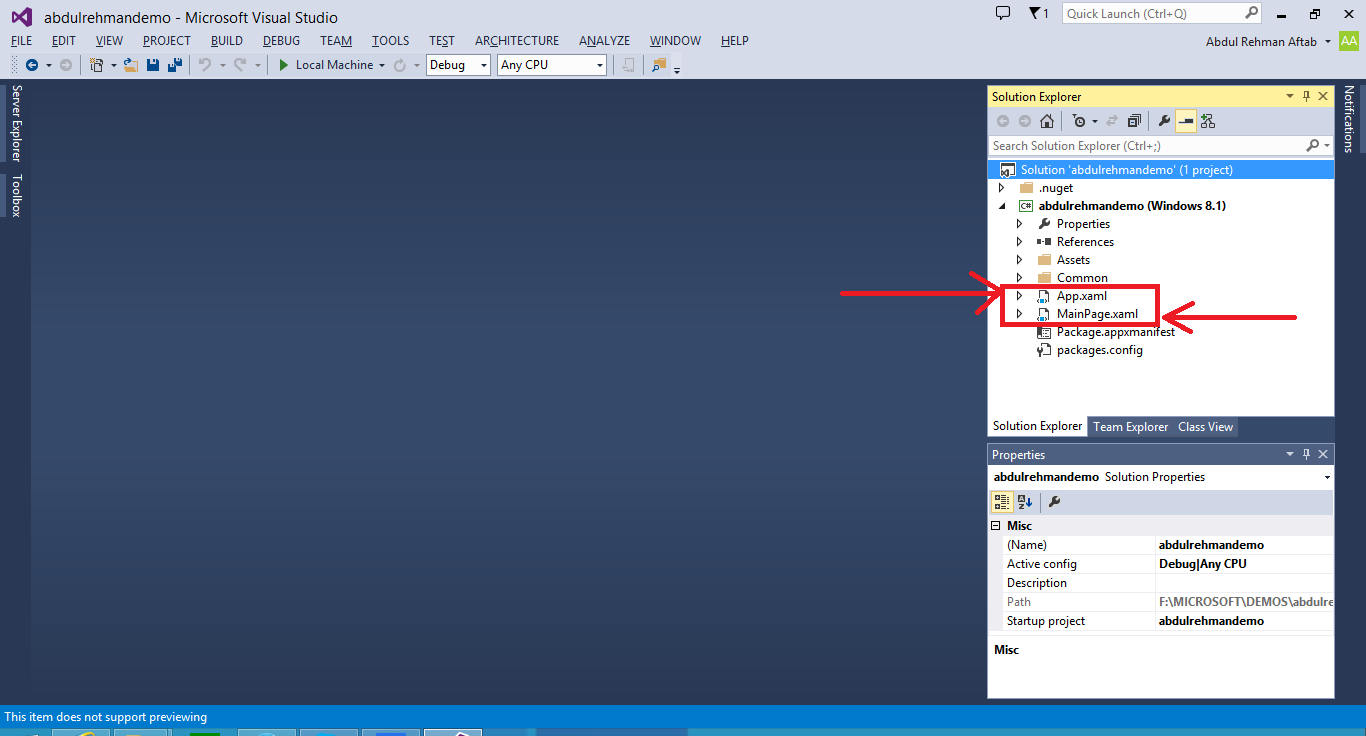
Next step is, click the arrow that is on the left side of App.xaml, you'll see another file below it, click on App.xaml.cs.
Here the first thing you'll notice is the Key, that is already mapped to the mobile service we just created.

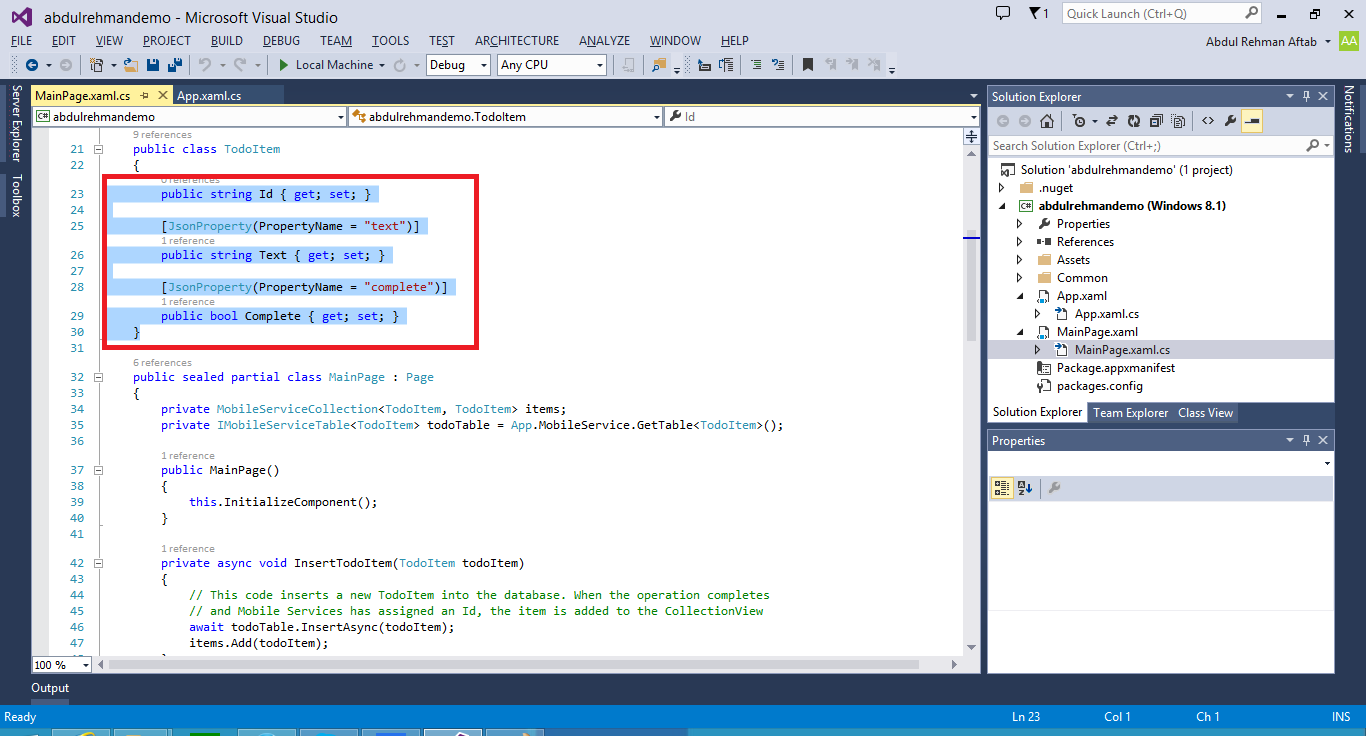
The other page is MainPage.xaml page. This page contains a UI, that allows to get track of TodoItems. Open MainPage.xaml.cs file. you'll notice that there are simple 3 properties in a class, "Id", "Text" and "Complete"
You'll also see some functions for Inserting new items, refreshing and updating the status... Let's run the app and check what it does. Press F5 to build and run.
You'll see the simple application as below.

Let's add some items one by one in it and press save button. You will notice the items appear under the "Query and Update Data" heading.
Actually this sent Rest call to Microsoft Azure, access that Mobile Service and save the data inside the database. The data is shown on the other side. The refresh button retrieve the data from the database created in Microsoft Azure.

Tick any of the items to mark as completed. And the items disappears from the list. This is how simple is creating an app that is connected to the back end :) .
Let's go back to the Microsoft Azure Portal, You'll see a couple of things on the top. Like in Dashboard, you can actually see the view of what's going on with your Mobile Service. How many API call you make, how much space of SQL database is consumed etc etc.
Another option you'll notice is the DATA tab in order to see what data you've stored in the database. Click on the TotoItem in the DATA tab. You can see the items that you've created from the client application. and the complete column shows weather they are marked true or false. See the image below.

So it's the very easy way to explore the data we've saved, as well as to basic editing against it.
Notice the tabs with the Browse tab, right above the table. You can manage Columns by one, two.. in Columns tab, and also you can set up permissions that who has the access to Insert, Update, Delete and Read operations against the database. By default, anyone can operate with the application key. You can lock to only the Authenticated users or the Administrators, whatever you want. See the image below.

We'll talk about these permission in later series.
Let's go to the SCRIPT tab. This tab is use to write small script-lets for the server side validation on each operation. Notice there are 4 operations in Script tab. So we can write script for each operation separately. Pretty cool! :) See image below.

So you can write script before the request executes, and also after the request execute command. This is the super easy method to do a little bit of server side validation in the backend.
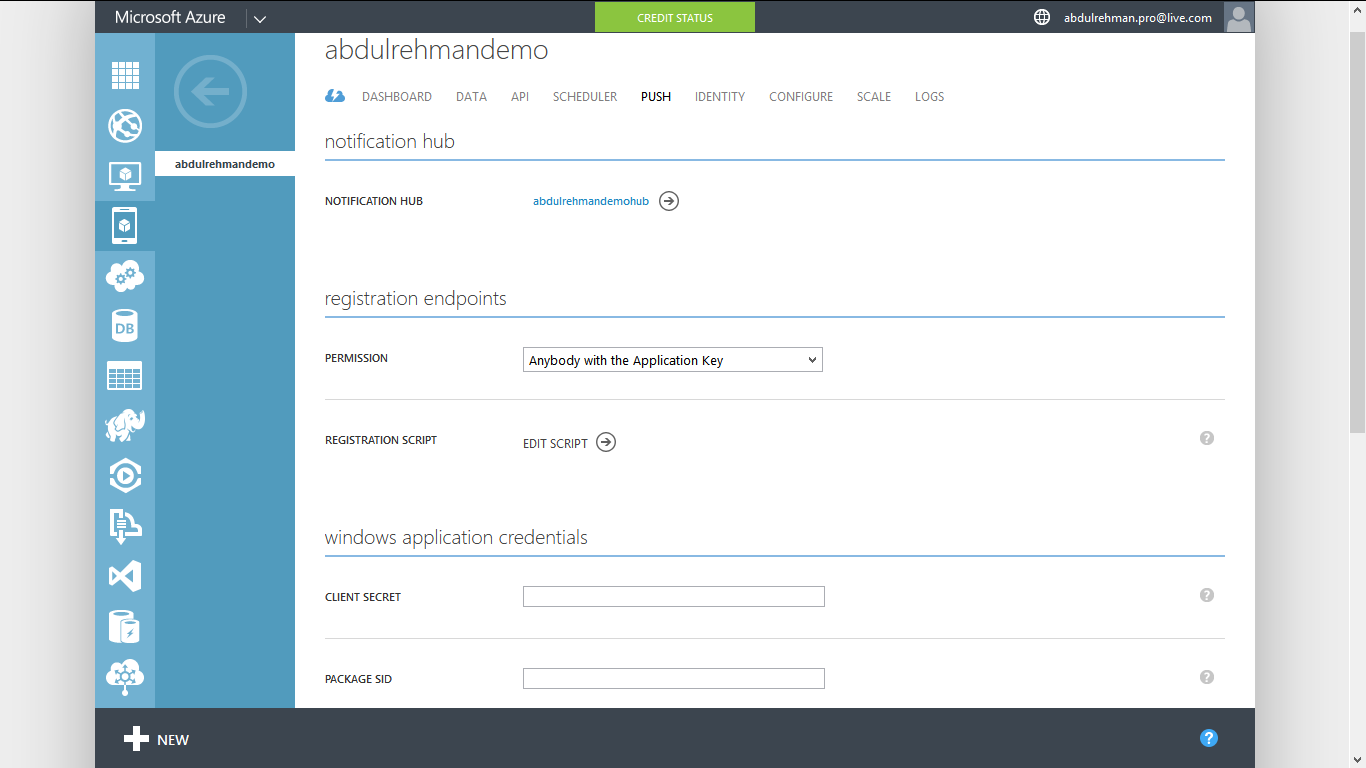
Other features we have here are more advance. Include PUSH NOTIFICATION support. So if you have a, for example, windows 8 / 8.1 push notification token, you can go get it from the Windows Developer Portal, and paste it in here.. And you can easily fire push notification, from the script code, to the other users of the application. See image below.
The next tab is the Identity Tab. You can set out the things in here to use Windows Live Authentication and other Authentications as well, like Facebook, Twitter, Google etc. See image below.

Now, the last but not the least, SCALE tab, cool things about Microsoft Azure Mobile Services is that giving every Azure customer the ability to run Tenant of the apps for free and use multi tenant environment.
Here, you will notice there is a Mobile Service Tier option, You can make it BASIC or STANDARD and you can set up the scale of the server capacity, so for example i select Basic and I want to run this app on 2 VMs. Just set the scale to 2. See image below.

Now my app will be automatically deployed on 2 isolated machines in Microsoft Azure, in which only my code is running on. And if i need, i can scale up or scale down the capacity.
Source Code of Sample App
Click here to download source code.