SharePoint 2013 Continues Integration with TFS 2013 Release and Build Management - Part 3
This is Part three of a series:
Part 2: Running SharePoint release without using build management
Part 3: Running SharePoint build without using release management
Part 3: Running SharePoint build without using release management
Connect solution to TFS
In order to enable build management for our solution, we have to add the source files to TFS. To do that follow the below steps:
Using Visual Studio 2013, open the solution file with administration permission.
Be sure that your VS connected to TFS
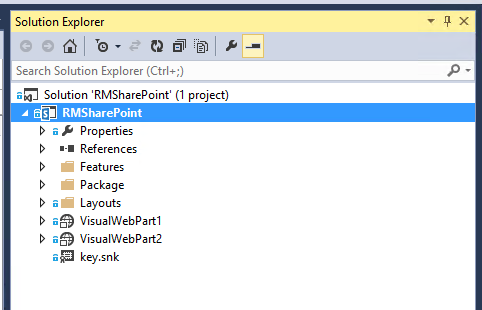
In solution explorer, right click the solution node and click add to source control
Select “Team Foundation Version Control” and click ok
Select source control location and click ok
Right click the solution node, and select check in.
In pending changes windows, select chick in.
Create Build definition to build the solution with build server
From Visual Studio, Team Explorer, make sure you are connected to the team project, and then open Builds page by clicking on the build icon
Choose the New Build Definition link or select a build, open its shortcut menu, and choose Edit Build Definition.
On the General tab: In the Build definition name box, enter Sharepoint Build
On the Trigger tab and Source Settings tab, keep default selection
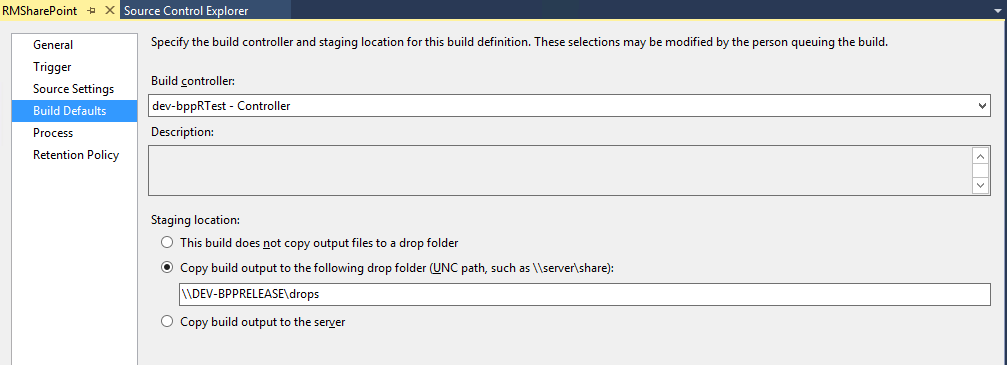
On the Build Defaults tab, choose Copy build output to the following drop folder, and enter any shared location, for example(\Server3\Drops). Be sure that build and release services user accounts have the required permission to read and right to this location.
Also select the build controller that can build a Sharepoint projects
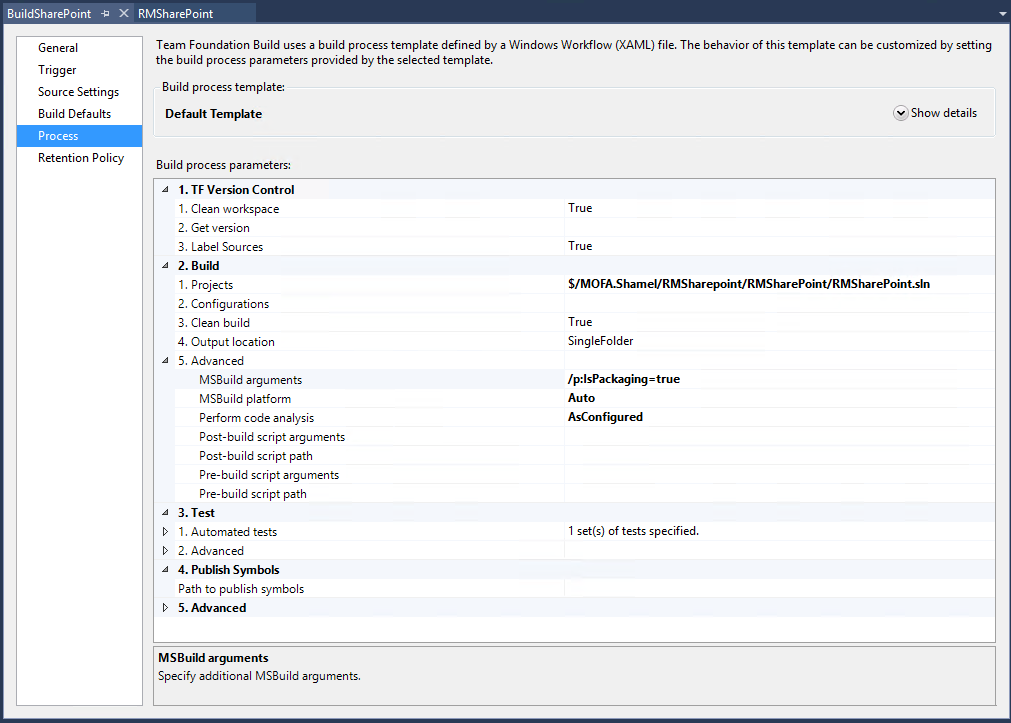
On the Process tab, choose Show details, and then in the Build process file list, choose Default Template
Be sure that the solution exists on the projects parameter
For MSBuild arguments, enter /p:IsPackaging=true
This is very important to generate the WSP file.
Save the build and close it
For more information check:
To run this build, right click the build definition and select queue new build
After a few seconds, you should see the following screen which indicates that the build succeeded
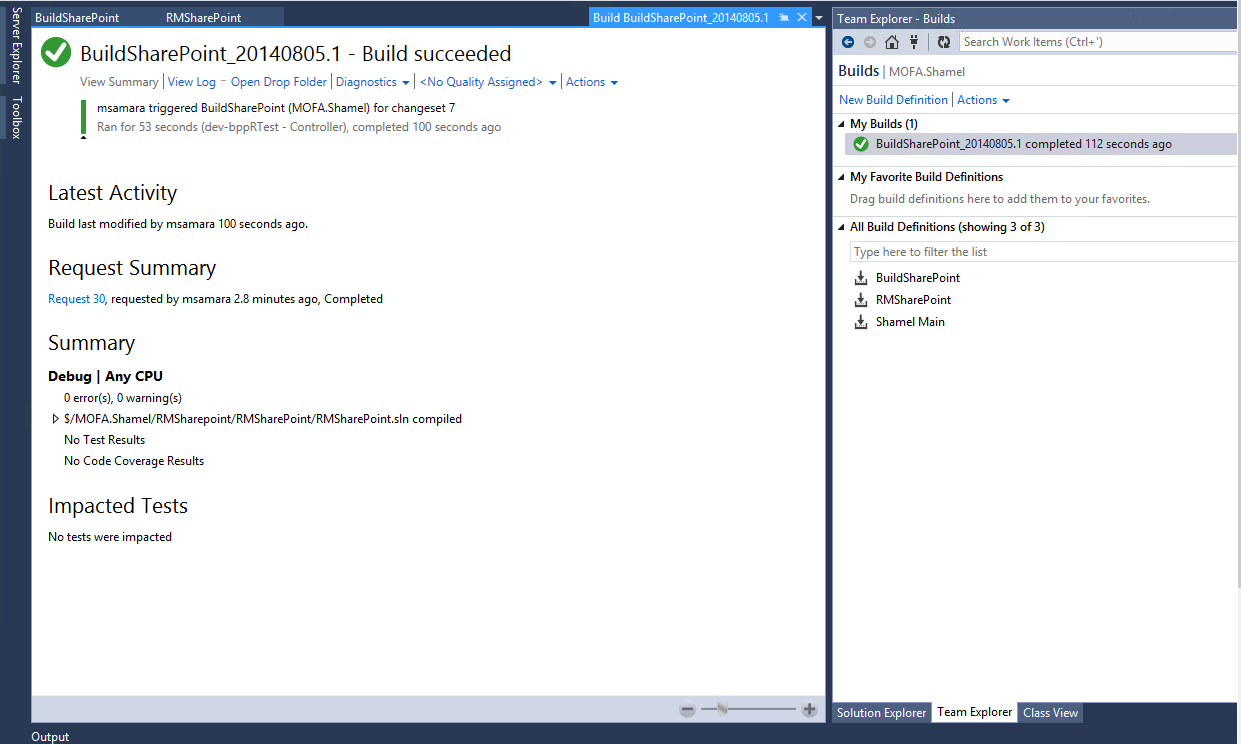
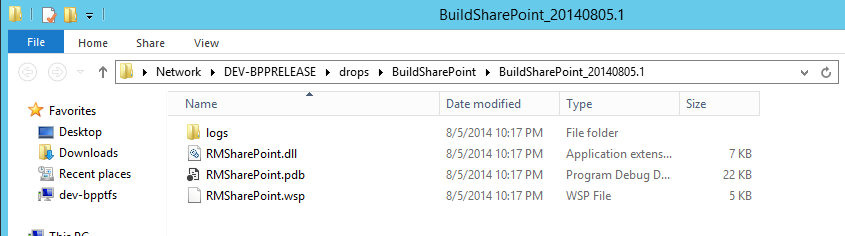
Click on the “open drop folder”, you should see the WSP file as following: