BizTalk Server: Deploying Custom Pipeline Components in BizTalk Server 2006 and Higher
The Confusion
There’s a recurring confusion about deploying custom pipeline components that mostly stems from an old documentation page that has been carried forward, nearly unchanged since BizTalk Server 2004.
For today’s history lesson, BizTalk Server 2004 required all Pipeline Component Assemblies be deployed to a specific folder:
- %BizTalkInstallFolder%\Pipeline Components\
In this folder, you would find all of the out-of-the-box Pipeline Component Assemblies. Additionally, any custom Pipeline Component Assemblies had to be deployed here as well. Why? There are plausible scenarios but, it doesn’t really matter because…
In BizTalk Server 2006, the \Pipeline Components\ folder restriction was removed and Pipeline Component Assembles were then treated just like any other .Net Assembly. Meaning, they could be deployed to the Global Assembly Cache along with all other BizTalk Assemblies such as compiled BizTalk Projects, custom Adapters, helpers and many BizTalk product Assemblies.
Yet, this doc page remains almost unchanged from BizTalk Server 2004 to BizTalk Server 2013:
- 2004: http://msdn.microsoft.com/en-us/library/ee268053%28v=bts.10%29.aspx
- 2013: http://msdn.microsoft.com/en-us/library/aa577482%28v=bts.80%29.aspx
The problem is the ambiguity created by the following line:
“You do not need to add a custom pipeline component to be used by the BizTalk Runtime to the Global Assembly Cache (GAC).”
While this may be technically correct, it is incomplete in explaining how custom pipeline components are handled in BizTalk Server 2006 and later.
The \Pipeline Components\ folder remains, likely as a compatibility feature, and while you don’t need to add the Pipeline Component Assembly to the GAC, you can and should. Further, Custom Pipeline Component Assemblies should not be placed in the \Pipeline Components\ folder. This is a good practice even if just to maintain consistency with all other component deployment, which is to the GAC.
Additionally, recent versions of BizTalk Server do not rely on the \Pipeline Components\ folder.

All of the out-of-the-box components are installed to the Global Assemble Cache.
Create and Build the Project
Here are the steps for building and enabling a custom Pipeline Component in Visual Studio:
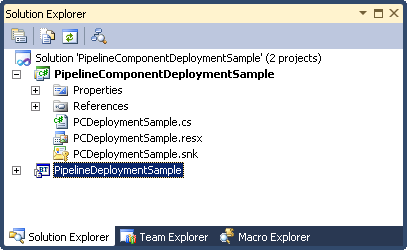
- Create a Custom Pipeline Component Project. For this sample, I created a shell component using the Pipeline Component Wizard
- Assign a strong name key file.

- Add a Post-build event to automatically GAC the assembly.

- For Visual Studio 2010, the command line is:
CALL "%VS100COMNTOOLS%vsvars32.bat"
gacutil.exe /i "$(TargetPath)"
- Build the Project.
When the project is successfully built, the output assembly will appear on both the Project’s current output folder and the GAC.
Registering for Design Time Use
While it is true that Visual Studio will still probe the \Pipeline Components\ folder when building the Toolbox Items list, this does not mean placing the component Assembler there is required. As noted above BizTalk Server GAC’s its own component Assemblies.
We can easily keep our custom Pipeline Component consistent with BizTalk Server itself by following these steps:
- From a Pipeline source file, right-click on the Toolbox and select Choose Items… Then select the BizTalk Pipeline Components tab.
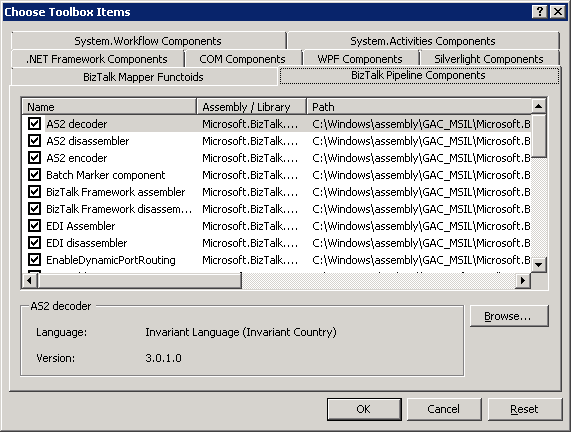
- Click Browse… and navigate to the Pipeline Component Projects current output folder, …\bin\Debug for example. Select the Assemble and click Open.

- Now, any Pipeline Components in the selected Assembly appear on the list. The important thing to note here is that Visual Studio is smart enough to realize the Assembly is in the GAC and uses the appropriate reference Path.
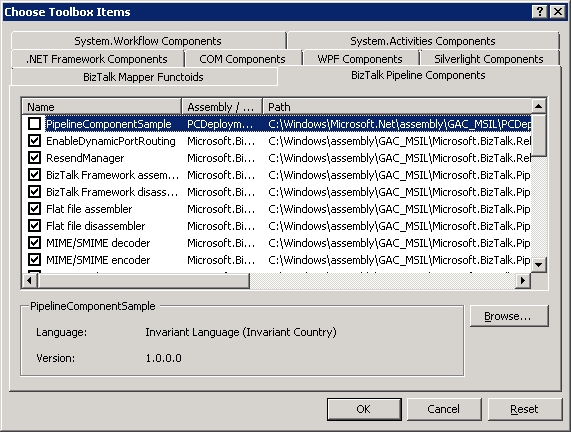
- Now, you can select the component and it will appear in the Toolbox.

The custom Pipeline Component is now ready to be used in any Custom Pipeline.
Deploying for Runtime
Similarly, out custom component assembly should be deployed only to the GAC for runtime use by BizTalk Server. If exporting .msi files from BizTalk Administrator, follow these steps to GAC the Assembly during installation:
- Expand the BizTalk Administrator Application where this component will be use and select Resource.
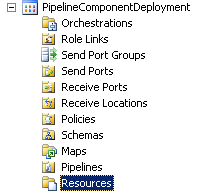
- Right-click and choose Add -> BizTalk Assemblies…
- Click add and browse to the assembly in the Project output folder.
- Check the options:
- Add to the global assembly cache on MSI file import
- Add to the global assembly cache on MSI file install
- Optionally, remove the value from Destination location.

- Click OK.
The Assembly will now be placed in the GAC alongside all other BizTalk application assemblies.
Conclusion
By choosing to put any custom Pipeline Component Assemblies in the Global Assembly Cache, we facilitate Design Time and Deployment of our BizTalk app keep consistence with other BizTalk application Assemblies..
See Also
Another important place to find an extensive amount of BizTalk related articles is the TechNet Wiki itself. The best entry point is BizTalk Server Resources on the TechNet Wiki.