Exchange 2013: Details Template Editor
Details Template Editor is used to modify or add extra information in the visibility of objects properties which are accessed through GAL.
For example, if a company demands to have a column called Block or Cabin number to be added in each and every user’s mailbox we can use the details template editor and create new columns for the same. So by doing this when a user resolves any mailbox from the GAL and accesses their properties then he/she would be able to see the created object entries (E.G: Cabin number or Block).
In this example, we will see how to create an additional column for Building Block which needs to be populated and visible in the user properties when end users accessed from GAL.
Details Template Editor can be modified by using Exchange toolbox as well as Exchange Management Shell. We will look through how to modify them with Exchange Toolbox.
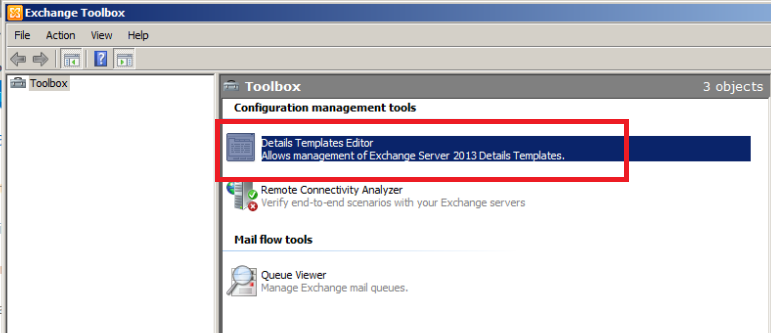
Go to start all programs and Open Exchange Toolbox.
Unlike in Exchange 2010, we have only three configuration management tools as below and open Details Template Editor
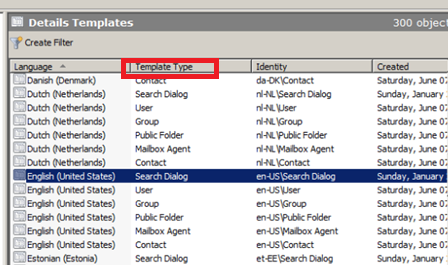
Select a preferred language and the preferred template type for which we need to add the new columns.
There are multiple template types (Contact, User, Group, Public Folder, Mailbox Agent etc.).
So ensure that you choose the correct Template Type.
And then it opens up the editor page as below.
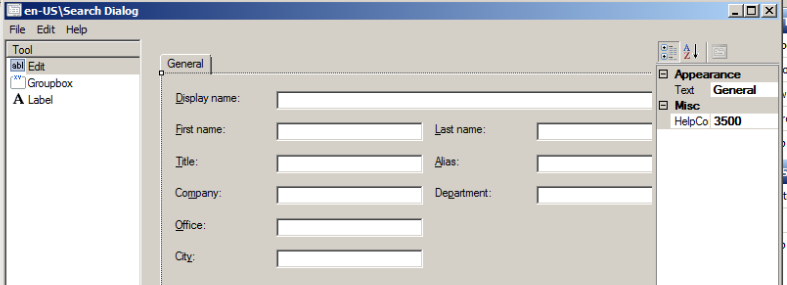
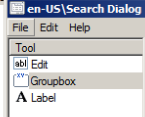
Here we have two options over on the left:
Group Box – When we double click on this option it creates an empty new box where the specified value is entered.
Label – A unique name defined for the newly created group box like (department, Alias as shown in above picture)
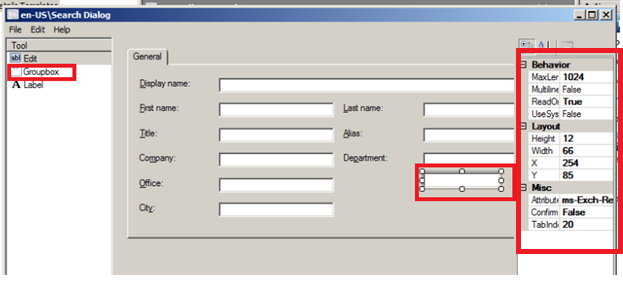
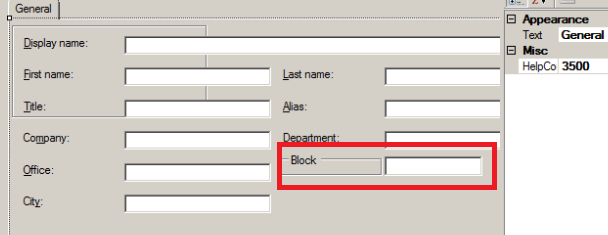
Now double-click on the group box over the left and it creates a new empty column where the value needs to be displayed.
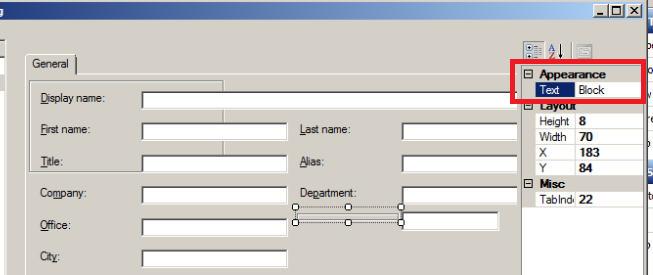
Over the right editor pane, we have the layout height width adjustment option by which we can alter the values and bring it to look uniform with the other group boxes.
Now create a new label box by double-clicking on the label icon and drag it to the newly created group box.

Now enter the value Block in the Text field. You can enter the desired value to appear in the GAL object.
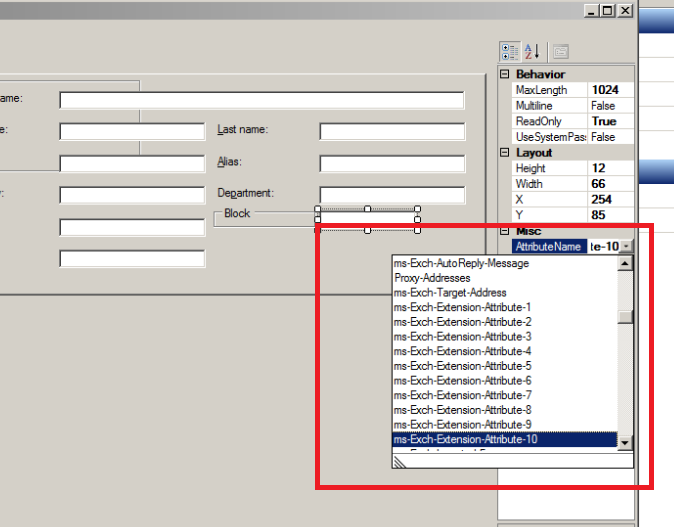
We are done with creating the template. Now we need to assign a attribute to this newly created group box since no attributes will be linked with newly created group box.
Do the below steps to link an unassigned attribute to the newly created Group box.
In the right editor pane, select any one of the unassigned attributes.
Once done, click on File to see an option called Save.
Run the below command to populate this value to any user via GAL.

Note: By default, this new value will not be created for any user and displayed in the GAL. We need to run the above command for the users to display this value in the GAL.
Now we can see this value is populated for the user we have set. This value will be displayed in Outlook when we see the properties of this user and new value Block with the value B will be displayed.

We can edit details template using Exchange Management Shell as well.
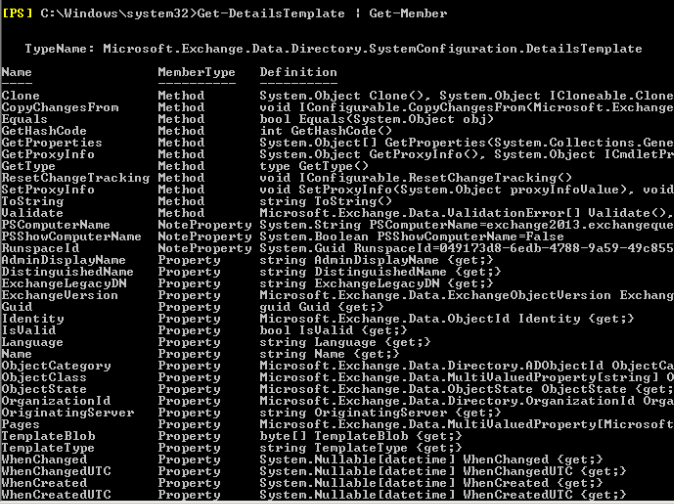
We can use the below command to see the accepted property types in details template.
Get-DetailsTemplate | Get-Member
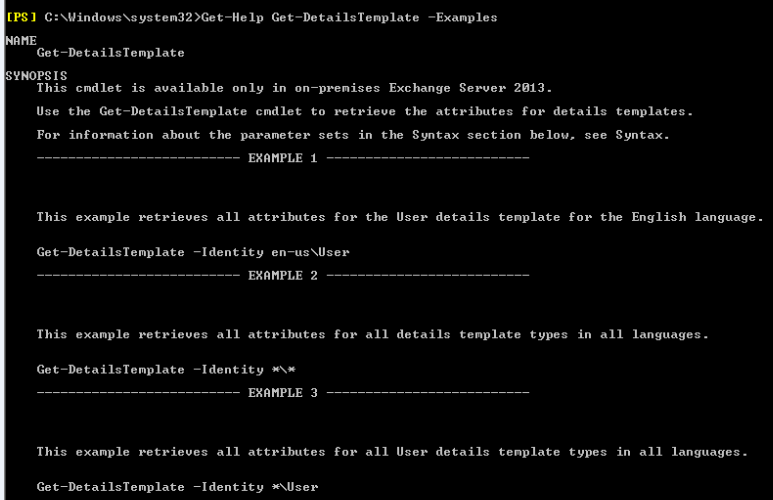
We can run the below commands to see the examples.
Get-DetailsTemplate - Examples
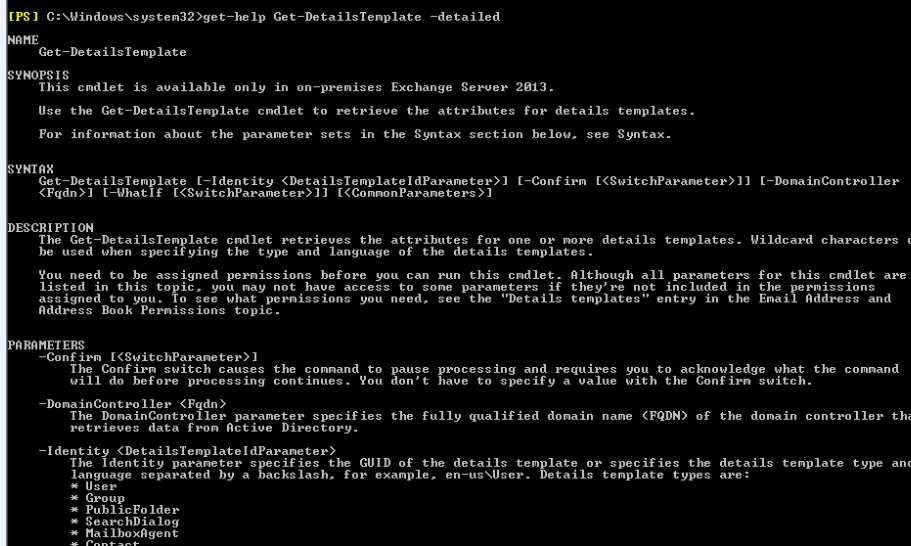
To get the detailed information we can use the below parameter as well.
Get-Help Get-DetailsTemplate –Detailed
It’s better to use the Exchange Toolbox for creating a new details template since there are multiple attributes involved and Details Template Editor is much more user-friendly. We can use Exchange Management Shell to modify or add any entries for users in the custom attributes assigned.
We are done with creating custom entries for objects using details template editor.