Getting Started With Cloud App Discovery
Cloud App Discovery is a feature of Azure Active Directory.
Azure Active Directory is a service that provides comprehensive identity and access management capabilities in the cloud.
It combines directory services, advanced identity governance, application access management and a rich standards-based platform for developers.
Cloud App Discovery is available in the Premium edition of Azure Active Directory.
To get started with Activity Directory Premium, follow these steps.
Step 1: Signing-up for the service
Sign in to the Azure Portal with your organizational account.
On the left pane, click Browse, and then click Marketplace.

In the Marketplace, search for Cloud App Discovery.

On the Cloud App Discovery blade that opens up, click Create.

Note
To access Cloud App Discovery, you need to have an Azure Active Directory subscription enabled and the user needs to have a license assigned.
You will get the option to pin the Cloud App Discovery tile to the Azure Preview Portal Dashboard.
Step 2: Getting data into the dashboard
The first time you access Cloud App Discovery, click the Quickstart icon on the top of the blade, to open up the Quickstart blade.
To open the Manage Agent blade, on the Quickstart blade, click Download Agent.

Click Download to download the agent.

Extract the contents of the zip file and click the install.
Note
Installing the agent takes less than a minute.
- To verify the install, run services.msc and look for a service called Microsoft Cloud App Discovery Endpoint Agent.
As you start accessing different cloud applications, you will be able to see the information show up in the dashboard.
The longer the agents run, the more information is collected.
To discover applications in use across the organization, deploy the agent on all machines in your organization.
You can use any software distribution scheme you already have in place (like SCCM), to distribute the endpoint agent.
Please see Deployment Considerations for more details.
Step 3: Exploring the Cloud App Discovery dashboard
As you start seeing data for your organization, you will notice tiles for applications discovered, users discovered, and agents deployed.
Over the time, when you increase the number of deployed agents.the number of applications discovered will probably grow.
You can click on:
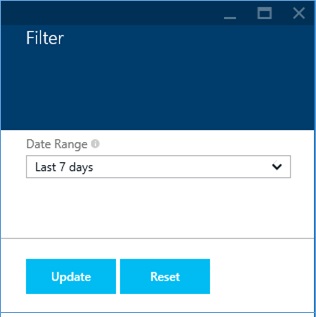
- The Filter button on the top of the page to adjust the date range for which you would like to see data.
- Each of the charts to explore details.
At the top of the dashboard you will see links to the Settings and Quickstart blades.
The Settings blade provides options for agent management, access management, data collection, and data storage.

Applications Discovered
When you click the applications tile on the dashboard, it opens the Applications blade.
The Applications blade provides a list of applications discovered, along with details listed below.
- Category (collaboration, productivity, HR etc.). The full of list of categories can be found here.
- Status (whether the application is managed or un-managed)
- Number of users
- Number of web requests
- Data volume
- Date last accessed

You can use the Search bar to search for specific applications, or click on the Filter icon to filter applications by date range and category type.

Per-Application Details
You can click on an application from the list in the Applications blade to get detailed information on users who accessed the application. You will notice three graphs that represent users, data volume, and web requests over time. Under each graph, you will see a total number (for example, under the users’ graph, a total number of users) as well as the percentage of users using this application relative to the overall organization.
If an application is un-managed, then a recommendation box will be displayed that provides a link to instructions to integrate the application with Azure Active Directory.
You can also click on the Manage icon to do the same. Integrating an application allows single sign-on for users, and gives IT more control over applications.

Click on the Filter icon to change the date range for which you want to see data.
Click on a graph to get detailed information on users, including usernames and machines that accessed the application. This data can also be downloaded by clicking on Download Report.

Managing Cloud App Discovery Agents
You can access agent setting by clicking on Manage Agent in the Settings blade.
By default automatic updates are enabled and deep inspection is enabled.
To read more about deep inspection, check out the Security and Privacy article.
Managing Access to Cloud App Discovery
By default, only Global Admins can access Cloud App Discovery.
To give access to other users in your organization, go to Settings and then click on Manage Access.
Click Add and select the required user or group from your organization.

Privacy and Data Collection
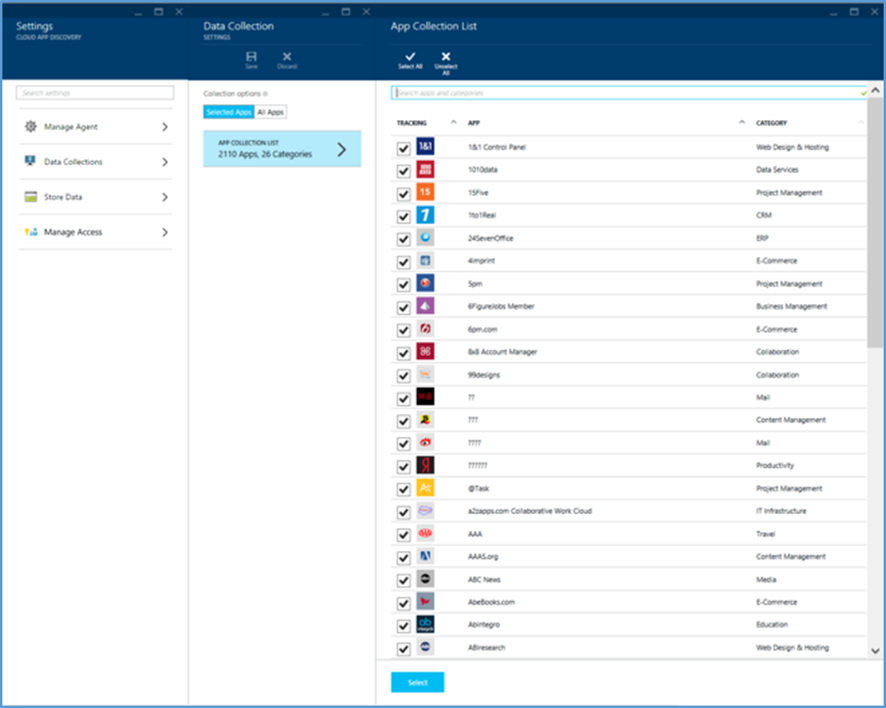
In order to respect users’ privacy, data collection in Cloud App Discovery can be controlled and restricted to specific categories and applications. Select Data Collection from the Settings blade and choose the applications that you want to collect data on.
Storing and Accessing Data
Cloud App Discovery data can be stored in Azure Storage.
Note
Data will only be stored after this option has been turned on
Click on Store Data in the Settings blade.
You can either specify an existing Azure Storage account or create a new account.
You can learn more about storing and accessing data from Azure Storage here.

See Also