Azure: Link Your MySQL Database To Azure Virtual Machine And WordPress
Introduction
This article explains how you can link your existing MySQL database to a Azure virtual machine and configure in wordpress. Once your database and wordpress website id ready you can go ahead and link your DB to wordpress and axure virtual machine. If you need to back up and restore your clear dbMySQL database in a virtual machine in Azure, I suggest you to read Back Up your ClearDB and restore in Azure. If you are new to azure virtual machine, I strongly recommend you to read here: Create Virtual Machine In Azure. You can also find how to install MySQL in Azure Virtual Machine here Install MySQL in Azure .
If you are new to azure, I recommend you to read here: Azure
Background
I was being limited to use only 20 MB size since one of the MSDN subscription was providing me ClearDB. So I thought of creating a virtual machine and install MySQL. Then I restored my previous Database to my new Database. Here in this article, I will share you the steps to link the database you created to azure virtual machine and wordpress.
Steps to Back Up your ClearDB and restore
Login to your azure portal https://manage.windowsazure.com
Login to your Azure Virtual Machine
Hope you have already installed MySQL in your Virtual Machine. If so, we are ready to go.
First thing we need to do is to add the end points in our Azure virtual machine. To do so you need to follow the below steps.
Add end points in Azure virtual machine
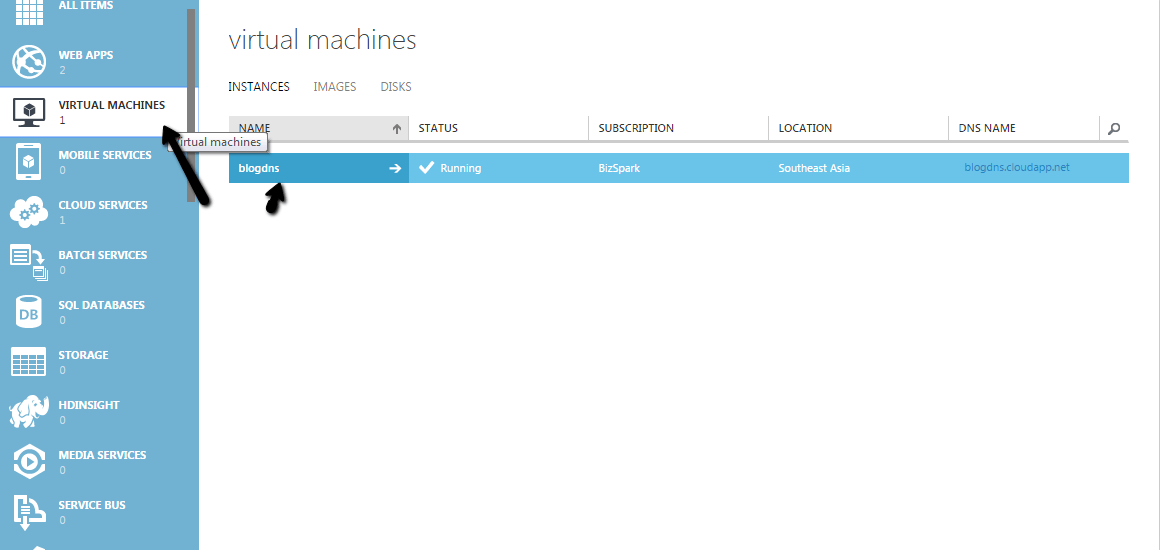
Go to your virtual machine in azure management portal.
http://sibeeshpassion.com/wp-content/uploads/2015/09/Back_Up_your_ClearDB_and_restore_in_Azure_Virtual_Machine_MySQL15-1024x486.png
Now click on the end points as shown in the preceding image.
http://sibeeshpassion.com/wp-content/uploads/2015/09/Back_Up_your_ClearDB_and_restore_in_Azure_Virtual_Machine_MySQL16-e1443070554867.png
Click on the add option in the footer area.
http://sibeeshpassion.com/wp-content/uploads/2015/09/Back_Up_your_ClearDB_and_restore_in_Azure_Virtual_Machine_MySQL17-1024x59.png
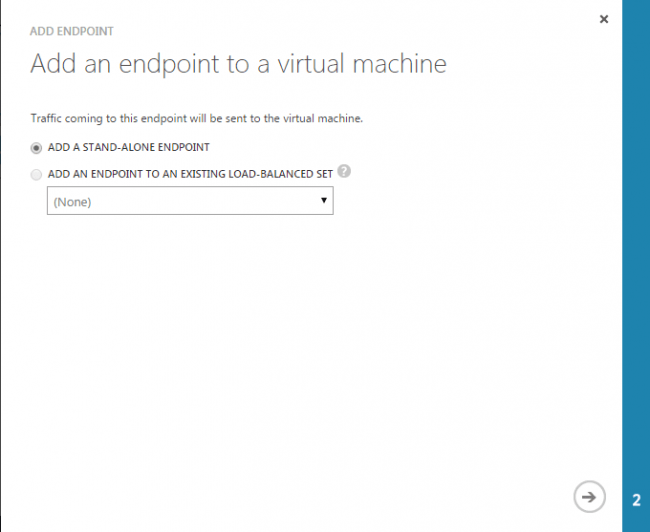
Now you will be getting a pop up, in that please click on the Add standalone end points.
http://sibeeshpassion.com/wp-content/uploads/2015/09/Back_Up_your_ClearDB_and_restore_in_Azure_Virtual_Machine_MySQL18-e1443070721887.png
In the given area, please select MySQL as name and TCP as protocol. Port should be the one we did it while configuring the MySQL. For example 3306. I suggest you to do not edit in that area.
http://sibeeshpassion.com/wp-content/uploads/2015/09/Back_Up_your_ClearDB_and_restore_in_Azure_Virtual_Machine_MySQL19-e1443070904219.png
Click on the tick icon once you have made entry for the required fields. Then you can see the progression and once it is completed, you will get a message as follows.
http://sibeeshpassion.com/wp-content/uploads/2015/09/Back_Up_your_ClearDB_and_restore_in_Azure_Virtual_Machine_MySQL20-1024x111.png
So we have successfully created the end points for our virtual machine MySQL. The next step is, to change some settings in the firewall in our virtual machine. Please do this with some care. It is very much important.
Setting the firewall configuration in Azure virtual machine
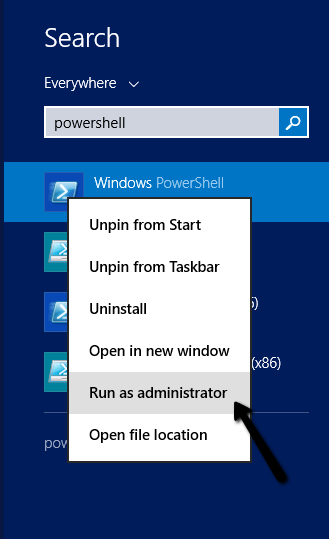
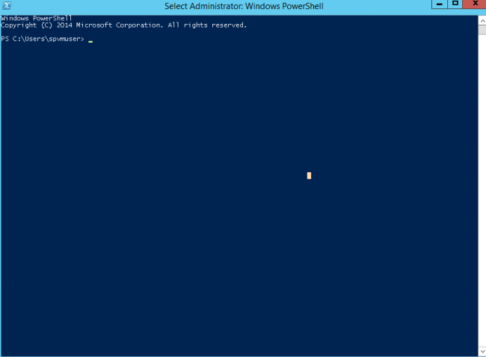
Go to the start menu and type power shell. You will be given some search results.
http://sibeeshpassion.com/wp-content/uploads/2015/09/Back_Up_your_ClearDB_and_restore_in_Azure_Virtual_Machine_MySQL21.png
Now you can see a command window with the name of logged in user as shown in the preceding image.
http://sibeeshpassion.com/wp-content/uploads/2015/09/Back_Up_your_ClearDB_and_restore_in_Azure_Virtual_Machine_MySQL22-e1443071556733.png
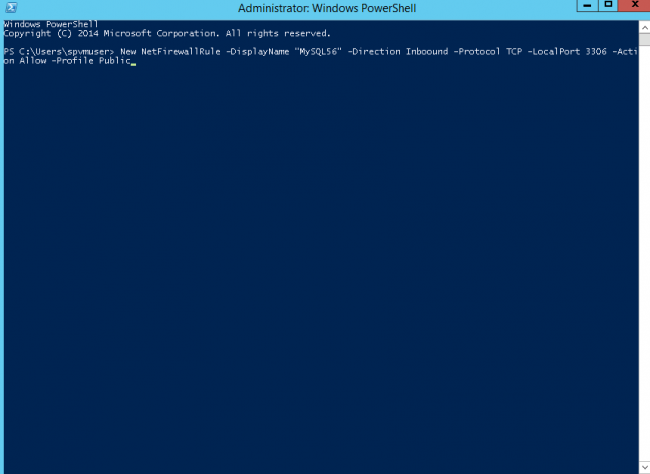
The next step is a bit complex one. You need to enter a complex command which is shown here.
http://sibeeshpassion.com/wp-content/uploads/2015/09/Back_Up_your_ClearDB_and_restore_in_Azure_Virtual_Machine_MySQL23-e1443071662673.png
For your convenience I am giving the command as below.
| 1 | New-NetFirewallRule -DisplayName "MySQL56" -Direction Indound -Protocol TCP -LocalPort 3306 -Action Allow -Profile Public |
You can type the command as shown below.
http://sibeeshpassion.com/wp-content/uploads/2015/09/Back_Up_your_ClearDB_and_restore_in_Azure_Virtual_Machine_MySQL24-e1443071814487.png
And if you do the above step correctly, I am sure you will be given a result as follows.
http://sibeeshpassion.com/wp-content/uploads/2015/09/Back_Up_your_ClearDB_and_restore_in_Azure_Virtual_Machine_MySQL25-e1443071893874.png
Now we need to change some settings in our wordpress configuration. As you all know the wordpress configuration is in the file called wp-config.php. So we are going to change the configuration in that file.
Changing the configuration to new settings in wordpress
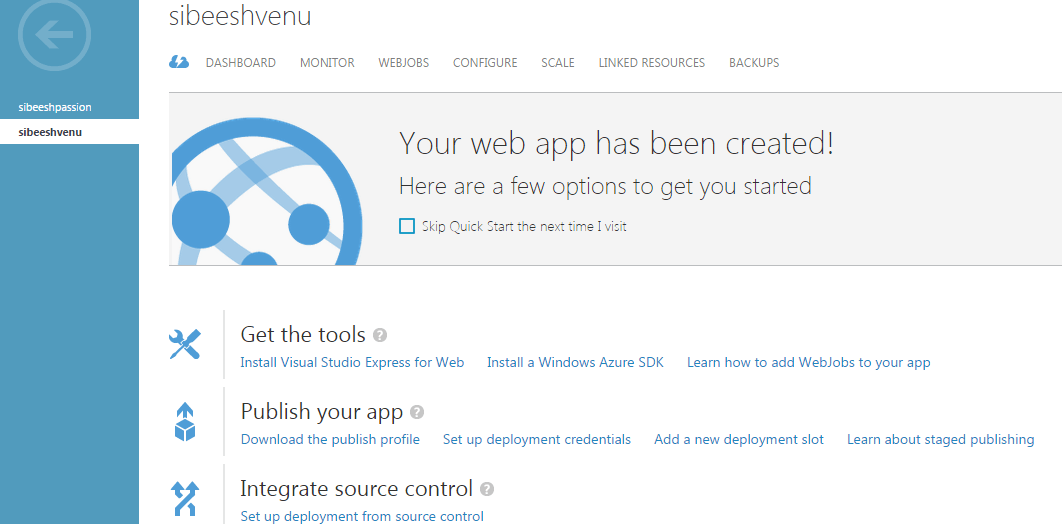
Again go to your manage azure page, click the web application you need to change the settings.
http://sibeeshpassion.com/wp-content/uploads/2015/09/Back_Up_your_ClearDB_and_restore_in_Azure_Virtual_Machine_MySQL26-1024x505.png
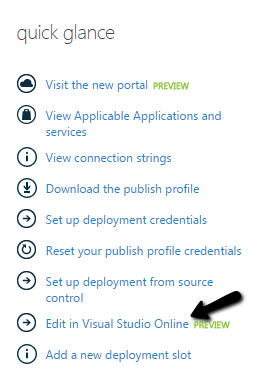
Now go to the dashboard and click on edit in visual studio on-line.
http://sibeeshpassion.com/wp-content/uploads/2015/09/Back_Up_your_ClearDB_and_restore_in_Azure_Virtual_Machine_MySQL91.png
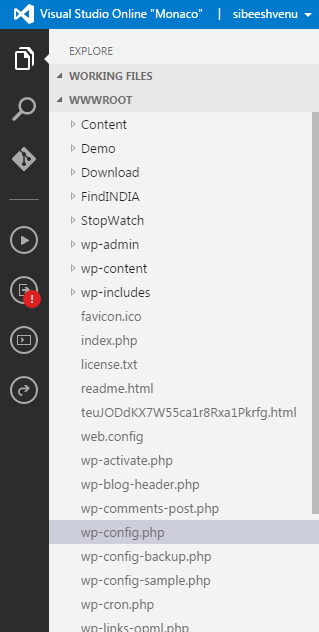
You can see your wordpress files now. Click on the wp-config.php.
http://sibeeshpassion.com/wp-content/uploads/2015/09/Back_Up_your_ClearDB_and_restore_in_Azure_Virtual_Machine_MySQL27.png
It is always better to take a back up or copy of the wp-config.php, so that you can revert back to your clearDB configuration whenever you want. I strongly recommend you to do this step.
http://sibeeshpassion.com/wp-content/uploads/2015/09/Back_Up_your_ClearDB_and_restore_in_Azure_Virtual_Machine_MySQL28.png
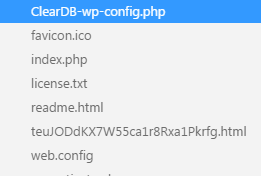
You can rename the pasted file, just right click on the file and click rename.
http://sibeeshpassion.com/wp-content/uploads/2015/09/Back_Up_your_ClearDB_and_restore_in_Azure_Virtual_Machine_MySQL29.png
As you can see in the below image, I have given the name as ClearDB-Wp-Config.php.
http://sibeeshpassion.com/wp-content/uploads/2015/09/Back_Up_your_ClearDB_and_restore_in_Azure_Virtual_Machine_MySQL30.png
Open your wp-config.php and change the MySQL host name.
http://sibeeshpassion.com/wp-content/uploads/2015/09/Back_Up_your_ClearDB_and_restore_in_Azure_Virtual_Machine_MySQL31-e1443072600781.png
Now add the port number in the host name because it listen that port.
http://sibeeshpassion.com/wp-content/uploads/2015/09/Back_Up_your_ClearDB_and_restore_in_Azure_Virtual_Machine_MySQL32-e1443072686568.png
Please do not forget to change the database name, user name , password too.
Now I am sure your blog with new MySQL database will be running . Keep blogging. Cheers!.
Conclusion
Did I miss anything that you may think which is needed?.Have you ever tried virtual machine in azure?. If not, I strongly recommend that. So we have successfully configured our new MySQL database to the Azure virtual machine and wordpress. We have also done the firewall changes needed in virtual machine. I hope you liked this article. Please share me your valuable suggestions and feedback.
A blog isn’t a blog without comments, but do try to stay on topic. If you have a question unrelated to this post, you’re better off posting it on C# Corner, Code Project, Stack Overflow, Asp.Net Forum instead of commenting here. Tweet or email me a link to your question there and I’ll definitely try to help if I am able to.