Linux Virtual Machine in Azure using Command Line Interface
Introduction
This article will get you up and running quickly with a Linux Virtual Machine in Azure using only the Azure Command Line Interface (CLI)
Prepare Your Workstation
The Azure CLI is written in JavaScript, and requires Node.js .
Install Azure CLI.
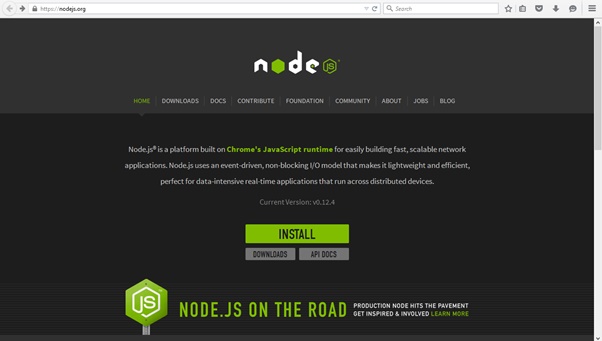
Go www.nodejs.org download node.js and npm, Click on setup and install it.
In cmd enter this command
npm install azure-cli -g
npm -v
OR
npm install -g azure-cli
Prepare Azure
After successful installation Command OK found
Now make sure you're in the resource management mode by typing command
azure config mode arm
Now log in with your work or school id to make that ID follow this step https://azure.microsoft.com/en-in/documentation/articles/resource-group-create-work-id-from-personal/
Create your Azure VM - Type
azure group create <my-group-name> westus replacing <my-group-name>
with a group name that's unique to you (you can use a different region if you want).
Command
azure provider register Microsoft.Storage
than
azure provider register Microsoft.Network
Create Your Azure VM
Now create your VM by typing
azure vm quick-create
and you'll receive prompts to input the remaining parameters. Use the name of the resource group that you just created, above, and for the ImageURN value, use canonical:ubuntuserver:14.04.2-LTS:latest


Attach and Mount a Disk
Attaching a new disk is quick. Just type azure vm disk attach-new <myuniquegroupname> <myuniquevmname> <size-in-GB> to create and attach a new GB disk for your VM.
Command
azure vm attach-new <myuniquegroupname> <myuniquevmname><size-in-GB>