Panels (Stackpanel/Wrappanel/Dockpanel) in WPF:
In this article, we will be dealing with the different panels of WPF such as Stackpanel, Wrappanel and Dockpanel.
Prerequisites:
- Visual Studio 2013 with Update 4 or Visual Studio 2015
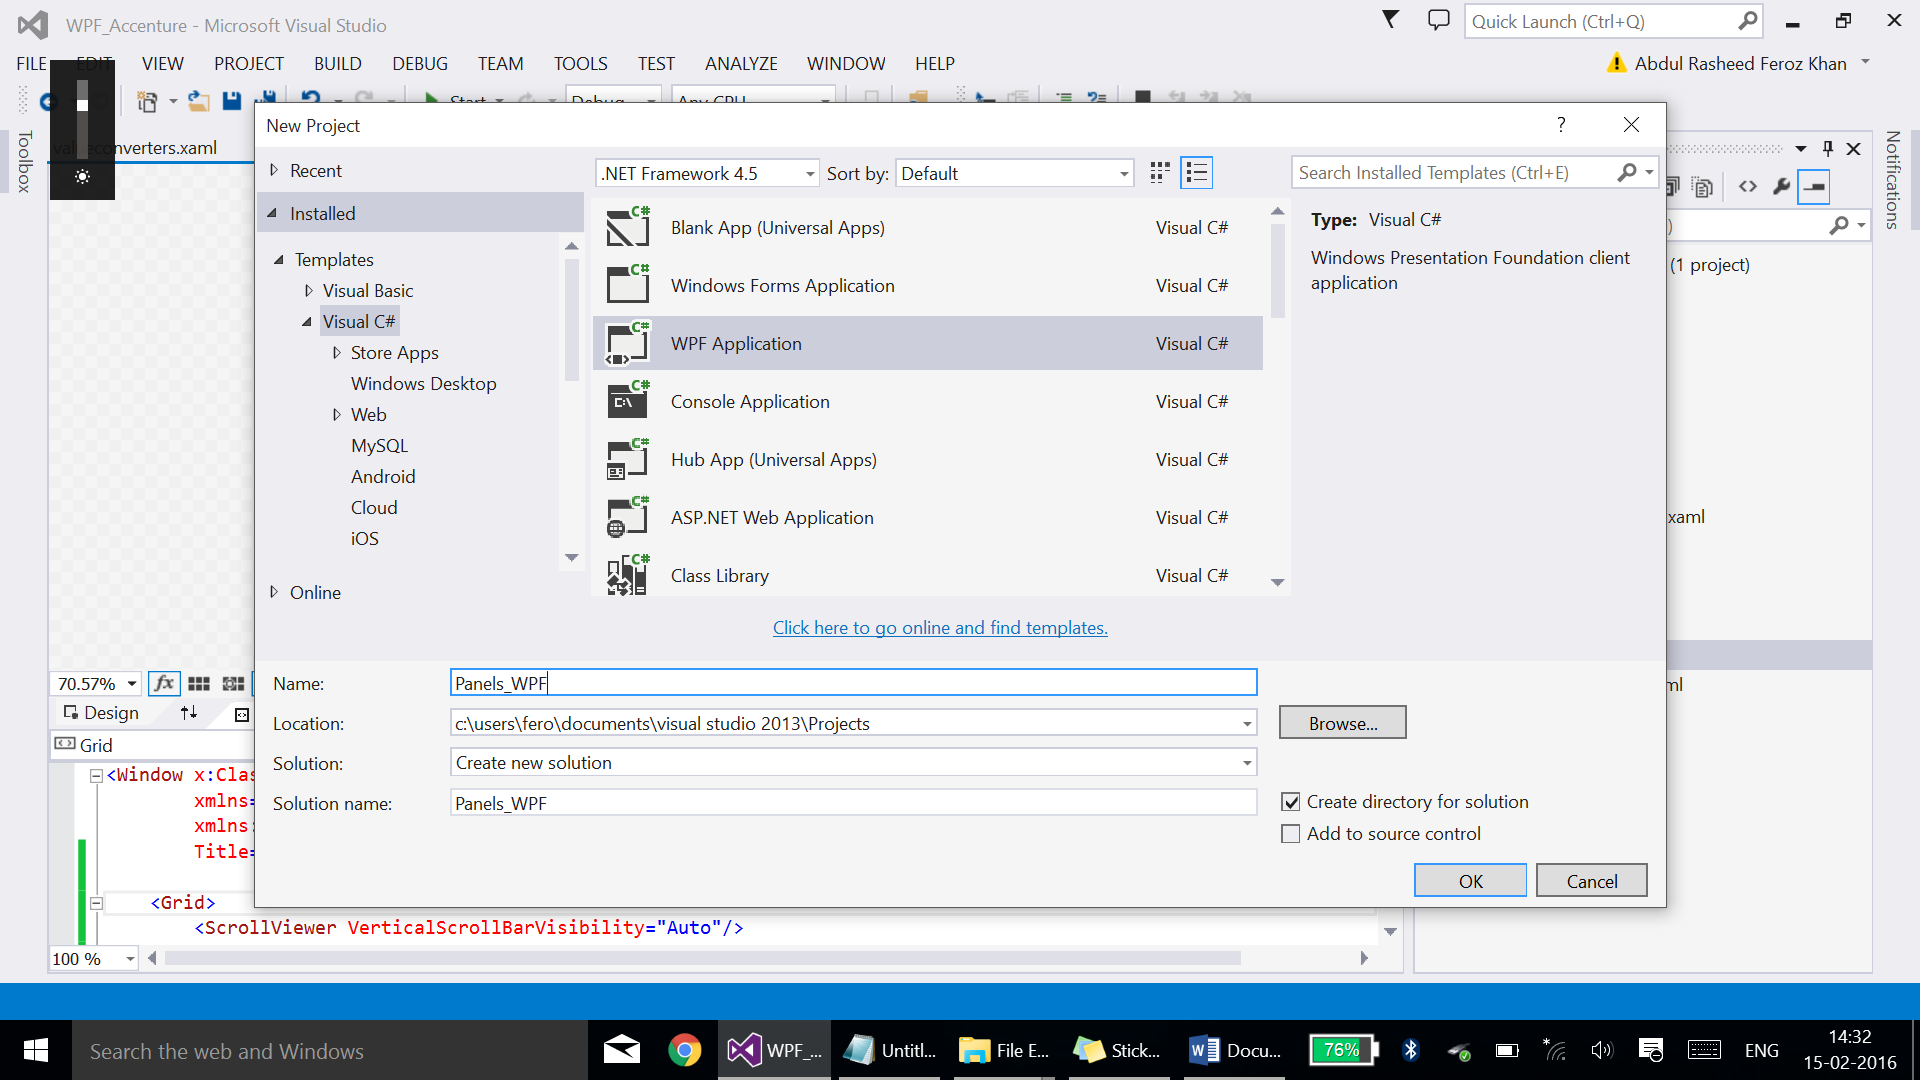
Step 1:
Create an empty WPF project using Visual Studio, enter the name of the application and click OK.
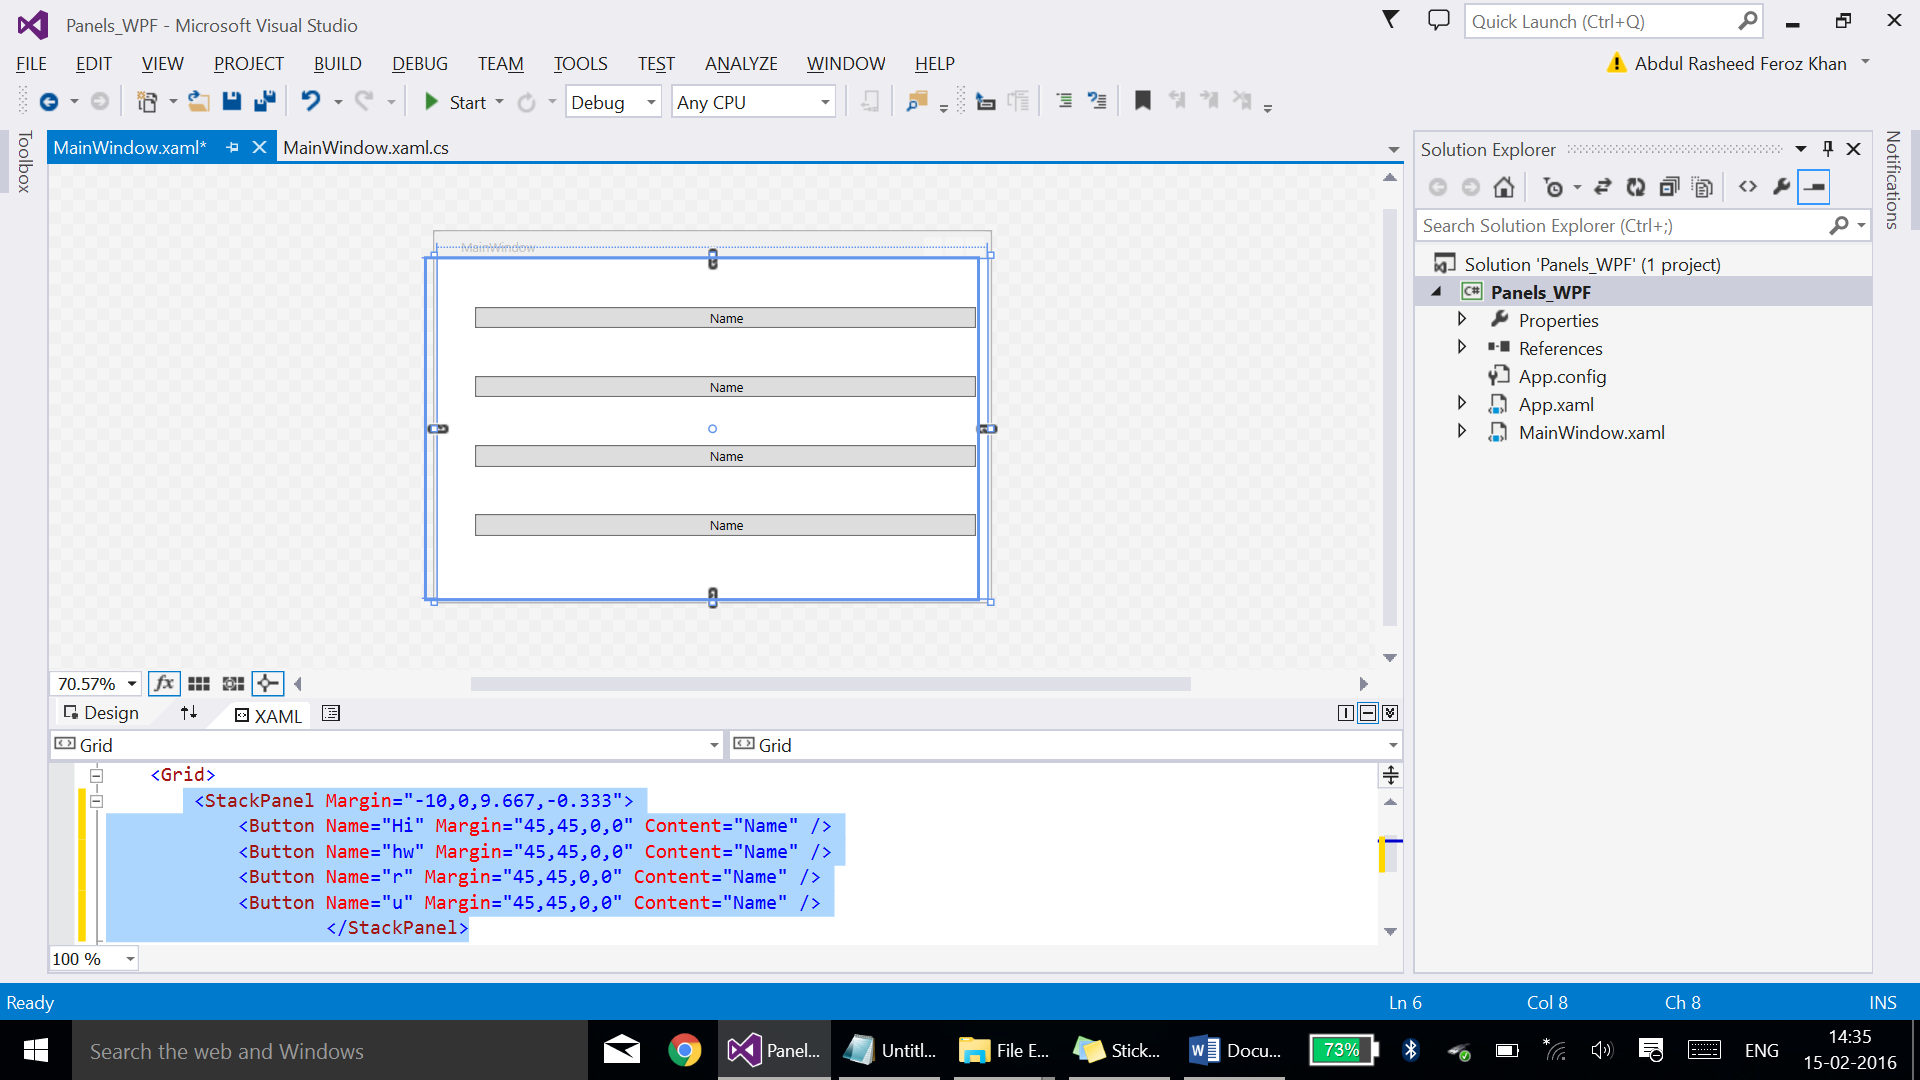
Step 2:
Add elements with help of Stackpanel.
Code:
<StackPanel Margin="-10,0,9.667,-0.333">
            <Button Name="Hi" Margin="45,45,0,0" Content="Name" />
            <Button Name="hw" Margin="45,45,0,0" Content="Name" />
            <Button Name="r" Margin="45,45,0,0" Content="Name" />
            <Button Name="u" Margin="45,45,0,0" Content="Name" />
                    </StackPanel>
Code of MainWindow.xaml:
<Window x:Class="Panels_WPF.MainWindow"
        xmlns="http://schemas.microsoft.com/winfx/2006/xaml/presentation"
        xmlns:x="http://schemas.microsoft.com/winfx/2006/xaml"
        Title="MainWindow" Height="350"  Width="525">
    <Grid>
        <StackPanel Margin="-10,0,9.667,-0.333">
            <Button Name="Hi" Margin="45,45,0,0" Content="Name" />
            <Button Name="hw" Margin="45,45,0,0" Content="Name" />
            <Button Name="r" Margin="45,45,0,0" Content="Name" />
            <Button Name="u" Margin="45,45,0,0" Content="Name" />
                    </StackPanel>
    </Grid>
</Window>
** **
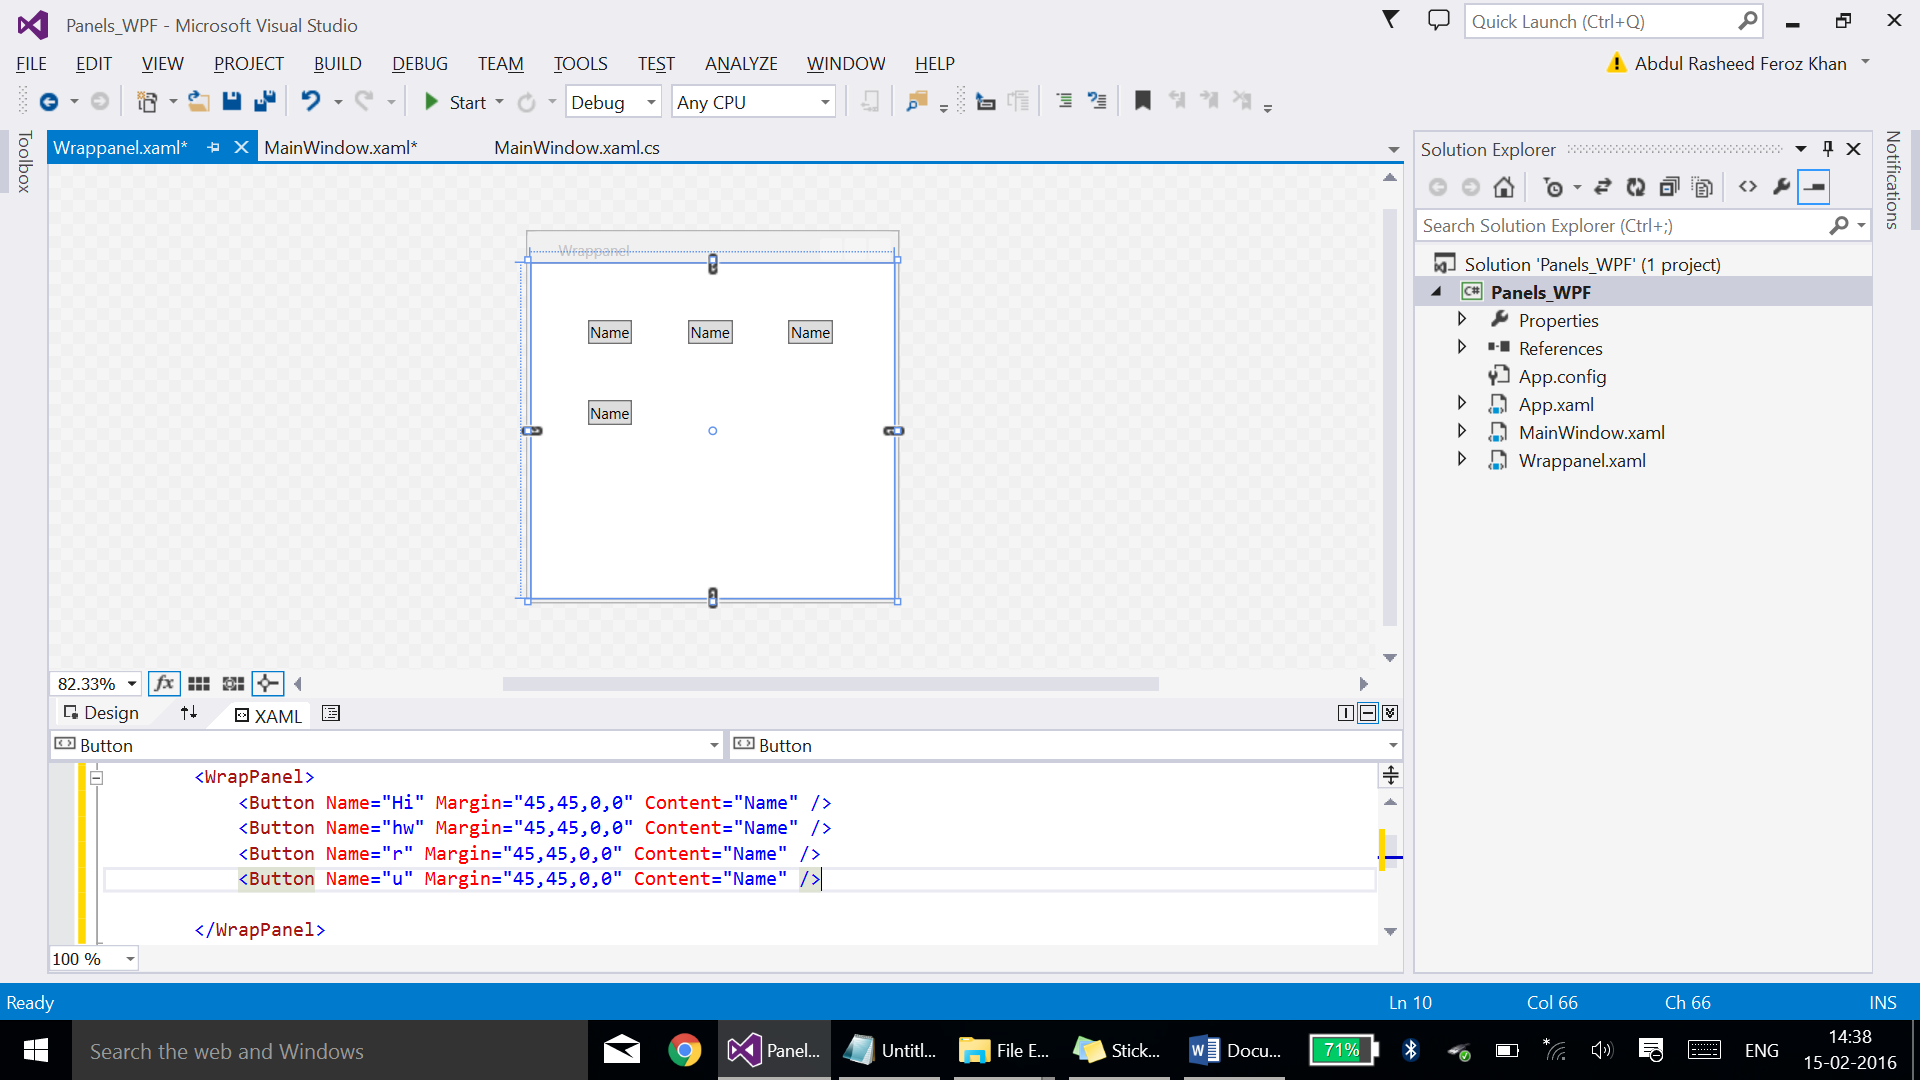
Step 3:
Add a new window by right-clicking the solution name and name it as Wrappanel.xaml for Wrappanel
Code of Wrappanel.xaml:
<Window x:Class="Panels_WPF.Wrappanel"
        xmlns="http://schemas.microsoft.com/winfx/2006/xaml/presentation"
        xmlns:x="http://schemas.microsoft.com/winfx/2006/xaml"
        Title="Wrappanel" Height="300" Width="300">
    <Grid>
        <WrapPanel>
            <Button Name="Hi" Margin="45,45,0,0" Content="Name" />
            <Button Name="hw" Margin="45,45,0,0" Content="Name" />
            <Button Name="r" Margin="45,45,0,0" Content="Name" />
            <Button Name="u" Margin="45,45,0,0" Content="Name" />

        </WrapPanel>

    </Grid>
</Window>
The window will be as such for wrappanel:
Step 4:
Now make the button at Mainwindow.xaml for Wrappanel to open this window using the following code:
Double-click the wrap panel button and write the following code at MainWindow.xaml.cs
Wrappanel p = new  Wrappanel();
            p.Show();
Code for MainWindow.xaml.cs:
using System;
using System.Collections.Generic;
using System.Linq;
using System.Text;
using System.Threading.Tasks;
using System.Windows;
using System.Windows.Controls;
using System.Windows.Data;
using System.Windows.Documents;
using System.Windows.Input;
using System.Windows.Media;
using System.Windows.Media.Imaging;
using System.Windows.Navigation;
using System.Windows.Shapes;

namespace Panels_WPF
{
    /// <summary>
    /// Interaction logic for MainWindow.xaml
    /// </summary>
    public partial  class MainWindow : Window
    {
        public MainWindow()
        {
            InitializeComponent();
        }

        private void  Hi_Click(object  sender, RoutedEventArgs e)
        {
            Wrappanel p = new  Wrappanel();
            p.Show();
        }
    }
}
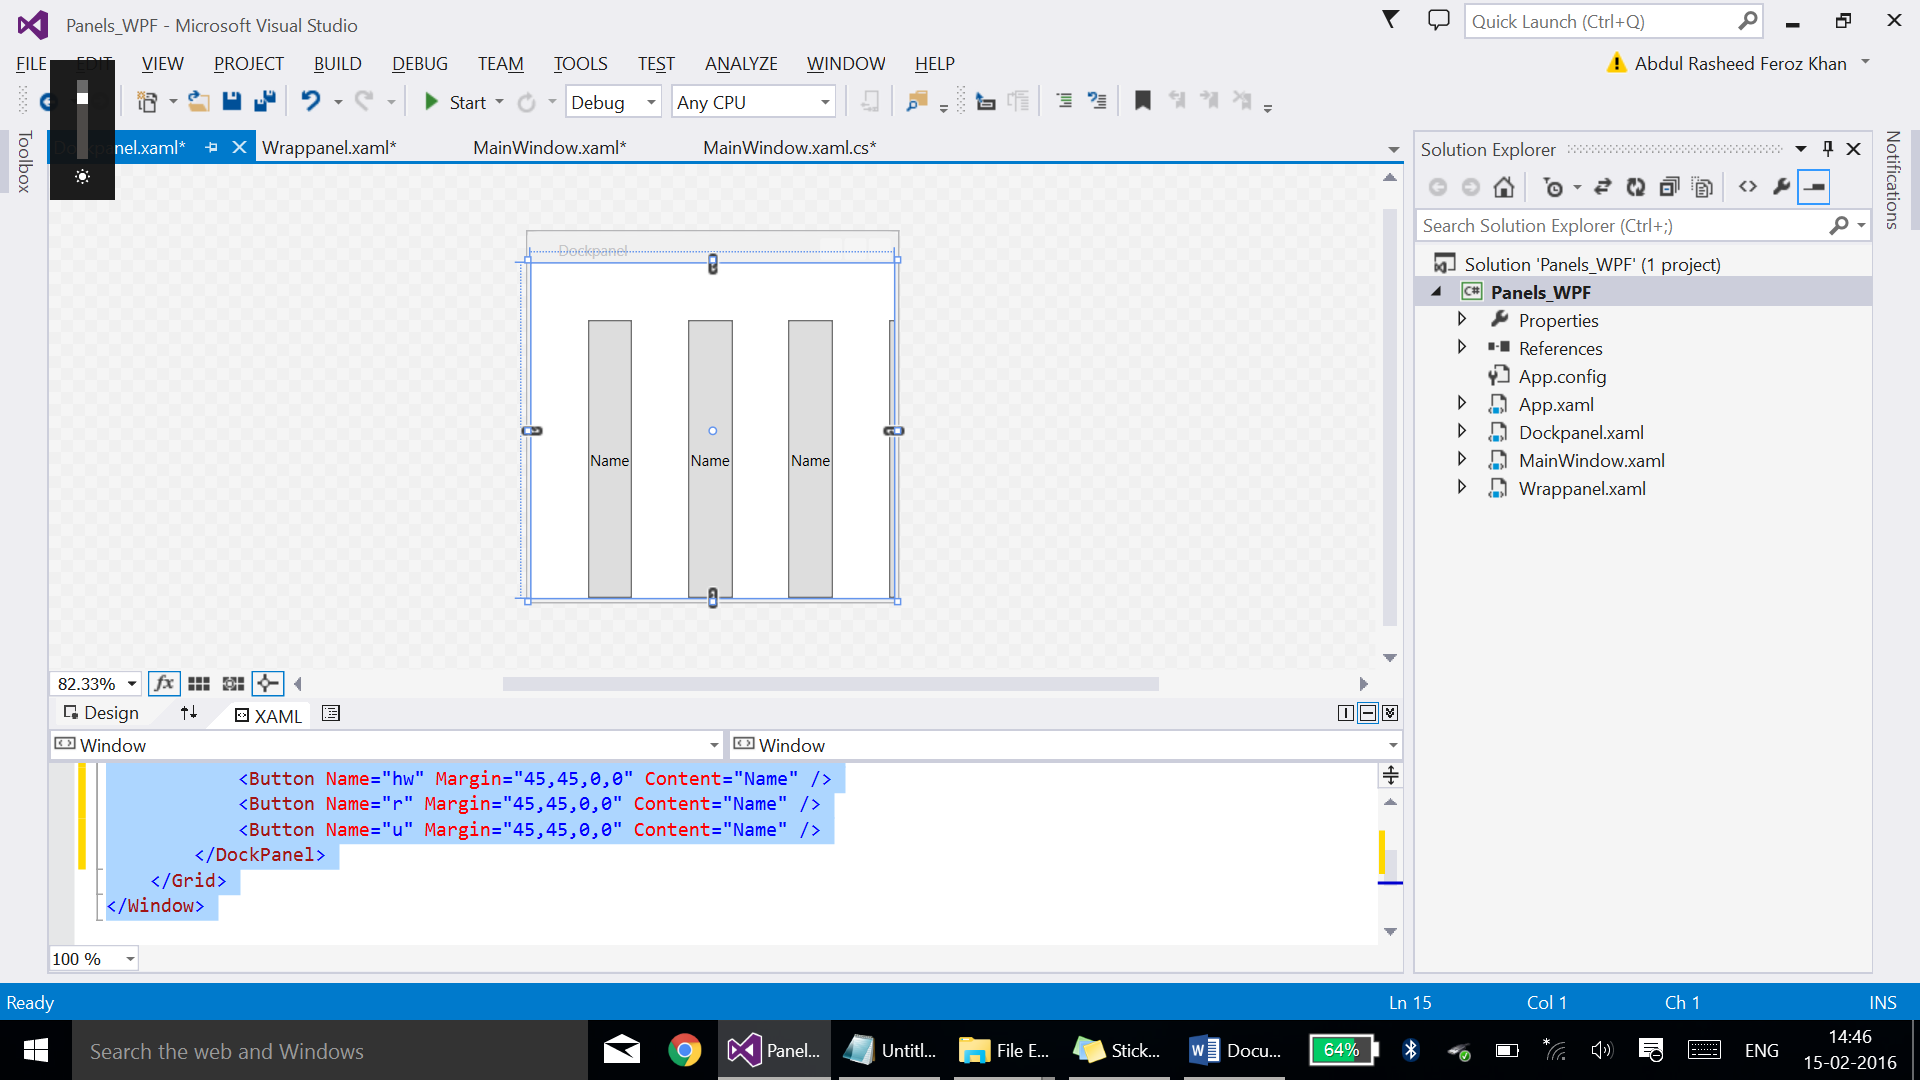
Step 05:
Create a new window as such for Dockpanel and place the elements within the grid using <Dockpanel></DockPanel>
The code should be:
<Window x:Class="Panels_WPF.Dockpanel"
        xmlns="http://schemas.microsoft.com/winfx/2006/xaml/presentation"
        xmlns:x="http://schemas.microsoft.com/winfx/2006/xaml"
        Title="Dockpanel" Height="300" Width="300">
    <Grid>

        <DockPanel>
            <Button Name="Hi" Margin="45,45,0,0" Content="Name" />
            <Button Name="hw" Margin="45,45,0,0" Content="Name" />
            <Button Name="r" Margin="45,45,0,0" Content="Name" />
            <Button Name="u" Margin="45,45,0,0" Content="Name" />
        </DockPanel>
    </Grid>
</Window>