Create FreeBSD Virtual Machine using Azure Marketplace
In this article, we will go step by step to create FreeBSD virtual machine from Azure Marketplace option. FreeBSD is a free Unix-like operating system descended from Research Unix via the Berkeley Software Distribution (BSD). Microsoft has invested in porting their virtualization support (Hyper-V) for FreeBSD. Hyper-V support is available for FreeBSD-9 through the ports tree, but starting with FreeBSD-10 support for Hyper-V is included in the main tree. Currently 10.3 of FreeBSD version available.
Azure VM guest agent also available for communication between FreeBSD Virtual Machine and Azure Fabric. With help, this can perform various operations such as provisioning virtual machine on first use and enabling functionality for selective virtual machine extensions.
Prerequisites
- Microsoft Azure Subscription (MSDN subscribers or sign up for one month free trial)
- PuTTY – free SSH or telnet client. Click here for setup
You will learn
- How to Create FreeBSD Virtual Machine
- Establish connection with FreeBSD image using PuTTy
Create FreeBSD VM
Step 1: Navigate to Azure Portal & sign in with Azure Credentials
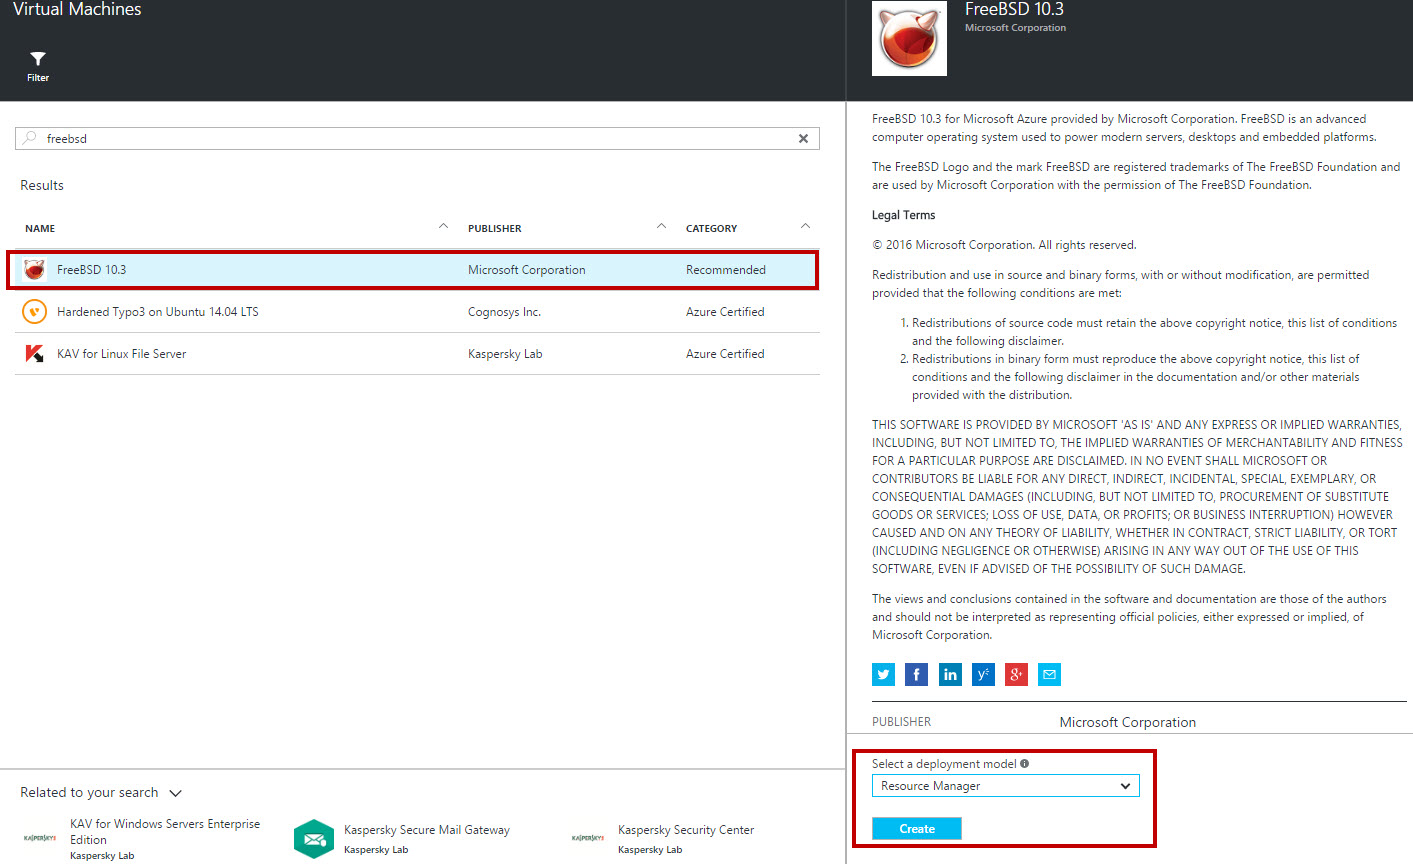
Step 2: Click + New -> Virtual Machine -> see all option -> search for “FreeBSD”

Step 3: Currently only FreeBSD 10.3 version available. So please select and also choose VM deployment model as “Resource Manager”.
Step 4: Enter VM Name, Username, Authentication type: Password or SSH public key, Subscription, Resource group and Location.

Step 5: Choose Virtual Machine size.

Step 6: Virtual Machine configuration features will open depending on requirement change configuration.

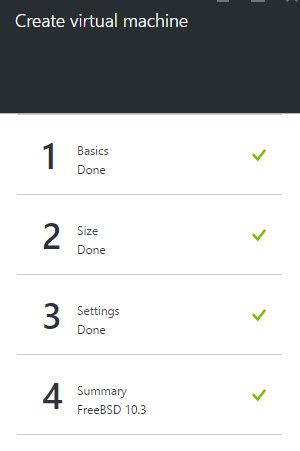
Step 7: Virtual Machine Summary blade will open.


Step 8: Start any SSH Client.
Run PuTTy and enter Hostname of FreeBSD Virtual Machine.

Step 9: Enter VM login Username and Password.


Congratulations you have successfully created FreeBSD Virtual Machine image on Microsoft Azure!