Create Virtual Machines in Azure and attach empty disk to it
Introduction:
Azure allows you to work with Virtual Machines like Linux, Windows Server, SQL Server, Oracle, IBM, SAP providing different supports with a large range of computing solutions, running applications, development, testing, etc., Here Azure also supports you to work with Open Source for your flexibility.
Requirements:
- Azure account
Follow the following steps to create VM and attach disk towards it:
Note: Here we will be using Windows Server
Step – 01:
Login to your Azure management portal by this URL - http://www.manage.windowsazure.com
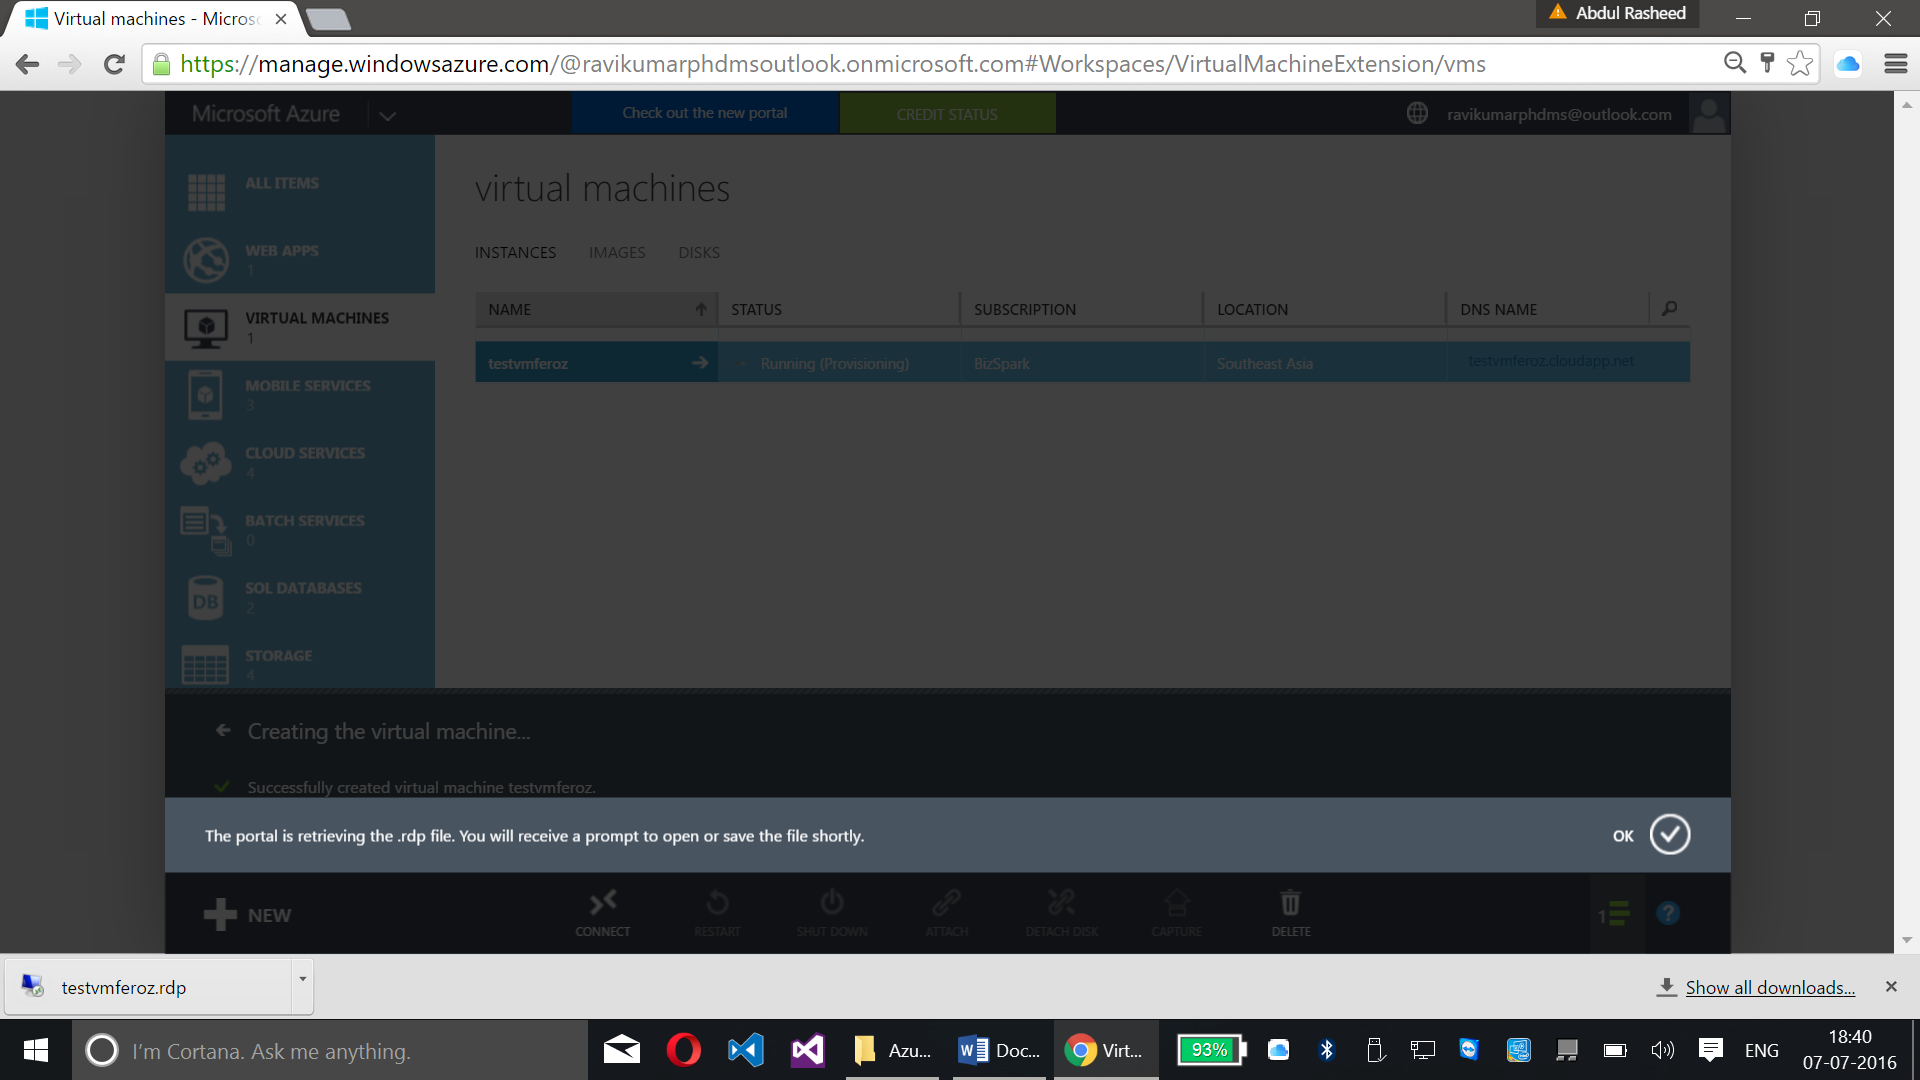
Step – 02:
Create a VM (Windows Server 2012)

Step – 03:
Now download the remote desktop connectivity file and connect to the VM – Windows Server 2012
Note: Make sure that there is no proxy added to your internet connectivity.
Click on the RDP file and connect
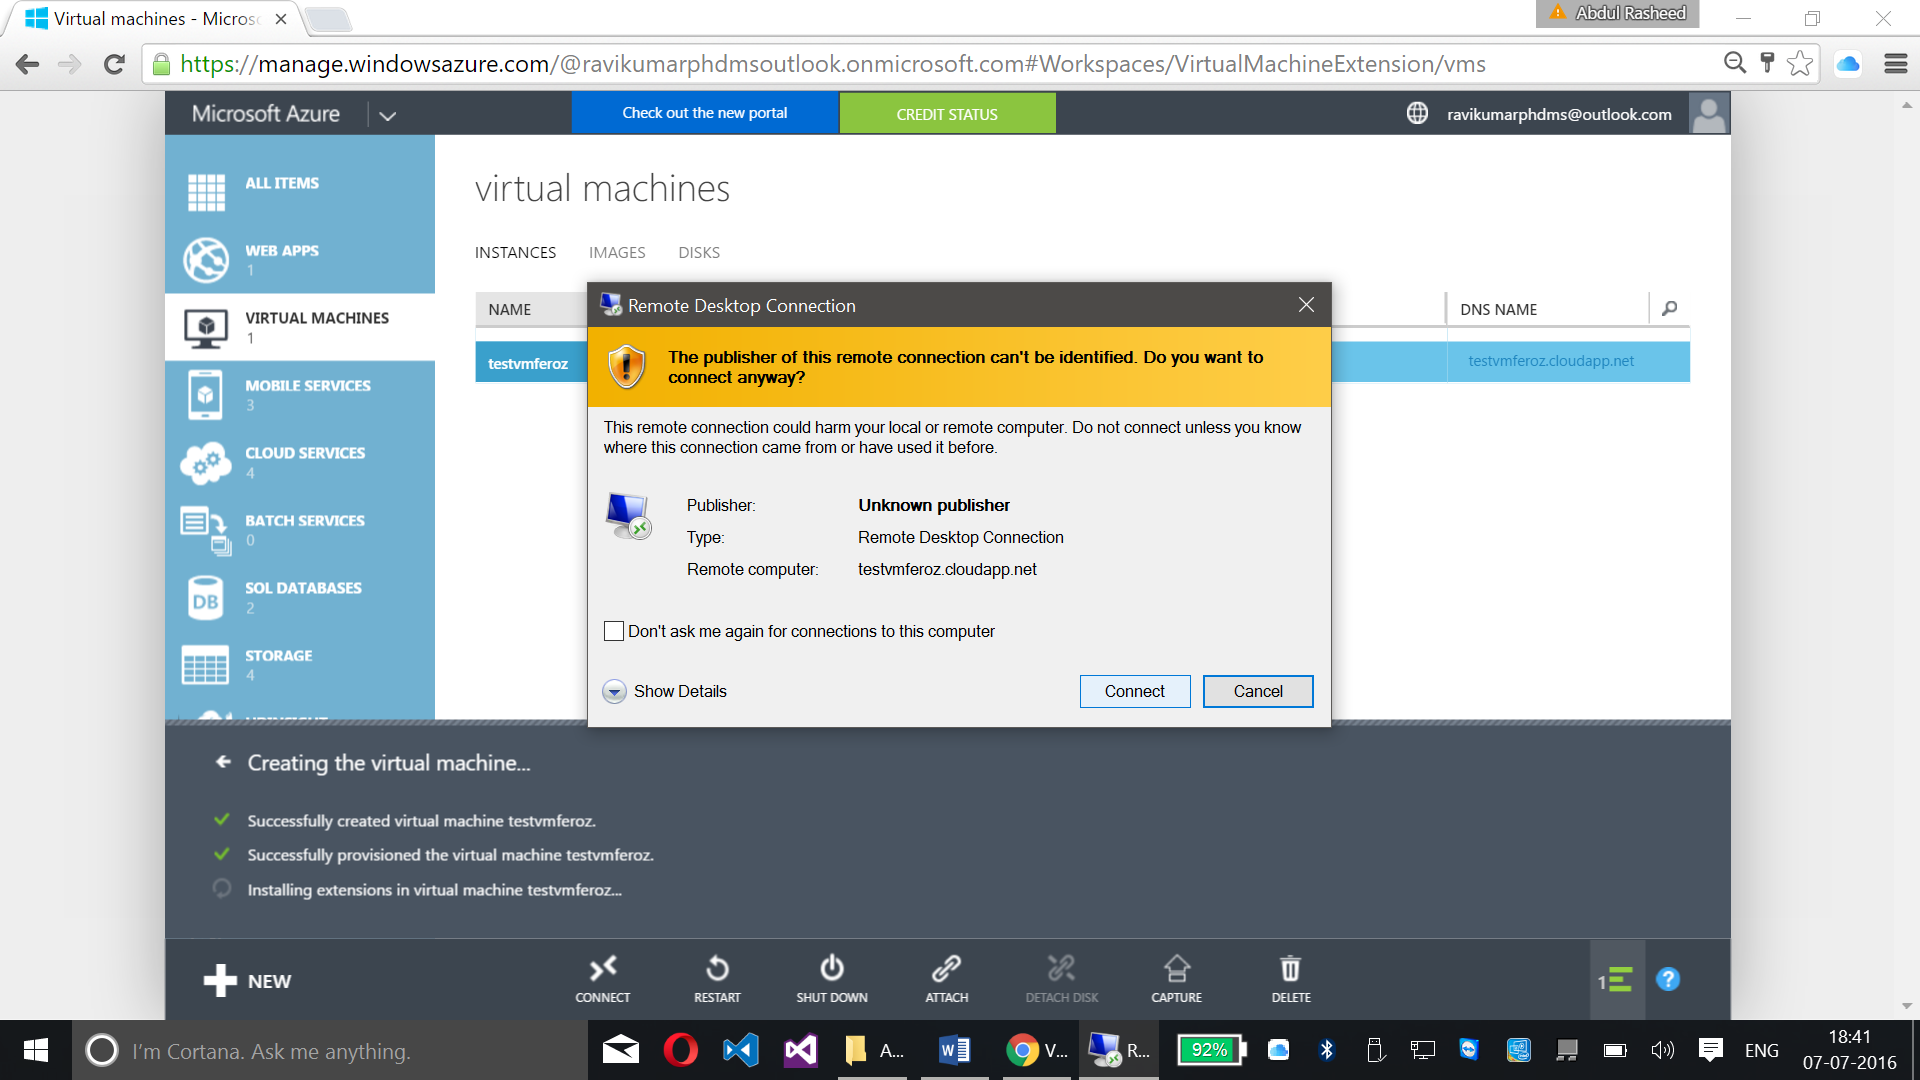
Enter the login credentials now


Once your VM is connected, the Server Manager will be opened automatically

Now the VM is created
Let’s start working on attaching disks to the VM created
Attaching Disks to Virtual Machines:
Step – 04:
Goto the Azure Management portal and click on Attach -> Attach Empty Disk

Step – 05:
Now enter the size that you want for the disk to be attached, here we have added 5 GB

Once the disk is attached go to the Server Manager in the VM created
Server Manager -> File and Storage Services -> Disks

Here you can find the Disk created
Step – 06:
Server Manager ->Tools -> Computer Management

Step – 07:
Click on Disk Management
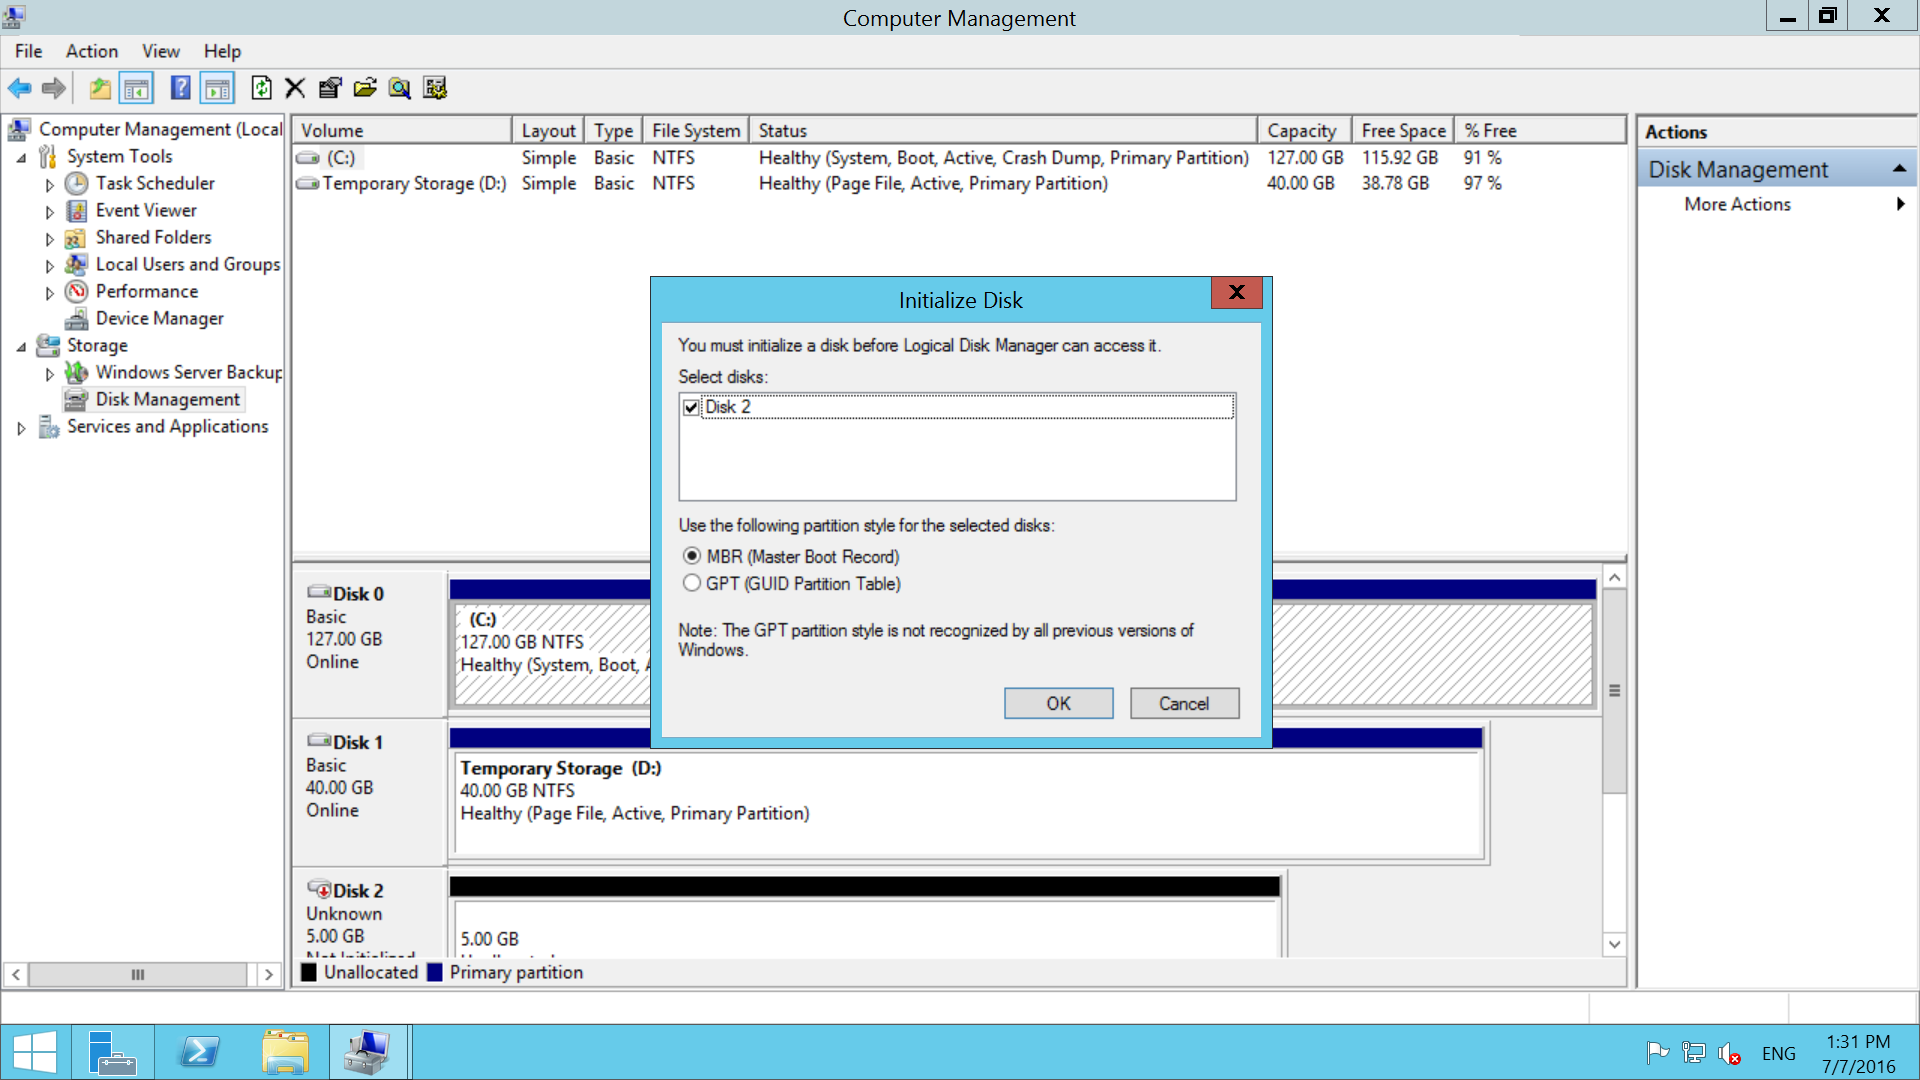
Click OK
Step – 08:
Go to New Simple Volume by Right Clicking on Disk 2


Step – 09:
Next -> Allocate the Volume size -> Drive Letter -> File System


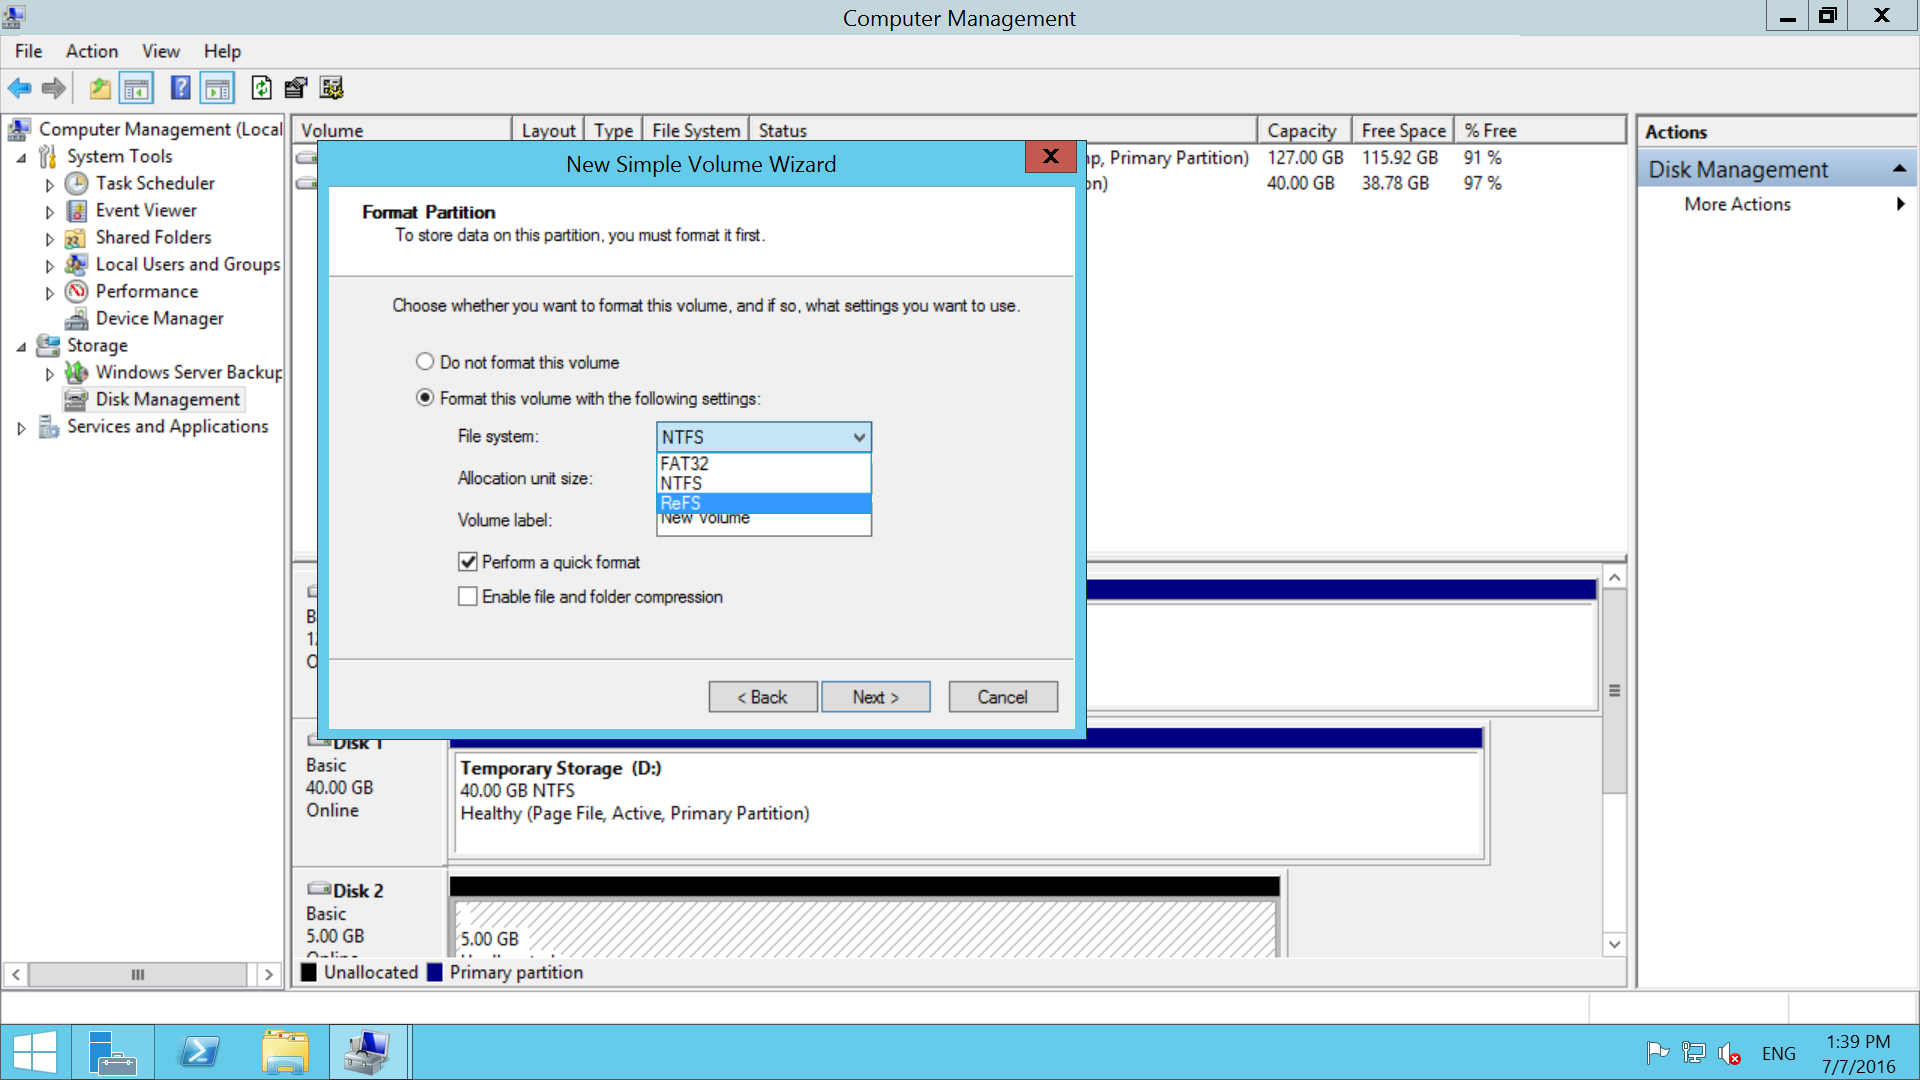
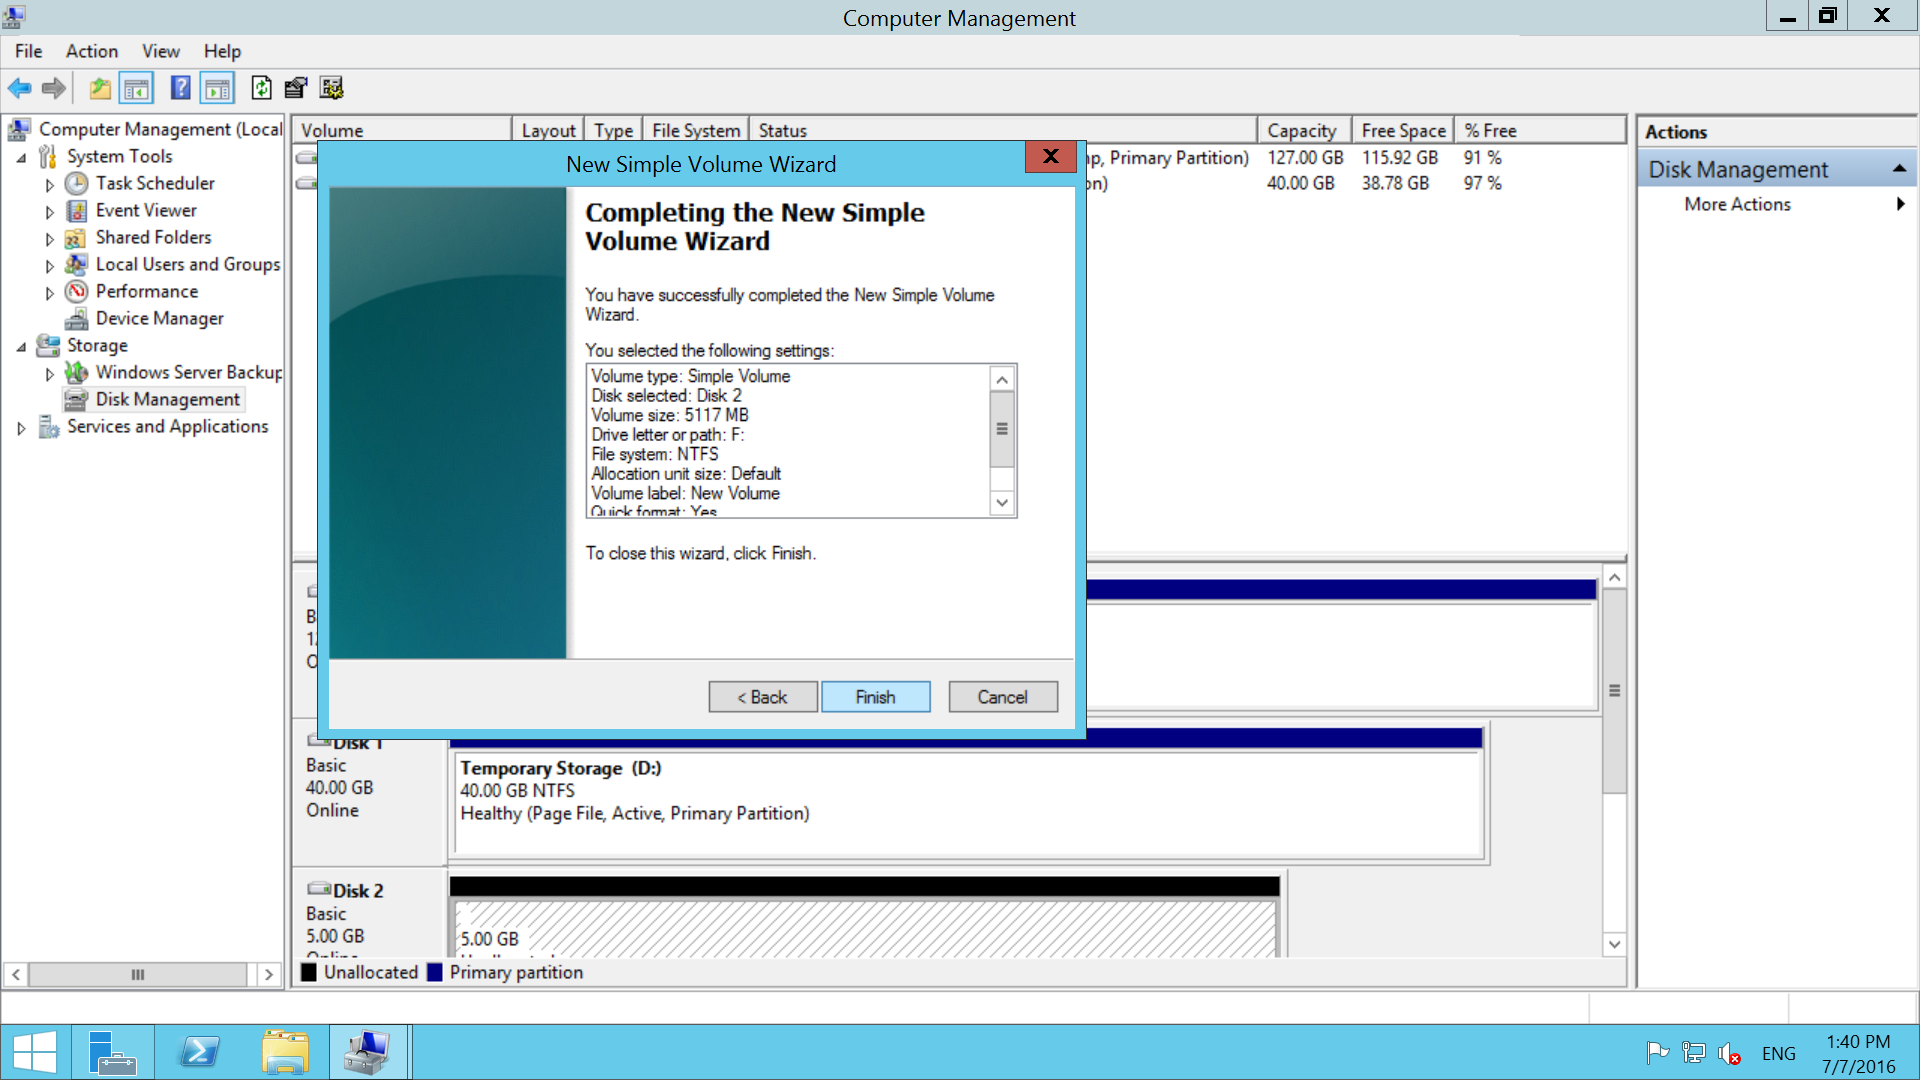
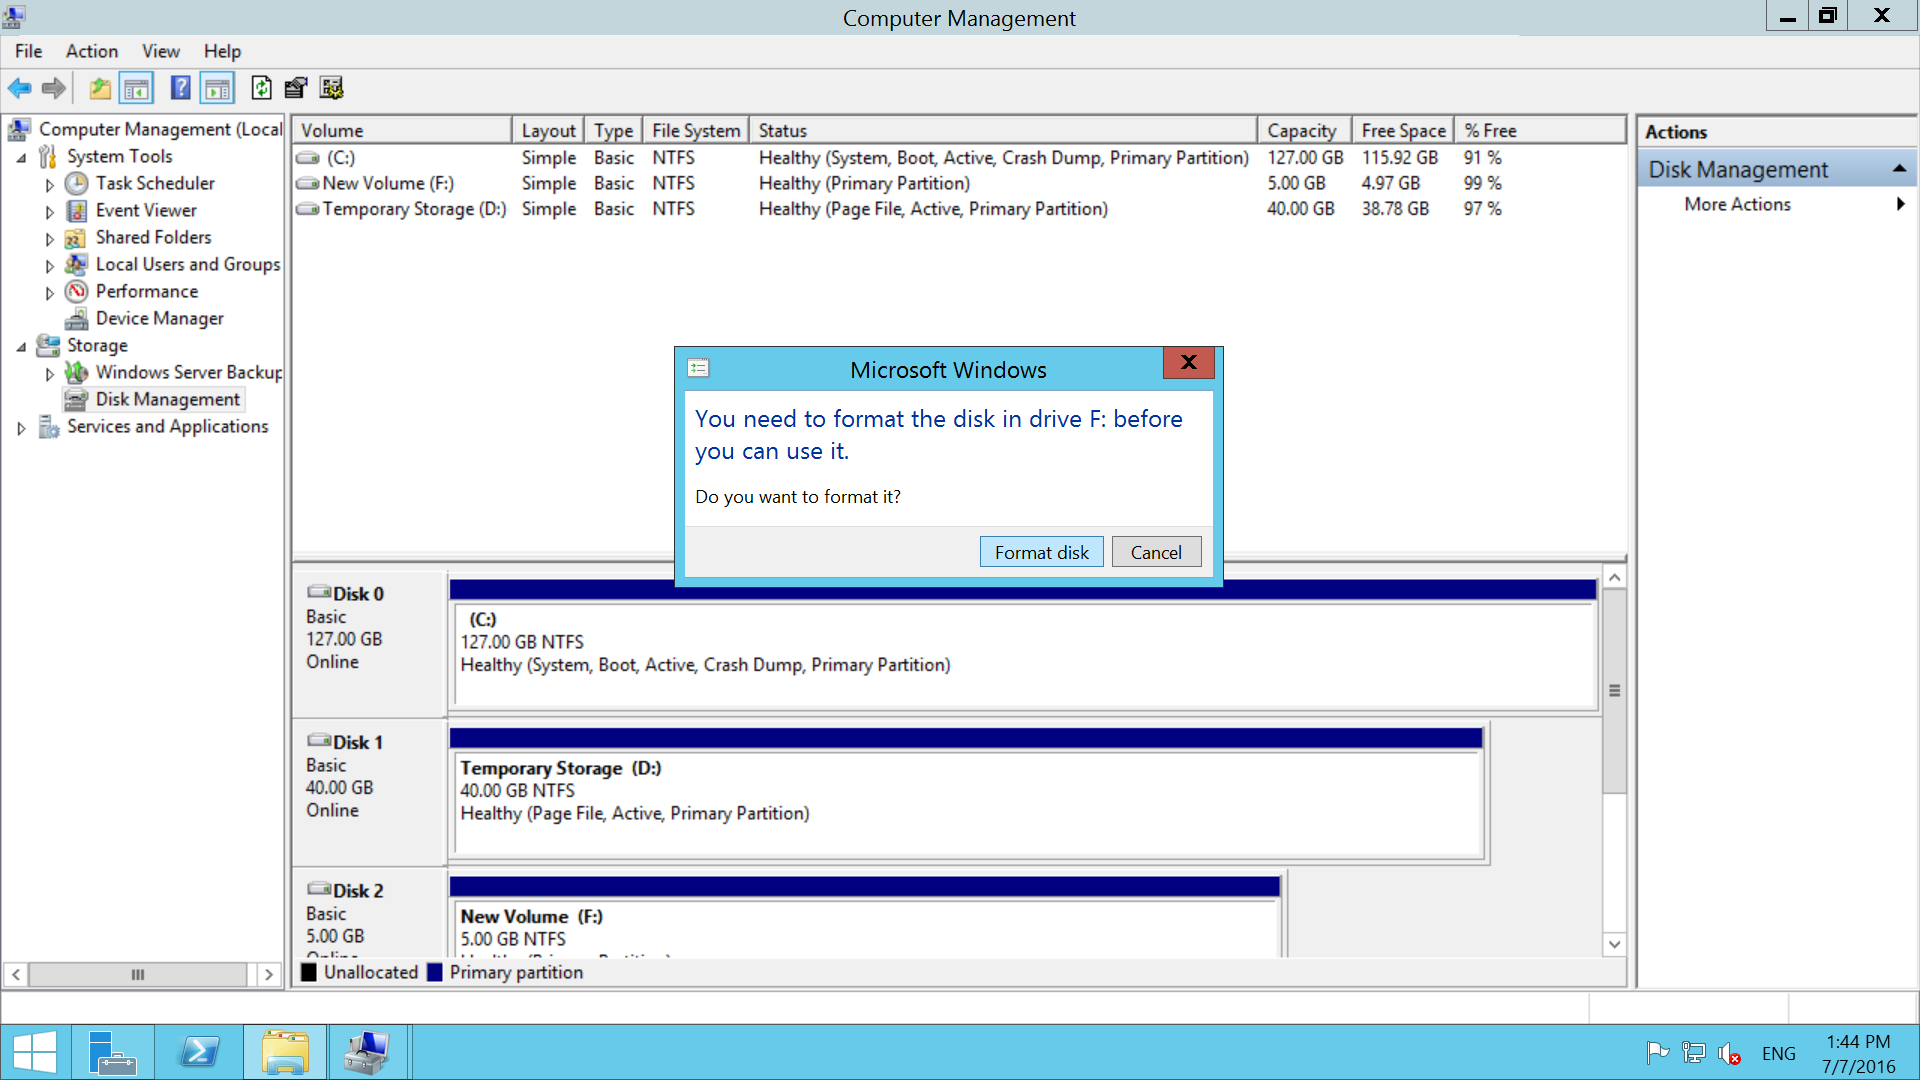
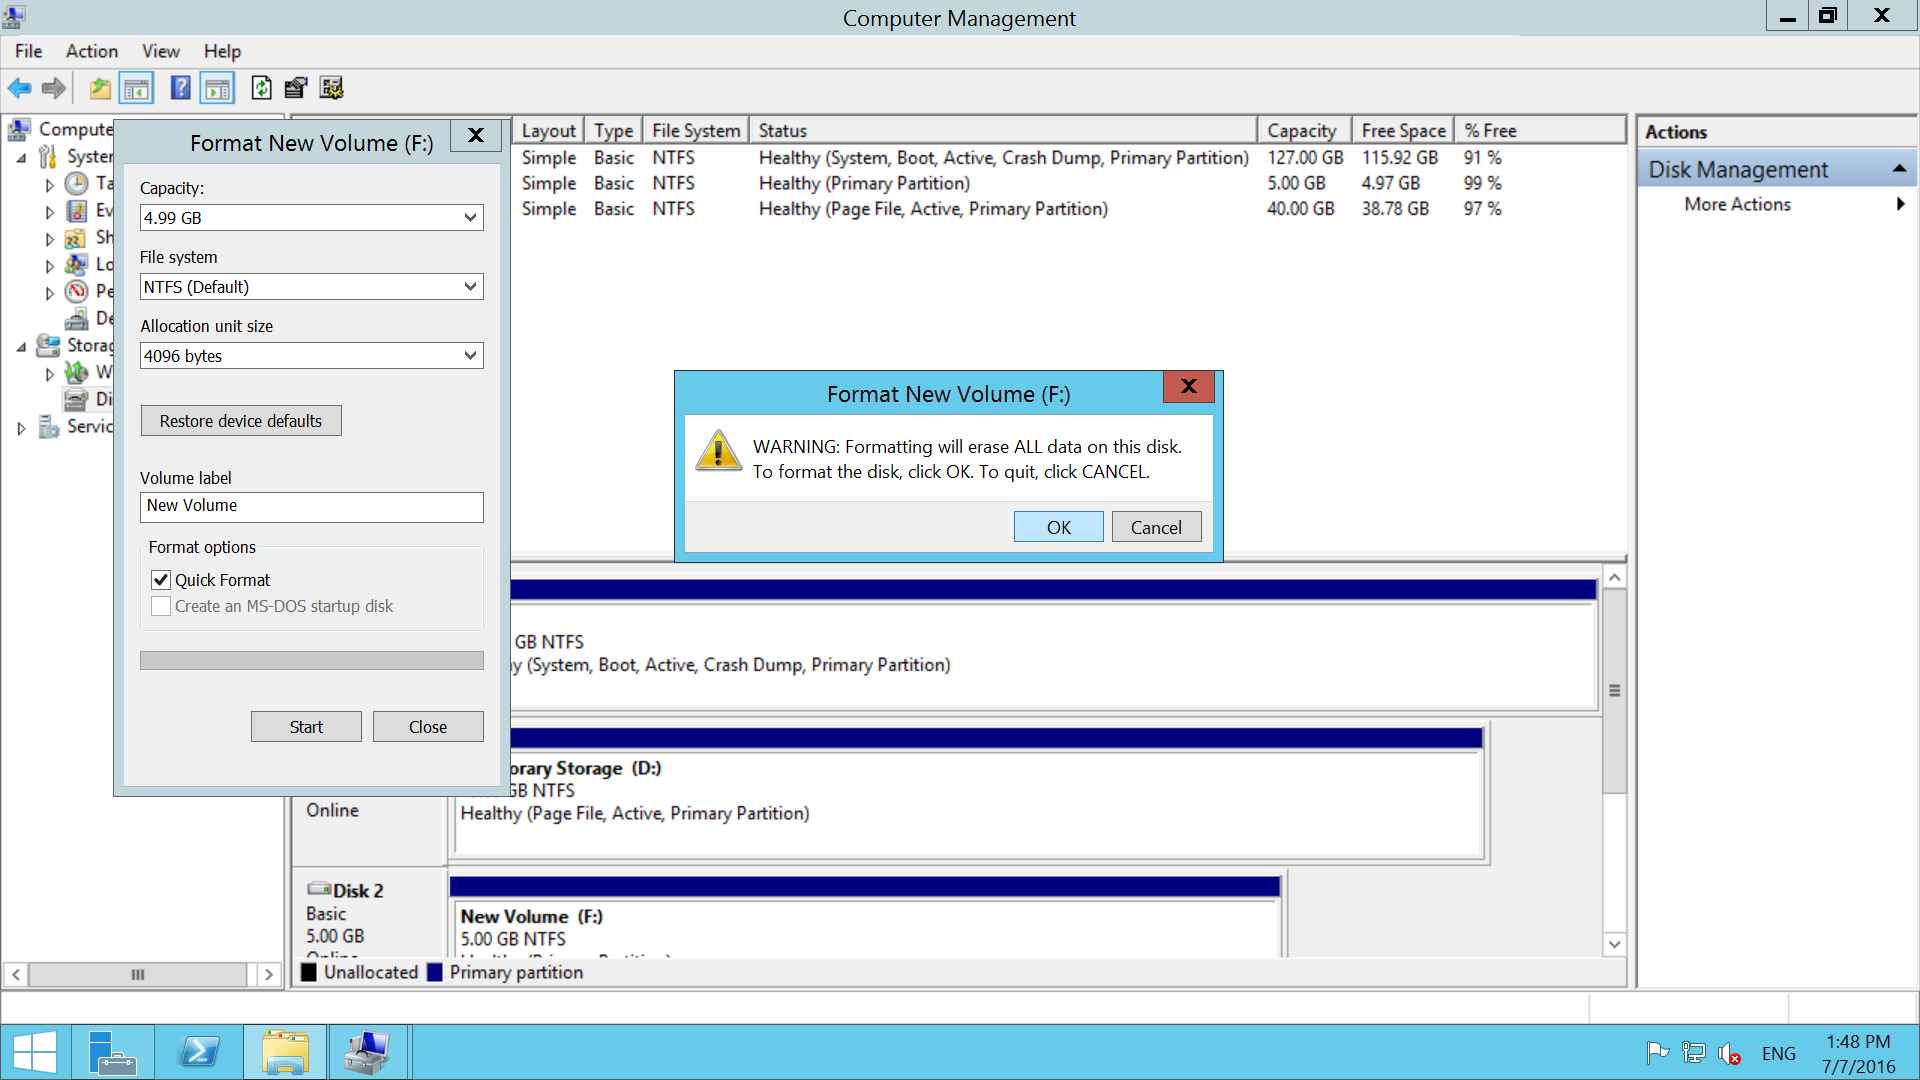
Step – 10:
Now this pop-up will open, click Format Disk and under go a complete format
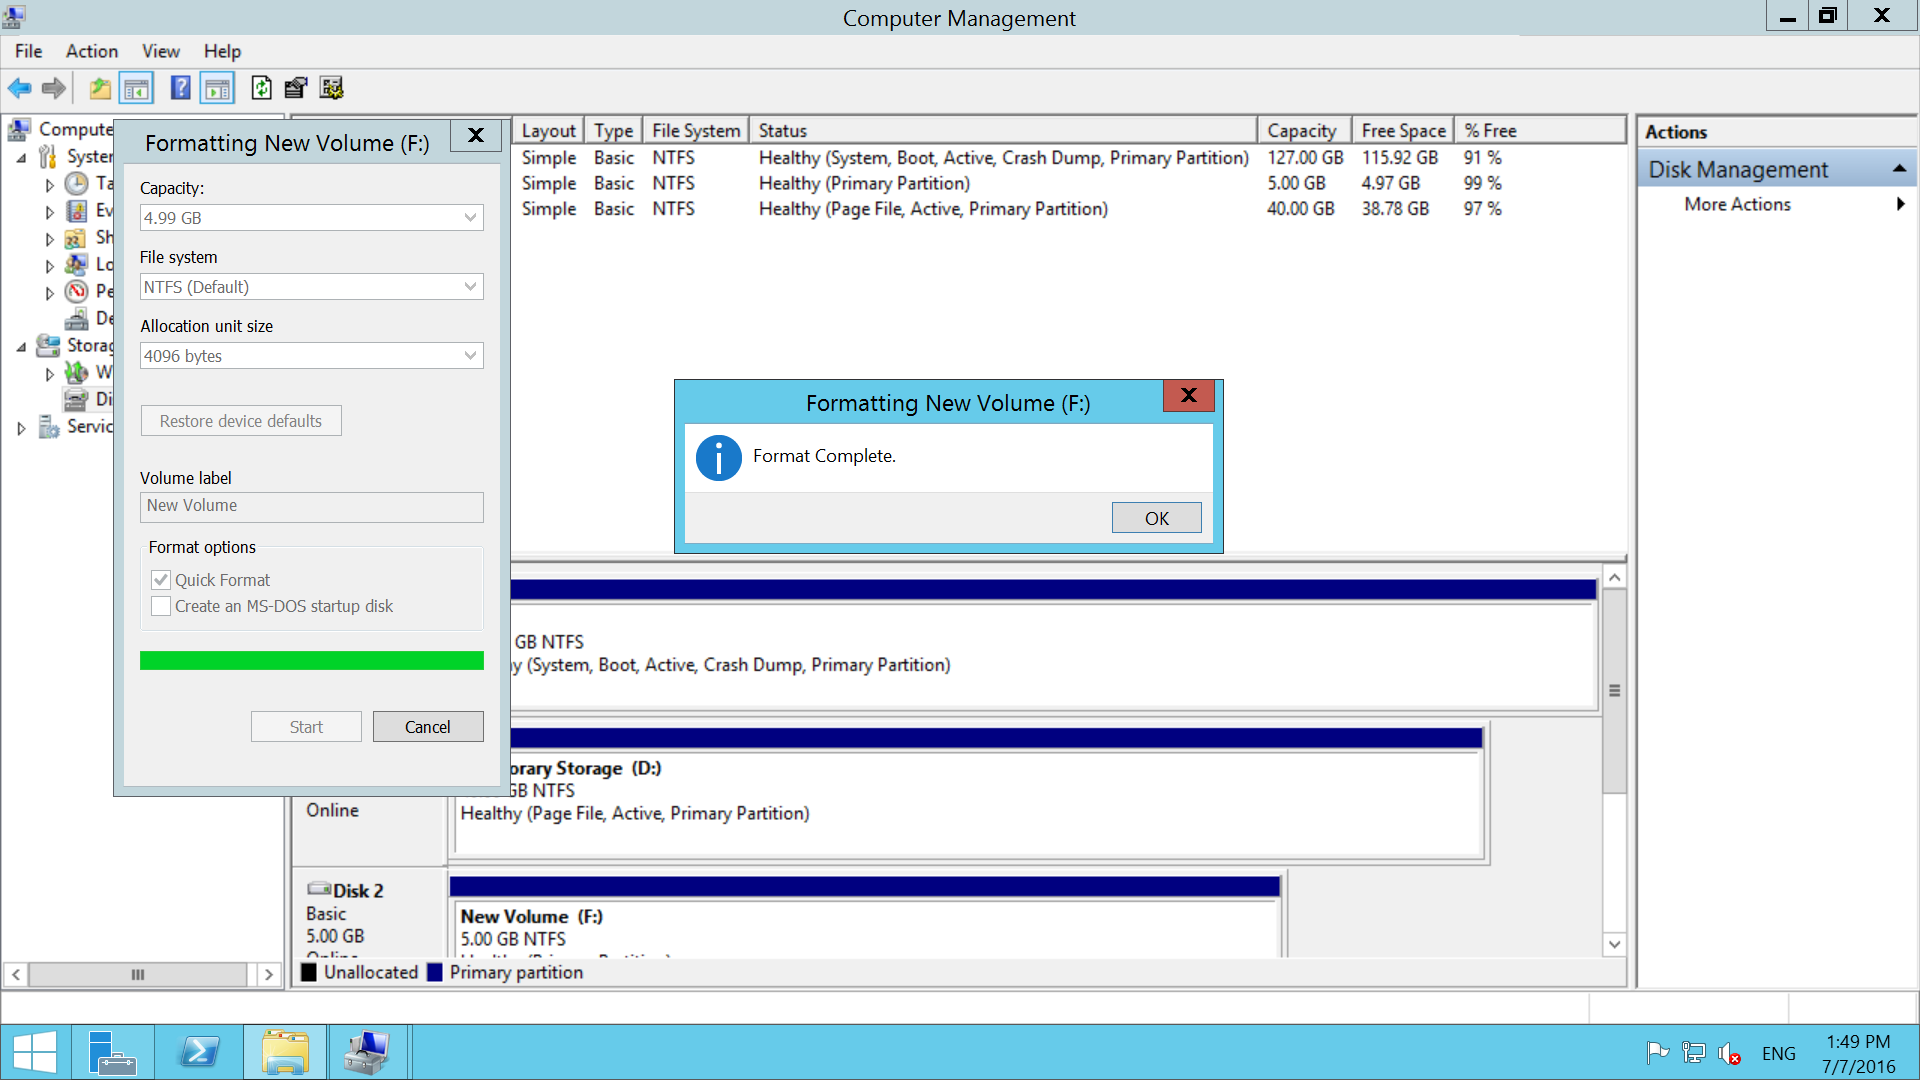
Now you can find the disk attached
