Azure: Allocate Static IP to VMs within a Virtual Network using PowerShell
Problem Statement
When we want multiple VMs that should be part of a network, we will be creating the VMs within a Virtual Network. We can create a virtual network initially and when the VM is created we can specify the Virtual Network in the field to add the VM to a specific virtual network.

Once the VM is being created it will be assigned a dynamic IP within the virtual network. However at a later point when the VM is shut down and de-allocated or when a new VM is created, the IP of the already existing VM may be displaced.
Solution: Static IP
In order to overcome this, once the VM is created we will be assigning a static IP to the VM so that the IP within the virtual network is reserved for the VM throughout its lifetime.
How to assign static IP to the VM
We can assign static IP to the VM using Azure PowerShell. In case Azure PowerShell is not installed, you can check out this articleto get an overview. Once Microsoft Azure PowerShell is installed, open it as administrator. Add the below command to the command line to connect to Azure Account.
Add-AzureAccount
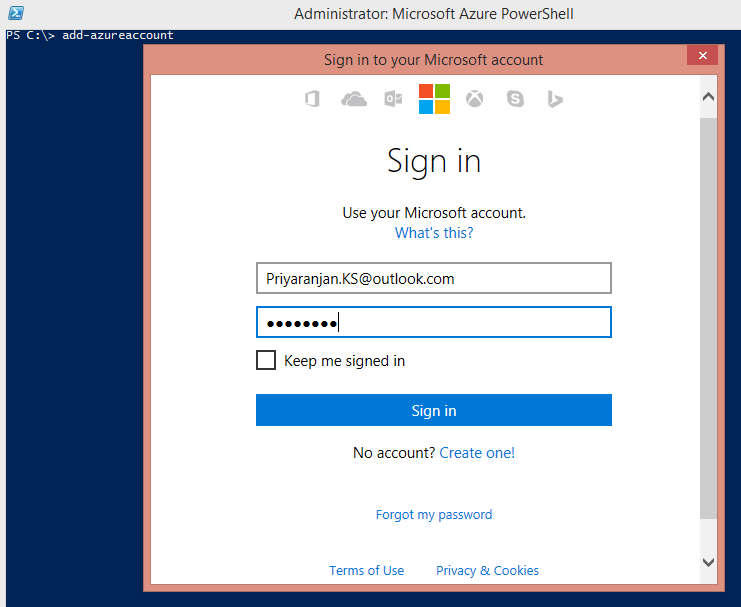
This will open up a pop up where we can add the Azure account credentials. Click on Sign In.
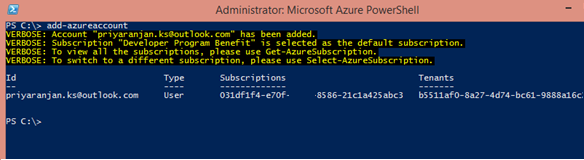
If it successfully authenticates the user it will show the user Id and Subscription Id as shown above. Run the below command to get all the subscription details of the logged in user. If there are multiple subscriptions we will have to select the specific subscription within which we had created the Virtual Network and the VM.
Get-AzureSubscription
This will get all the subscriptions of the user as shown below. Use the ‘Select-AzureSubscription’ to pick a specific subscription against which we will run the PowerShell cmdlet.
Select-AzureSubscription –SubscriptionId “Id of the subscription”
You can also pick the azure subscription by specifying the subscription name. However if there are two subscriptions with same name, it won’t work out. We will have to use subscription id in such a case.

Thus we have used PowerShell to connect to the User’s Azure account and to the specific subscription within which we have created the virtual network. Now let’s check the available IP addresses within the virtual network so that the VMs can be assigned a static IP. When the VM is created an IP will be assigned to it. However if we don’t assign a static IP using PowerShell, when the next VM is created the IP of the previously created VM may change. In order to avoid that, once the VM is created we will assign an available static IP to the VM so that it will be reserved for the VM throughout its lifetime.
Run the below script to get the available list of IPs within the virtual network.
Test-AzureStaticVnetIP –VnetName “Name of the Virtual Network” –IPAddress “Test IP”
This will check if the Test IP is available to be assigned to a VM. If it is available it will return the “IsAvailable” parameter as True. If it is not available it returns the available IPs as comma separated value in the parameter “AvailableAddresses”.

Now we know the available IP addresses within the virtual network. Let’s assign one of them to the previously created VM using the cmdlet:
Get-AzureVM -ServiceName "VM01-AzureAD" -Name "VM01-AzureAD"|Set-AzureStaticVNetIP -IPAddress 10.0.0.5 | Update-AzureVM
ServiceName is the name of the cloud hosted service name assigned during VM Creation.
-Name is the name of the VM

Thus PowerShell script has successfully updated the VM’s static IP address. Let’s head over to the VM’s dashboard to see if it has been reflected.

As you can see above it has been updated in the dashboard as well.
Summary
Thus we saw how to assign a static IP to the virtual machines in a Virtual Network in Azure.
See Also
This article can also be viewed from here :