AZURE Active Directory initial Setup.
In this Article i will show you how to configure a custom Domain.
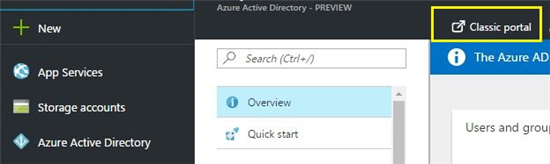
- If you are logged in with New portal https://portal.azure.com
2. Click on Azure Active Directory

3. Click on Classic Portal
[
- Select the NEW on the left pane at the bottom corner
](resources/56280.2.png)[
- click on **App Services > Active Directory **
](resources/41462.3.png)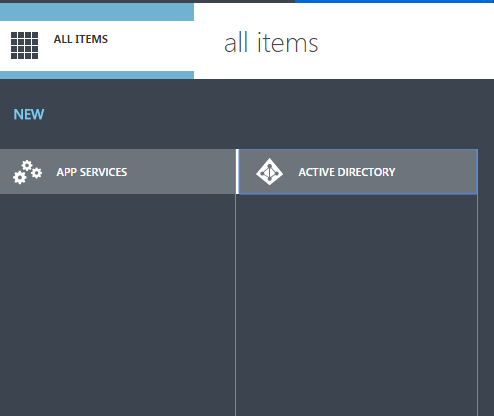
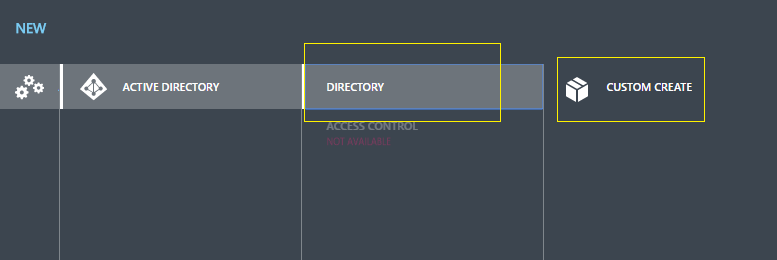
Then click on Directory and Custom Create to create Custom Azure AD
Once you click on Custom Create, another window will open.
- Name – Enter The name of Directory
- Domain Name - should be unique name basic domain name. By default, a basic domain name at .onmicrosoft.com is included with your directory. Later, you can add a domain name that your organization already use.
- COUNTRY OR REGION - You cannot change the country or region after you create your directory. Make sure you select the correct country or region because your choice determines the datacenter for your directory.
Once it's done click on complete button

8. Once thats done you can see it on the portal as active.

9. Click on instance name and that will take you to the configuration Page 

- Add the domain to match with our existing organization.( Your directory comes with a default domain, organizationname.onmicrosoft.com. Add a custom domain to improve user sign-on experiences)
- Click On **Domain **
- Then Click On Add a Custom Domain
 11. In the wizard, put your domain name that match with local active directory domain. Click add and Next.
12. Create Public TXT records and verify your Domain

- Once it’s done, you can see the domain is Active now and ready to use.

Now you can assign user names that include your custom domain name.