SQL Server: Working with Identity Column After Table Creation
Introduction
MS SQL Server uses the IDENTITY keyword to perform an auto-increment feature. It allows a unique number to be generated when a new record is inserted into a table. It is used with the syntax:
CREATE TABLE City
(
ID int IDENTITY(1,1) PRIMARY KEY,
Name  varchar(50)
)
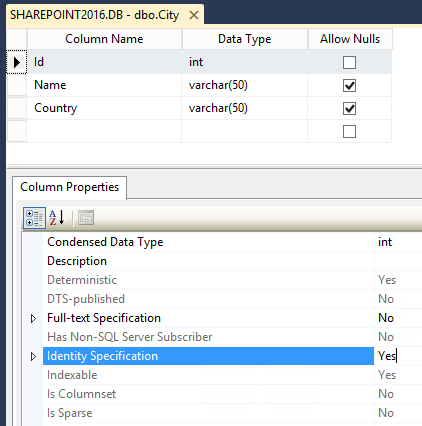
However, once the table has been created, we cannot use the Alter command to add an Identity to the table. Using Alter Command to add Identity will throw an exception. If we go to the design of the table, we can see a property named ‘Identity Specification’ that can be set to enable identity.

Even in the design mode, it will be disabled/grayed out. This is the case if we have a Primary Key set on the column that we are trying to add an Identity.

Set Identity to Non-Primary Field
However, if the column ‘Id’ was not set as the Primary Key, we can set the Identity from the Design mode as shown below:

In the upcoming section, we will see various options to add Identity to an existing table.
Add an Identity Column
One option to add an Identity to the table is to add a new column to the table and set it as identity. This is possible through the Alter statement. However, if we want to set the Identity to an already existing column in the table we cannot use this DDL command.
Alter Table City Add CityId int Identity(1,1)
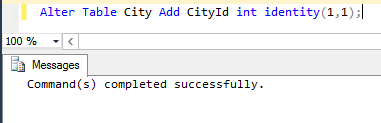
Moreover, if we try to add an additional Identity column to an already created table using the below Alter command, it will throw the exception as only one identity column can be specified for a table.
Alter Table City Add NewIdentity int Identity(1,1)

Create a new Identity Column and Rename it to dropped Column(With Data Loss)
Another option if we want the identity column to be applied to an existing column name is:
- Add a new column and set it as Identity
- Remove the old column
- Rename the new column to the old column name
This way we get the feeling that the identity has been applied to the existing column in the table.
Alter Table City

Add CityId Int Identity(1, 1)
Go

Alter Table City Drop Column Id
Go

Exec sp_rename 'City.CityId', 'Id', 'Column'

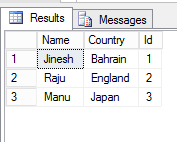
Prior to running the script the table values for the Id column was:

After running the script we can see that the Id column has been overwritten with new Identity values causing data loss in the column.

Create an Identity Column by re-creating the Table without any data loss
One viable option to prevent the data loss associated with the previous approach is to recreate the table with the Identity column and load the data into it. The steps followed in this approach is:
- Create a temporary table with the Identity Column
- Copy the data from the original table into the temporary table
- Drop the original table
- Rename the temporary table to the original table name
CREATE TABLE dbo.Tmp_City
    (
      Id int NOT NULL  IDENTITY(1, 1),
      Name varchar(50) NULL,
      Country varchar(50)  ,
    )
ON  [PRIMARY]
go


SET IDENTITY_INSERT dbo.Tmp_City  ON
go

 IF EXISTS ( SELECT  *
            FROM    dbo.City )
    INSERT  INTO dbo.Tmp_City ( Id, Name,Country )
            SELECT  Id,
                    Name,Country
            FROM    dbo.City TABLOCKX
go


SET IDENTITY_INSERT dbo.Tmp_City OFF
go

DROP TABLE dbo.City
go

 Exec sp_rename 'Tmp_City', 'City'

This way we the identity will be set to the column, as well as the data, will be preserved.
Use Generate Scripts Option
The above approach can be automated by generating the script that will create the table along with the data. In this approach, we will use the Generate scripts option available at the DB Level. The steps are:
- Get the script to create the table along with the data using the ‘Generate Scripts’ option
- Add Identity to the generated script
- Drop the existing table and run the generated script
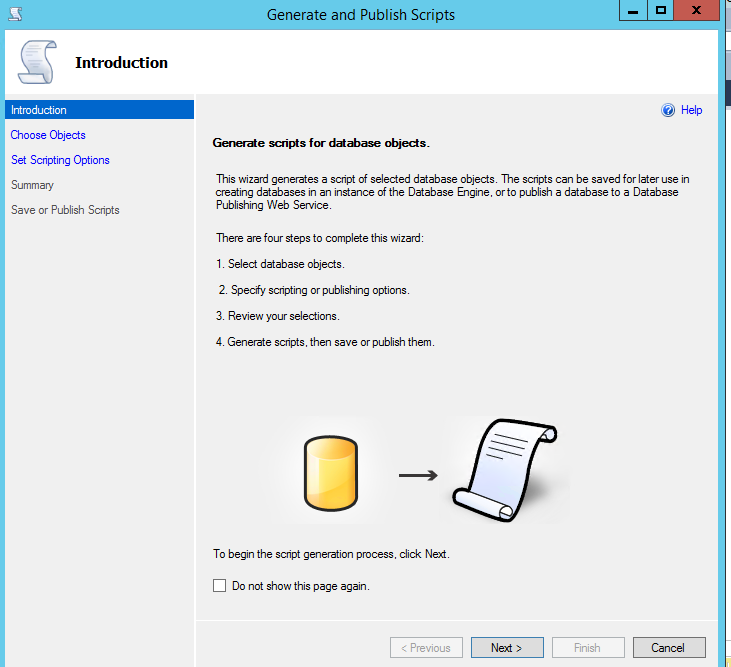
Upon right-clicking DB , Select Tasks -> Generate Scripts

This will open up the Generate and Publish Scripts window.
Select the table for whom we want to generate the script.

Select Save to file radio button and click Advanced.
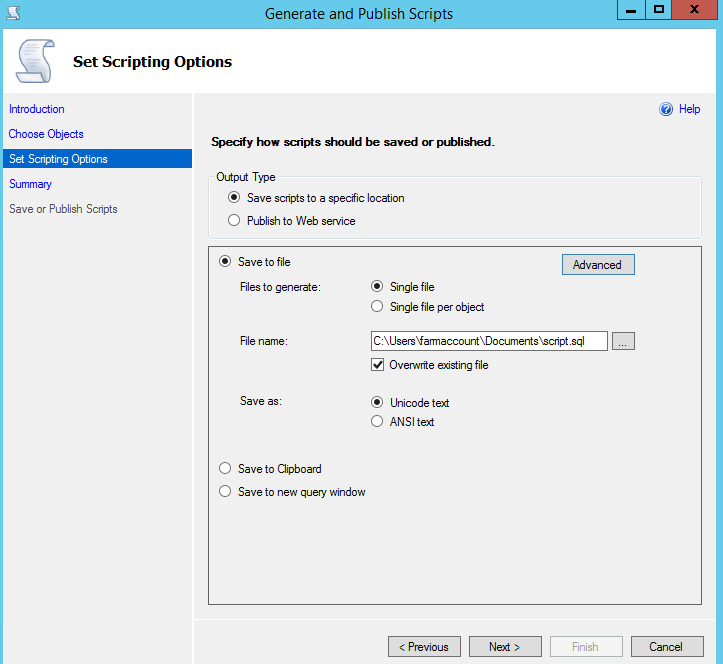
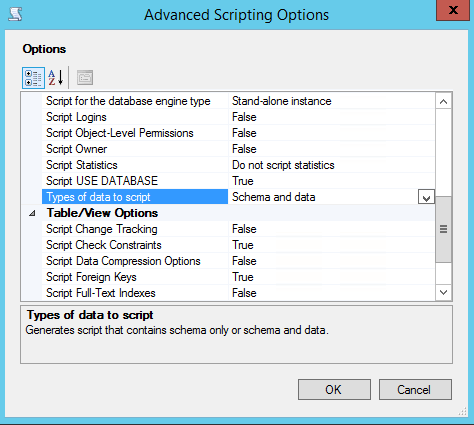
Change Type of data to script from ‘Schema’ to ‘Schema and data’.
Proceed to the next page.
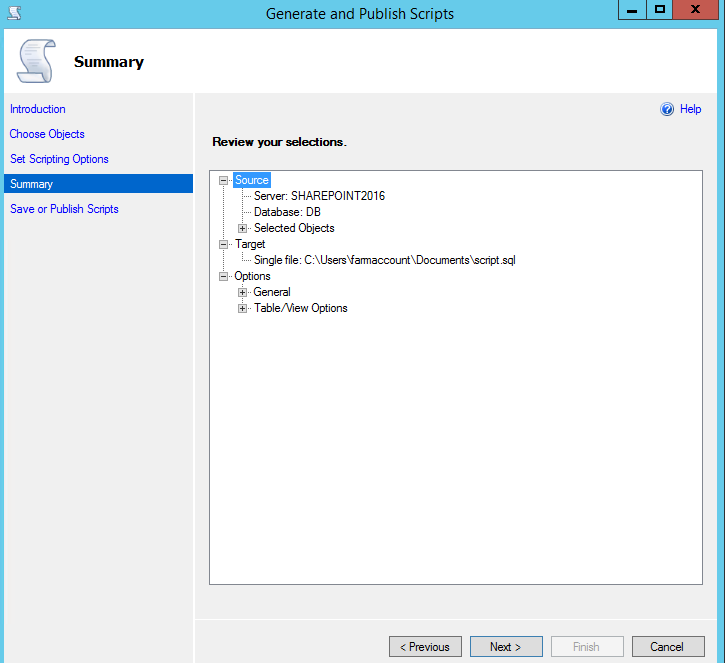
This will complete the generation of the script.

Going ahead to the script location we had specified, we can see the table creation script along with the data to be inserted. We can now add the Identity Keyword to the script and run it after dropping the existing table.

However, when there are gigs of data above approaches of recreating the table and re-inserting the data is not efficient. We will see how to overcome that in the final approach discussed in this article
Recreate the table with Identity and use Partition Switching
Above methods can be quite a time consuming if there are millions of records present in the table. To speed up the data population after table creation with Identity specification we can transfer the data using partition switching. The steps followed in this process are:
- Create the table with the same schema as the original table and include Identity column
- Use Switch to transfer the partition from old table to new table
- Drop the old table
- Rename the new table to old table
This is much faster than inserting all the records back to the new table as Insert is an expensive operation. Partition Switching on the other hand does only meta data updates to the location of the existing data and no data is moved or duplicated making it faster and efficient.

CREATE TABLE dbo.Tmp_City
    (
      Id int NOT NULL  IDENTITY(1, 1),
      Name varchar(50) NULL,
      Country varchar(50)  ,
    )
ON  [PRIMARY]
go

SET IDENTITY_INSERT dbo.Tmp_City  ON
go

Alter Table City switch to Tmp_City;
go

DROP TABLE dbo.City
go

Exec sp_rename 'Tmp_City', 'City'
Summary
Identity Column is a great way to enable auto increment in the table. But we will have to keep in mind the below points failing which we will end up using one of the above methods to add Identity to the table.
- Always make design consideration while choosing Identity for a table as adding it post creation of the table becomes a tedious task when there are millions of records present in the table.
- Try not to set the Identity column as the Primary key. The Primary Key constraint will prevent users from adding an Identity to that column from the Design Page after the table creation.
Reference
Multiple resources had been referred to sum up the various options that can be utilized to circumvent the Identity assignment issue. Few of the Forums and Articles that helped are linked below: