Consume Web API in Winform for File Handling
Introduction
In this article, we will see in detail as to how to consume Web APIs in Windows Forms for Uploading Files to Web server and get the list of file Information from the server folder and download the file from the server using a C# Windows application.
In this demo, we will create one Web API project and one WinForms application.
In the Web API project, we will create a controller for uploading files to the web server and to return the File details list with File Name, File Path and File Length.
From the WinForms application, the user can upload the files to the web server using the MultipartFormDataContent, display the file information to DataGridView with File name, File path and File length from a web server. Download the file from a web server to the local client WinForms root folder using WebClient.
WEB API
Web API is a simple and easy way to build HTTP Services for Browsers and Mobiles. It has the following four methods as Get/Post/Put and Delete where.
- Get is used to request for the data. (Select)
- Post is used to create a data. (Insert)
- Put is used to update the data.
- Delete used is to delete the data.
Prerequisites
- Visual Studio 2015: You can download it from here.
- Microsoft.AspNet.WebApi.Client Install for winform application using Nuget Packages.
- Newtonsoft.json Install for winform application using Nuget Packages.
Code Part
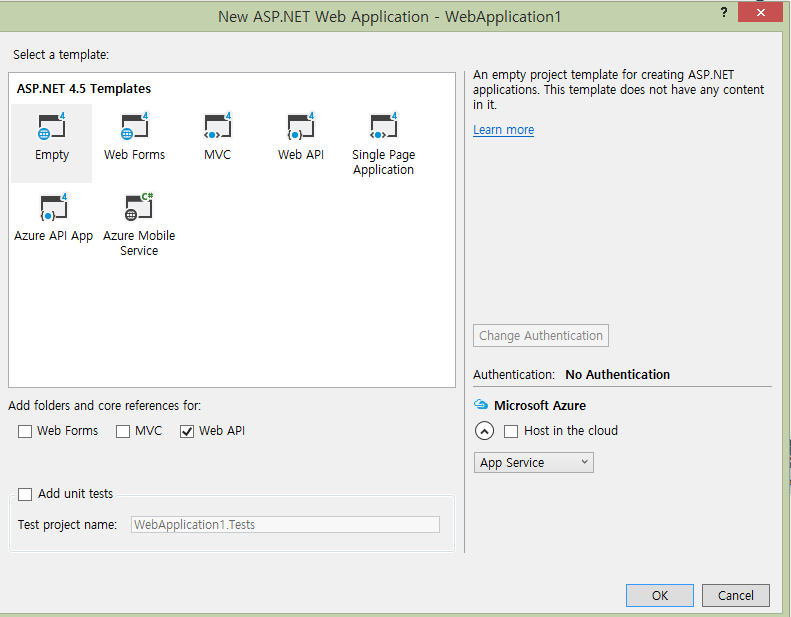
Step 1: Create Web API Application
After installing \ Visual Studio 2015. Click Start, then Programs and select Visual Studio 2015 - Click Visual Studio 2015. Click New, then Project, select Web and select ASP.NET Web Application. Enter your Project Name and click OK.
Next select Empty project and WEB API. Click OK.
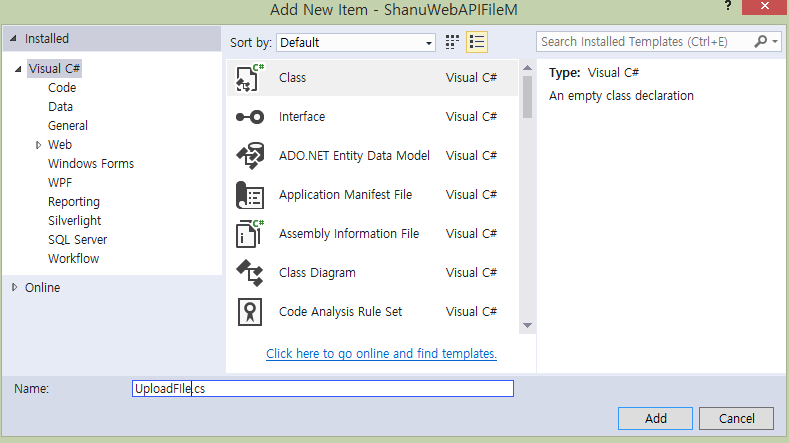
Step 2: Creating Class File in Models
Create a Class for file details model
Right click Models Folder > Click Add new class.

Enter the file name as “UploadFile” and create a class file.
public class  UploadFIle
    {
        public string  FilePath { get; set; }
        public string  FileName { get; set; }
        public long  FileLength { get; set; }
    }
Create a MultipartProvider Class for upload file
Right click Models Folder > Click Add new class.
Enter the file name as “UploadFileMultiparProvider” and create a class file.
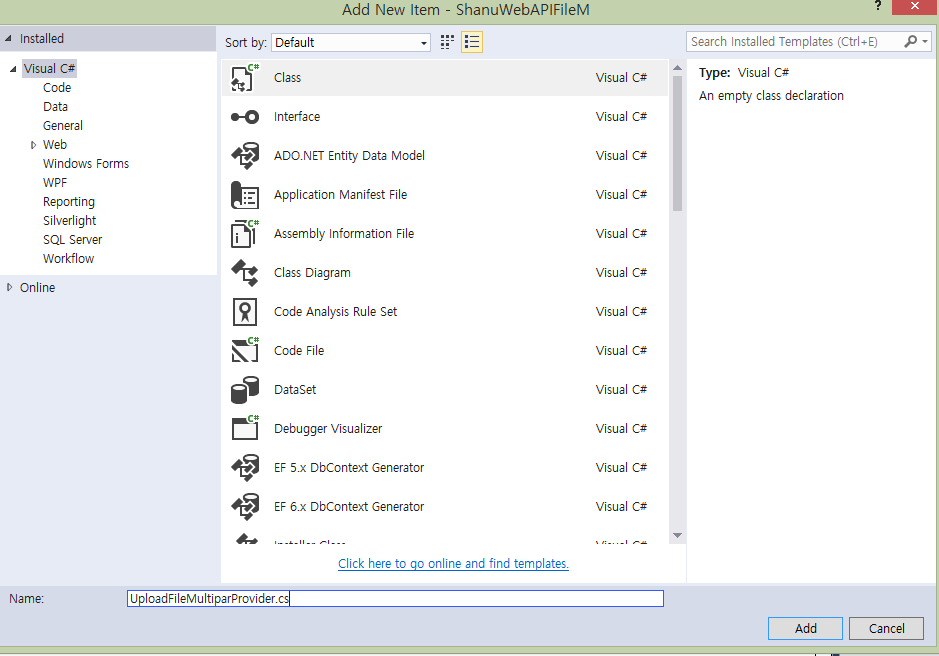
Create the MultipartProvider class for uploading files.
public class  UploadFileMultiparProvider : MultipartFormDataStreamProvider
    {
        public UploadFileMultiparProvider(string rootPath) : base(rootPath) { }

        public override  string GetLocalFileName(HttpContentHeaders headers)
        {
            if (headers != null &&
                headers.ContentDisposition != null)
            {
                return headers
                    .ContentDisposition
                    .FileName.TrimEnd('"').TrimStart('"');
            }

            return base.GetLocalFileName(headers);
        }
    }
Create a MimeMultipart Filter Class for upload file
Right click Models Folder > Click Add new class.
Enter the file name as “MimeMultipart” and create a class file
public class  MimeMultipart : ActionFilterAttribute
    {
        public override  void OnActionExecuting(HttpActionContext actionContext)
        {
            if (!actionContext.Request.Content.IsMimeMultipartContent())
            {
                throw new  HttpResponseException(
                    new HttpResponseMessage(
                        HttpStatusCode.UnsupportedMediaType)
                );
            }
        }
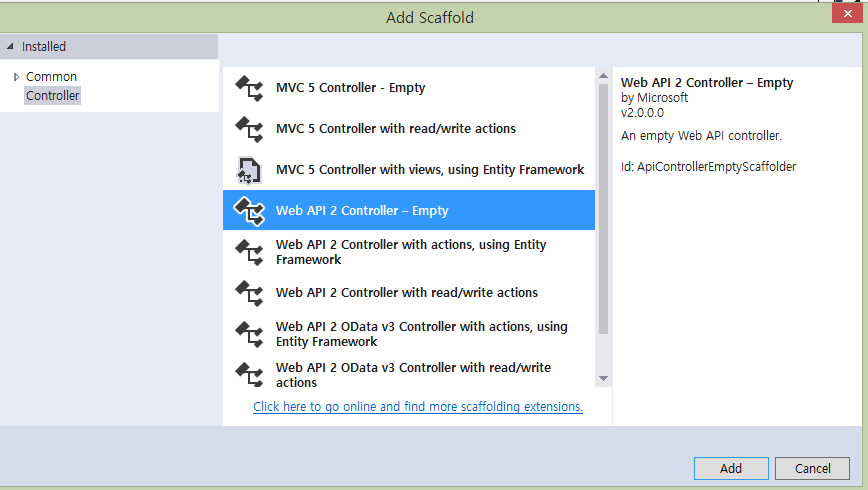
**Step 3: Create Web API Controller **
Right Click the Controllers Folder > Click Add > Controller.
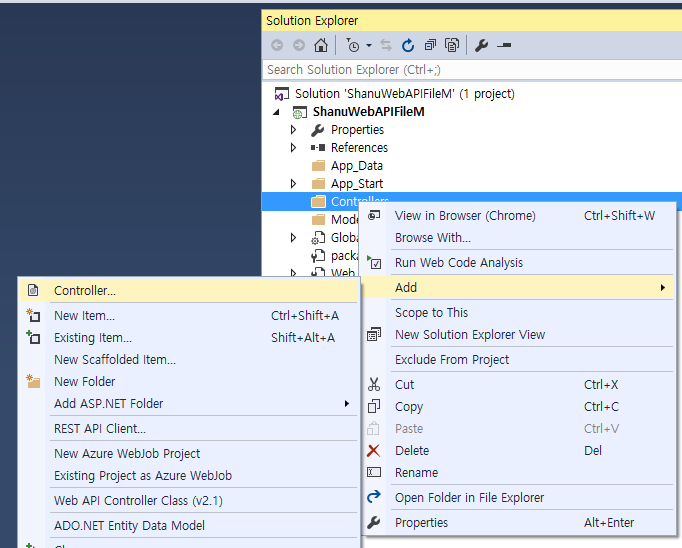
Select Controller from left side> Select Web API Controller Class.Give your controller name as “andlingAPIController” and click Add.
Create File Upload Post Method
Using Web API post method, we can upload the file to the web server. In this method, we get the file using post method and upload the file to the web server Uploads folder.
           //Upload the File
        [MimeMultipart]
        public async Task<UploadFIle> Post()
        {
            var uploadPath = HttpContext.Current.Server.MapPath("~/Uploads");


            if (Request.Content.IsMimeMultipartContent())
            {

                var filePath = Request.Headers.GetValues("filePath").ToList();
                string filepathfromclient = "";


                if (filePath != null)
                {
                    filepathfromclient = filePath[0];
                    uploadPath = uploadPath + filepathfromclient;
                }


            }

            if (!Directory.Exists(uploadPath))
                Directory.CreateDirectory(uploadPath);

            var multipartFormDataStreamProvider = new  UploadFileMultiparProvider(uploadPath);

            // Read the MIME multipart asynchronously
            await Request.Content.ReadAsMultipartAsync(multipartFormDataStreamProvider);

            string _localFileName = multipartFormDataStreamProvider
                .FileData.Select(multiPartData => multiPartData.LocalFileName).FirstOrDefault();

            // Create response
            return new  UploadFIle
            {
                FilePath = _localFileName,

                FileName = Path.GetFileName(_localFileName),

                FileLength = new  FileInfo(_localFileName).Length
            };
        }
WEB API getFileInfo Method
Using this get method we return all the file information as a JSON result.**
**
//api/ FileHandlingAPI/getFileInfo?Id=1
        [ActionName("get"), HttpGet]
        public IEnumerable<FilePath> getFileInfo(int Id)
        {
            List<FilePath> files = new  List<FilePath>();
            var uploadPath = HttpContext.Current.Server.MapPath("~/Uploads");

            DirectoryInfo dirInfo = new  DirectoryInfo(uploadPath);

            foreach (FileInfo fInfo in dirInfo.GetFiles())
            {
                files.Add(new FilePath() { Path = uploadPath, Filename = fInfo.Name, Length = fInfo.Length, IsDirectory = File.GetAttributes(uploadPath).HasFlag(FileAttributes.Directory) });
            }

            getAllSubfolderFiles(dirInfo, files);

            return files.ToList();
        }
Our Web API part is completed, now we can create a Winform application to consume the Web API and upload/download the files from web server to our local machine.
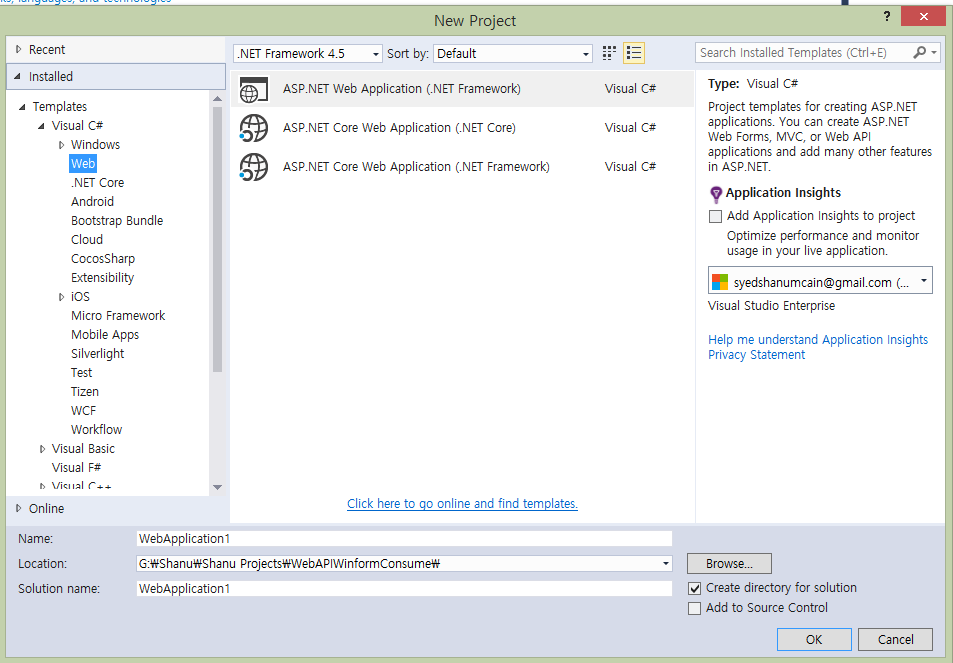
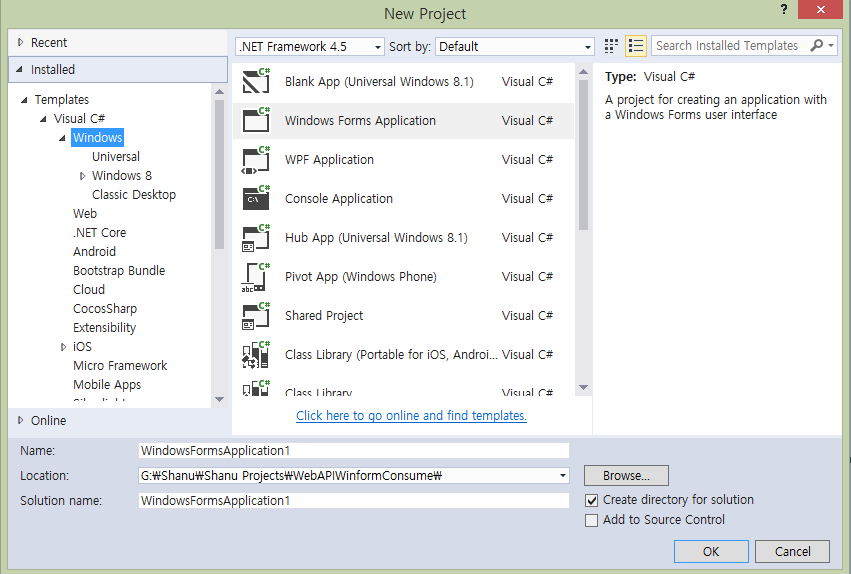
Step 4: Create Winform Application
Click Start, then Programs and select Visual Studio 2015 - Click Visual Studio 2015. Click New, then Project, select Visual C#>Windows> select Windows Forms Application. Enter your Project Name and click OK.
Step 5: Install Packages
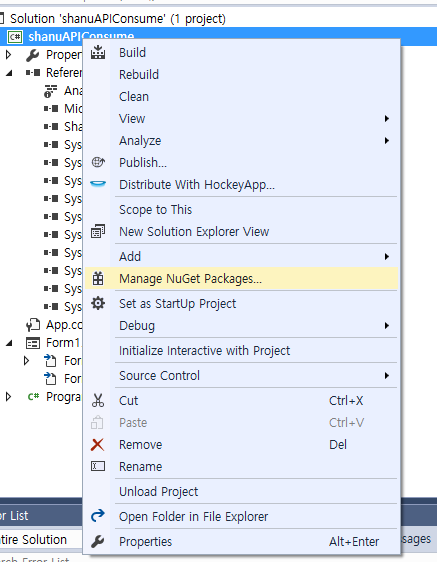
Install Microsoft.AspNet.WebApi.Client and Newtonsoft.json using Nuget Packages.
Right click solution and click on Manage NuGet Packages and install the above two files.
Install Microsoft.AspNet.WebApi.Client and Newtonsoft.json using Nuget Packages.
Right click solution and click on Manage NuGet Packages and install the above two files.
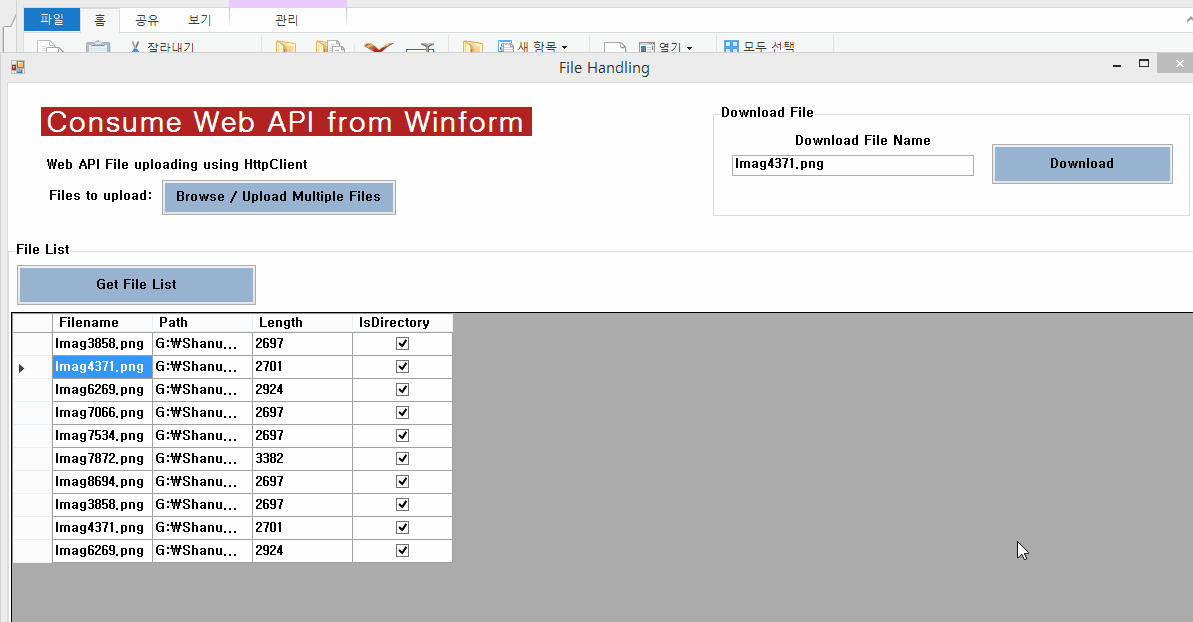
**Step 6: Design the Windows form **
Add 3 buttons one for File Browse and upload to web server, Download the file from web server and Get File List to get all the file information from web server and bind to grid.
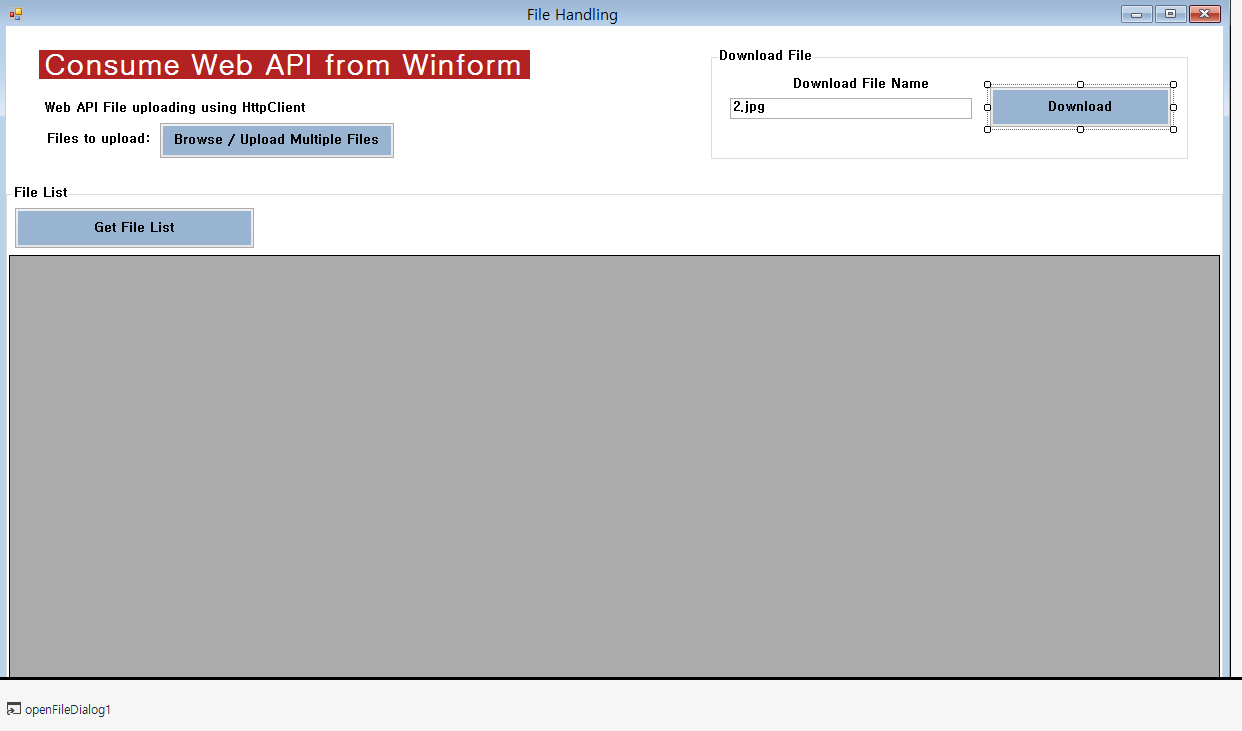
Browse/Upload File Button Click
In upload file button click we call the method as upload and pass the Web API URL to upload the file to web server, File Path to upload in web server, local file name and upload file name to upload the files to server.
#region Upload File
        //Upload File Button Click event
        private void  btnUpload_Click(object sender, EventArgs e)
        {

             Boolean uploadStatus = false;
            DialogResult dr = this.openFileDialog1.ShowDialog();
            if (dr == System.Windows.Forms.DialogResult.OK)
            {
                foreach (String localFilename in openFileDialog1.FileNames)
                {
                    string url = "http://localhost:51389/api/FileHandlingAPI";
                    string filePath = @"\";
                    Random rnd = new  Random();
                    string uploadFileName = "Imag"+rnd.Next(9999).ToString();
                    uploadStatus = Upload(url, filePath, localFilename, uploadFileName);
                }
            }
            if (uploadStatus)
            {
                MessageBox.Show("File Uploaded");
            }
            else
            {
                MessageBox.Show("File Not Uploaded");
            }
        }


        // filepath = @"Some\Folder\";
        // url= "http://localhost:51389/api/FileHandlingAPI";
        // localFilename = "c:\newProduct.jpg"
        //uploadFileName="newFileName"
        bool Upload(string url, string filePath, string localFilename, string uploadFileName)
        {
            Boolean isFileUploaded = false;

            try
            {
                HttpClient httpClient = new  HttpClient();

                var fileStream = File.Open(localFilename, FileMode.Open);
                var fileInfo = new  FileInfo(localFilename);
                UploadFIle uploadResult = null;
                bool _fileUploaded = false;

                MultipartFormDataContent content = new  MultipartFormDataContent();
                content.Headers.Add("filePath", filePath);
                content.Add(new StreamContent(fileStream), "\"file\"", string.Format("\"{0}\"", uploadFileName  + fileInfo.Extension)
                        );

                Task taskUpload = httpClient.PostAsync(url, content).ContinueWith(task =>
                {
                    if (task.Status == TaskStatus.RanToCompletion)
                    {
                        var response = task.Result;
                        if (response.IsSuccessStatusCode)
                        {
                            uploadResult = response.Content.ReadAsAsync<UploadFIle>().Result;
                            if (uploadResult != null)
                                _fileUploaded = true;
                        }
                    }

                    fileStream.Dispose();
                });
                taskUpload.Wait();
                if (_fileUploaded)
                    isFileUploaded = true;
                httpClient.Dispose();
            }
            catch (Exception ex)
            {
                isFileUploaded = false;
            }
            return isFileUploaded;
        }

        #endregion
Get File List Button Click
In GetFileInformation method we pass the Web API URL to get all the file details from web server. From Web API we get the file information as JSON result. In the winform application we have used Jsonconvert to deserialize and bind the result to the Datagridview.
#region FileInformation
        //Get File List
        private void  btnFileList_Click(object sender, EventArgs e)
        {
            string URI = "http://localhost:51389/api/FileHandlingAPI/getFileInfo?Id=1";
            GetFileInformation(URI);
        }


        private async void GetFileInformation(string url)
        {
            List<ServerFileInformation> filesinformation = new  List<ServerFileInformation>();
            using (var client = new HttpClient())
            {
                using (var response = await client.GetAsync(url))
                {
                    if (response.IsSuccessStatusCode)
                    {
                        var fileJsonString = await response.Content.ReadAsStringAsync();

                     dataGridView1.DataSource = JsonConvert.DeserializeObject<ServerFileInformation[]>(fileJsonString).ToList();
                    }
                }
            }
        }
#endregion
Download Button Click
In Download method, we pass the Web API URL with File name to download and local computer save location, here we have used the winfrom root folder to save the file from web server to our local machine
#region Download File
        //Download File
        private void  btnDownload_Click(object sender, EventArgs e)
        {
            string url = "http://localhost:51389/Uploads/";
            string downloadFileName = txtFileName.Text.Trim();
            string downloadPath = Application.StartupPath + @"\Downloads\";

            if (!Directory.Exists(downloadPath))
                Directory.CreateDirectory(downloadPath);

            Boolean isFileDownloaded = Download(url, downloadFileName, downloadPath);
            if (isFileDownloaded)
            {
                MessageBox.Show("File Downloaded");
            }
            else
            {
                MessageBox.Show("File Not Downloaded");
            }
        }

        // url = http://localhost:51389/Uploads/"
        // downloadFileName = "new2.jpg"
        // downloadPath =  Application.StartupPath + "/Downloads/";
        bool Download(string url, string downloadFileName, string downloadFilePath)
        {
            string downloadfile = downloadFilePath + downloadFileName;
            string httpPathWebResource = null;
            Boolean ifFileDownoadedchk = false;
            ifFileDownoadedchk = false;
            WebClient myWebClient = new  WebClient();
            httpPathWebResource = url + downloadFileName;
            myWebClient.DownloadFile(httpPathWebResource, downloadfile);
            ifFileDownoadedchk = true;
            return ifFileDownoadedchk;
        }
Reference Link:
https://chsakell.com/2015/06/07/web-api-file-uploading-desktop-and-web-client/
Conclusion:
Build and run the application. Publish the Web API to your web server and update the Web API URL in the winform and start Upload/Download files to Web server from your local computer. From the attached zip file, you can download both Winform and Web API source file. One can create the same application using Visual Studio 2017 as well.