Visual Studio Code: Getting Started
In this article, we will discuss in details about the Visual Studio Code, how to install the VS Code in Windows and walkthrough with VS Code features and How to add extensions to VS Code.
In this article, we will see the followings
Prerequisite
- VSCodeSetup-ia32-1.14.2
What is VS Code?
Visual Studio Code is a free open source as well as lightweight source code editor. It is support cross platform such as Windows, Linux, and Mac. It supports inbuilt with Java Script, Type Script, and Node.js. Also, we can use other languages on it with help of extensions.
Walkthrough with Top Extension
We can use other languages for enabling additional languages in VS Code. You can see the popular extension as shown below

If you want to add more extension to your VS code. It is possible to add it you can find the more extension in the market place as the following URL:
Walkthrough with VS Code features
We will discuss in details about the Visual Studio Code features. I have listed some of the features as below
- IntelliSense,
- Code Navigation,
- Debugging,
- Version Control,
- Integrated Terminal,
- Tasks,
- Creating your own snippets and etc.
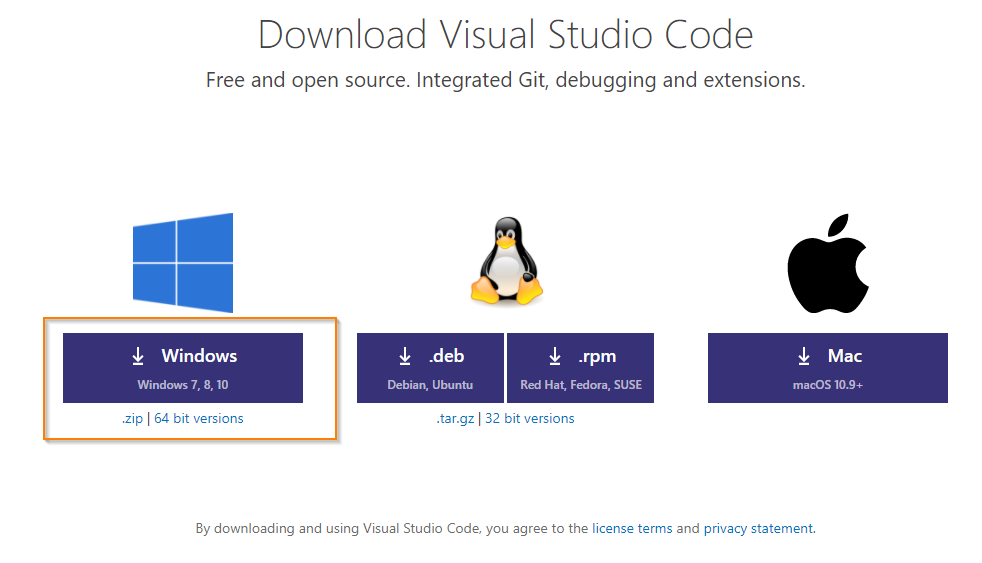
How to install the VS Code in Windows
You can download the VS Code with the URL given below
Now, you can copy and paste URL into your browser as shown below
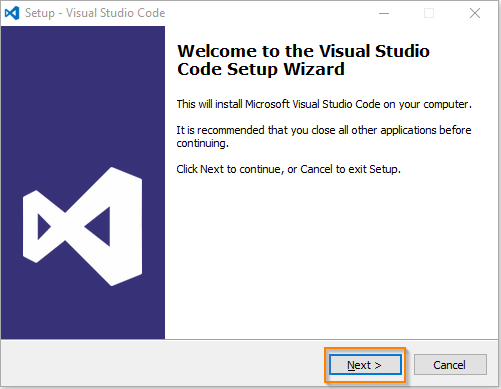
Double Click and Run VSCodeSetup-ia32-1.14.2.exe file. If you will receive a user control prompt, click Yes button.
The Visual Studio Code setup wizard window will open and click Next button.
The License Agreement window will open and check the “I accept the agreement” radio button. Click Next button.

You can continue the default location for the installation, click Next button.

Select start menu folder window will open, click Next button.

You can be continued the default option for additional tasks, click Next button.

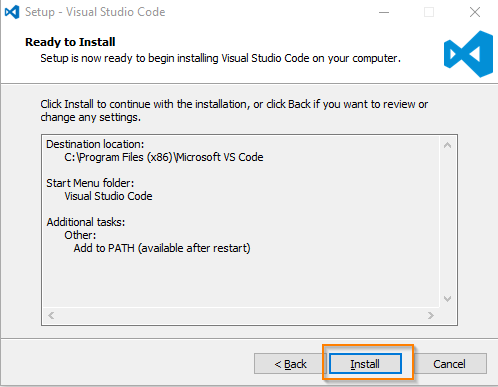
You can see now the setup is ready to install VS Code on your PC. Click Install button.
Now, you can see the installation is progressing

After successfully installing Visual Studio Code, click Finish button

Now you can see the Visual Studio Code first look as shown below

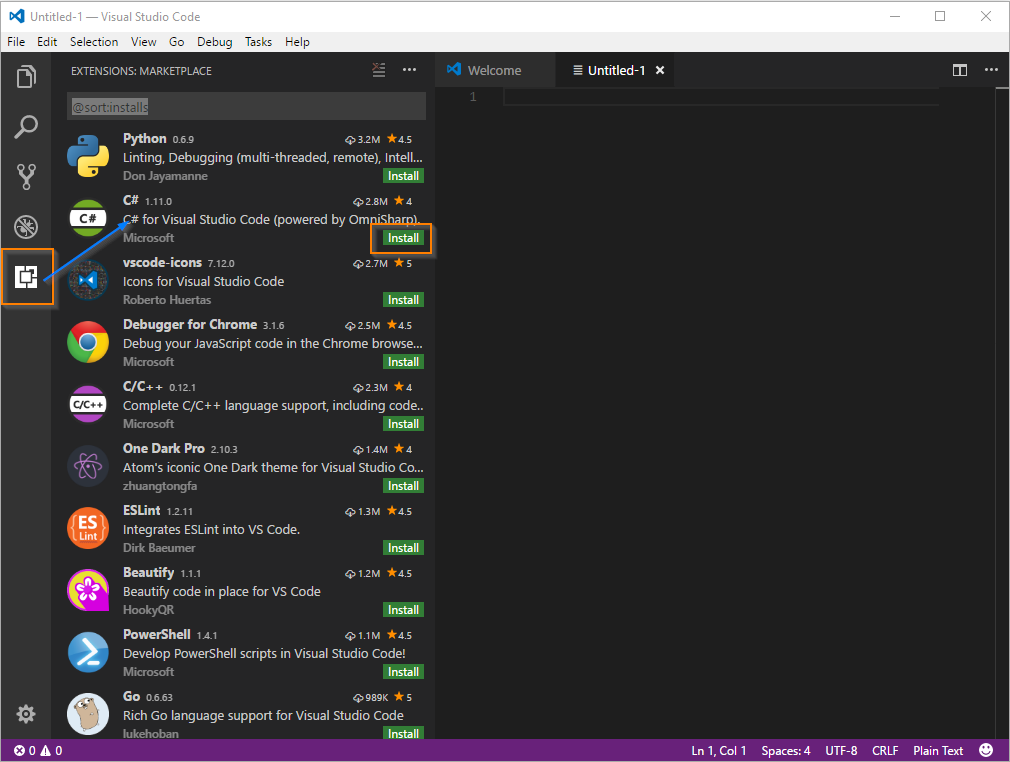
How to add extension to VS Code
Go to Visual Studio Code and open on it. Now, you can find the extension's icon in the side bar menu as shown below.

In my case, I want to install the C# extension for Visual Studio code and you can C# extension from the extension list. Then Click Install button
After successfully installed C# extension for VS code as shown below

Reference
Conclusion
We hope you understand now about VS Code, how to install the VS Code in Windows, and walk through VS Code features and how to add extensions to VS code. We have covered all the required things. If you find anything missing, please let me know.
Please share your valuable comments or feedback to improve my future articles.