Exchange 2019: Create a DAG using PowerShell
In Exchange, creating a DAG using the GUI is very easy, you fill in your DAG name, Witness Server and Witness Directory and optional to enter an IP address, let's look at how to do this using Powershell in Exchange 2019.
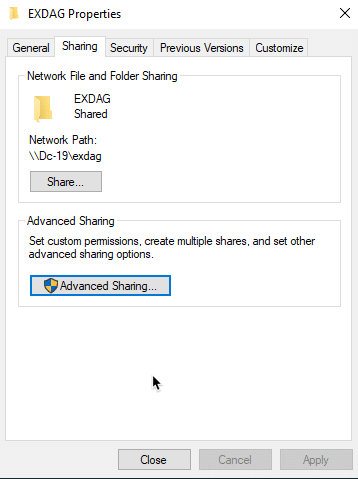
Exchange should create the witness folder for you but in my Lab I only have a domain controller so will manually create it. You need to give the Exchange Trusted Subsystem rights to it and as this is a DC there is no local groups.
http://everything-powershell.com/wp-content/uploads/2018/12/DAG1.png http://everything-powershell.com/wp-content/uploads/2018/12/DAG2.png
Now launch the Exchange Management Shell (EMS) and run the following command:
- New-DatabaseAvailabilityGroup -Name GroupName -WitnessServer "Server" -WitnessDirectory C:\EXDAG
http://everything-powershell.com/wp-content/uploads/2018/12/DAG3.png
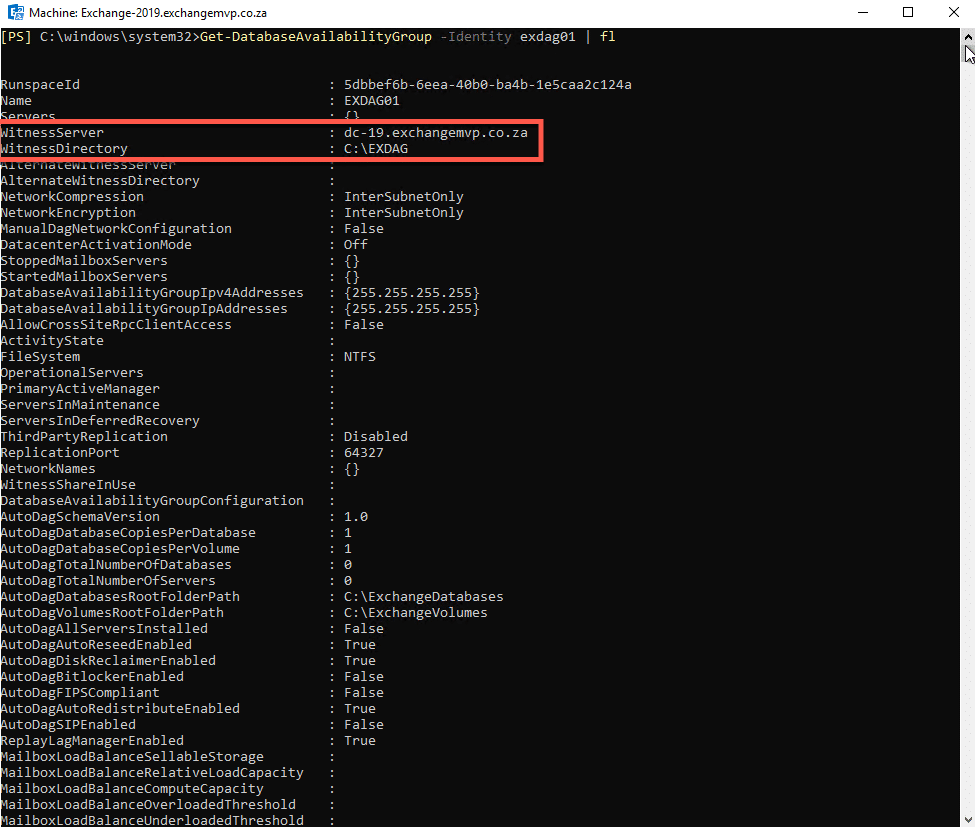
Wait for a couple of seconds and it should create the DAG for you. Once done you can check the properties of the DAG as shown below and using the PowerShell command:
- Get-DatabaseAvailabilityGroup -Identity DAGName | fl
http://everything-powershell.com/wp-content/uploads/2018/12/DAG4.png
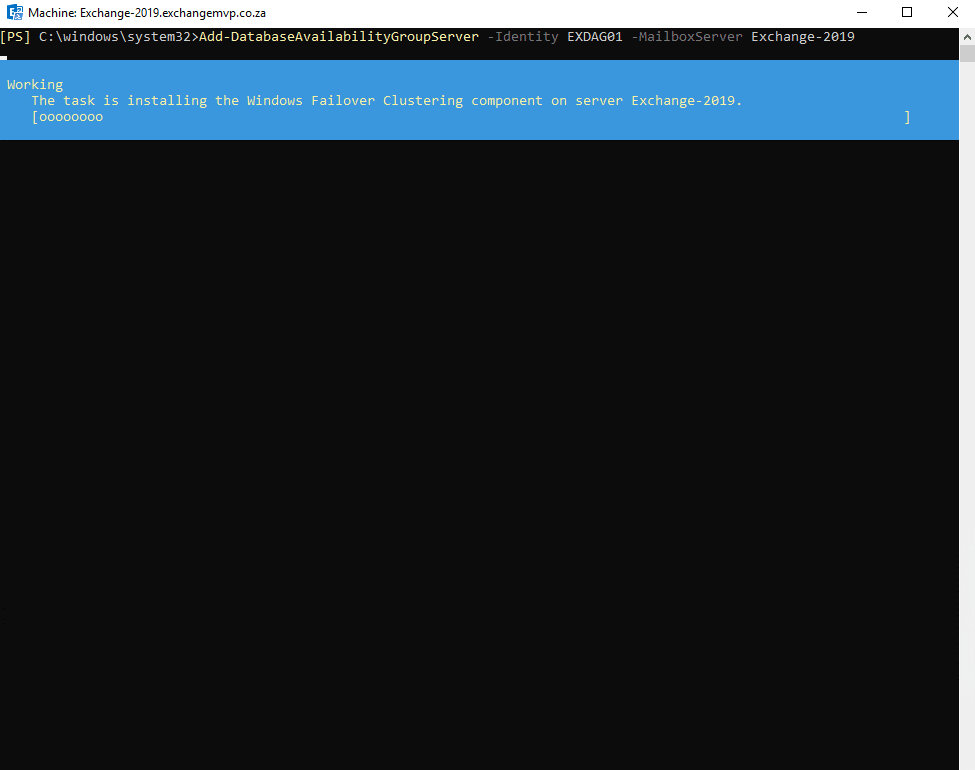
Next step is to add member servers to the newly created DAG you created, to do so you can run the following command:
- Add-DatabaseAvailabilityGroupServer -Identity DAGName -MailboxServer ServerName
http://everything-powershell.com/wp-content/uploads/2018/12/DAG5.png
This will install Windows Failover Clustering on your Exchange server/s. Can take a while.