Azure: Installing WordPress
Introduction
In this article, we are going to install WordPress on Microsoft Azure hosting. We will install the WordPress certified by Bitnami.
Microsoft Azure offers several WordPress options by default. In this demo, we’re going to use WordPress certified by Bitnami. Bitnami is a platform that supports multiple cloud services, such as Azure, Amazon, Google Cloud. It’s a very simple installation solution for WordPress and makes it very easy to install and configure WordPress in the cloud.
Before you install WP, we have to learn about Bitnami for a better understanding. Let’s install WordPress by Bitnami in Azure.
Steps
Step 1: Login
Log into the Azure portal using your account credentials at the following URL. https://portal.azure.com/
On the dashboard, choose to create a resource and type "WordPress".

Step 2: Create wordpress resource
In the WordPress list,we can select “WordPress certified by Bitnami”, and then click "Create".
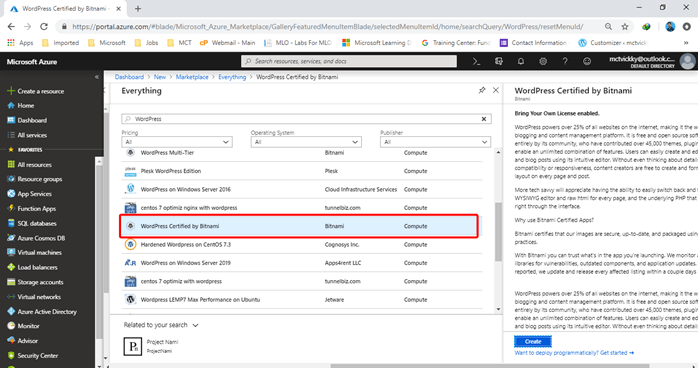
Step 3: Choose image
On the "Create a virtual machine" page, enter the name desired to assign to the virtual machine and we´ll choose the image to host on the platform. In this demo, we have chosen "WordPress certified by Bitnami".

Step 4: VM Sizing
In the Size option, we can select the cost and VM size as per our requirement. After choosing the size, click “Select”.

Step 5: AuthN option
In the Administrator part, we can find the Authentication option. By default, it’s SSH public key. We can change as “Password”, and then enter Username and Password.

Step 6: Validation
In the Validation part, the name and the preferred e-mail address is automatically added but we need to enter our mobile number and then, click “Create”.

Step 7: Deploy
After the deployment has succeeded, click “Go to resource”.

Step 8: IP addressing
In the VM part, copy the “Public IP address” and paste in the new tab.

Step 9: Check wordpress page
Yes, now we can check our WordPress page.
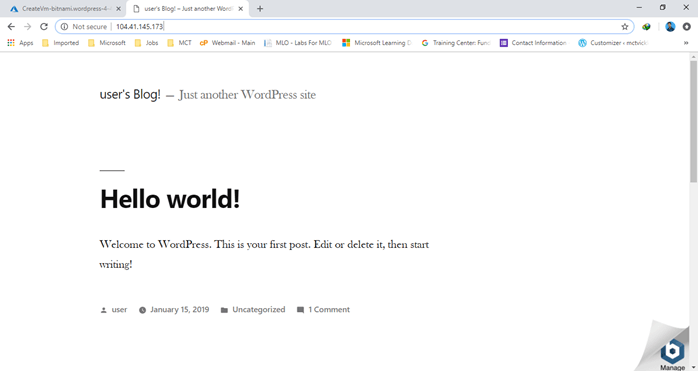
Step 10: Customize (1)
If we want to customize our page, type “Our Public IP address/we-admin” in my demo. our address is “104.41.145.173/wp-admin”. On this page, we need to enter our username and password and click “Log in”.

Step 11: Customize (2)
Now, we can "Customize our WordPress Site" as we want.

Summary
Hope now you understand how to configure WordPress in Azure. In step 9, you’ll face one error message regarding the username and password. In this case, go to your “Virtual Machine”, In the left panel, under the “Support + Troubleshoot” option, you can find “Boot diagnostics”. Click "Boot diagnostics" and then find the username and password.
If you have any questions, feel free to comment.