PowerShell: Azure AZ CLI Module
Today with Azure CLI “AZ” PowerShell Module Commands: Let’s take a look into how to use the PowerShell Module for your Azure Active Directory and how to deploy it.
Firstly as we discussed in the previous topic that you can already manage your environment over https://shell.azure.com however if you feel confort with PowerShell itself and don’t want to use another web session in your browser, then let’s take a look at it. Installing Az PowerShell Module: Open your PowerShell and then type “Install-Module Az” it’ll start to pull the data about the requested module and begin the installation. After that, your Azure PowerShell Module is ready.

Just let’s take a glance at the new commands which you have now with Az Module. Type in your PowerShell window: Just type “Az” and there you go! Az module starts to work. Just let you know, when you’re installing Az module it installs 2 module which called Az.Accounts and Az.Compute. It is clear that Az.Accounts for managing your subscriptions, account and Azure Active Directory and the other one is about Computing services such as Virtual Machines, Databases. Containers and etc…

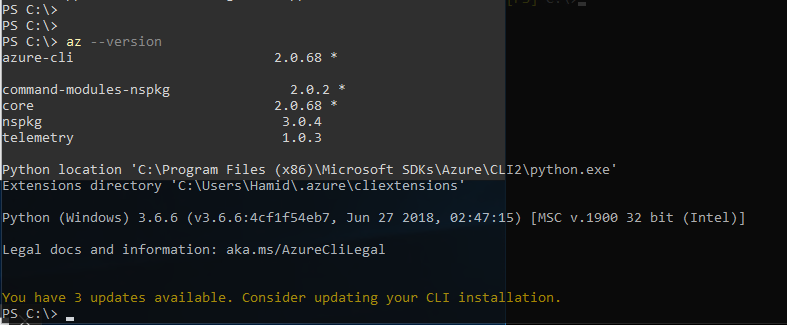
Let’s start with a useful command about your module. By typing Az - -version you can see a summary of information about your module, extensions directory and at the end if there is any update waiting for installation.
If you can see there are updates available for your Az Module then it is the first task you need to do in order to get the latest updates. Just type Update-Module Az and there we go, as mentioned in the below picture your module will start to get updates and let you know it’s done.

Now, in order to manage your environment, you need to connect your PowerShell module Az CLI to your Azure Environment. To achieve that use the following commands with Az at first.

Then it will prompt you for entering your security credentials and there we go! Now it is time to make sure you account is connected and you can execute commands over your module. Type the following command:
