Azure DevOps : Create & Configure Agent
Introduction
In this article, we will see how we can create an Agent Pool with an Agent (Windows VM) and test it with a pipeline build.
Before we start the deployment, we have to make a brief introduction of the steps. In the first part, we have to create a PAT (Personal Access Token) and use it to connect the agent to the Azure DevOps organization. In the second part we create an Azure Agent Pool and at the final step the Agent (Windows VM).
Prerequisites For The Agent VM
The Agent VM must meet the following prerequisites:
- Support OS (Operating System)
- Visual Studio 2013 or Higher
- PowerShell 3 or Higher
Create PAT (Personal Access Token)
PAT (Personal Access Token) is an alternative password that is used for Azure DevOps authentication.
We can create a PAT by following the steps below:
Step 1. Sign in DevOps organization page
Sign in with an administrator account in the DevOps orgazation page, e.g {https://dev.azure.com/you organization name/}
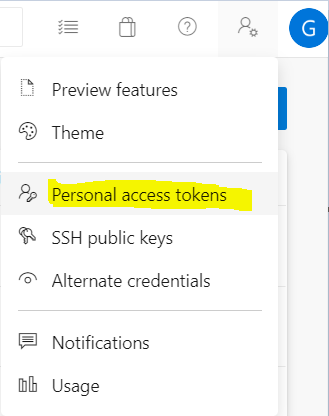
Step 2. Open User Profile
From the Top Menu, select [user profile] - [Personal access tokens].
Step 3. Create New Token
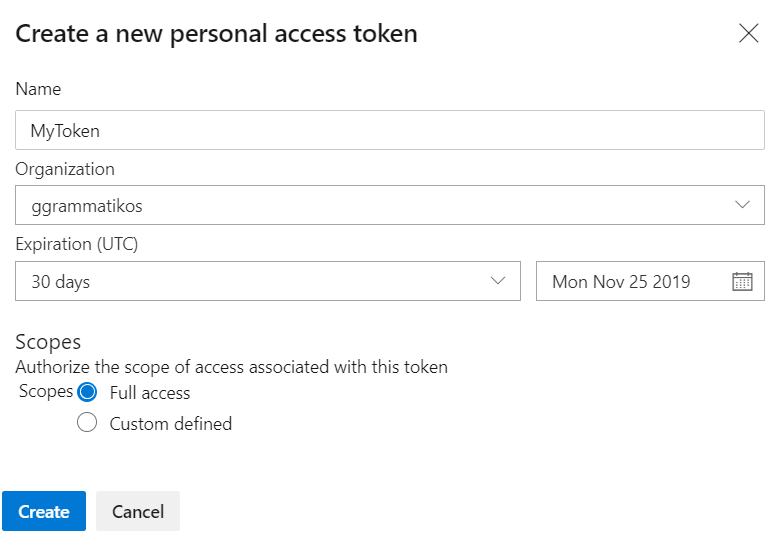
Select [+ New Token]
[
](resources/0601.New-Token.PNG)Fill in all the necessary fields and click [Create].
| Setting | Value |
| Name | Type the Access Token Name |
| Organization | Select an Organization or All accessible organizations |
| Expiration (UTC) | Select Token expiration |
| Scopes | Select Full Access or Custom defined |
Note
If we want to authorize for specific tasks then we MUST read about Scopes.
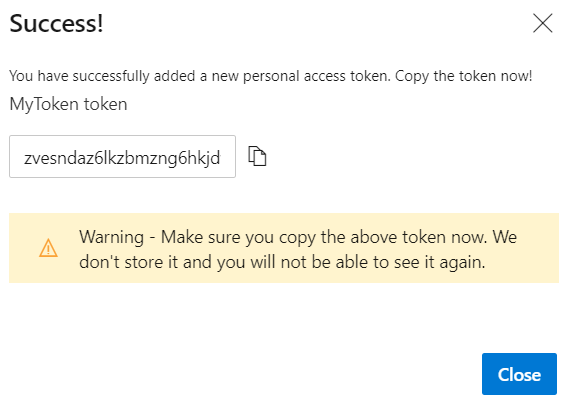
When the Token has created we MUST copy it because we will use it later in agents configuration.
Create Agent Pool
Before starting to build Agents we have to create an Agent Pool. This would help us to manage them better. The Agent Pools are extended to Azure Pipelines and also can be shared across projects.
Let us see the steps for an Agent Pool deployment.
Step 1. Connect To The Azure DevOps Organization
First we must connect to the Azure DevOps organization URL and select [Organization settings].

Step 2. Select Agent pools & Add Pool
Next, select [Pipelines]- [Agent pools].

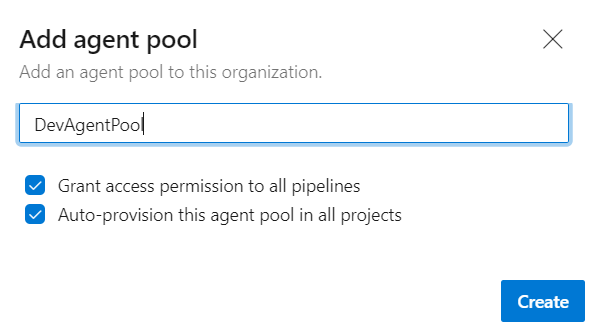
Click [Add Pool].
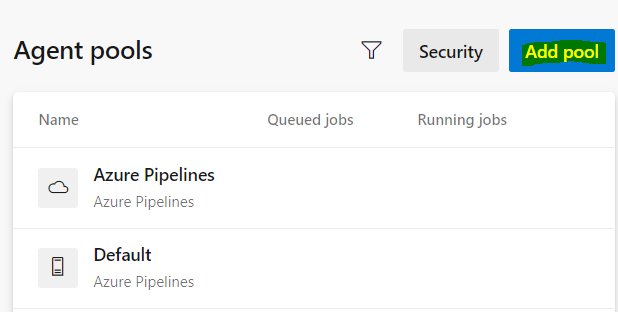
Type the name of the agent pool, e.g "DevAgentPool", and configure the permission and auto-provision settings and select [Create].
Create New Agent
An agent in Azure DevOps pool could be Azure agents or private/self-hosted (on-premises, azure VM). In general, an agent is a software that we need to install to a VM or a PC. The next steps show how we can create an agent using an Azure VM.

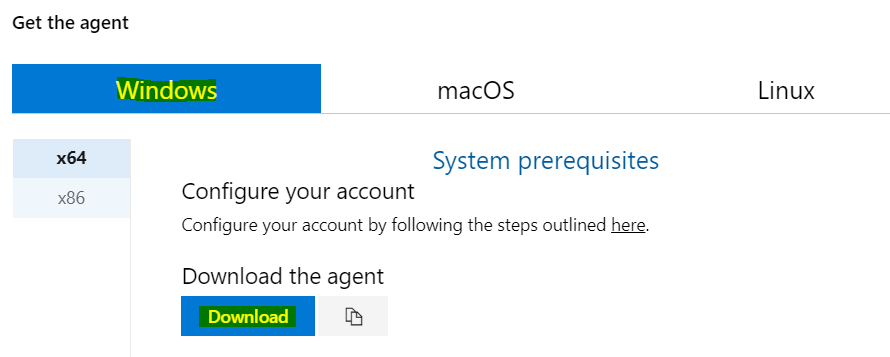
Step 1. Download the agent
The agent will build into an Azure VM with Windows Server 2016, and a VS 2017 Community Edition, for that reason we select to download the Windows agent, as the image below shows.
Step 2. Create Folder with name {Agent} And Extract The Files
The download of the file has now completed, and as a next step, we have to open Powershell app with administrative rights and execute the commands below.
With the below commands, powershell creates a directory named "agent", and extract to this directory the vsts-agent-win-x64-2.159.2.zip files.
PS C:\> mkdir agent ; cd agent
PS C:\agent> Add-Type -AssemblyName System.IO.Compression.FileSystem ; [System.IO.Compression.ZipFile]::ExtractToDirectory("$HOME\Downloads\vsts-agent-win-x64-2.159.2.zip", "$PWD")
Step 3. Configure The Agent
The next step is to configure the agent. We can achieve this goal by answering a series of questions.
- Enter server URL : Type the DevOps organization url, e.g https://dev.azure.com/your or organization name/
- **Enter authentication type (press enter for PAT) -> Enter personal access token : ** Copy and Paste the access token that we have created in the previous step "Create PAT (Personal Access Token)"
- Enter agent name : Type the agents pool name, e.g DevAgentPool
- Enter agent name : Type the agents name (VM Name)
- Enter work folder (press enter for _Work) : This folder exists into the directory C:\agent\
- Enter run agent as service? (Y/N) (press enter for N) : If Yes, then the Azure Pipeline Agent installed as a Windows Service
- Enter User account to use for the service (press enter for NT AUTHORITY\NETWORK SERVICE) : If Yes, we use the "NT AUTHORITY\NETWORK SERVICE" for the Azure Pipeline Agent Win Service, else we can type another windows user.
PS C:\agent> .\config.cmd

>> Connect:

Enter server URL > https://dev.azure.com/your organization name/
Enter authentication type (press enter for PAT) >
Enter personal access token > ****************************************************
Connecting to server ...

>> Register Agent:

Enter agent pool (press enter for default) >
Enter agent name (press enter for DevOpsVM) > DevAgentPool
Scanning for tool capabilities.
Connecting to the server.
Successfully added the agent
Testing agent connection.
Enter work folder (press enter for _work) >
2019-10-27 11:30:30Z: Settings Saved.
Enter run agent as service? (Y/N) (press enter for N) > y
Enter User account to use for the service (press enter for NT AUTHORITY\NETWORK SERVICE) >
Granting file permissions to 'NT AUTHORITY\NETWORK SERVICE'.
Service vstsagent.ggrammatikos.Default.NewDevAgentPool successfully installed
Service vstsagent.ggrammatikos.Default.NewDevAgentPool successfully set recovery option
Service vstsagent.ggrammatikos.Default.NewDevAgentPool successfully set to delayed auto start
Service vstsagent.ggrammatikos.Default.NewDevAgentPool successfully configured
Service vstsagent.ggrammatikos.Default.NewDevAgentPool started successfully
When we configure the agent to run as windows service then, we can view it from the Services panel.
To open the Service panel, we need to open RUN and type "services.msc".

Step 4. Run The Agent
The agent has configured, we have to run the following command to start the service.
PS C:\agent> .\run.cmd
At the image below we can see from the Azure DevOps page that the agent in the DevOpsVM works fine!

 Important Note Important Note |
|---|
If for any reason we need to remove the Azure Pipeline Agent from the VM, then we have to re-configure the agent from the begging. As an example of this, we can see the example below. |
Setup The Pipeline
The Agent Pool is built and also we check that the agent works fine as a windows service into the Azure Windows VM. We need to create a test pipeline and select the *DevAgentPool *to test it if works.
Step 1. Create The Pipeline
In the Azure DevOps organization page, we navigate to the Project ** - Pipelines - Builds, **

and select New - New build pipeline.

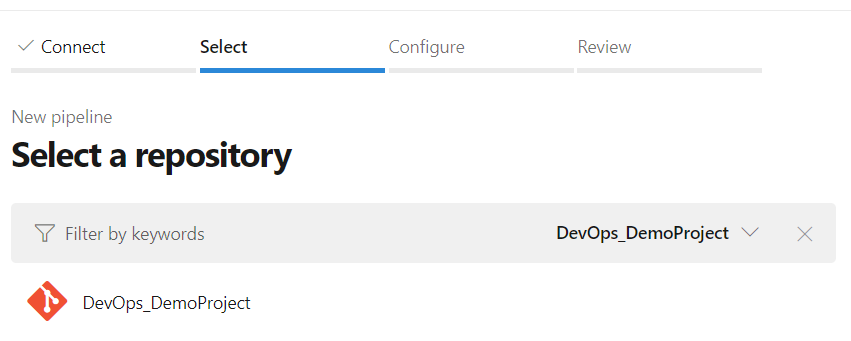
Step 2. Select Repository
At the next step we select a repository, e.g DevOps_DemoProject
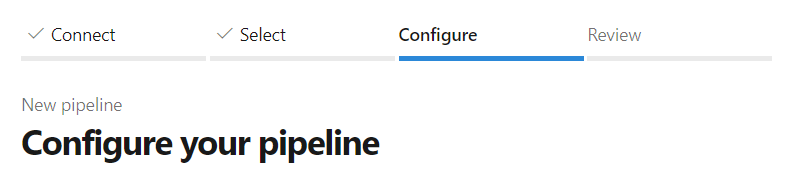
Step 3. Configure The Pipeline
Followed the wizard steps, we configure the Pipeline based on the type of the project, e.g "Azure Deployment:Create Or Update Resource Group action on DevOpsRG"
Step 4. Run The Pipeline
Before we run the pipeline we have to select the Agent pool and the Branch/tag and select Run.

At the image below we can see the results, after the pipeline has run.

Summary
This article is a quick overview of the Azure DevOps how easy we can create and configure agent(s) into a custom created Agent Pool, and at the end create, configure an Azure Pipeline and Run it to see how easily it works.
Related Links
- Windows System Prerequisites
- Download and configure the agent
- Unattended config
- Agent pool security roles, project-level
Note
Add your text here.
Note
Add your text here.
Note
Add your text here.