Power Virtual Agent: Build Chat bots with Zero Code
Introduction
Microsoft Power Virtual Agents enables you to engage conversationally with your customers and employees. Customer support or enquiries in an organization can be serviced by chatbots created using power virtual agents thereby reducing the turnaround time and improving the process efficiency. Microsoft Power Virtual Agents was introduced in November at the Ignite 2019. It joins the Power Platform segment along with Power Apps, Power BI and Power Automate which was earlier called as Flow. The video of introducing Power Virtual Agents can be viewed below :
Official Video on Power Virtual Agents :
Power Virtual Agents
Power Virtual Agents(PVA) can be accessed from this portal .

Click on Start free to either sign up or sign in to the PVA.
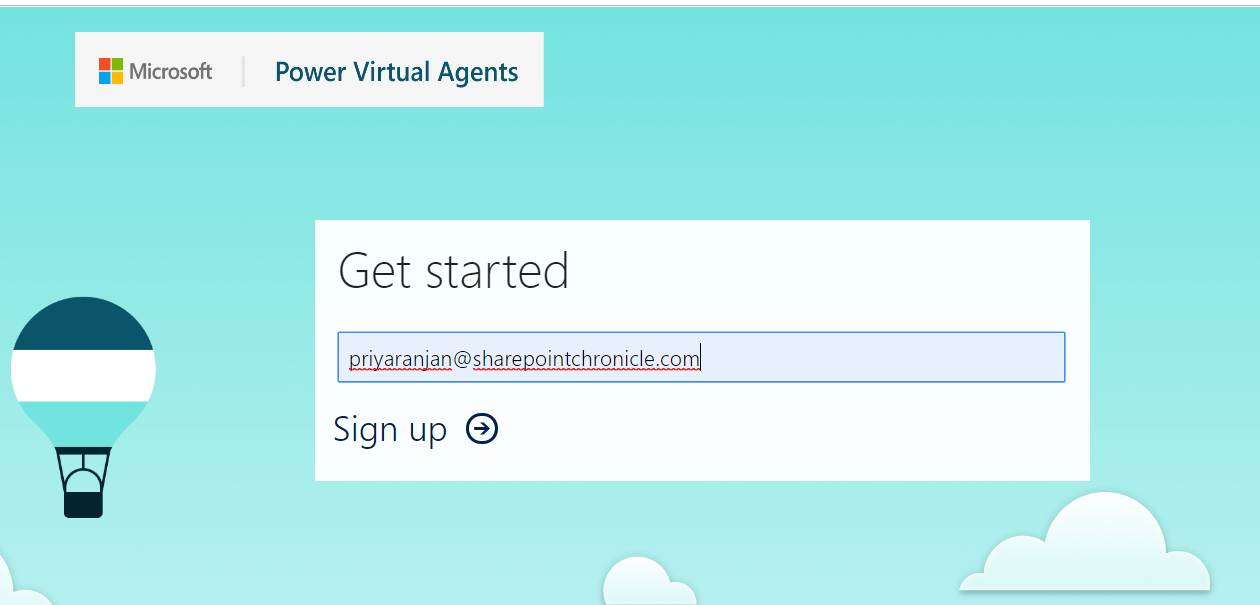
Create your first bot
Since an Office 365 account was provided, it will be automatically signed in to PVA. It opens up the PVA portal and opens up a modal dialog which enables us to start off with building a chat bot where we can provide a name for it. Since we would be creating an appointment system for the hospital, lets name it as Hospital Appointment.

Click on Create, and this will start with the creation of the basic chat bot.
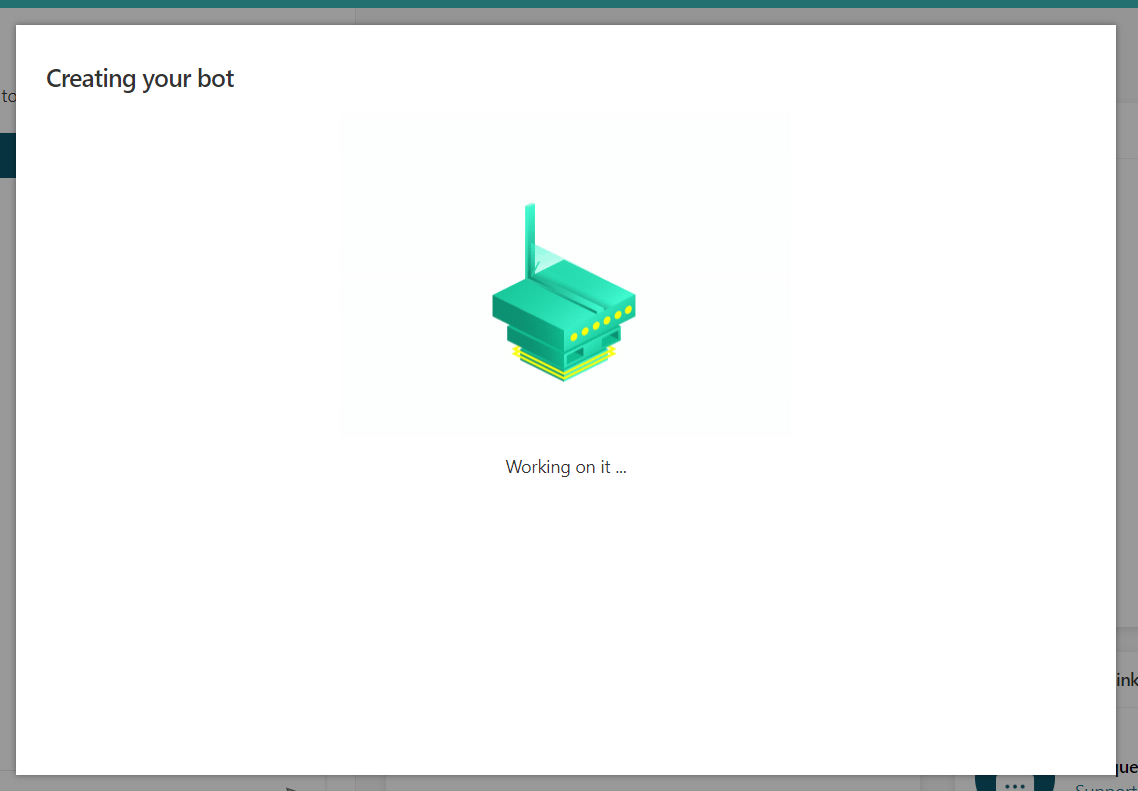
It may take few minutes to complete.
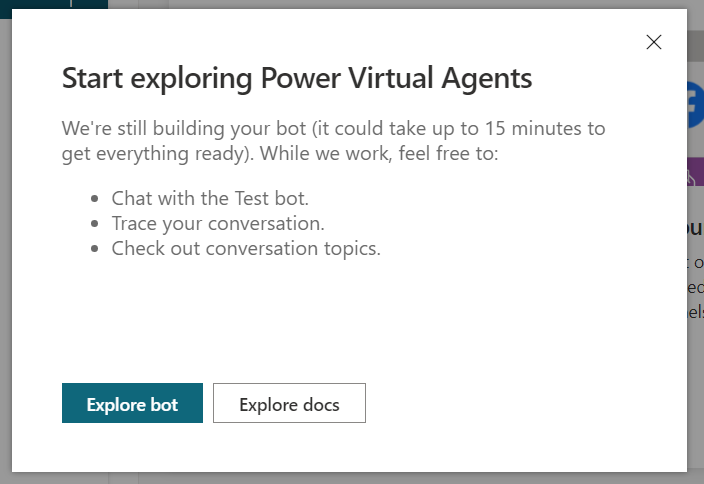
Thus the Bot has been created with the very basic functionality of responding with a greeting.
Customize Greeting
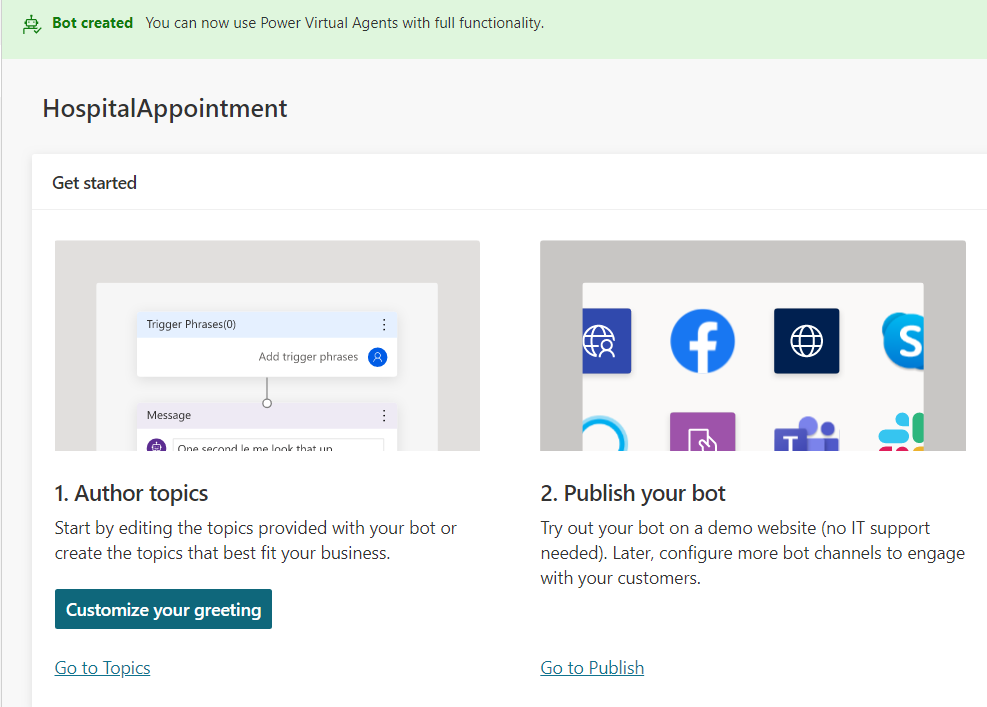
We can customize the greeting by clicking on the Customize greeting button
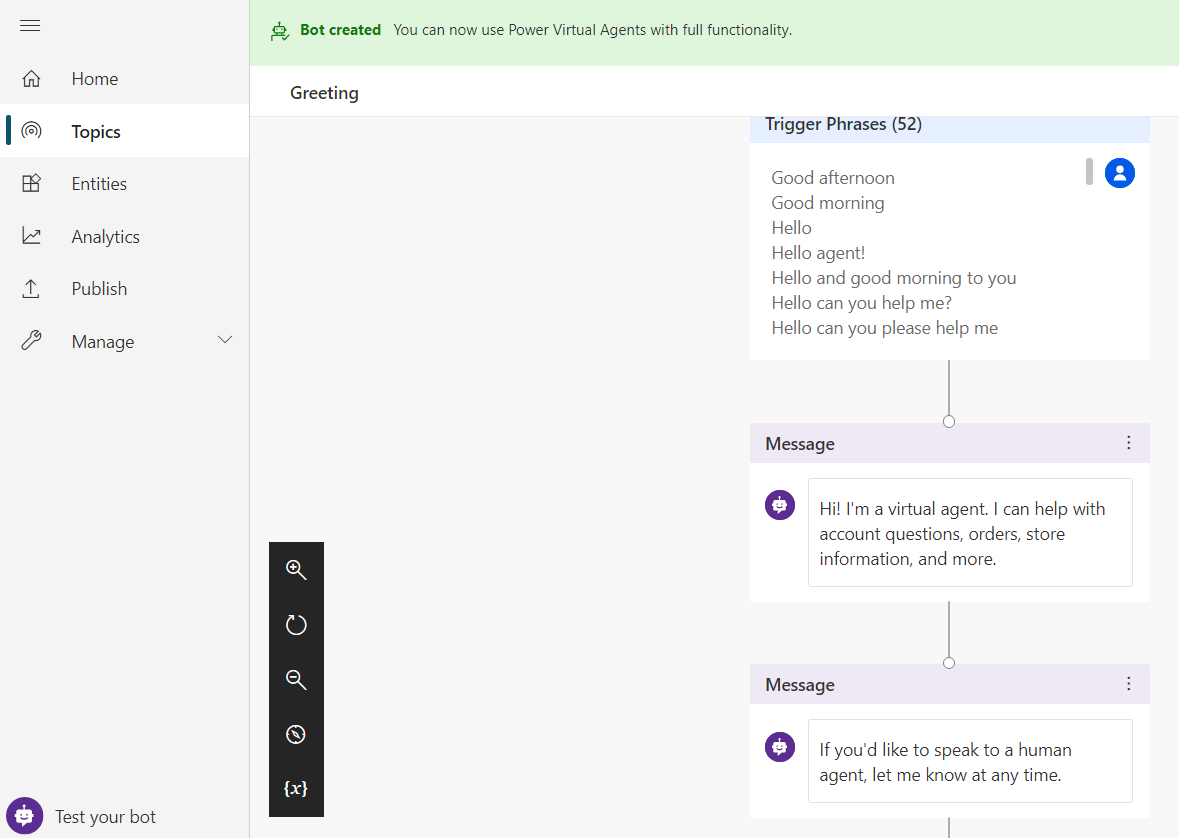
The default greetings flow looks like this. There are two general activities in the canvas.
- Trigger Phase : It is the keyword that would kickstart the Bot conversation
- Message/Actions : It is the response that the bot would present to the user in response to the user interaction
It can be edited or even deleted.

One of the interesting aspect is that it allows us to test the changes in real time with the Test Bot window to the left of the window. As we interact with the chat bot, it will show how the control flows in the canvas to the right of the window.

In case we input some triggers which is not defined in the trigger phase , the bot will not be able to identify the input and will give the feedback that it cannot find a related topic.
Topic Creation
Once the Usual Greeting with the Bot is completed, we need to define how the further interaction with the bot has to be handled. In order to do this, we have to define a topic which will contain the specific interactions with the user. In our case, we are building a Hospital appointment system, so we will be defining actions to
- Define the trigger phrases that will invoke the appointment flow
- Seek input from the user for the department they want to visit
- The time slot at which they would like to visit
- Their email address to send an email confirmation of the appointment
Click on Plus sign to create the new topic. We have created a topic called Hospital Appointment. Here as well, we will need to specify a trigger phrase that will trigger the Hospital Appointment topic flow. We will have to specify at least 5 distinct phrases, that would indicate the user’s interest in visiting the doctor as shown below :

Now we need to define the bot’s response once the user triggers the appointment flow using a triggering phase. Clicking on the Plus sign will show the below dialog which will let us add one of the actions as a response to the user query.

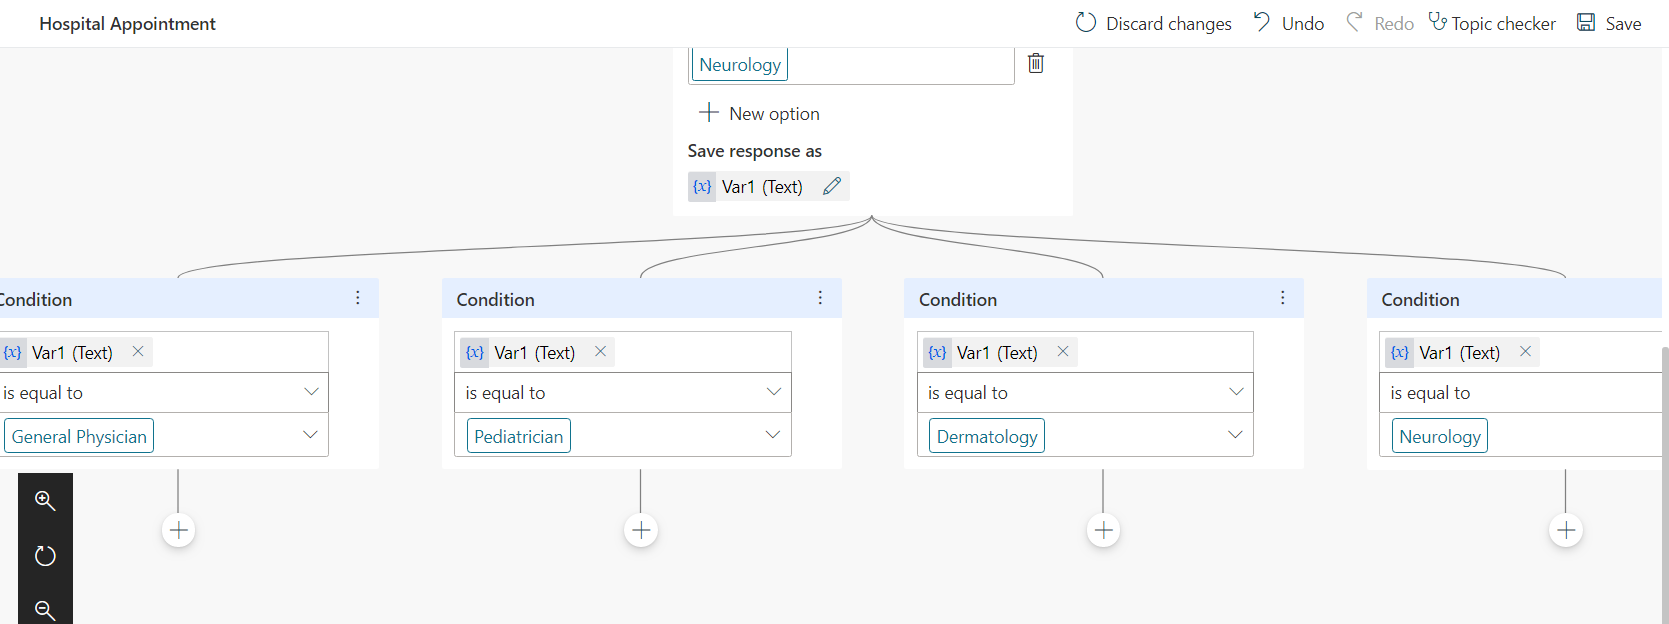
Lets click on the Ask a Question action to get more specific input from the user. We will then ask which department the user would like to visit, for which will give Multiple Choice Options.

We will add 4 options for the user to choose from

As we add 4 options, the canvas will add 4 branches as well so that based on the input it will branch off the control to respective branches
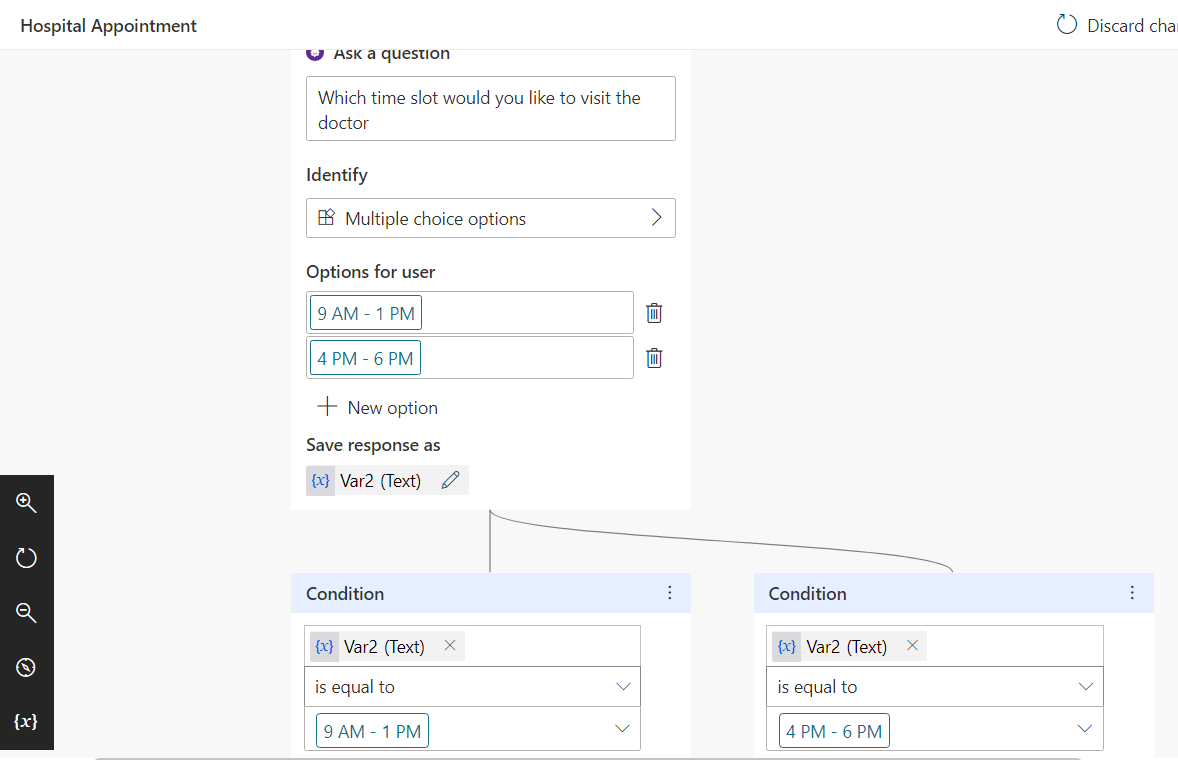
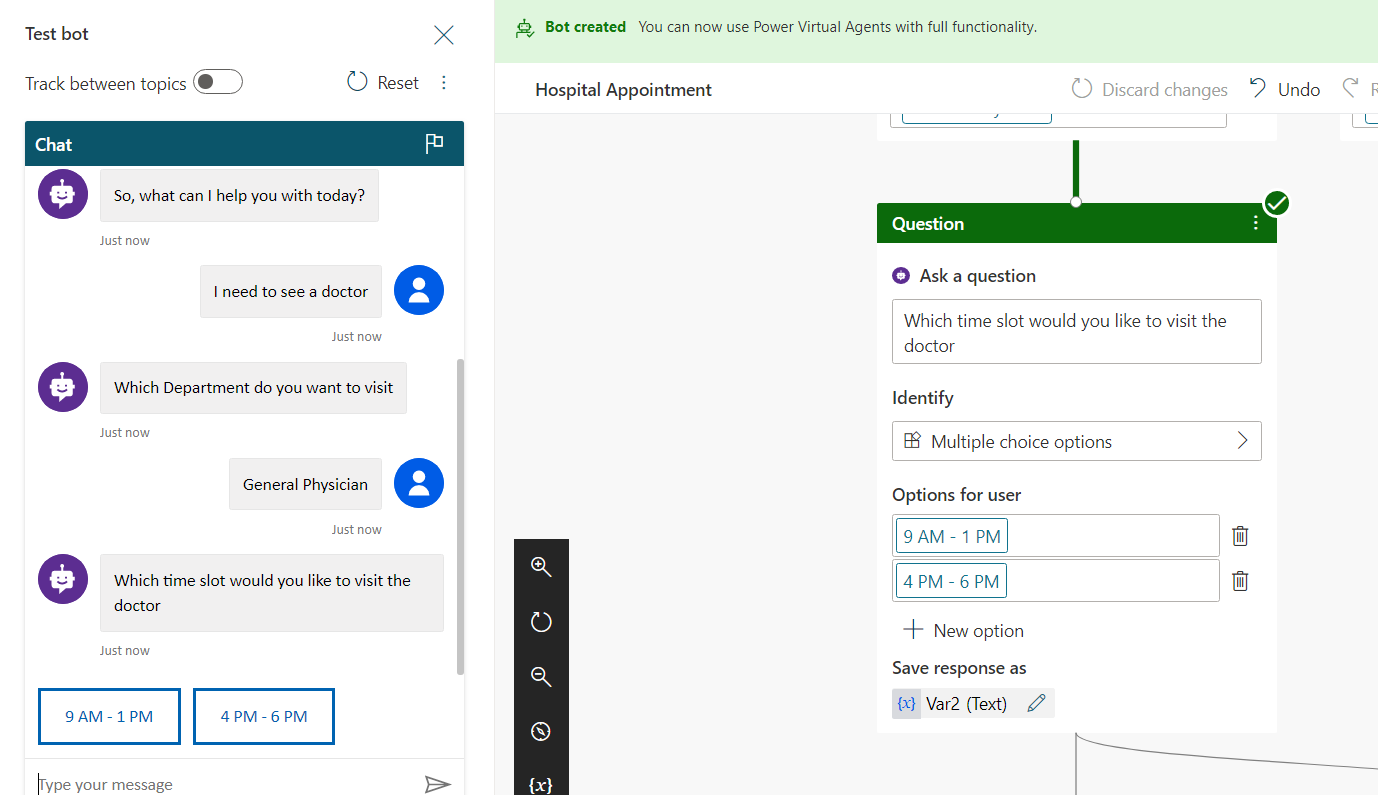
We will also add one more question, the time slot at which they would like to visit the doctor for which we have given 2 choice options.
Once they have given the above information, we will need to send an email confirmation for the appointment. Lets ask the email id of the user as well.

Now its time to define the email sending functionality for intimating the appointment confirmation. PVA allows us to call Microsoft Flow(Power Automate) which can be leveraged to send mail . Clicking on Call an action gives us the window that will allow us create a flow.

Create the flow
Clicking on Create a flow will take us to the Power Automate Portal which contains a predefined set of actions in response to the HTTP Request received trigger.
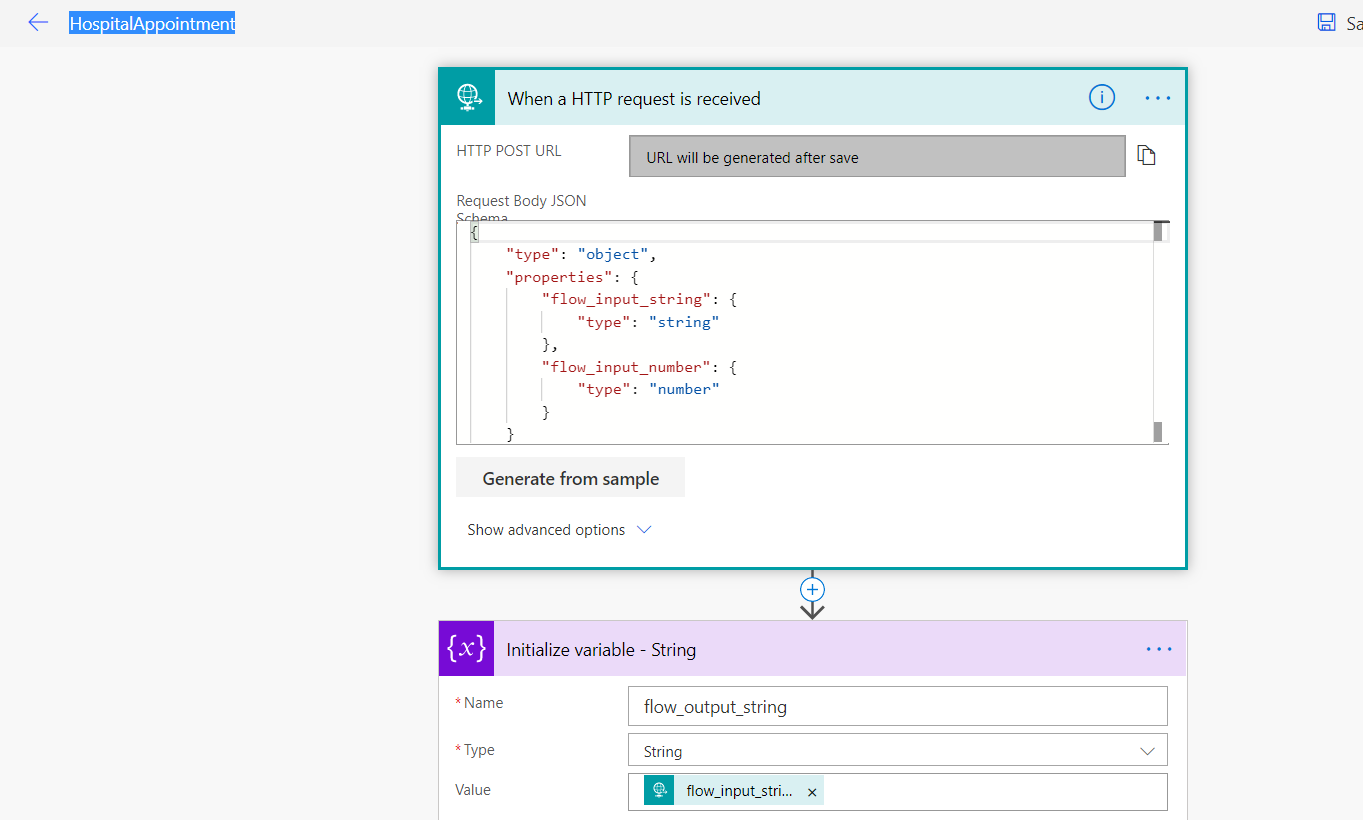
We will rename the flow to Hospital Appointment and we will click on Save before editing the flow to add the required business logic. On Saving, the flow comes up in the My Flows section.

However to use it with PVA, we have to move the flow from My Flow to Solutions.
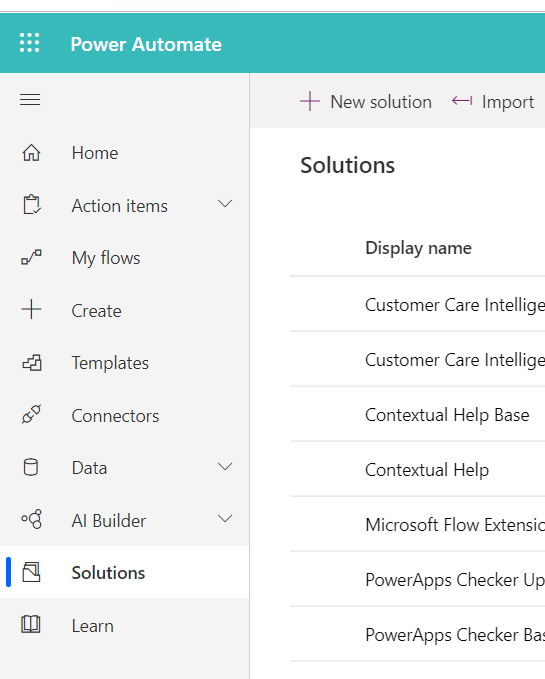
To do that , we will click on New Solution from the solutions tab and specify the Solution name and CDS as the publisher.

On clicking on create, it will get listed in the solutions section. Now we need to add the recently saved flow from My Flows to Solutions.

Click on New and select Flow.
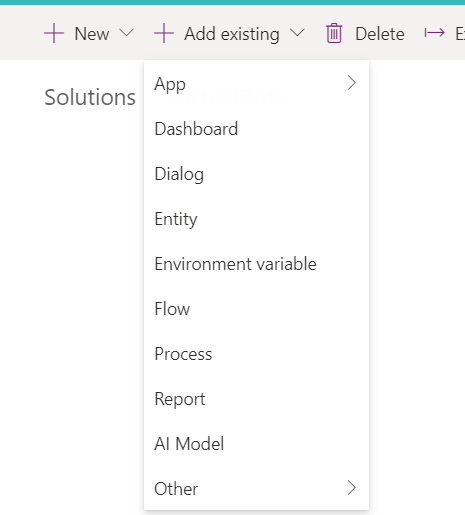
From outside solutions tab, select Hospital Appointment Flow.

This will move the flow from My Flows to the Virtual Bots Solution that we had created now.

Now if we move to the PVA, we can see that the Flow has been listed in Call an Action Pop Up.

Modify the flow
The flow has default parameters and actions which will have to be updated to make it work with PVA. Lets update the Parameters in the HTTP Request action as below by adding the departed,Timeslot and Email Keys.

We will also add send email action to send the intimation mail using the parameter values received from PVA.

Now if we go to PVA, and check the call an action we can see that the parameter count has been updated depending on the new parameter update we did in HTTP Request action in the flow.

On Selecting Hospital Appointment, we can update the input parameters of the flow

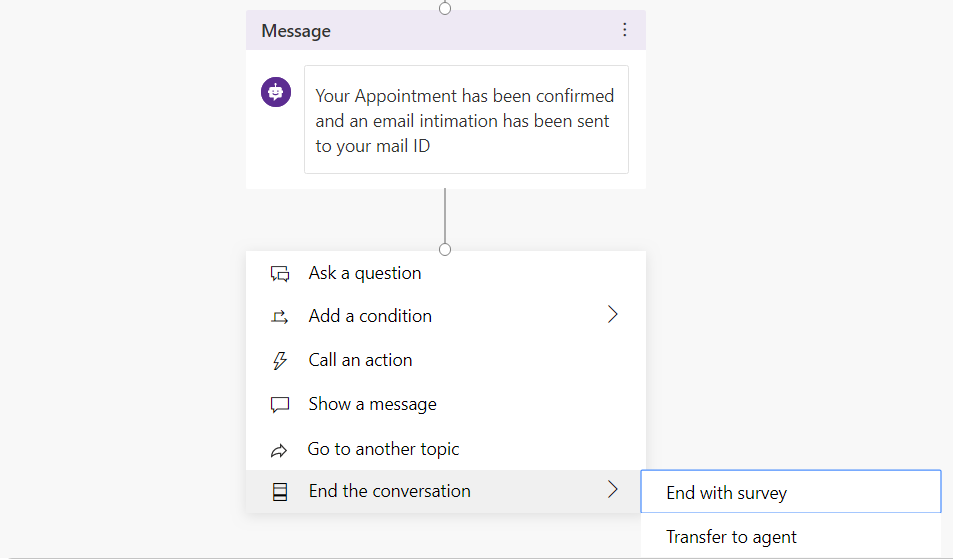
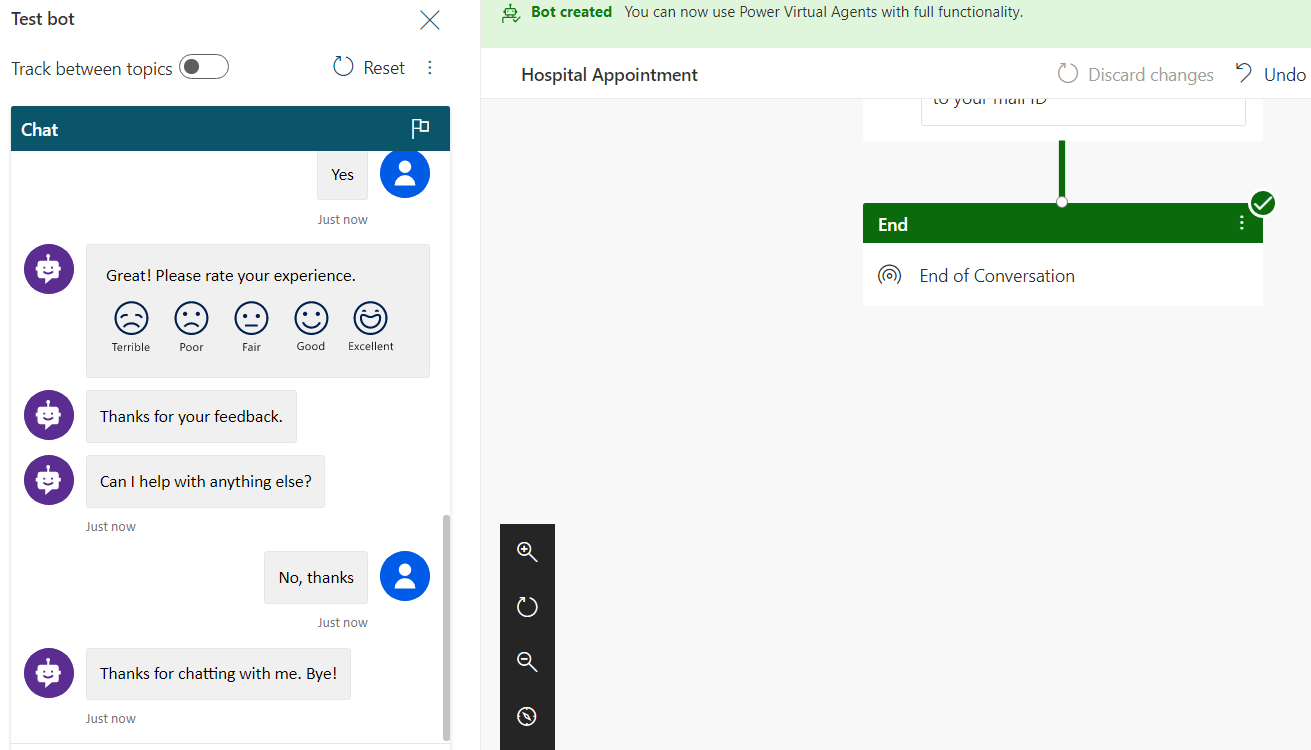
Thus we have configured triggering of Power Automate from Power Virtual Agent. Now lets end the conversation with a Survey.
Test the bot
Now lets test the bot by striking a conversation with the bot.

On typing in I need to see a doctor, it has triggered the topic and it asks for which department the user has to visit. At the same time, we can see the control flow in the right pane.

On selecting the department, it asks for the time slot.
And finally it asks for the email to send the intimation

This would trigger Microsoft Flow

This end the conversation with the bot
At the same time, we would have received the appointment confirmation from the bot

Publish the bot
Thus we have completed the development and testing of the bot,lets go ahead and publish it
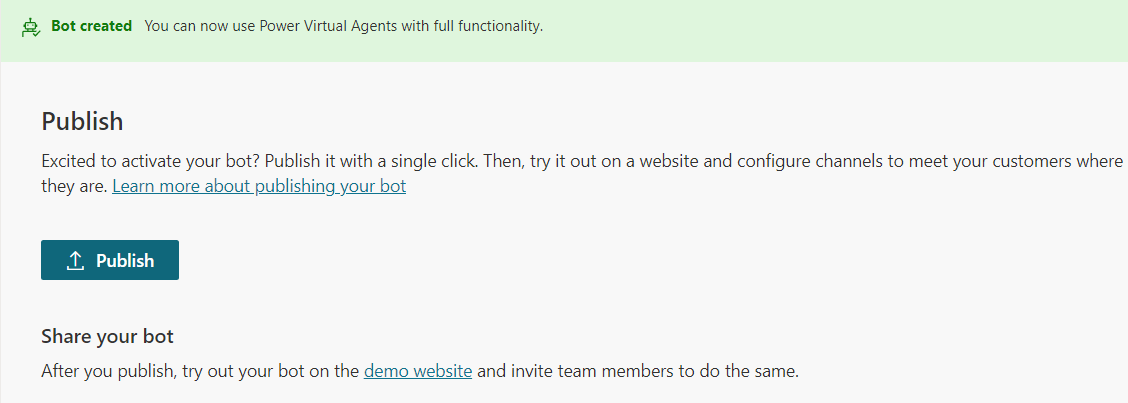
We can also try it out from the demo website url shown in the site to see how it works from a public site

In addition to this we can go ahead and publish the bot to numerous channels as shown in the below list

Summary
Thus we did a deep dive into how to get started with Power Virtual agents , connect to Power Automate and create a hospital appointment system