Power Virtual Agents: Build A Hospital Inquiry Bot with Multiple Topics
Introduction
Power Virtual Agents helps us create intelligent conversational chat bots without any code implementation. With these bots we can engage with customers and employees in multiple languages across websites, mobile apps, Facebook, Microsoft Teams, or any channel supported by the Azure Bot Framework
In this article we will see how to create a basic bot and publish it in a channel.
Business Use Case
We have a requirement where we need to create an auto response system for an enquiry that come to the Hospital. Having a dedicated user to attend to basic queries can lead to financial overhead and the enquiry service will go down beyond the normal working hours of the employee. To avoid this, we will try to setup an automated response system for some of the commonly asked questions.
Implementation
To implement the Automated Enquiry system, we will use Power Virtual Agents where we can create a bot to attend to the queries and give automated responses based on the information we have in the system. To start with we will head over to https://web.powerva.microsoft.com/ and click on the Bot symbol on the top right corner which lets you create a new bot

Specify the name and language for use in the bot as well as the environment where it should be provisioned.

It will create a basic bot where we can add the customizations needed for our requirement.

We can see the section Topics which by default lists multiple conversation topic listed out. A topic defines how a bot conversation will be initiated and how the bot would respond to user interactions.
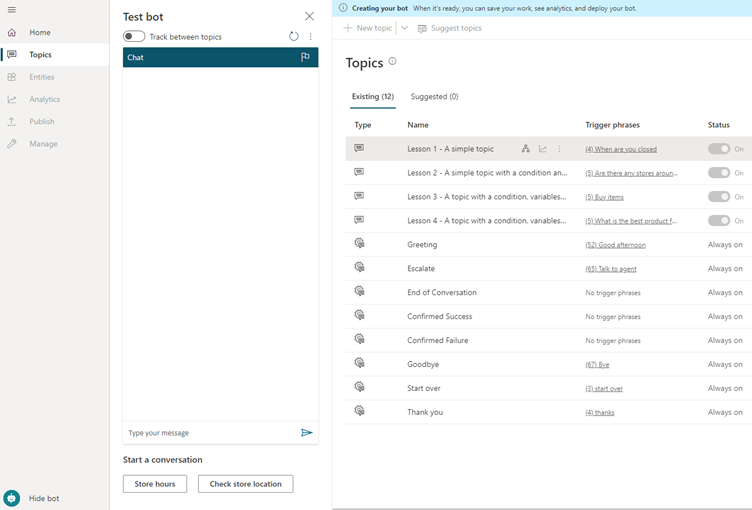
A topic is made up of:
- Trigger: A phrase or keyword which is related to the conversation that the user wants to start. Typing it into the chat window will act as a conversation starter with the bot.
- Conversational Nodes – These are individual actions that will make up a conversation pathway for both. Based on this bot will respond to user interactions
As the first step, lets create a topic that will define a general conversation starter which will pick information about the user. We can have multiple topics created in a bot and based on the way conversation is proceeding, we can navigate between multiple topics. Click on New Topic and Select From blank to create a Topic

We will create 4 topics each of them corresponding to an enquiry .To trigger the topic, so that the control flows to that specific topic, we will define few words that will transfer the control to these topics. First topic that we will define is Hospital working hours. The trigger phrases can be single keywords or a group of words and to cover a broad spectrum of possible trigger conditions, it is good to mention 5-10 different and still related phrases. We can specify the name, friendly name, and description for the topic in this section.

Once we are done with the updation of the trigger conditions, click on the “Go to authoring canvas” which will provide us with a screen where we can define the conversational nodes that will control the flow of the conversation and how the bot responds to the user.

Clicking on Add node will provide us with the below options:
- Ask a question - We can Ask questions to the user so that we can take input from the end user
- Call action – Call Power Automate to start a flow
- Show a message – shows static message or information to the end users
- Redirect to another topic – Transfers control to another topic for execution
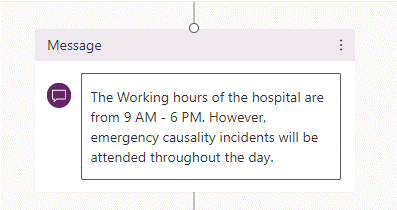
In the current sample, we will select show a message node.

We will add the information about the hospital timings in the message box which will be displayed back to the user.
We will need to keep the conversation going with the user and to ensure that, we can ask a question, if they need any more help, by adding another node and provide a Yes/No option.
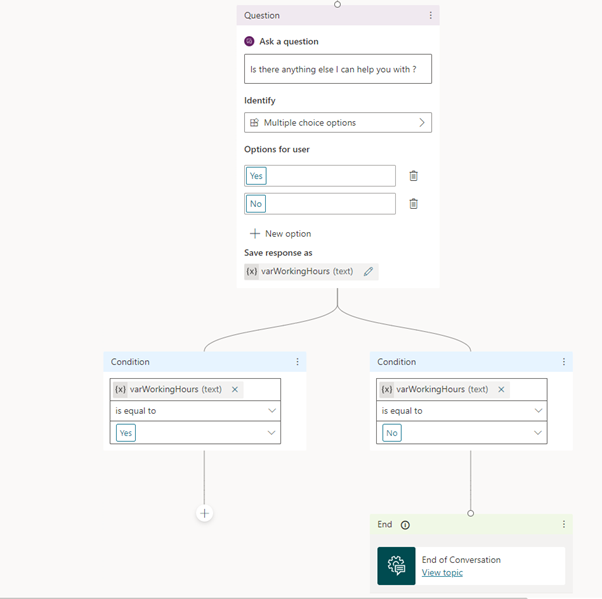
The response selected by the user will be saved in the variable name varWorkingHours. Based on the value, it will have branches and the control will flow based on the user input. In case the value is Yes, the chat will listen to next input from the user which will trigger another topic else if the value is no, we will end the conversation by selecting a survey so that it exits the chat session.

In case we need to rename the variable, we can click on it which will open the right pane where we can edit the variable name.

Add more topics
Same way, we can add more topics to broaden the Knowledge base so that the bot can take up more questions and provide valuable information to the user. We will go back to Home and click on New topic and this time create a topic – Hospital Address. We will add the trigger phrases and move on to the authoring canvas. As there are 2 branches to the hospital, We will add a question to get more clarity on what information is the user seeking by providing the location for both branches.

Based on the user input, the value will be saved in the variable varHospitalChoice and the control will pass on to the corresponding branch which will show the respective hospital address in the message box.

To continue the conversation, we will ask the same continuity question we asked in previous topic. If the user chose Yes, we will again keep the node open ended which will listen to the user input from the chat window to trigger another topic and if the user selects No, we will end the chat with a survey.
More Topics
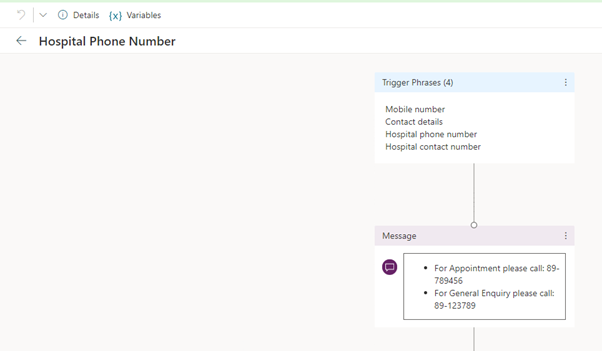
As a third topic, lets add the topic that will drive conversation around the Contact Number and name its Hospital Phone Number. We have added few trigger phrases and will move on to the authoring canvas.

Inside the authoring canvas, we will add the message box that gives the details about the contact numbers
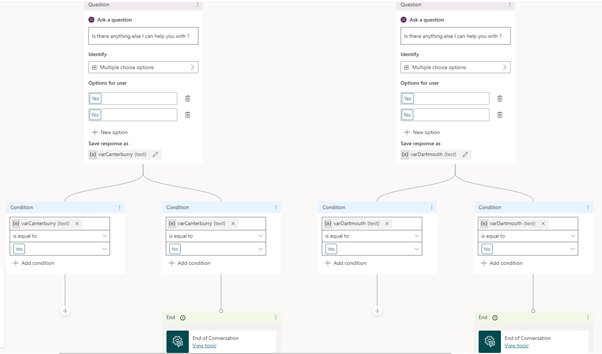
Finally, we will add the continuity question and based on the Yes/No input of the user we will either leave the node open ended in case of a Yes or end the chat with a survey in case of a No.

Final Topic
Let’s add one more final topic that gets us the doctor details and name it Hospital Doctors . After adding few trigger phrases, we will move on to the authoring canvas.
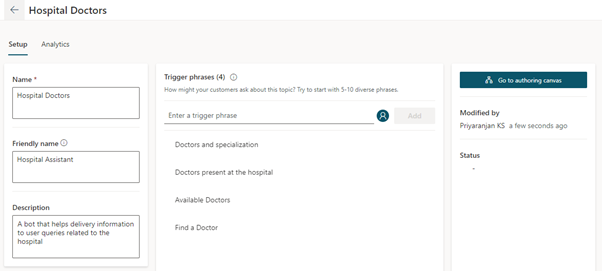
Here we have added the message node to display the doctor information.

We will finally add another node to ask the usual continuity question and if the input is a Yes, leave the chat open ended for further listening to trigger phrases that invoke any other topics or if the input is a No, end the chat with a survey

Thus, we have created 4 topics overall

Test the Bot
Now let’s test the bot by making use of inbuild test bot test pane where we can type in a message which will trigger one of the topics. I have typed in the Working hours text which invoked the “Hospital Working Hours” topic and gave us the corresponding information as a message.

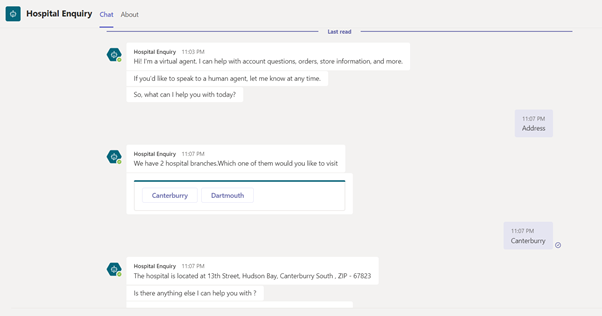
Let’s add another query related to Hospital address
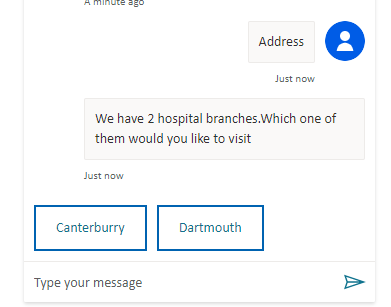
Selecting one of the location, will give us the exact address of the hospital :
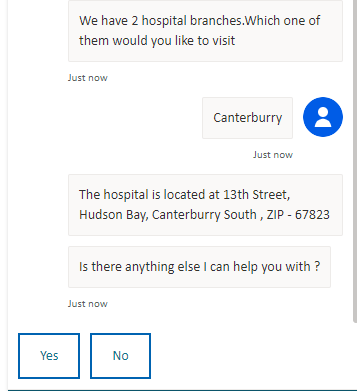
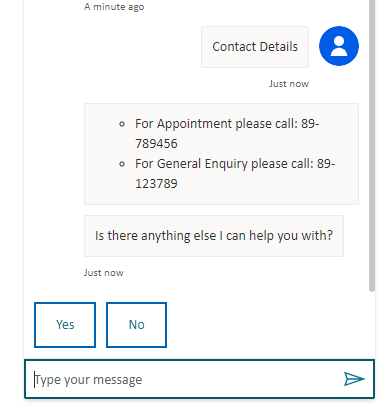
Trying out another query related to Contact Number, we get to trigger the Hospital Phone Number Topic and give us the required details
Let try one final query related to Doctor information which triggers the topic Hospital Doctors and gives us the details of the available doctors

Selecting No, will end the chat with a survey

Publish the Bot
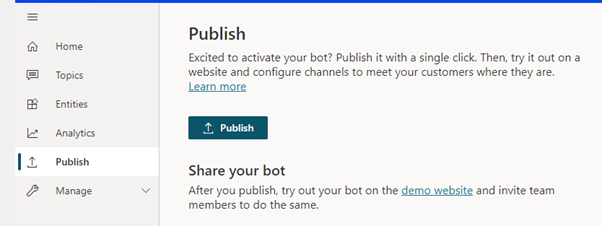
Let’s finally publish the bot by going to the Publish Tab
We can make the bot available in multiple channels by clicking on Go to Channels option at the bottom of the page.

It will provide us the option to view the bot in Teams to try it out even before installing it in team by clicking on Open bot. Or else to view options to deploy it to teams, click on Availability Options

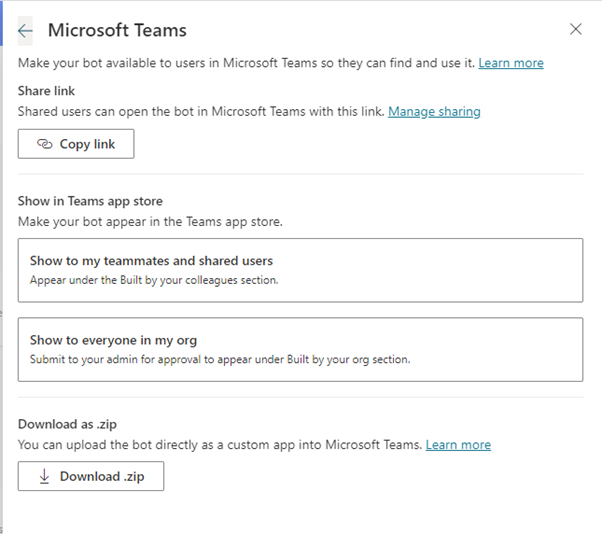
It will provide the option to share it with users or submit it to the admin for tenant wide availability. We can also download the bot as a zip and upload it as a custom app in Teams.
Once the bot is made available in teams, we can test it out the same way we did in the inbuilt bot tester.
Same way , we can deploy it to other channels like host it in a website, Facebook, slack, telegram etc. :