Language Quality Game - Player Instructions
**![]()
Goal** – Review the screen shots and determine if there are any language and/or translation issues. If screen shot looks good provide positive feedback. If you find issues, submit negative feedback using the tools provided. The tools allow you to define the problems with highlighted images and your comments describing the issue. Once you complete your review selection you will advance to the next screen until you have completed that set. Move on to the next set title available or to a completely different game. Our focus with this game is to isolate language and translation issues only. We are not currently using this tool to report other issues.
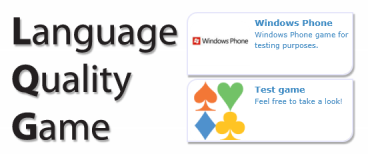
Let’s Get Started – The main landing page is displayed below. The game categories are shown as icons on the right of the LQG logo. The number and Types of game categories available to review will vary and are subject to change. The Window Phone and Test Game icons listed as examples and are not necessarily available for your specific game. To
start playing LQG, just click on game title icon.
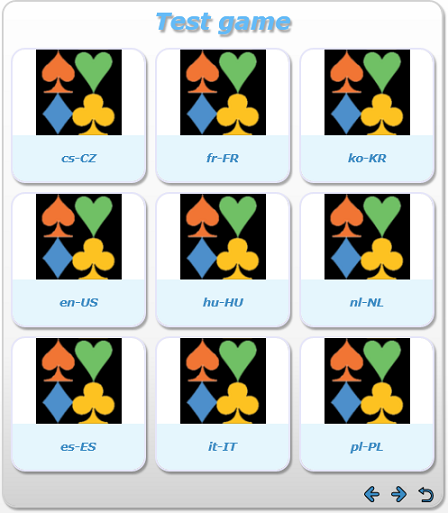
Select a language to review from the selection- The default view shows 9 available languages. Clicking on the “Right Arrow” in the bottom right will show additional selections to choose from.
Return to Top
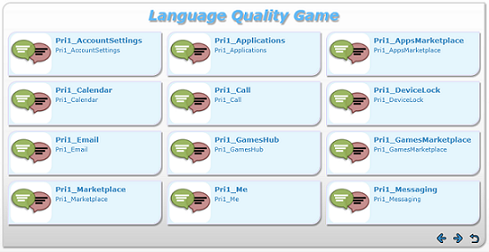
Select game title - The default view displays 12 available titles. Clicking on the “Right Arrow” in the bottom right will show additional selections to choose from.
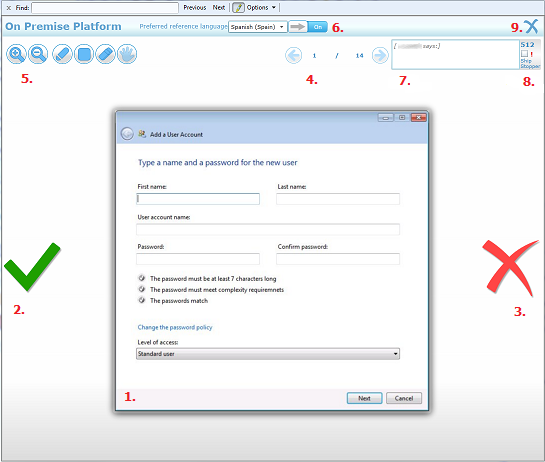
Game Interface – Once you select a title the rating interface is displayed with the tools to allow you to submit your feedback.
- Screen Shot
- Positive Feedback
- Negative Feedback
- Advance or Return – works once titles are completed
- Tool Set – Zoom in/out, marker, rectangle, eraser, and move
- Side by side comparison – compare different language examples
- Comment Box (512 characters)
- Ship Stopper – check box
- Close Window – return to previous page
Review the screen shot Screen Shot–** look for language and translation issues. Is the proper grammar or phasing used? Do the sentences or statements sound correct? Is the proper noun or verb tense used? Are there blatant translation issues that would insult or give the wrong meaning? Please submit all the issues you find. If the Screen Shot looks good and there are no issues, select the Green check to submit positive feedback and move on to the next screen shot. If you find issues (bugs) highlight them on the Screen Shot and select the Red “X” to submit your negative feedback.
Positive Feedback – Select Green Checkmark - The Screen Shot looks good, there are no issues that you can see. Selecting the Green Checkmark will conclude the review and move you on to the next Screen Shot.
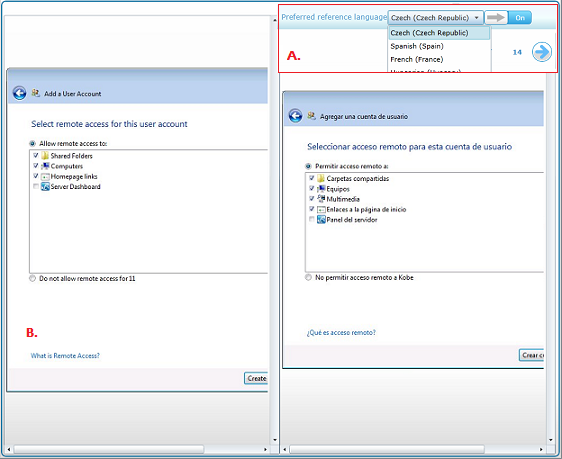
Compare Screen Shots – Sometimes you need to compare Screen Shots to aid you in identifying issues. The compare tool allows you to reference the same Screen Shot in another language version.
- Once you have a Screen Shot displayed
- Go to “Preferred reference language” as shown in (A.)
- Select the drop down arrow
- Select a Preferred reference language
- Click the “On” switch
- View Screen Shot as shown in (B.)
**
Highlight suspected issues -** Use the tool set to the left of the screen to highlight the issues that you suspect to be bugs. You can zoom in or out on the Screen Shot to get a better view of the issue. Use the marker or the rectangle to draw and highlight the specific issues. If you’re not happy with your drawing, select the “eraser” to remove your markings and start again. You can use the “move” tool to adjust the Screen Shot, if needed. Once you have your review completed and the Screen Shot is marked to indicate the issues that you have found, click the Red “X” to submit negative feedback.
- Using the rectangle tool will highlight your selected area
- Using the marking tool will let you draw to highlight the area
- Once you have completed your edits of the issue, select the Rec “X” to complete your negative feedback
Return to Top
**
Negative Feedback –** Select the Red “X” – The Screen Shot has language or transition issue. Selecting the Red “X” will prompt you to submit negative feedback before moving to the next Screen Shot.
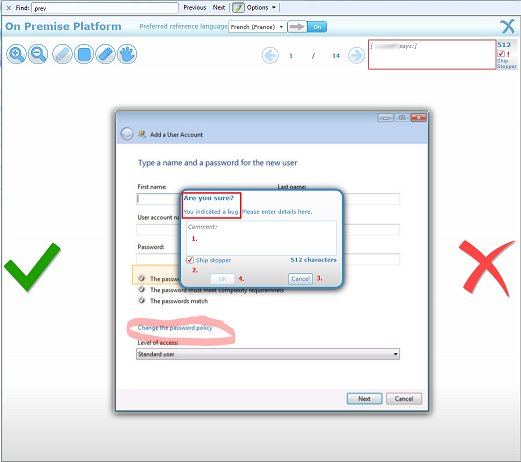
How to submit Negative Feedback – Once you have completed highlighting the issues on your Screen Shot, select the Red “X” to submit you’re negative feedback. Once selected, a dialog titled: “Are you sure?” will display prompting you for detailed feedback on the issue (bug).
- Provide a brief description of the issue (no more than 512 characters) in the comment box provided.
- Select the “Ship stopper” check box, if you suspect that the issue is a severe enough to merit it.
- If you change your mind cancel out of the dialog
- Once you have completed you negative feedback, click “OK” to submit your issues
Support Feedback from Others – Once The Feedback feature must be enabled by the Project Owner to be available for your game. Games with the Feedback feature activated, display the negative feedback for the screen shots which have feedback associated. The feedback for each Screen Shot is visible through the Feedback Panel, located to the right of the main window. Each screenshot will have varying amount of feedback depending on the feedback submitted by players. Before submitting your feedback, review the feedback submitted for each screenshot. You can then either click the button to support the feedback comments that you also observed, or submit feedback for the new issues that were not reported. Click the button to support the Feedback comments you observe. Submit your own Feedback for new issues not listed for the Screen Shot.
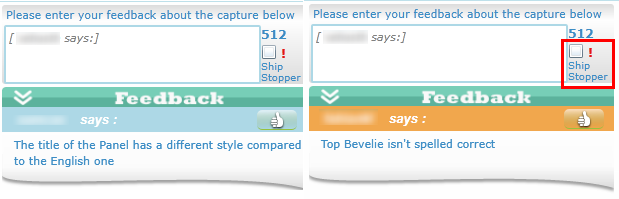
Feedback Headings – The regular Feedback headings are light blue. Feedback Headings with the “Ship Stopper” designation are gold and indicate a possible severe issue that merits review for top priority.
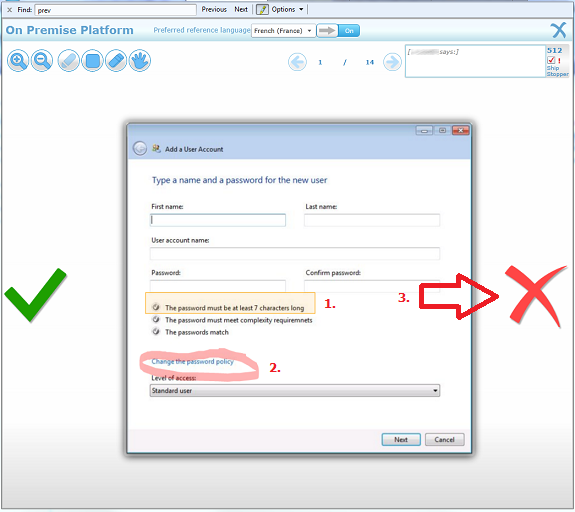
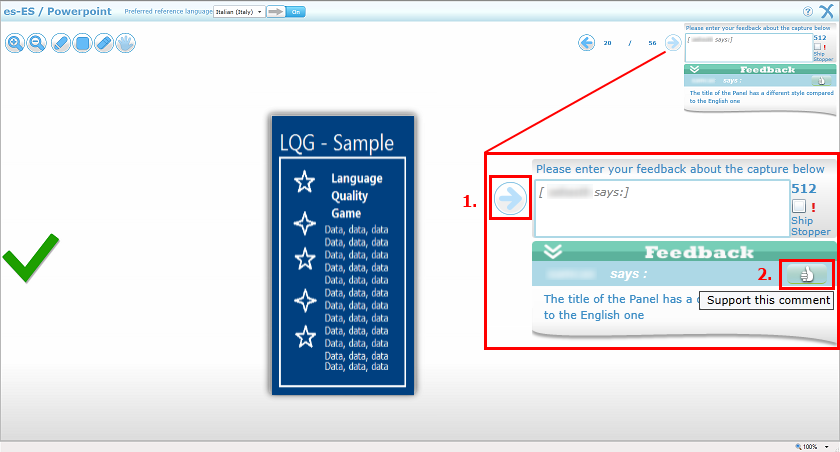
How to Provide Feedback – Feedback Panel will display any negative Feedback associated with the Screen Shots available for your game. Screen Shots that require review have the Advance Arrow greyed out (1.) and the Feedback button (2.) active. Each Feedback title has this feature available.
Select Feedback button - A hover message “Support this comment” will display for active Feedback buttons (2.). Review the feedback listed for the screenshot. If you have observed similar behavior, you can then confirm your support by clicking the Feedback button. Clicking the Feedback button (2.) confirms that you have observed and support the comment listed for the Screen Shot.
Note: Feedback you submit will not display in your Feedback list. Your Feedback is displayed to other Players when they view the same Screen Shots for their game.
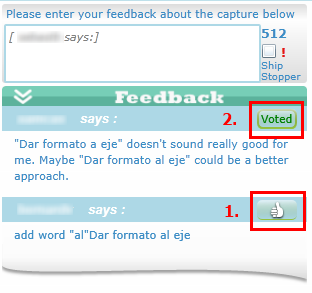
Support Comments – You will see active buttons when reviewing a Screen Shot with negative comments attached through the Feedback Panel. The original state (1.) represents that you have reviewed and support the comment. Once selected, the button displays Voted (2.)
**
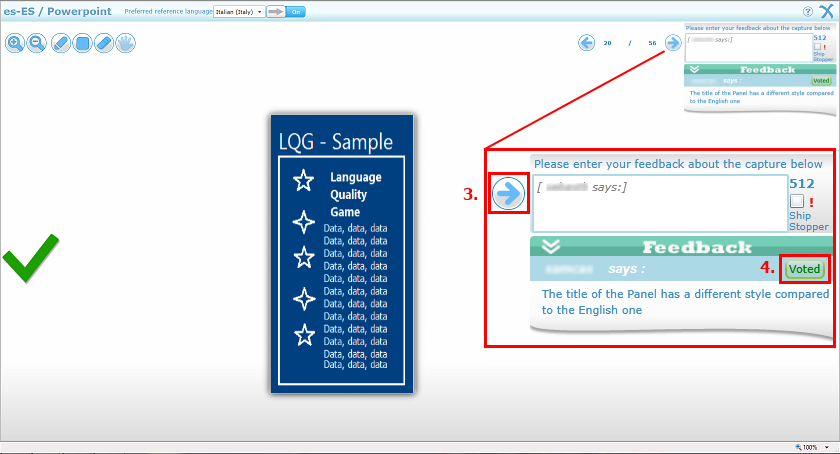
Feedback Comments Confirmed** – The Advance Arrow (.3) for your Screen Shot is enabled once you click the Feedback button. All Comments that you have reviewed and approved for the Screen Shots show “Voted” (.4) on the corresponding button. Move to the next Screen Shot using the Advance Arrow once you have completed your review. Continue reviewing Feedback for each Screen Shot available in your game.
**
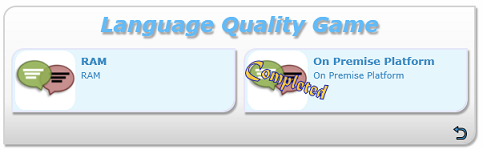
Test completed –** Once you complete an individual game level, you will receive a dialog congratulating you. Closing the dialog will return you to the game titles main page. The game titles that you have finished will display “Completed” across the title icon. Choose a remaining title to start a new game or select the completed title to review your selection.
Review – Completed game levels can be reviewed and changed if necessary, just click on the completed title. The navigational arrow will allow you to go forward or back in your deck. You may also review separate screens once you have submitted feedback and your navigational buttons are active. You can tell where you are at in your game deck by viewing the numbers (example: 9 / 14) between the navigation arrows up in the upper right of your window.
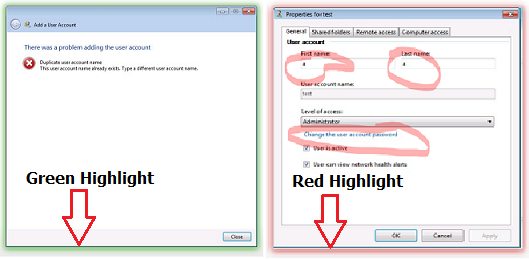
Identify what feedback you submitted on specific Screen Shots by viewing the highlighted green (positive) and red (negative) feedback that was submitted for them (see image below).
Thank You for Your Participation!