Build and train a custom generative model with AI Studio
In this article, learn to build and train a custom generative model with Azure AI Studio. Document Intelligence custom models require as few as five training documents to get started. Do you have at least five documents? If so, let's get started training and testing the custom generative model.
Prerequisites
You need an active Azure subscription. If you don't have an Azure subscription, you can create one for free.
Once you have your Azure subscription A Document Intelligence instance in the Azure portal. You can use the free pricing tier (
F0) to try the service.After your resource deploys, select Go to resource and retrieve your key and endpoint.
- You need the key and endpoint from the resource to connect your application to the Document Intelligence service. You paste your key and endpoint into the code later in the quickstart. You can find these values on the Azure portal Keys and Endpoint page.
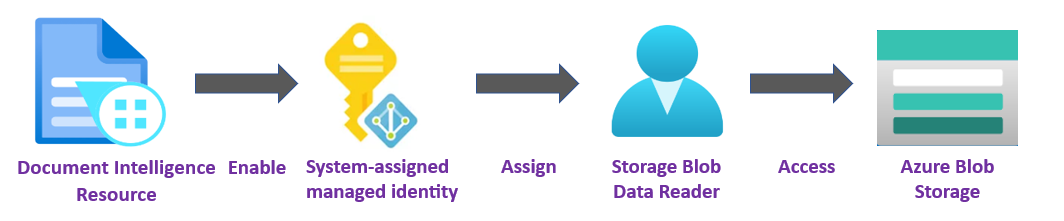
Storage container authorization
You can choose one of the following options to authorize access to your Document resource.
✔️ Managed Identity. A managed identity is a service principal that creates a Microsoft Entra identity and specific permissions for an Azure managed resource. Managed identities enable you to run your Document Intelligence application without having to embed credentials in your code. Managed identities are a safer way to grant access to storage data and replace the requirement for you to include shared access signature tokens (SAS) with your source and result URLs.
To learn more, see Managed identities for Document Intelligence.
Important
- When using managed identities, don't include a SAS token URL with your HTTP requests—your requests will fail. Using managed identities replaces the requirement for you to include shared access signature tokens (SAS). ✔️ Shared Access Signature (SAS). A shared access signature is a URL that grants restricted access for a specified period of time to your Document Intelligence service. To use this method, you need to create Shared Access Signature (SAS) tokens for your source and result containers. The source and result containers must include a Shared Access Signature (SAS) token, appended as a query string. The token can be assigned to your container or specific blobs.

- Your source container or blob must designate read, write, list, and delete access.
- Your result container or blob must designate write, list, delete access.
To learn more, see Create SAS tokens.
Training data
Follow these tips to optimize your data set for training:
Use text-based PDF documents instead of image-based documents. Scanned PDFs are handled as images.
Use examples that have all of the fields completed for forms with input fields.
Use forms with different values in each field.
use a larger data set (10-15 images) if your form images are of lower quality.
Once you have your Azure blob storage containers, upload your training data to your source containers. Now you're ready to train your custom generative model.
Azure AI Studio
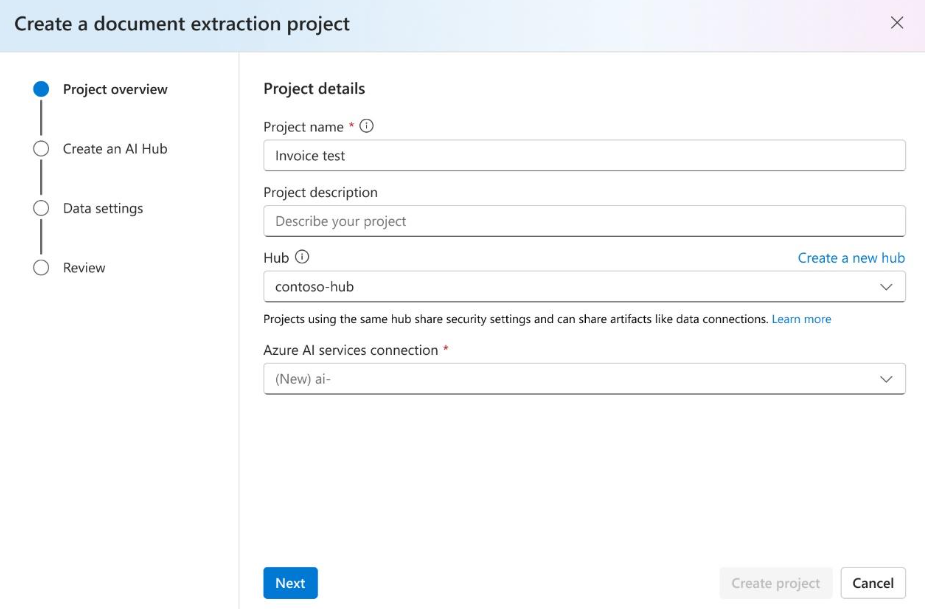
Navigate to the Azure AI Studio. The first time you use the Studio, you need to initialize your subscription and create a hub before creating a project. Custom generative models are only available in East US and North Central US in preview. Ensure your resource group is set to East US or North Central US during hub creation.
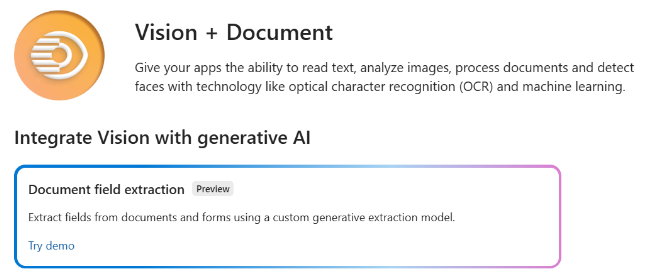
Select the Vision + Document tile.
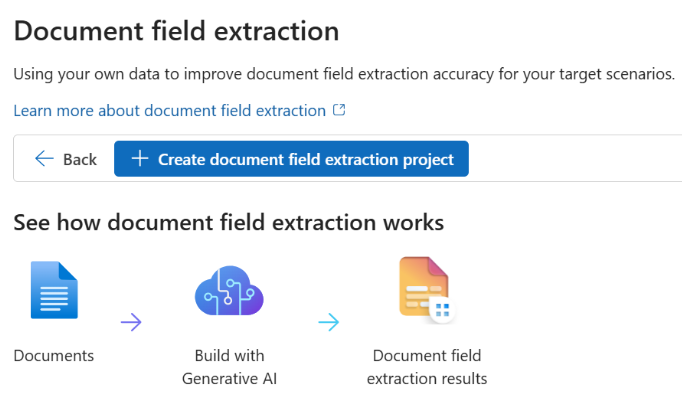
Then, select the Document field extraction tile, and select the Create document field extraction project button to create a project.
Create your project. For more information, see Create a project in Azure AI Studio.
Create an Azure AI services connection to access Azure Document Intelligence service:
Next, select the storage account you used to upload your custom model training dataset.
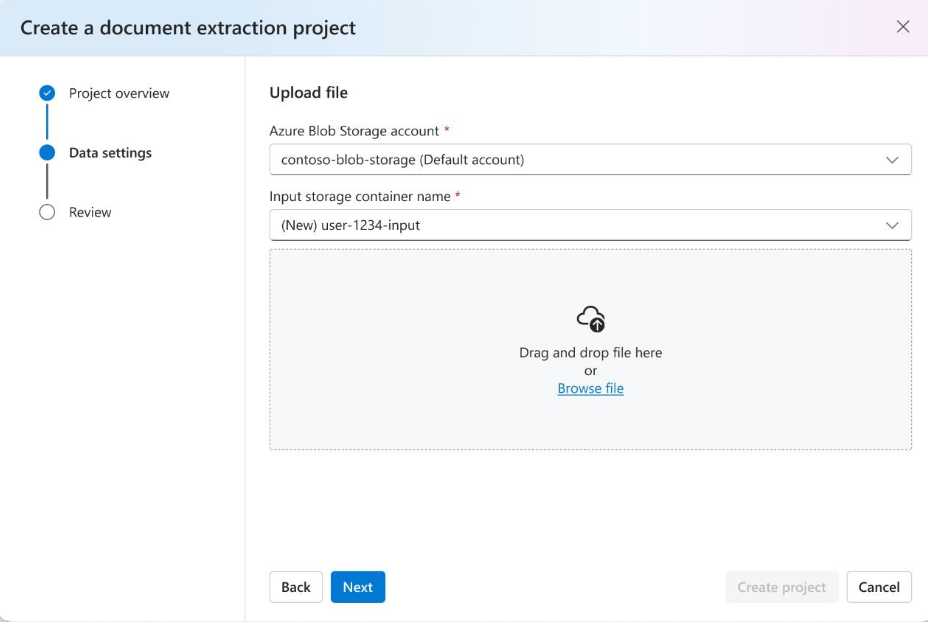
Review your project settings and select
Create a Projectto create a new project. Once you select on the project, you should now be in theDefine schemawindow and see the files in your dataset listed.
Define the schema
For your project, the first task is to add the fields to extract and define a schema.
The files you uploaded are listed and you can use the drop-down option to select files. You can start adding fields by clicking on the
➕ Add new fieldbutton.Enter a name, description, and type for the field to be extracted. Once all the fields are added, select the
Savebutton at the bottom of the screen.
Label data
Once the schema is saved, all the uploaded training documents are analyzed and field values are automatically extracted. Field values are listed on the screen for review. The autoextracted fields are tagged as Predicted.
Review the predicted values. If the field value is incorrect or isn't extracted, you can hover over the predicted field. Select the edit button to make the changes:

Once change are made, the predicted tag displays
Corrected:
Continue reviewing the predicted fields. After the labels are reviewed and corrected for all the training documents, proceed to build your model.
Note
You can always go back and update the schema during model training but, to use the auto label capability, you need to delete and reload the files using
Upload filesoption.
Build your model
With your dataset labeled, you're ready to train your model. Select the Build model. On the Build model dialog page, provide a unique model name and, optionally, a description. The modelID accepts a string data type.
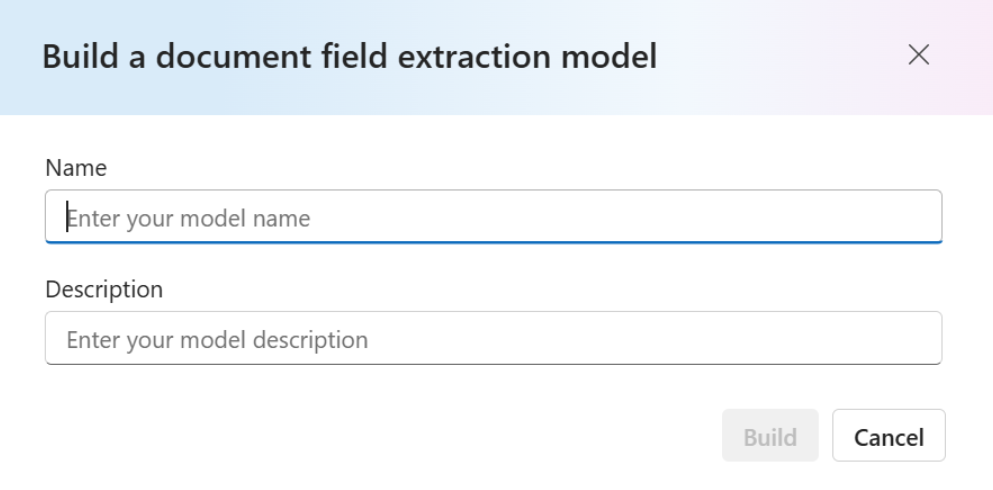
Select Build to initiate the training process. Generative models train instantly! Refresh the page to select the model once status is changed to succeeded.
Test your model
Once the model training is complete, you can test your model by selecting
Testbutton on the CustomGenerative page.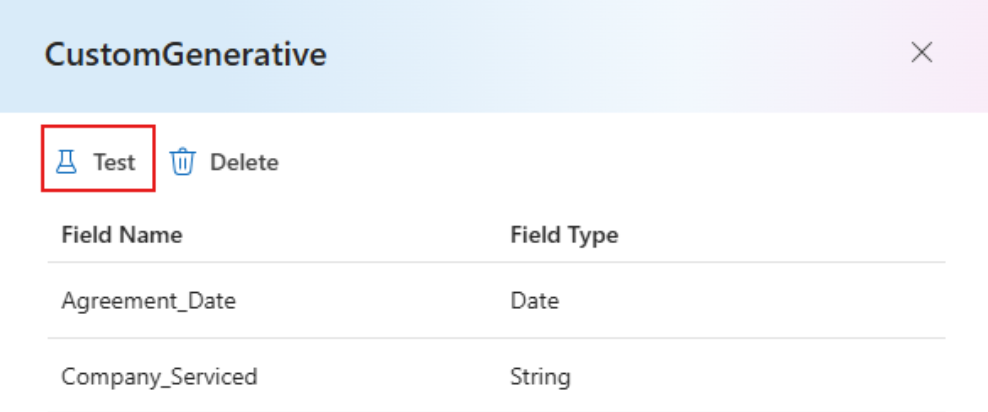
Upload your test files and select
Run Analysisto extract field values from the documents. With theAnalyzeoption, you can choose to run and analysis on the current document or all documents.Validate your model accuracy by evaluating the results for each field.
That's it! You learned to train a custom generative model in the Azure AI Studio. Your model is ready for use with the REST API or the SDK to analyze documents.