Use managed identities for Azure Content Delivery Network to access Azure Key Vault certificates
A managed identity generated by Microsoft Entra ID allows your Azure Content Delivery Network instance to easily and securely access other Microsoft Entra protected resources, such as Azure Key Vault. Azure manages the identity resource, so you don't have to create or rotate any secrets. For more information about managed identities, see What are managed identities for Azure resources?.
Once you enable managed identity for Azure Front Door and grant proper permissions to access your Azure key vault, Azure Front Door only uses managed identity to access the certificates. If you don't add the managed identity permission to your Key Vault, custom certificate autorotation and adding new certificates fails without permissions to Key Vault. If you disable managed identity, Azure Front Door falls back to using the original configured Microsoft Entra App. This solution isn't recommended and will be retired in the future.
You can grant two types of identities to an Azure Front Door profile:
A system-assigned identity is tied to your service and is deleted if your service is deleted. The service can have only one system-assigned identity.
A user-assigned identity is a standalone Azure resource that can be assigned to your service. The service can have multiple user-assigned identities.
Managed identities are specific to the Microsoft Entra tenant where your Azure subscription is hosted. They don't get updated if a subscription gets moved to a different directory. If a subscription gets moved, you need to re-create and reconfigure the identity.
Prerequisites
Before you can set up managed identity for Azure Front Door, you must have an Azure Front Door Standard or Premium profile created. To create a new Azure Front Door profile, see Create an Azure Content Delivery Network profile.
Enable managed identity
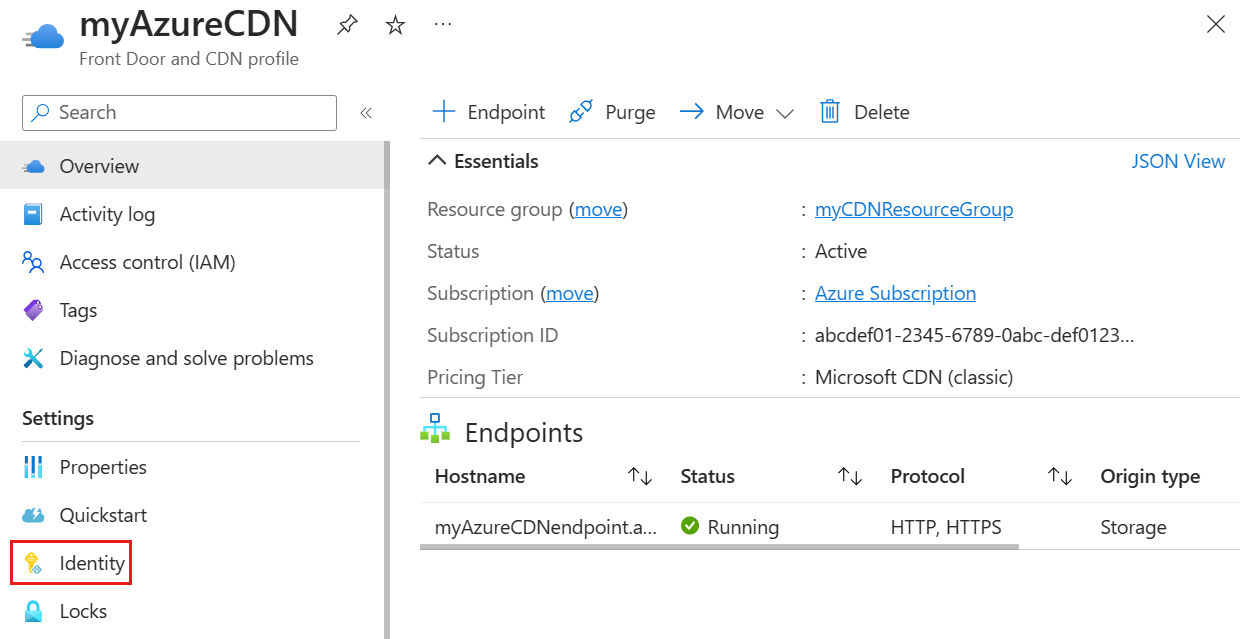
Go to an existing Azure Content Delivery Network profile. Select Identity from under Settings on the left side menu pane.
Select either a System assigned or a User assigned managed identity.
System assigned - a managed identity is created for the Azure Content Delivery Network profile lifecycle and is used to access Azure Key Vault.
User assigned - a standalone managed identity resource is used to authenticate to Azure Key Vault and has its own lifecycle.
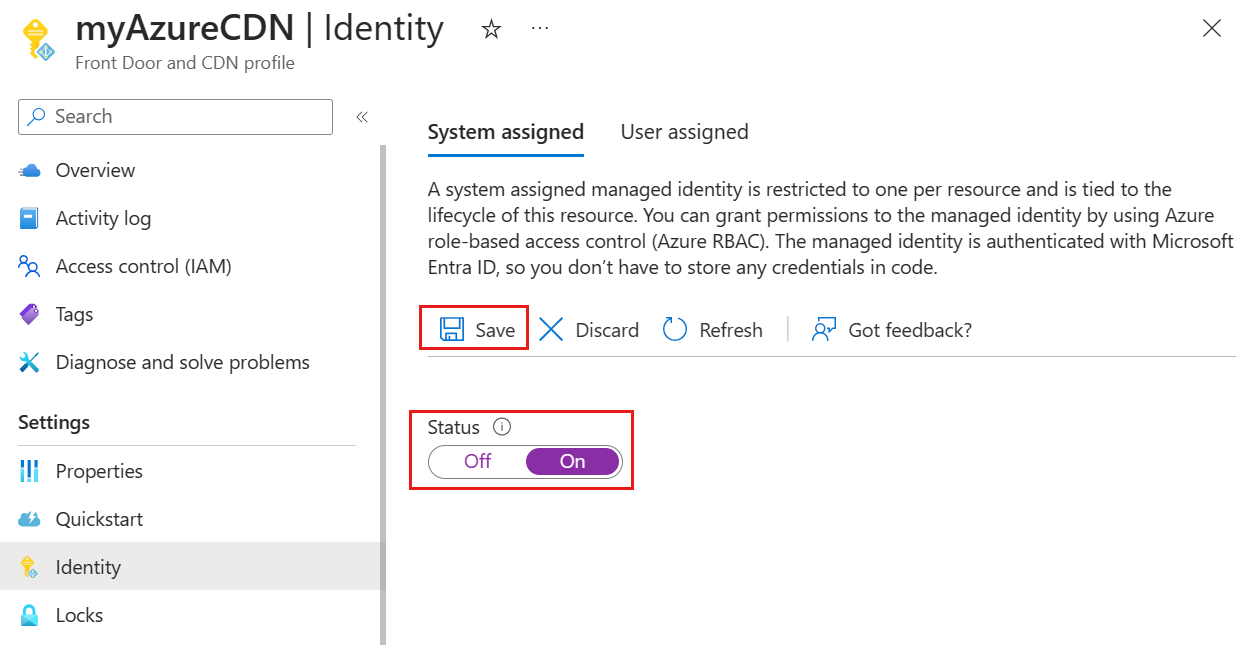
System assigned
Toggle the Status to On and then select Save.
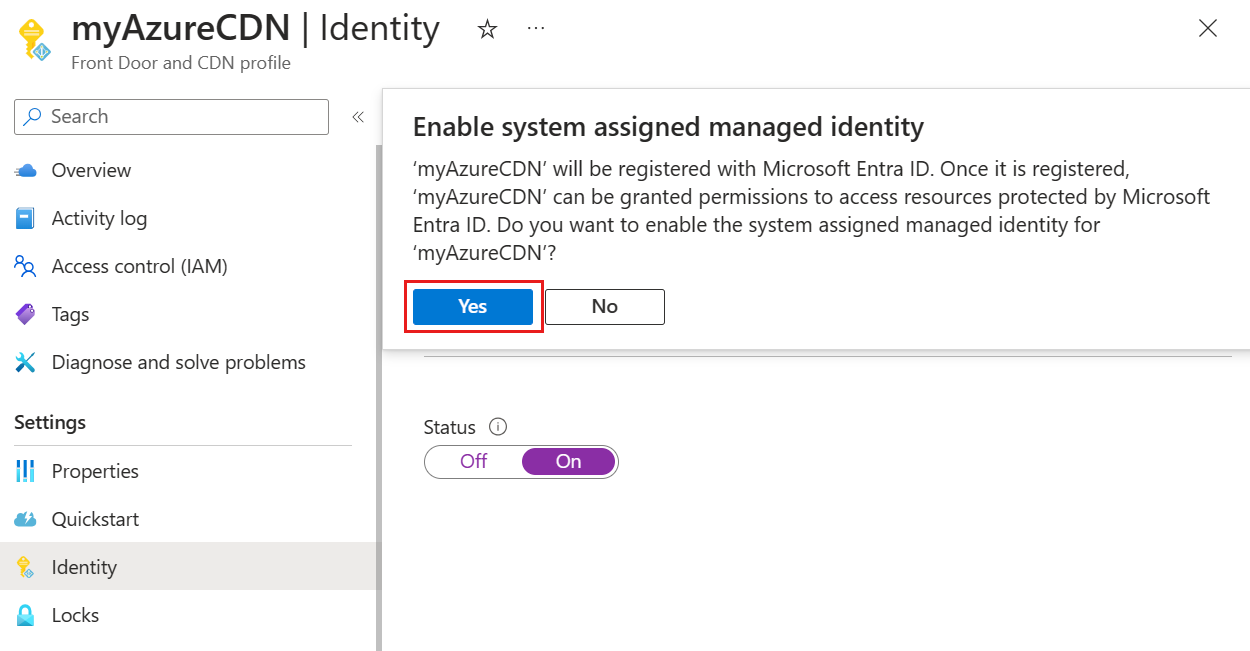
You're prompted with a message to confirm that you would like to create a system managed identity for your Azure Front Door profile. Select Yes to confirm.
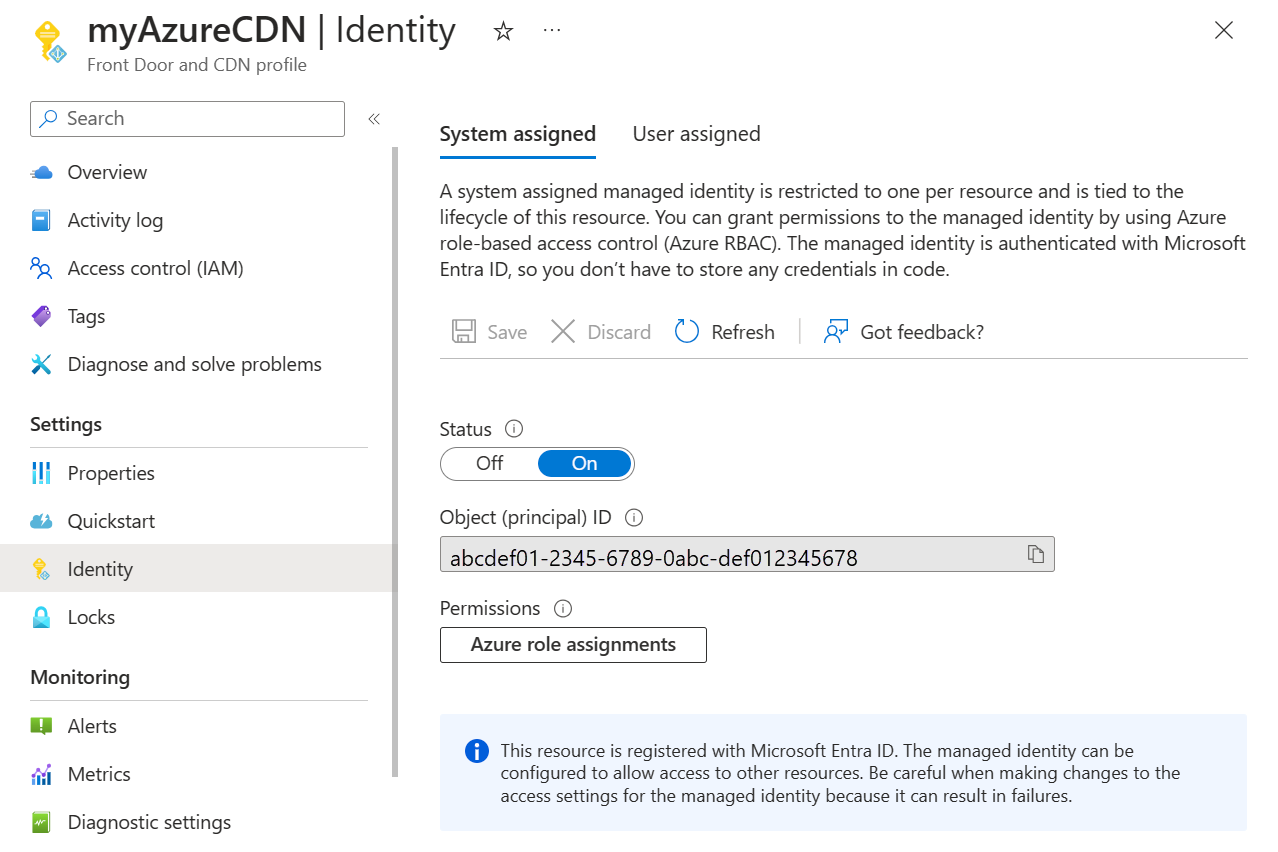
Once the system assigned managed identity gets created and registered with Microsoft Entra ID, you can use the Object (principal) ID to grant Azure Content Delivery Network access to your Azure key vault.
User assigned
You must already have a user managed identity created. To create a new identity, see Create a user assigned managed identity.
In the User assigned tab, select + Add to add a user assigned managed identity.
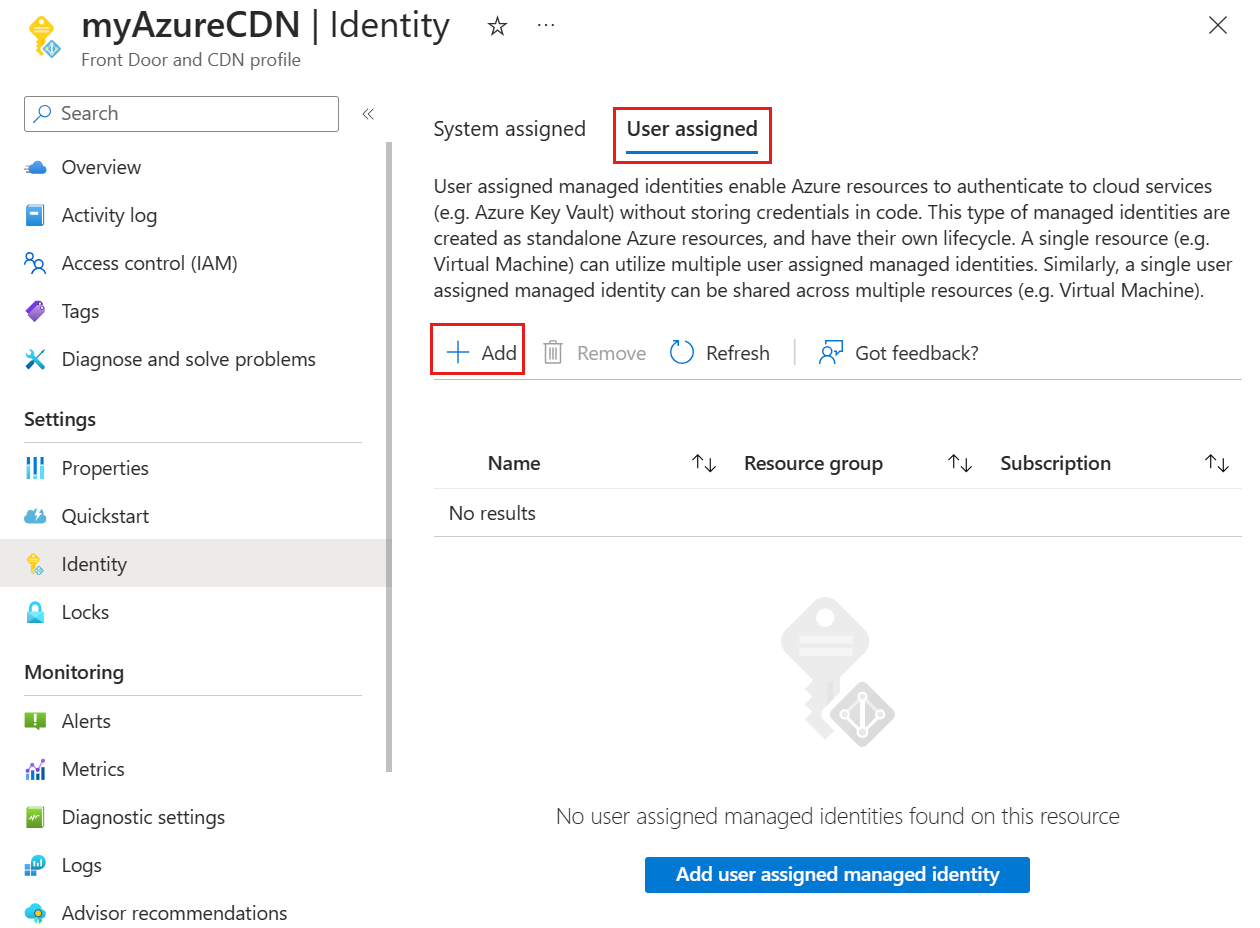
Search and select the user assigned manage identity. Then select Add to add the user managed identity to the Azure Content Delivery Network profile.

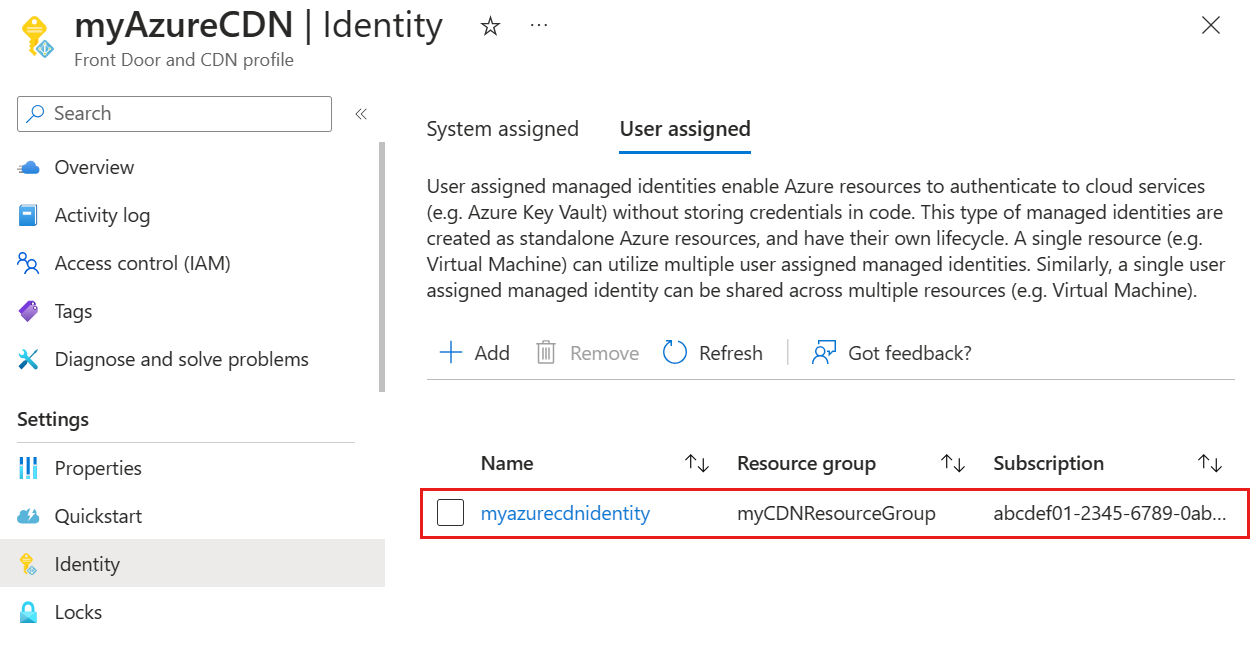
You see the name of the user assigned managed identity you selected show in the Azure Content Delivery Network profile.
Configure Key Vault access policy
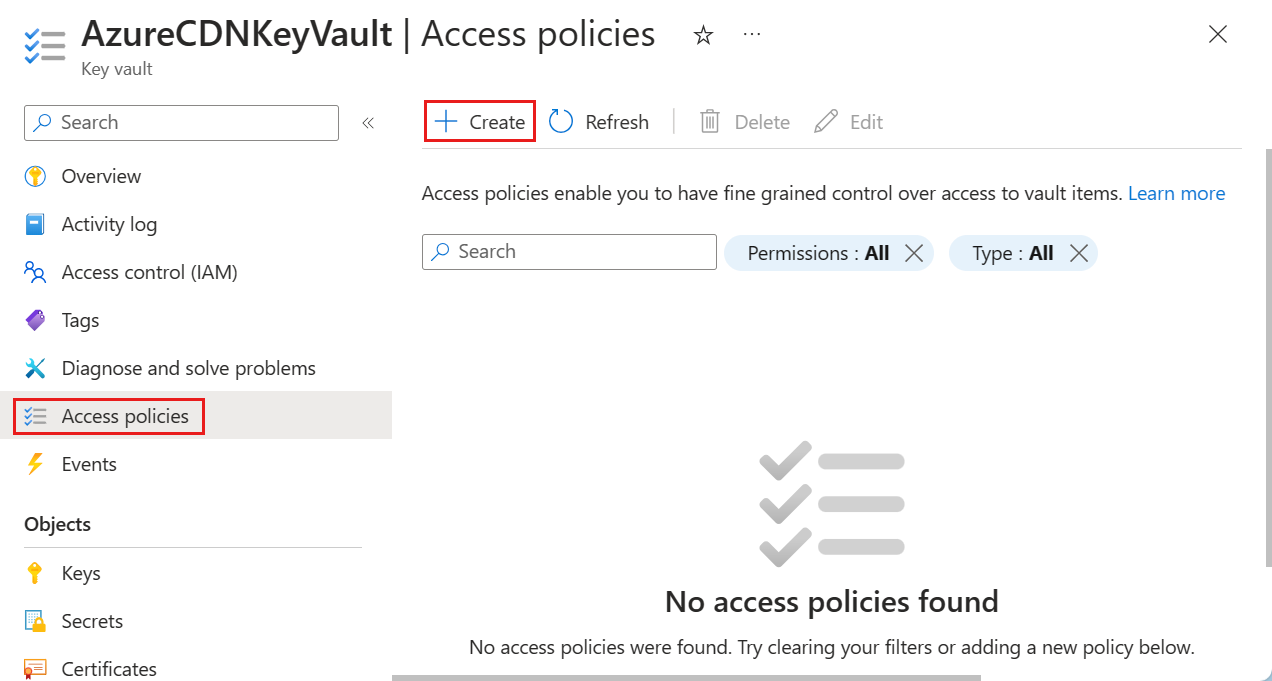
Navigate to your Azure key vault. Select Access policies from under Settings and then select + Create.
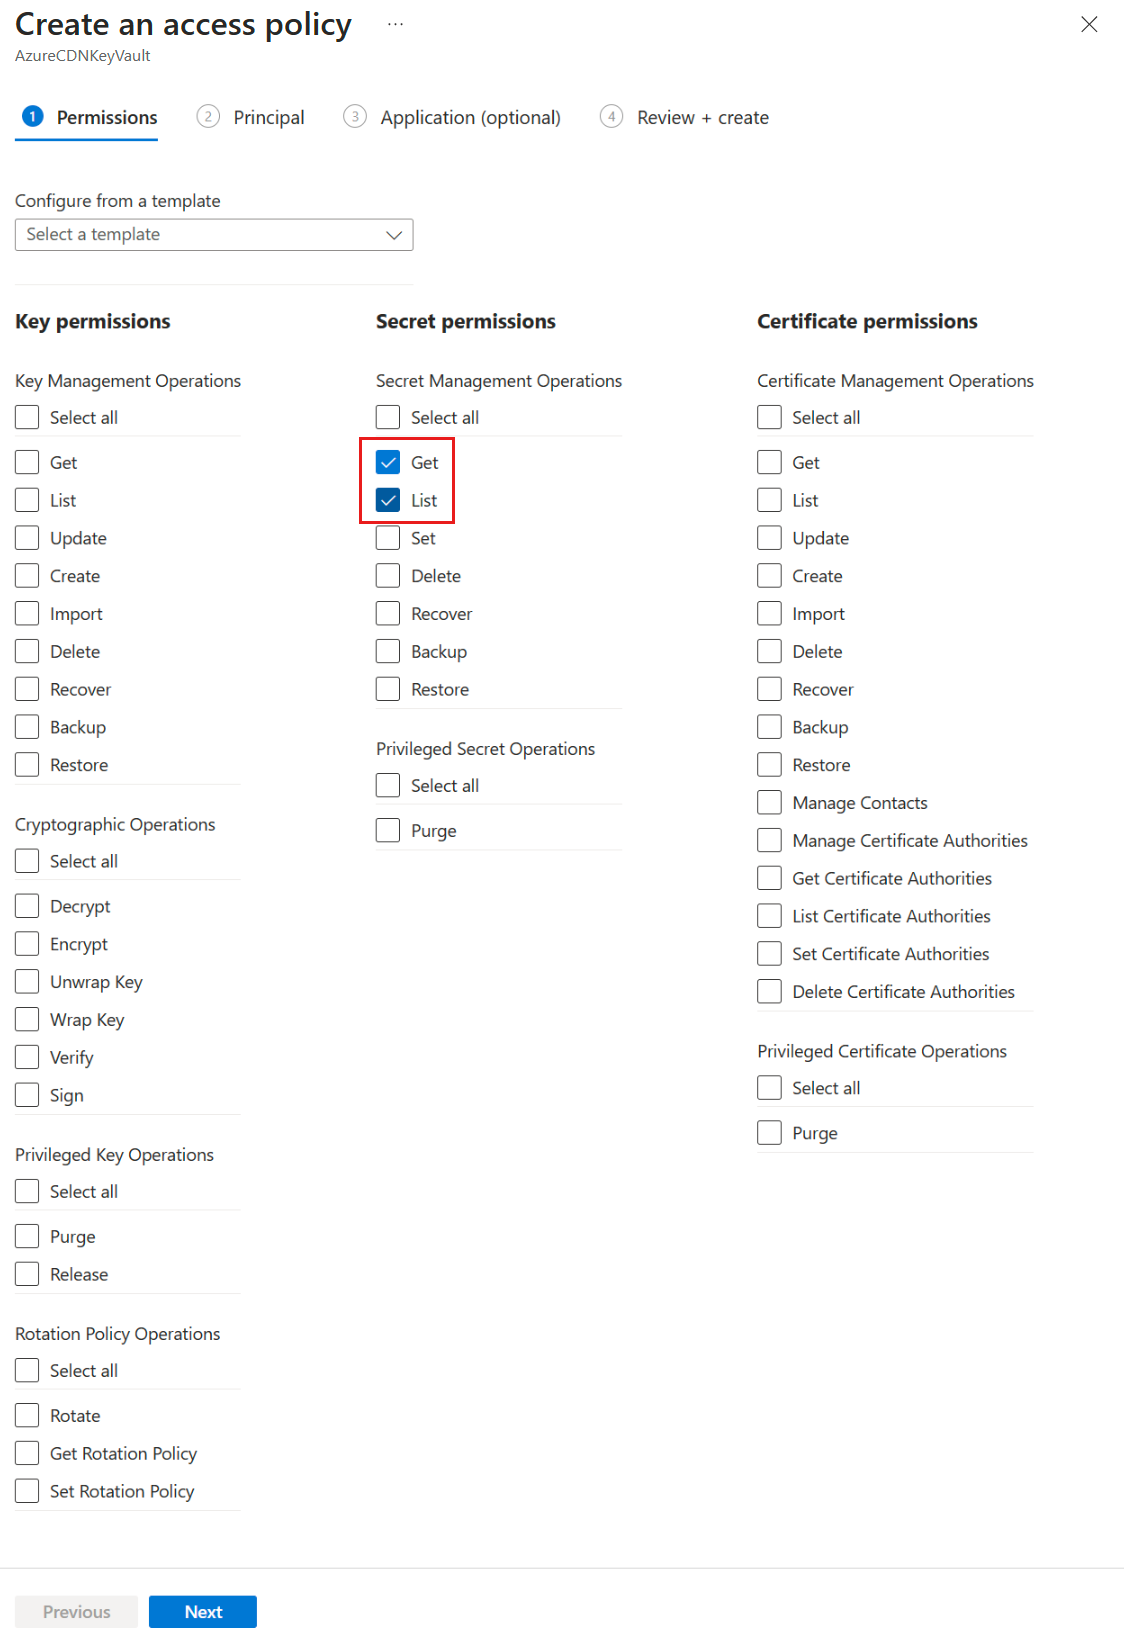
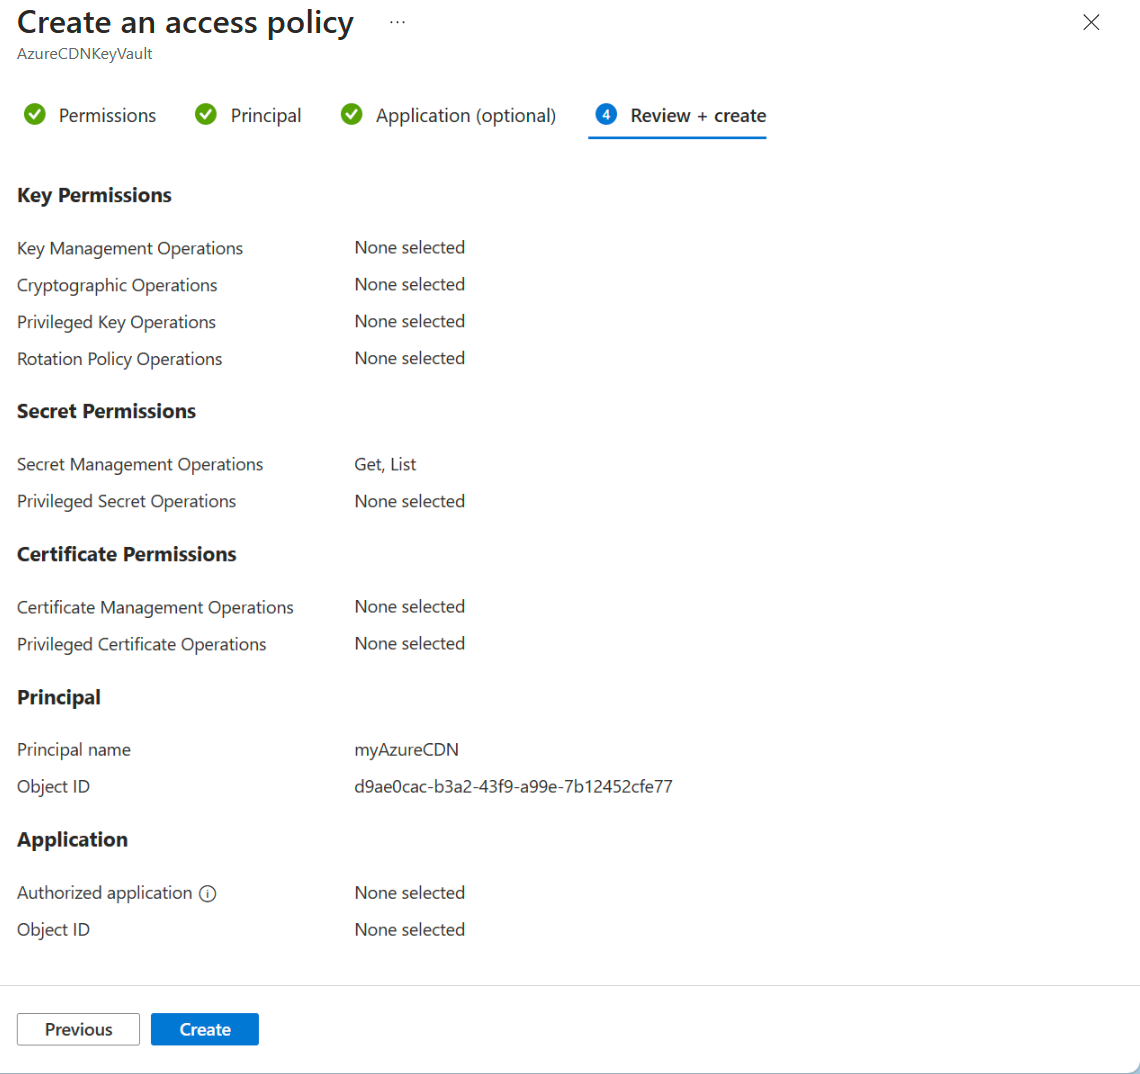
On the Permissions tab of the Create an access policy page, select List and Get for Secret permissions. Then select Next to configure the principal tab.
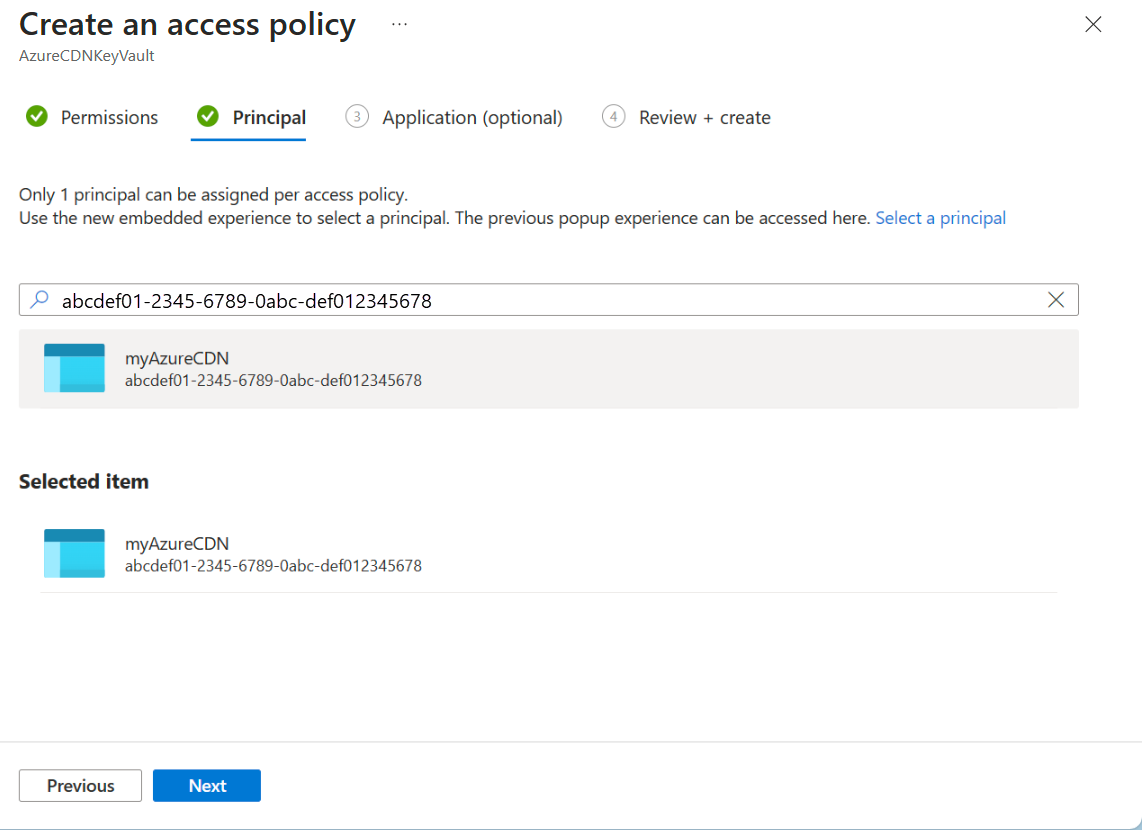
On the Principal tab, paste the object (principal) ID if you're using a system managed identity or enter a name if you're using a user assigned managed identity. Then select Review + create tab. The Application tab is skipped since Azure Front Door gets selected for you already.
Review the access policy settings and then select Create to set up the access policy.
Next steps
- Learn how to redirect users to HTTPS with Standard rules engine
Feedback
Coming soon: Throughout 2024 we will be phasing out GitHub Issues as the feedback mechanism for content and replacing it with a new feedback system. For more information see: https://aka.ms/ContentUserFeedback.
Submit and view feedback for