Tutorial: Enable inline image support in your Chat app
The Chat SDK is designed to work with Microsoft Teams seamlessly. Specifically, Chat SDK provides a solution to receive inline images and send inline images to users from Microsoft Teams.
In this tutorial, you learn how to enable inline image support by using the Azure Communication Services Chat SDK for JavaScript.
Inline images are images that are copied and pasted directly into the send box of the Teams client. For images uploaded via the Upload from this device menu or via drag-and-drop, such as images dragged directly to the send box in Teams, you need to refer to this tutorial as the part of the file-sharing feature. (See the section "Handle image attachments.")
To copy an image, Teams users have two options:
- Use their operating system's context menu to copy the image file and then paste it into the send box of their Teams client.
- Use keyboard shortcuts.
In this tutorial, you learn what you need to do when you:
Note
The ability to send inline images is currently available in public preview. It's only available for JavaScript. For receiving inline images, it's currently generally available. It's available for both JavaScript and C# in a Teams interoperability chat.
Prerequisites
- Review the quickstart Join your Chat app to a Teams meeting.
- Create an Azure Communication Services resource. For more information, see Create an Azure Communication Services resource. You need to record your connection string for this tutorial.
- Set up a Teams meeting by using your business account and have the meeting URL ready.
- Use the Chat SDK for JavaScript (@azure/communication-chat) 1.4.0 or latest. For more information, see Azure Communication Chat client library for JavaScript.
Sample code
Find the finalized code of this tutorial on GitHub.
Handle received inline images in a new message event
In this section, you learn how you can render inline images embedded in the message content of a new message received event.
In the quickstart, you created an event handler for the chatMessageReceived event, which is triggered when you receive a new message from the Teams user. You also append incoming message content to messageContainer directly upon receiving the chatMessageReceived event from the chatClient, like this:
chatClient.on("chatMessageReceived", (e) => {
   console.log("Notification chatMessageReceived!");

   // Check whether the notification is intended for the current thread
   if (threadIdInput.value != e.threadId) {
      return;
   }

   if (e.sender.communicationUserId != userId) {
      renderReceivedMessage(e.message);
   }
   else {
      renderSentMessage(e.message);
   }
});

async function renderReceivedMessage(message) {
   messages += '<div class="container lighter">' + message + '</div>';
   messagesContainer.innerHTML = messages;
}
From the incoming event of type ChatMessageReceivedEvent, a property named attachments contains information about the inline image. It's all you need to render inline images in your UI:
export interface ChatMessageReceivedEvent extends BaseChatMessageEvent {
  /**
   * Content of the message.
   */
  message: string;

  /**
   * Metadata of the message.
   */
  metadata: Record<string, string>;

  /**
   * Chat message attachment.
   */
  attachments?: ChatAttachment[];
}

export interface ChatAttachment {
  /** Id of the attachment */
  id: string;
  /** The type of attachment. */
  attachmentType: ChatAttachmentType;
  /** The name of the attachment content. */
  name?: string;
  /** The URL where the attachment can be downloaded */
  url?: string;
  /** The URL where the preview of attachment can be downloaded */
  previewUrl?: string;
}

export type ChatAttachmentType = "image" | "unknown";
Now go back to the previous code to add some extra logic, like the following code snippets:
chatClient.on("chatMessageReceived", (e) => {
  console.log("Notification chatMessageReceived!");
  // Check whether the notification is intended for the current thread
  if (threadIdInput.value != e.threadId) {
     return;
  }

  const isMyMessage = e.sender.communicationUserId === userId;
  renderReceivedMessage(e, isMyMessage);
});

function renderReceivedMessage(e, isMyMessage) {
  const messageContent = e.message;

  const card = document.createElement('div');
  card.className = isMyMessage ? "container darker" : "container lighter";
  card.innerHTML = messageContent;

  messagesContainer.appendChild(card);

  // Filter out inline images from attachments
  const imageAttachments = e.attachments.filter((e) =>
    e.attachmentType.toLowerCase() === 'image');

  // Fetch and render preview images
  fetchPreviewImages(imageAttachments);

  // Set up onclick event handler to fetch full-scale image
  setImgHandler(card, imageAttachments);
}

function setImgHandler(element, imageAttachments) {
  // Do nothing if there are no image attachments
  if (!imageAttachments.length > 0) {
    return;
  }
  const imgs = element.getElementsByTagName('img');
  for (const img of imgs) {
    img.addEventListener('click', (e) => {
      // Fetch full-scale image upon click
      fetchFullScaleImage(e, imageAttachments);
    });
  }
}

async function fetchPreviewImages(attachments) {
  if (!attachments.length > 0) {
    return;
  }
  // Since each message could contain more than one inline image
  // we need to fetch them individually
  const result = await Promise.all(
      attachments.map(async (attachment) => {
        // Fetch preview image from its 'previewURL'
        const response = await fetch(attachment.previewUrl, {
          method: 'GET',
          headers: {
            // The token here should be the same one from chat initialization
            'Authorization': 'Bearer ' + tokenString,
          },
        });
        // The response would be in an image blob, so we can render it directly
        return {
          id: attachment.id,
          content: await response.blob(),
        };
      }),
  );
  result.forEach((imageResult) => {
    const urlCreator = window.URL || window.webkitURL;
    const url = urlCreator.createObjectURL(imageResult.content);
    // Look up the image ID and replace its 'src' with object URL
    document.getElementById(imageResult.id).src = url;
  });
}
In this example, you created two helper functions, fetchPreviewImages and setImgHandler. The first one fetches the preview image directly from the previewURL provided in each ChatAttachment object with an auth header. Similarly, you set up a onclick event for each image in the function setImgHandler. In the event handler, you fetch a full-scale image from property url from the ChatAttachment object with an auth header.
Now you need to expose the token on to the global level because you need to construct an auth header with it. You need to modify the following code:
// New variable for token string
var tokenString = '';

async function init() {

   ....

   let tokenResponse = await identityClient.getToken(identityResponse, [
      "voip",
      "chat"
	]);
	const { token, expiresOn } = tokenResponse;

   // Save to token string
   tokenString = token;

   ...
}
To show the full-scale image in an overlay, you also need to add a new component:
<div class="overlay" id="overlay-container">
   <div class="content">
      <img id="full-scale-image" src="" alt="" />
   </div>
</div>
With some CSS:
/* let's make chat popup scrollable */
.chat-popup {

   ...

   max-height: 650px;
   overflow-y: scroll;
}

 .overlay {
    position: fixed;
    width: 100%;
    height: 100%;
    background: rgba(0, 0, 0, .7);
    top: 0;
    left: 0;
    z-index: 100;
 }

.overlay .content {
   position: fixed;
   width: 100%;
   height: 100%;
   text-align: center;
   overflow: hidden;
   z-index: 100;
   margin: auto;
   background-color: rgba(0, 0, 0, .7);
}

.overlay img {
   position: absolute;
   display: block;
   max-height: 90%;
   max-width: 90%;
   top: 50%;
   left: 50%;
   transform: translate(-50%, -50%);
}

#overlay-container {
   display: none
}
Now that you have an overlay set up, it's time to work on the logic to render full-scale images. Recall that you created an onClick event handler to call a function fetchFullScaleImage:
const overlayContainer = document.getElementById('overlay-container');
const loadingImageOverlay = document.getElementById('full-scale-image');

function fetchFullScaleImage(e, imageAttachments) {
  // Get the image ID from the clicked image element
  const link = imageAttachments.filter((attachment) =>
    attachment.id === e.target.id)[0].url;
  loadingImageOverlay.src = '';

  // Fetch the image
  fetch(link, {
    method: 'GET',
    headers: {'Authorization': 'Bearer ' + tokenString},
  }).then(async (result) => {

    // Now we set image blob to our overlay element
    const content = await result.blob();
    const urlCreator = window.URL || window.webkitURL;
    const url = urlCreator.createObjectURL(content);
    loadingImageOverlay.src = url;
  });
  // Show overlay
  overlayContainer.style.display = 'block';
}
One last thing you want to add is the ability to dismiss the overlay when the image is clicked:
loadingImageOverlay.addEventListener('click', () => {
  overlayContainer.style.display = 'none';
});
Now you've made all the changes you need to render inline images for messages that come from real-time notifications.
Run the code
Webpack users can use webpack-dev-server to build and run your app. Run the following command to bundle your application host on a local web server:
npx webpack-dev-server --entry ./client.js --output bundle.js --debug --devtool inline-source-map
Demo
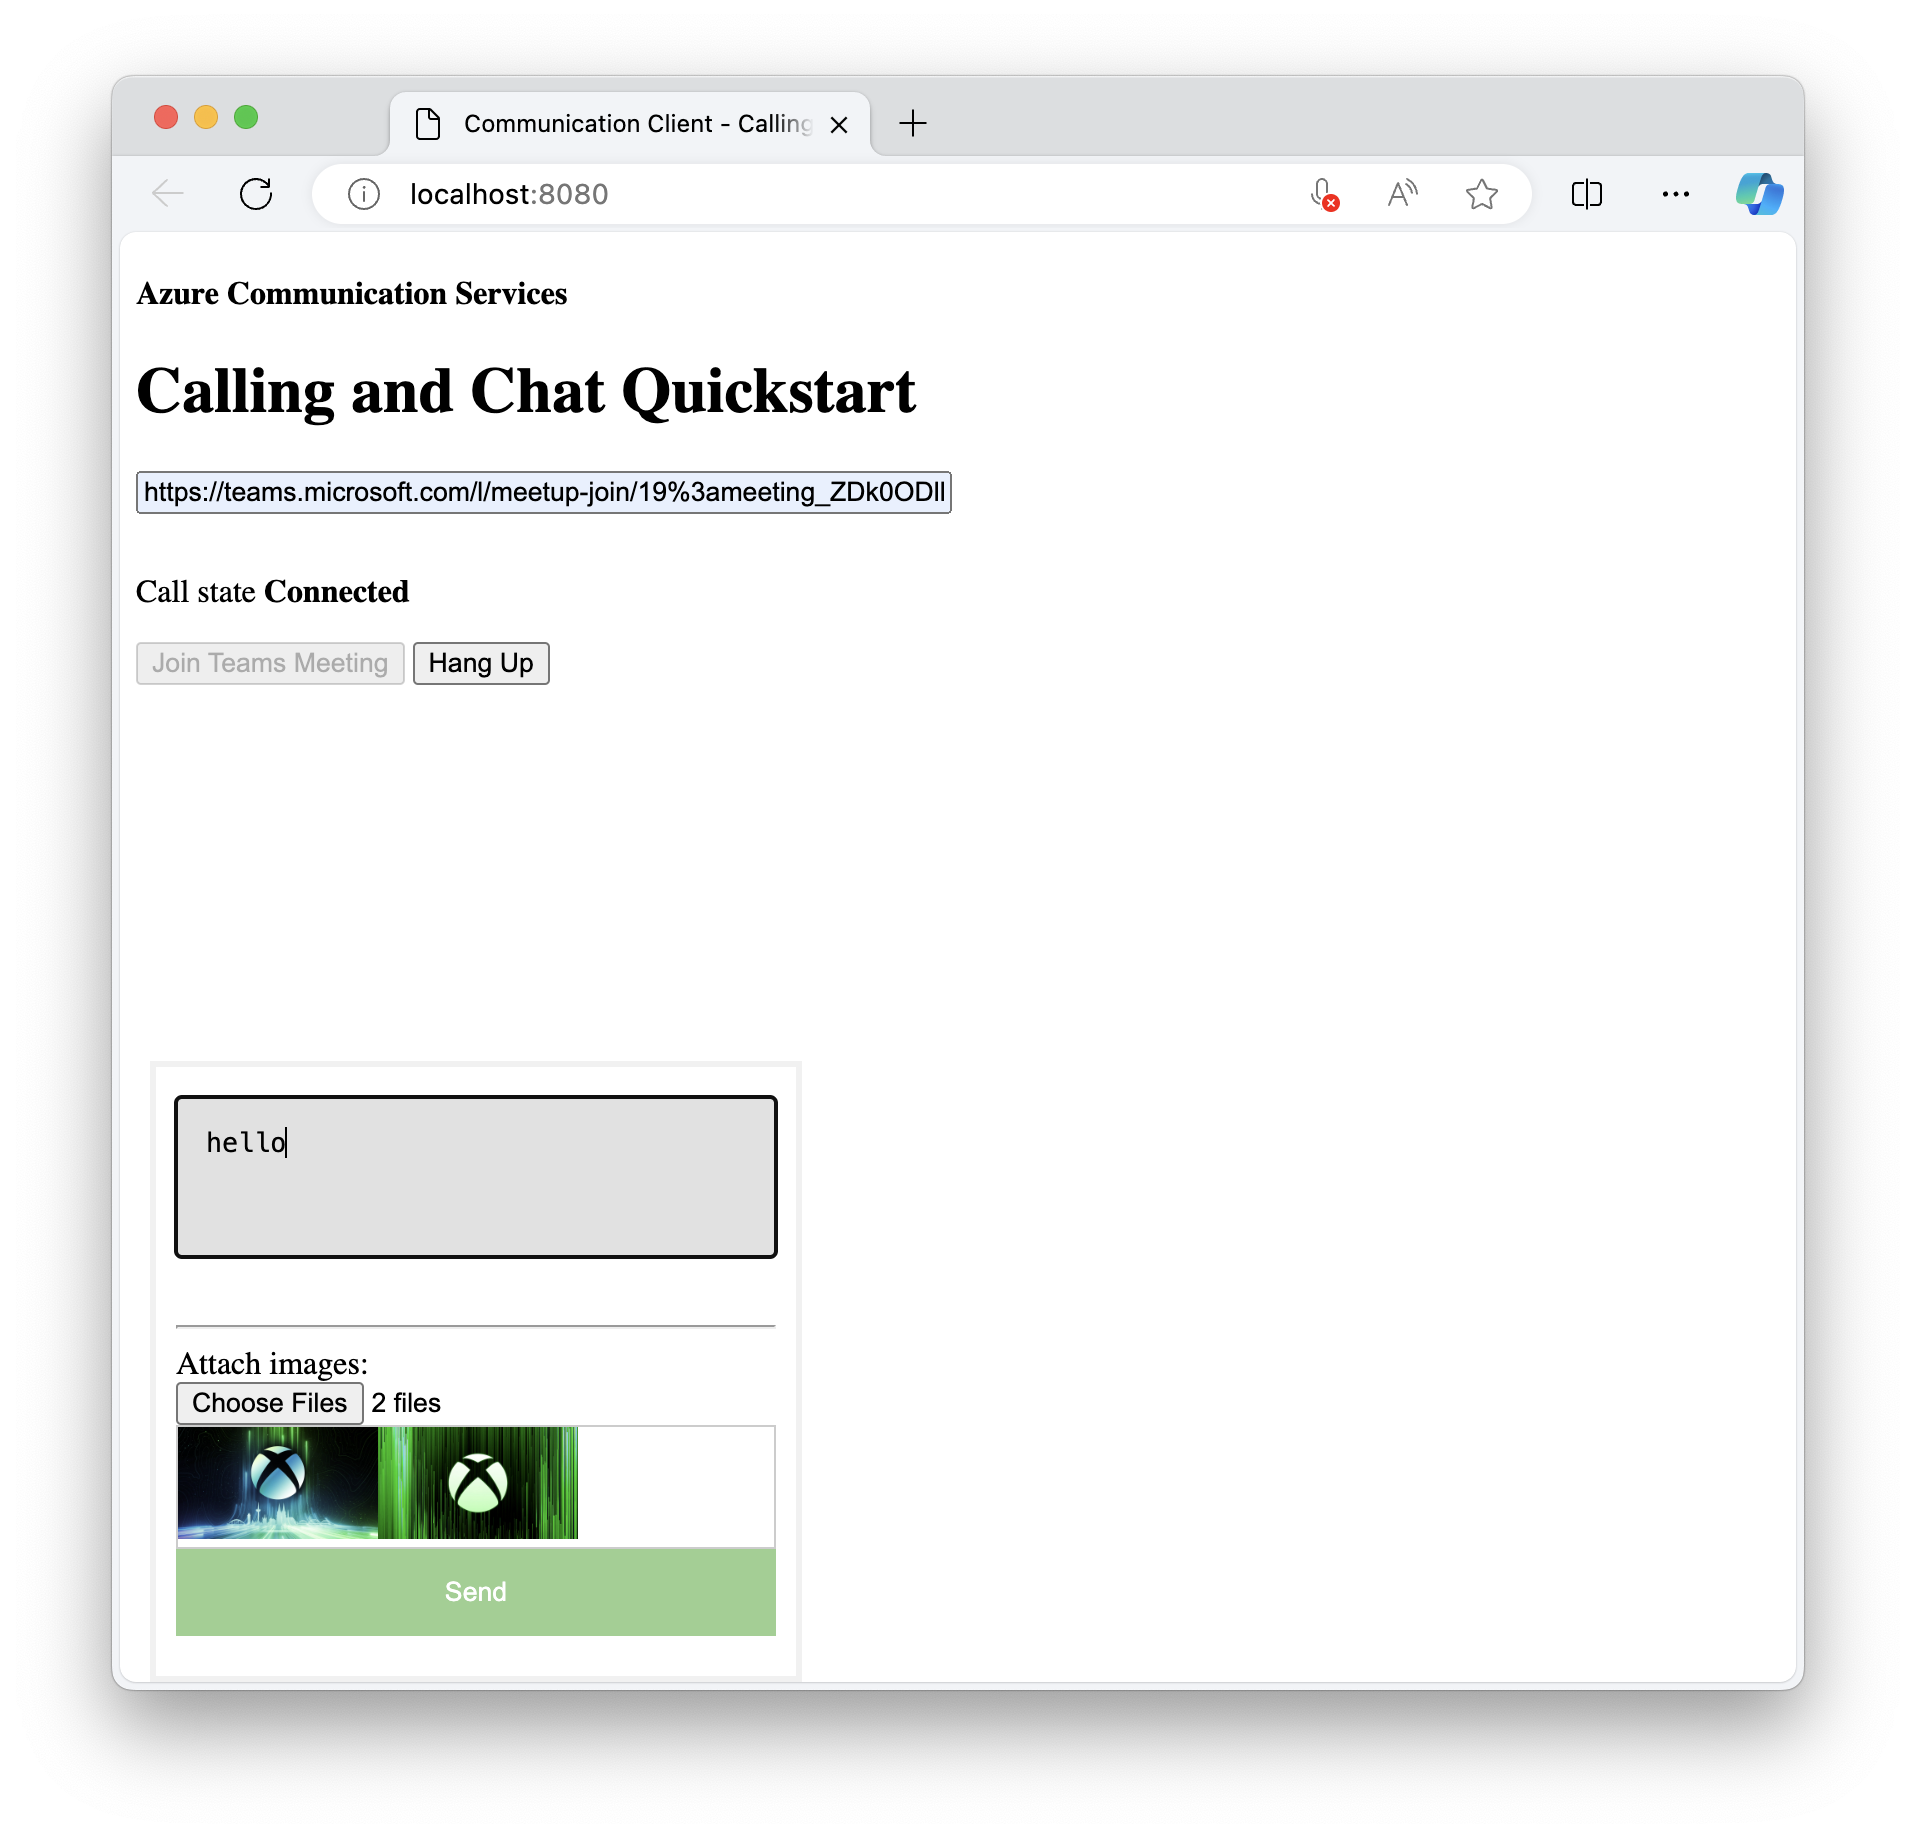
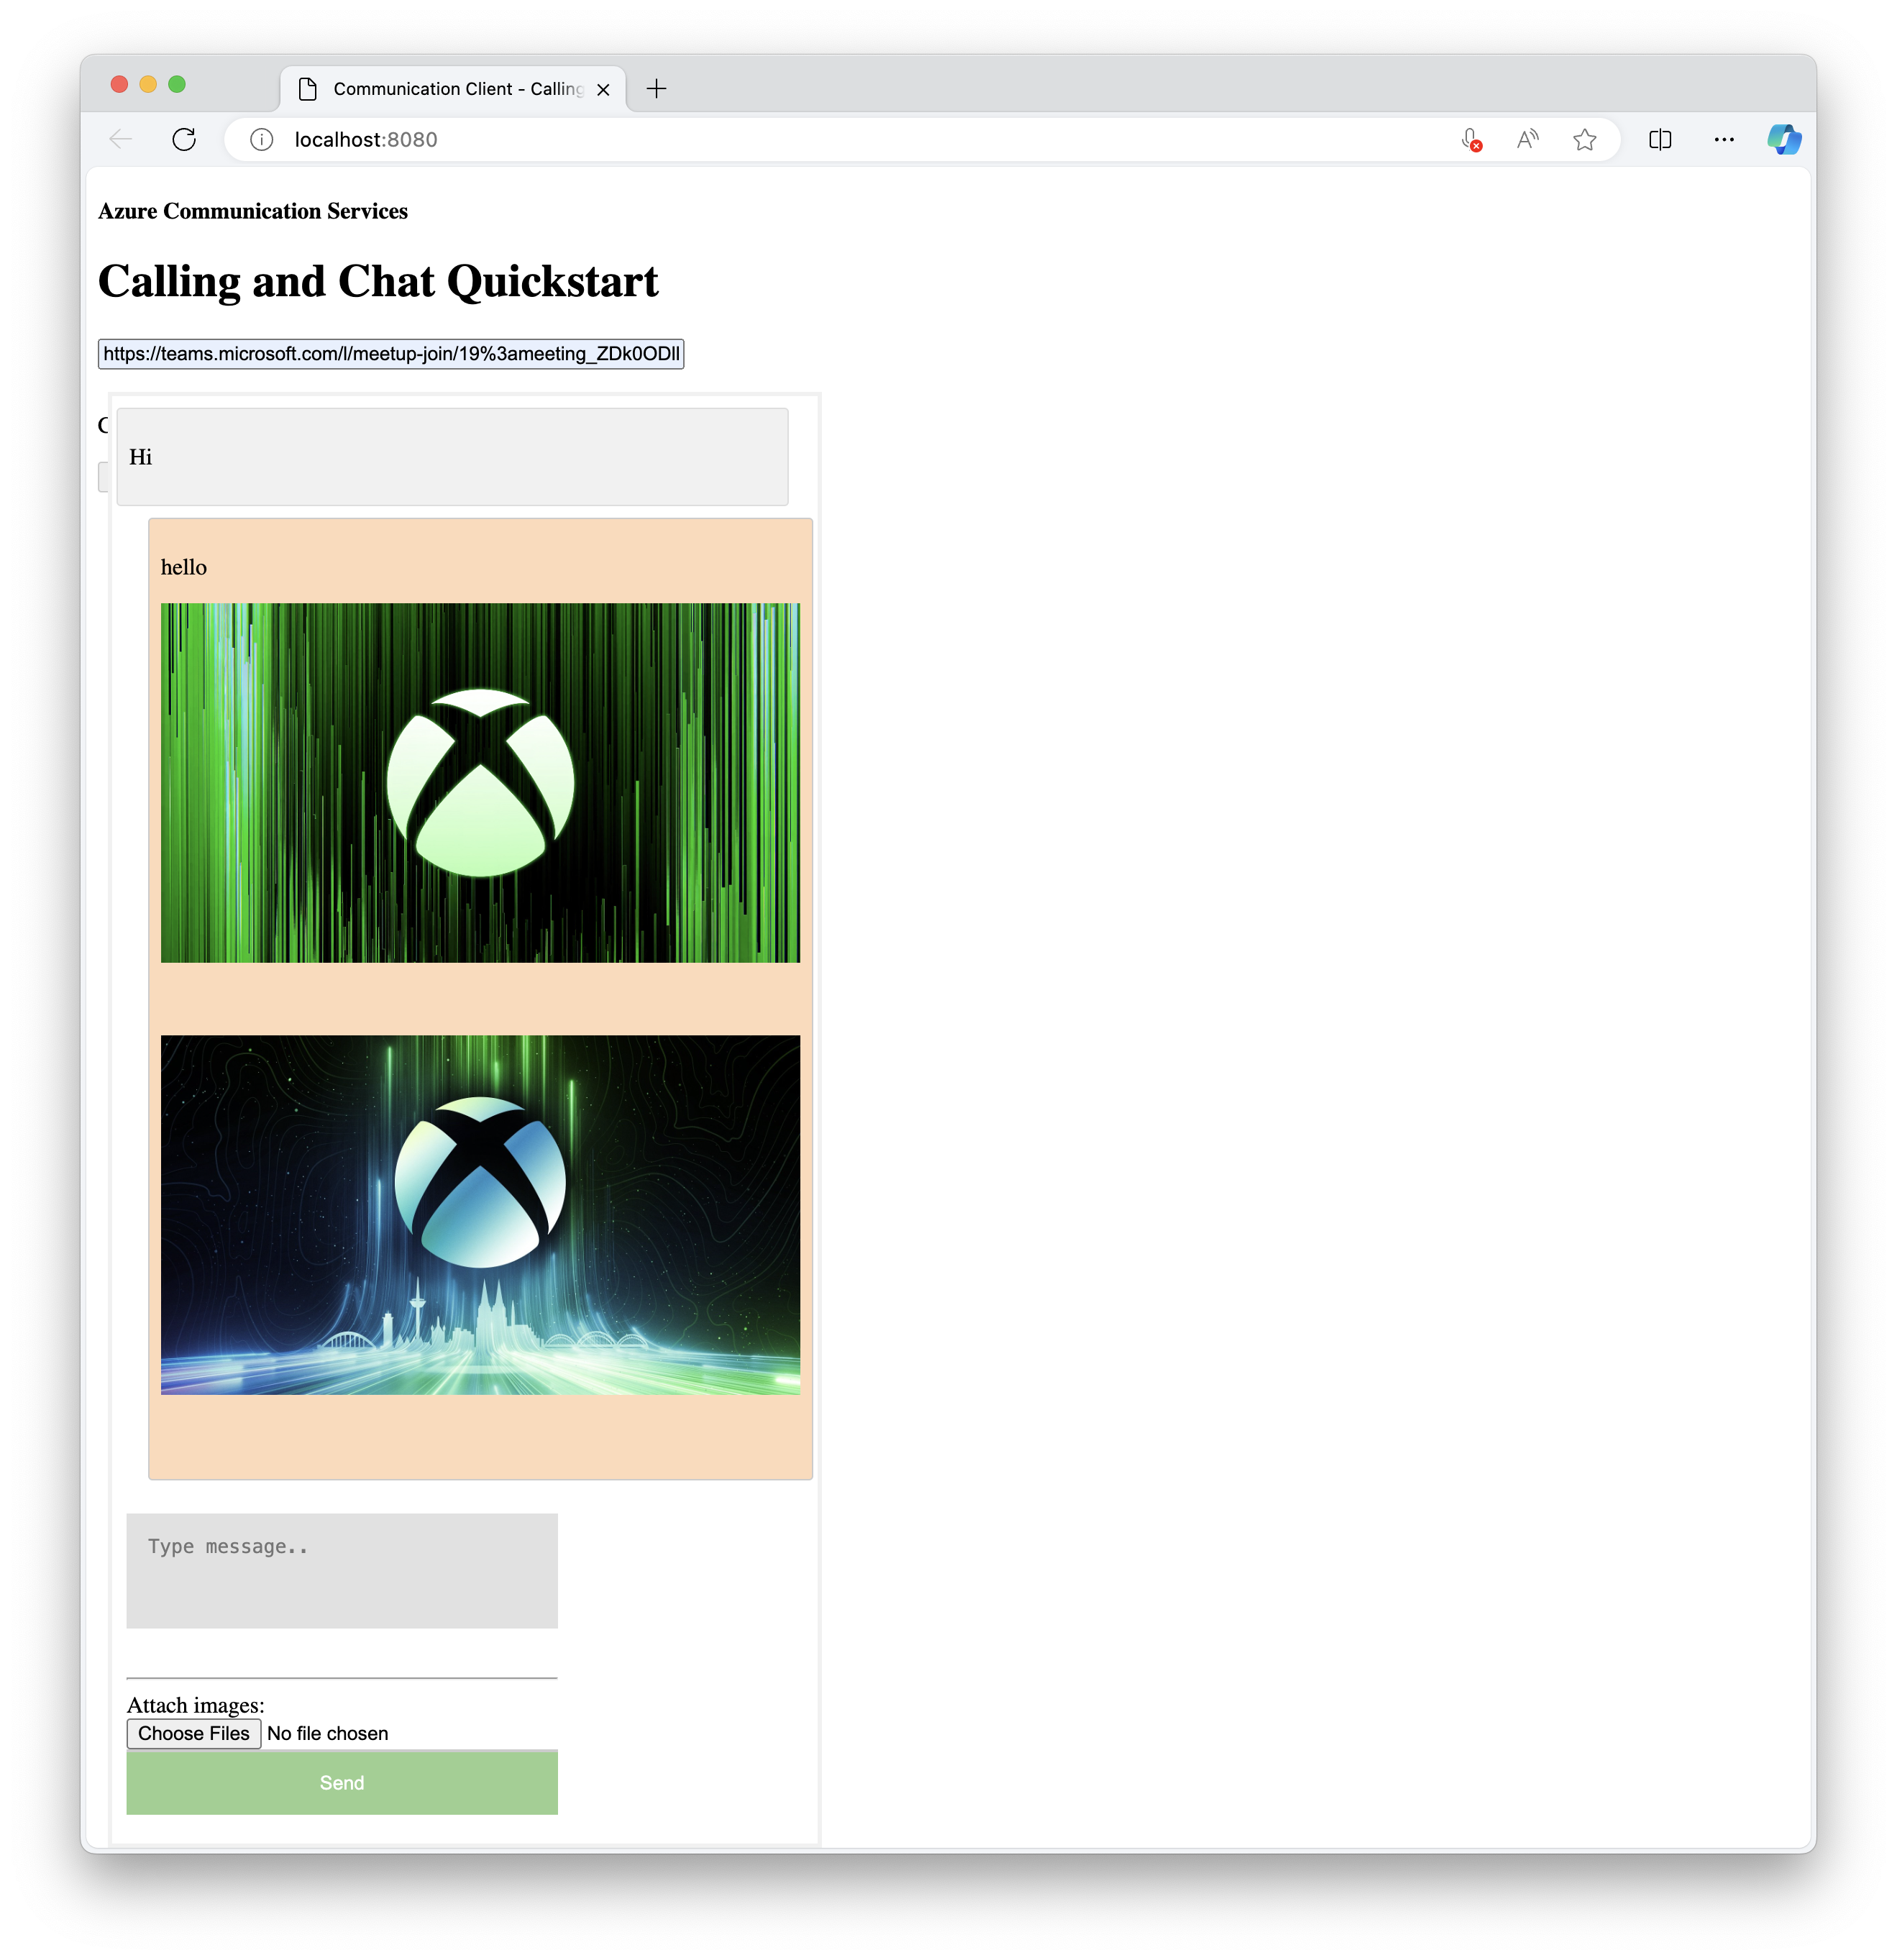
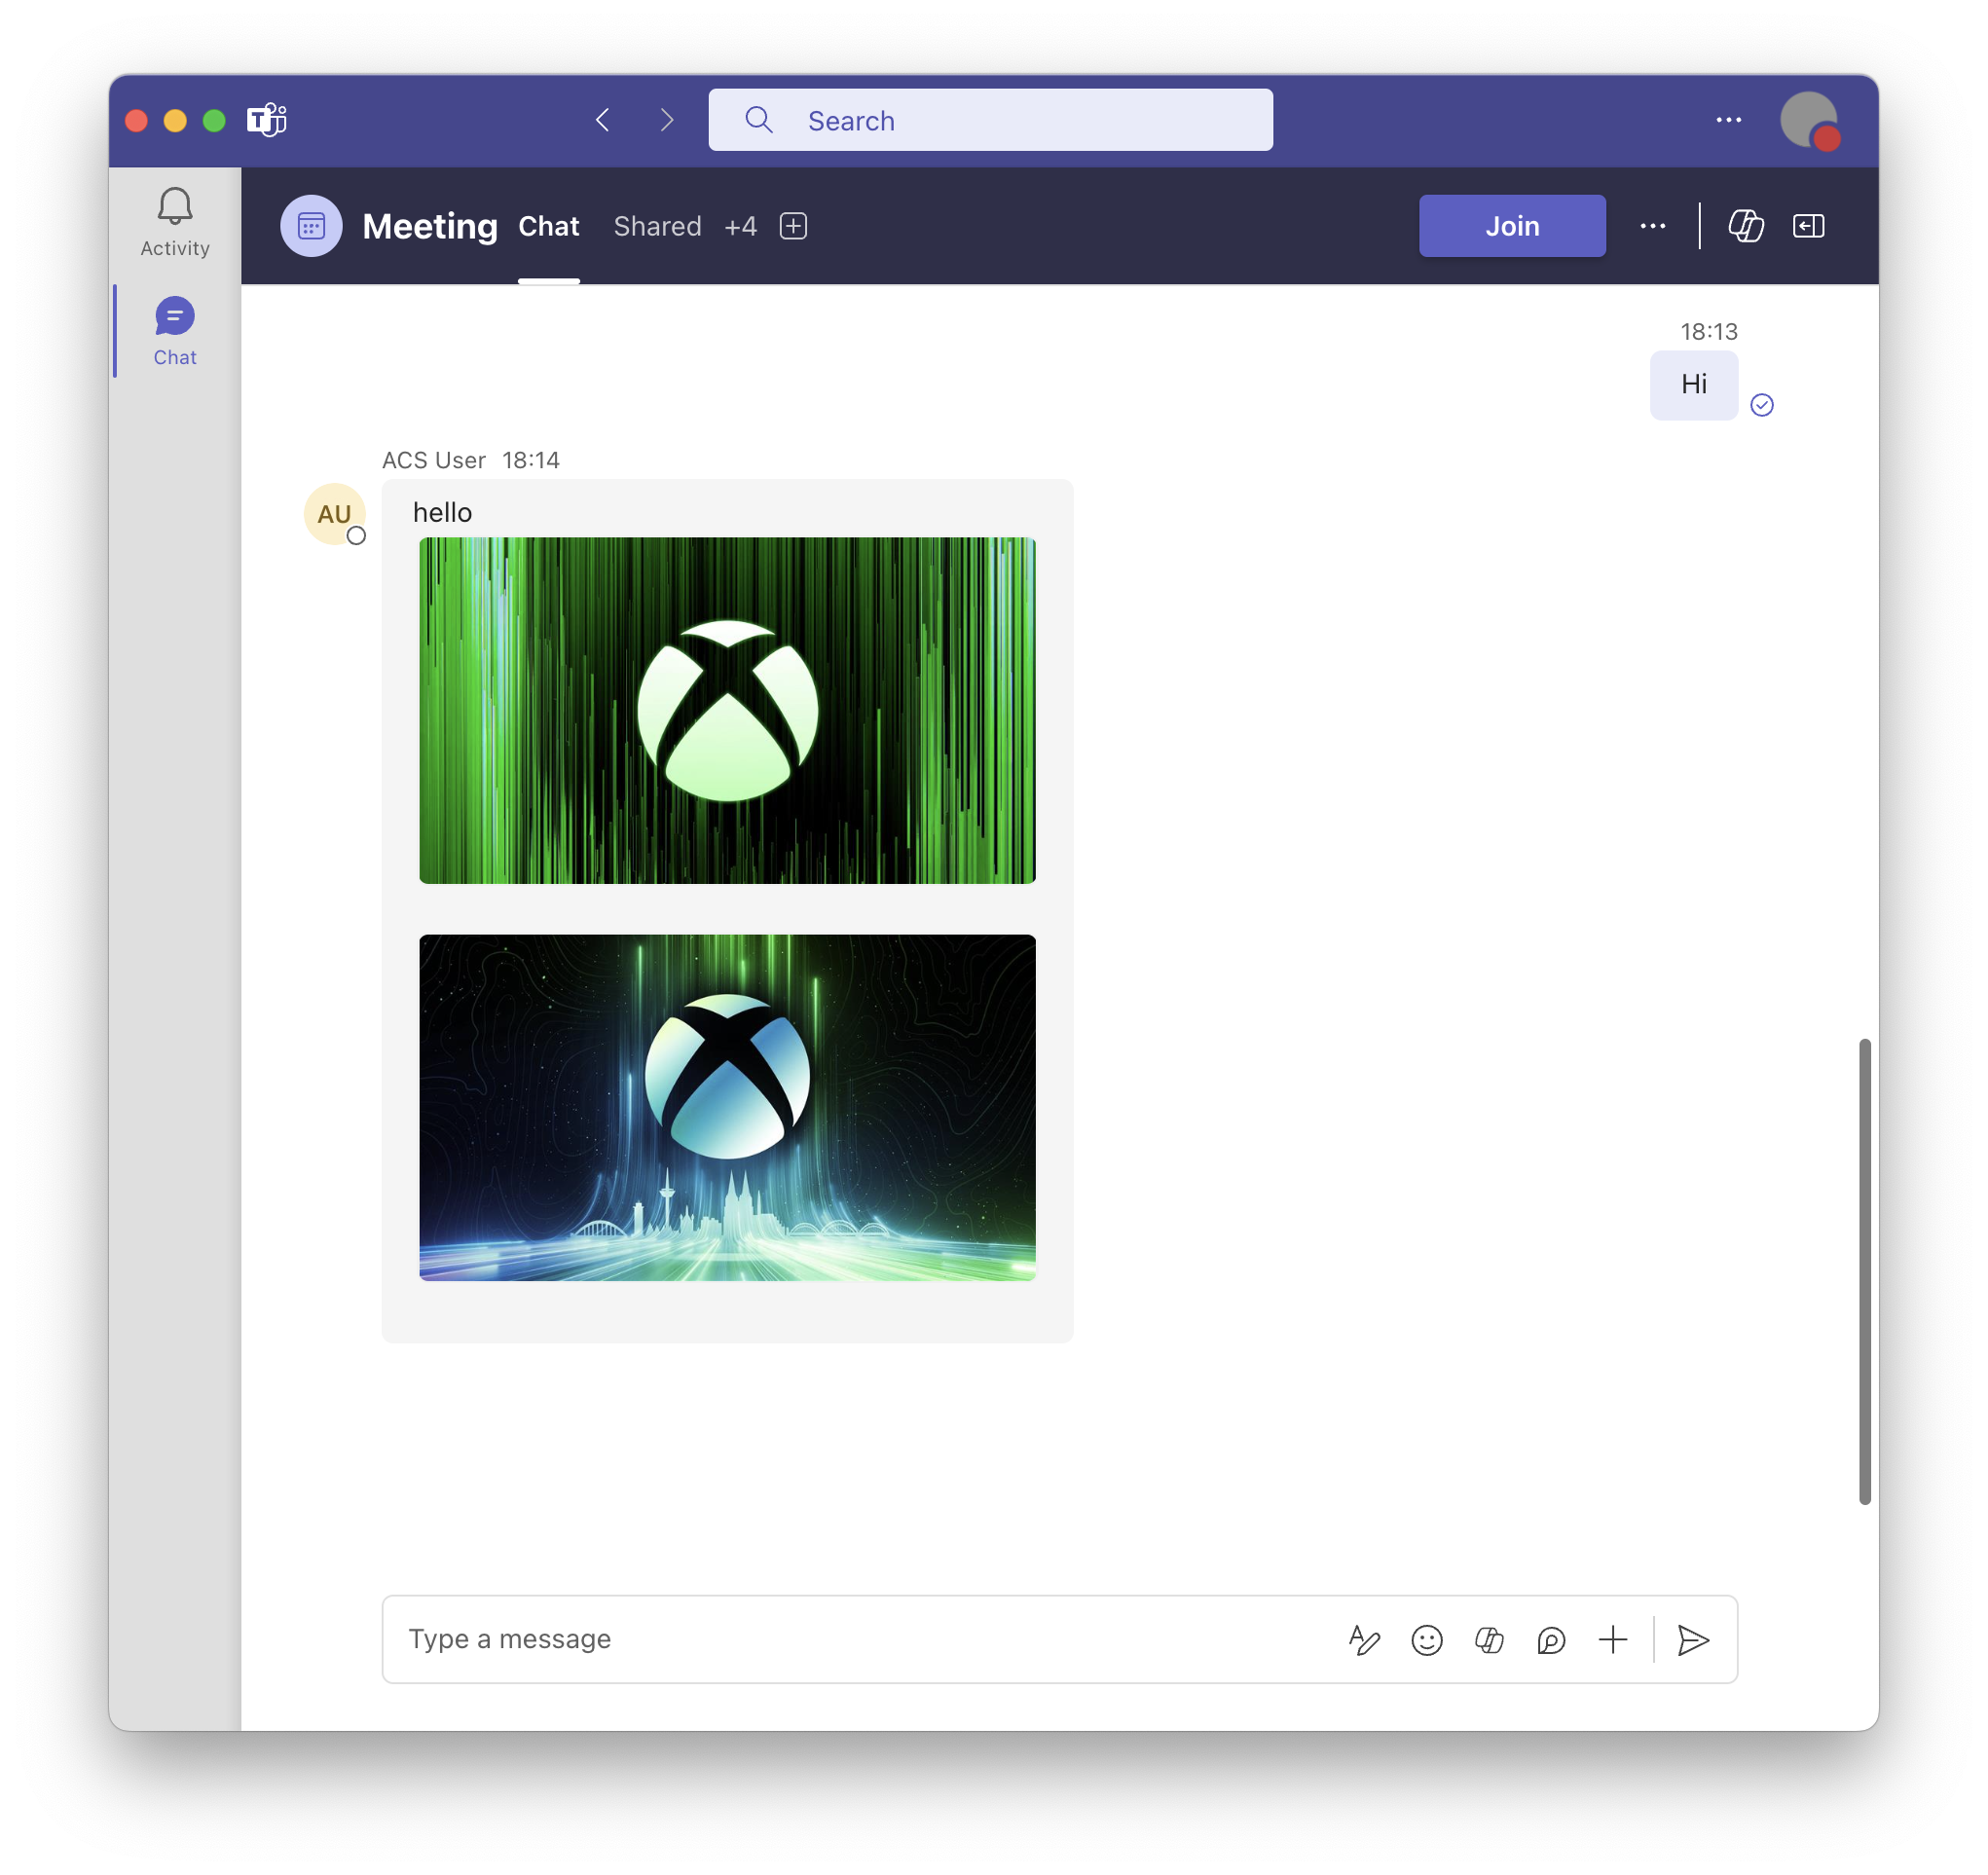
Open your browser and go to http://localhost:8080/. Enter the meeting URL and the thread ID. Send some inline images from the Teams client.
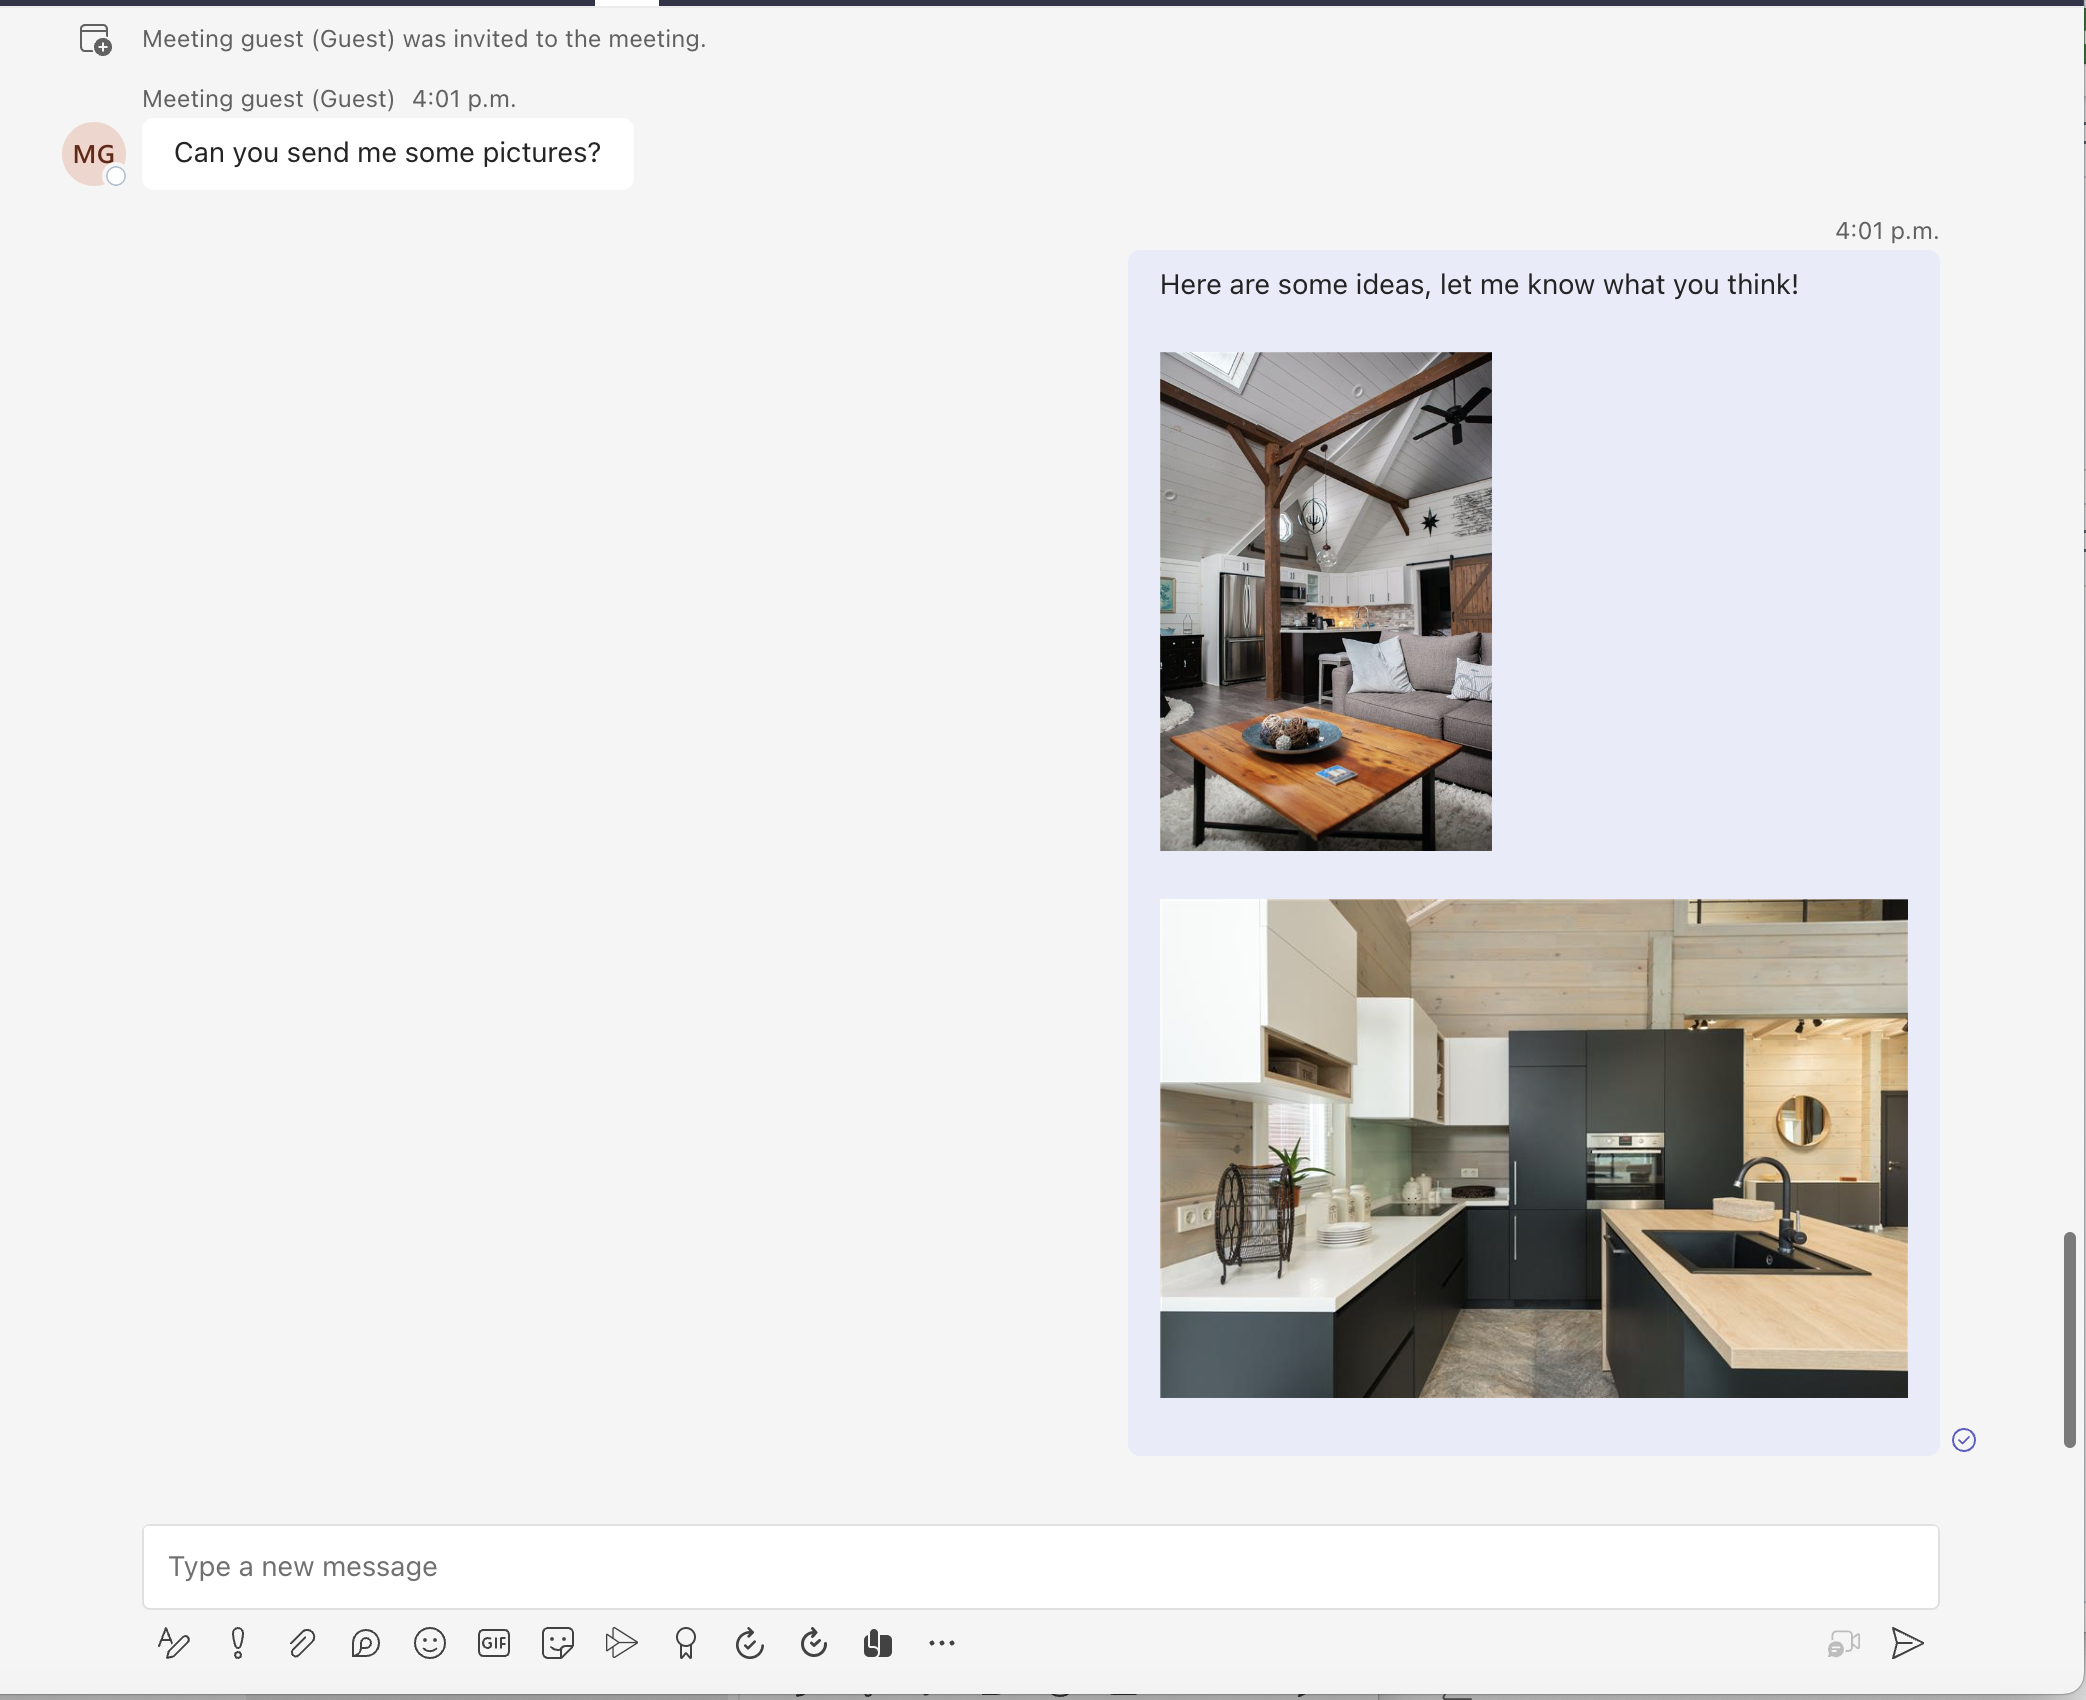
Then you should see the new message rendered along with preview images.
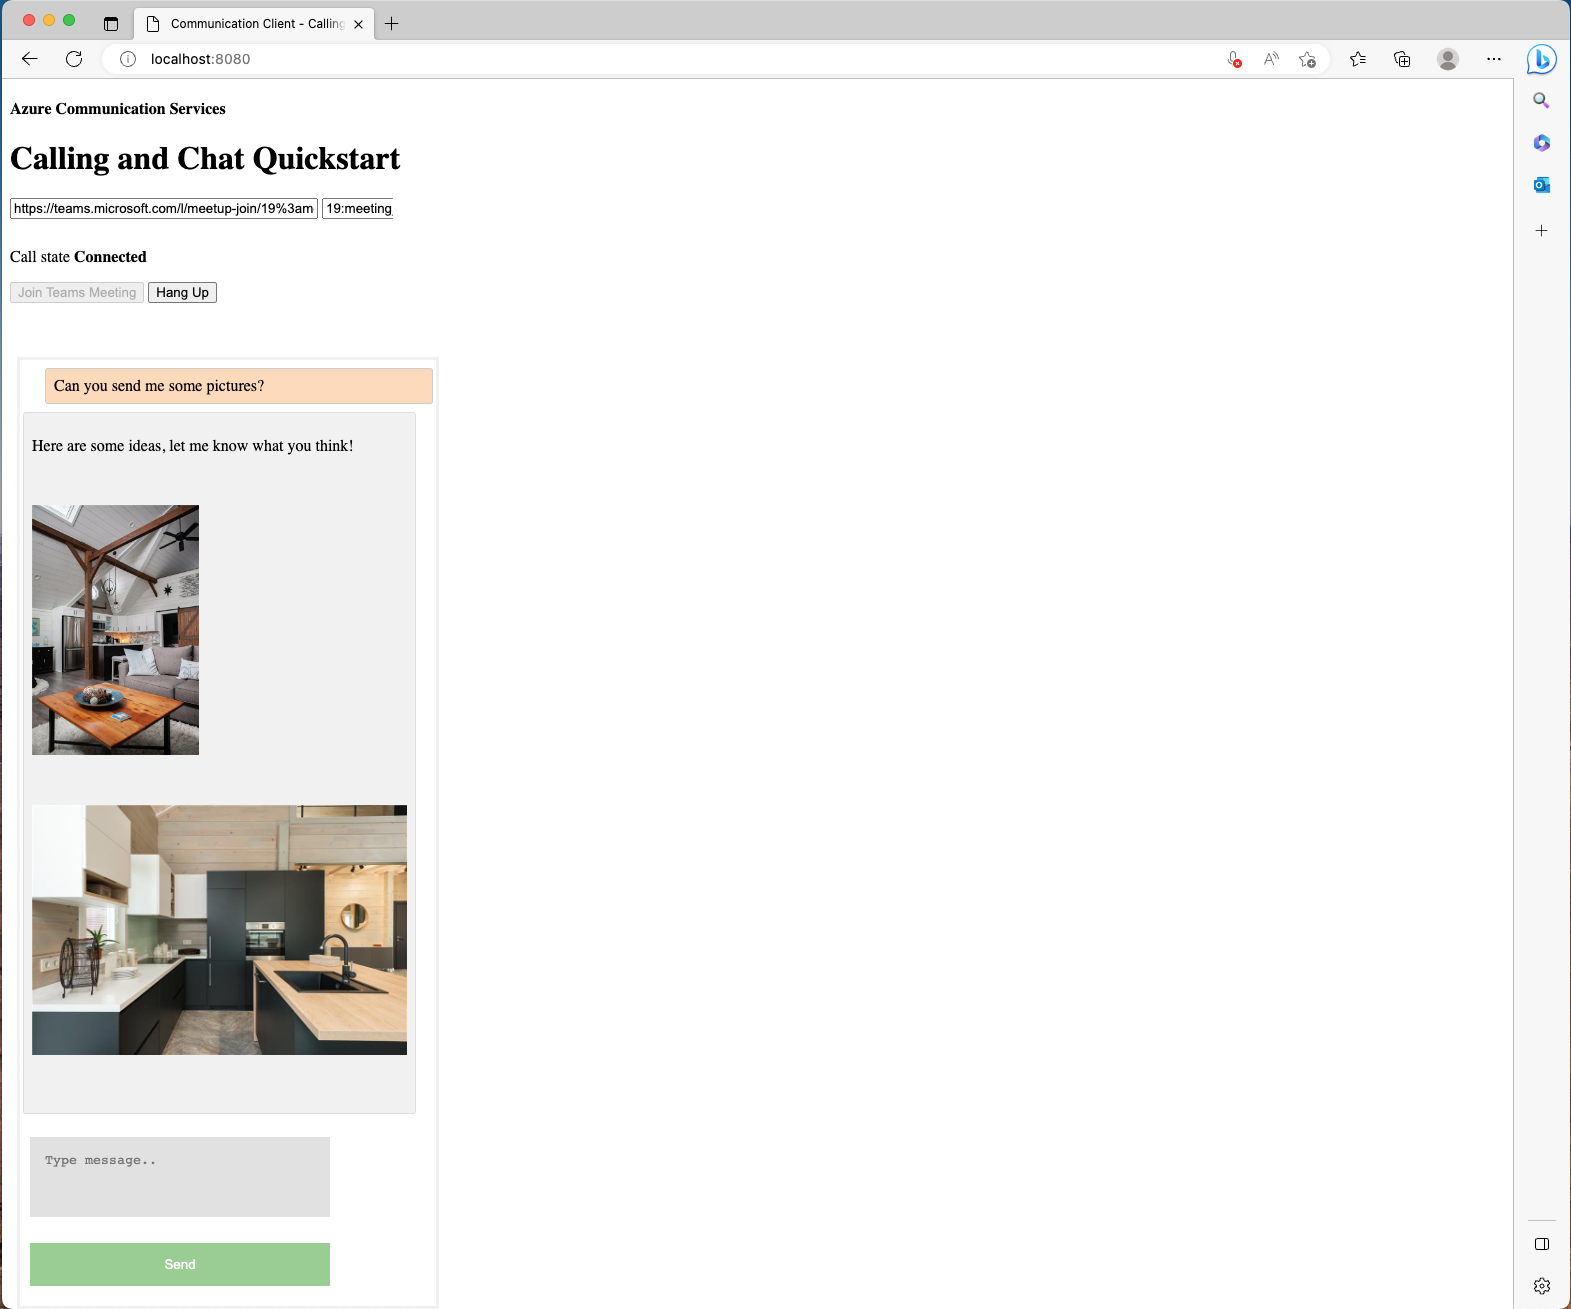
After the Azure Communication Services user selects the preview image, an overlay appears with the full-scale image sent by the Teams user.
Handle sending inline images in a new message request
Important
This feature of Azure Communication Services is currently in preview.
Preview APIs and SDKs are provided without a service-level agreement. We recommend that you don't use them for production workloads. Some features might not be supported, or they might have constrained capabilities.
For more information, review Supplemental Terms of Use for Microsoft Azure Previews.
In addition to handling messages with inline images, the Chat SDK for JavaScript also provides a solution to allow the communication user to send inline images to the Microsoft Teams user in an interoperability chat.
Take a look at the new API from ChatThreadClient:
var imageAttachment = await chatThreadClient.uploadImage(blob, file.name, {
  "onUploadProgress": reportProgressCallback
});
The API takes in an image blob, file name string, and a function callback that reports upload progress.
To send an image to other chat participant, you need to:
- Upload the image via the
uploadImageAPI fromChatThreadClient, and save the returned object. - Compose the message content and set an attachment to the returned object you saved in the previous step.
- Send the new message via the
sendMessageAPI fromChatThreadClient.
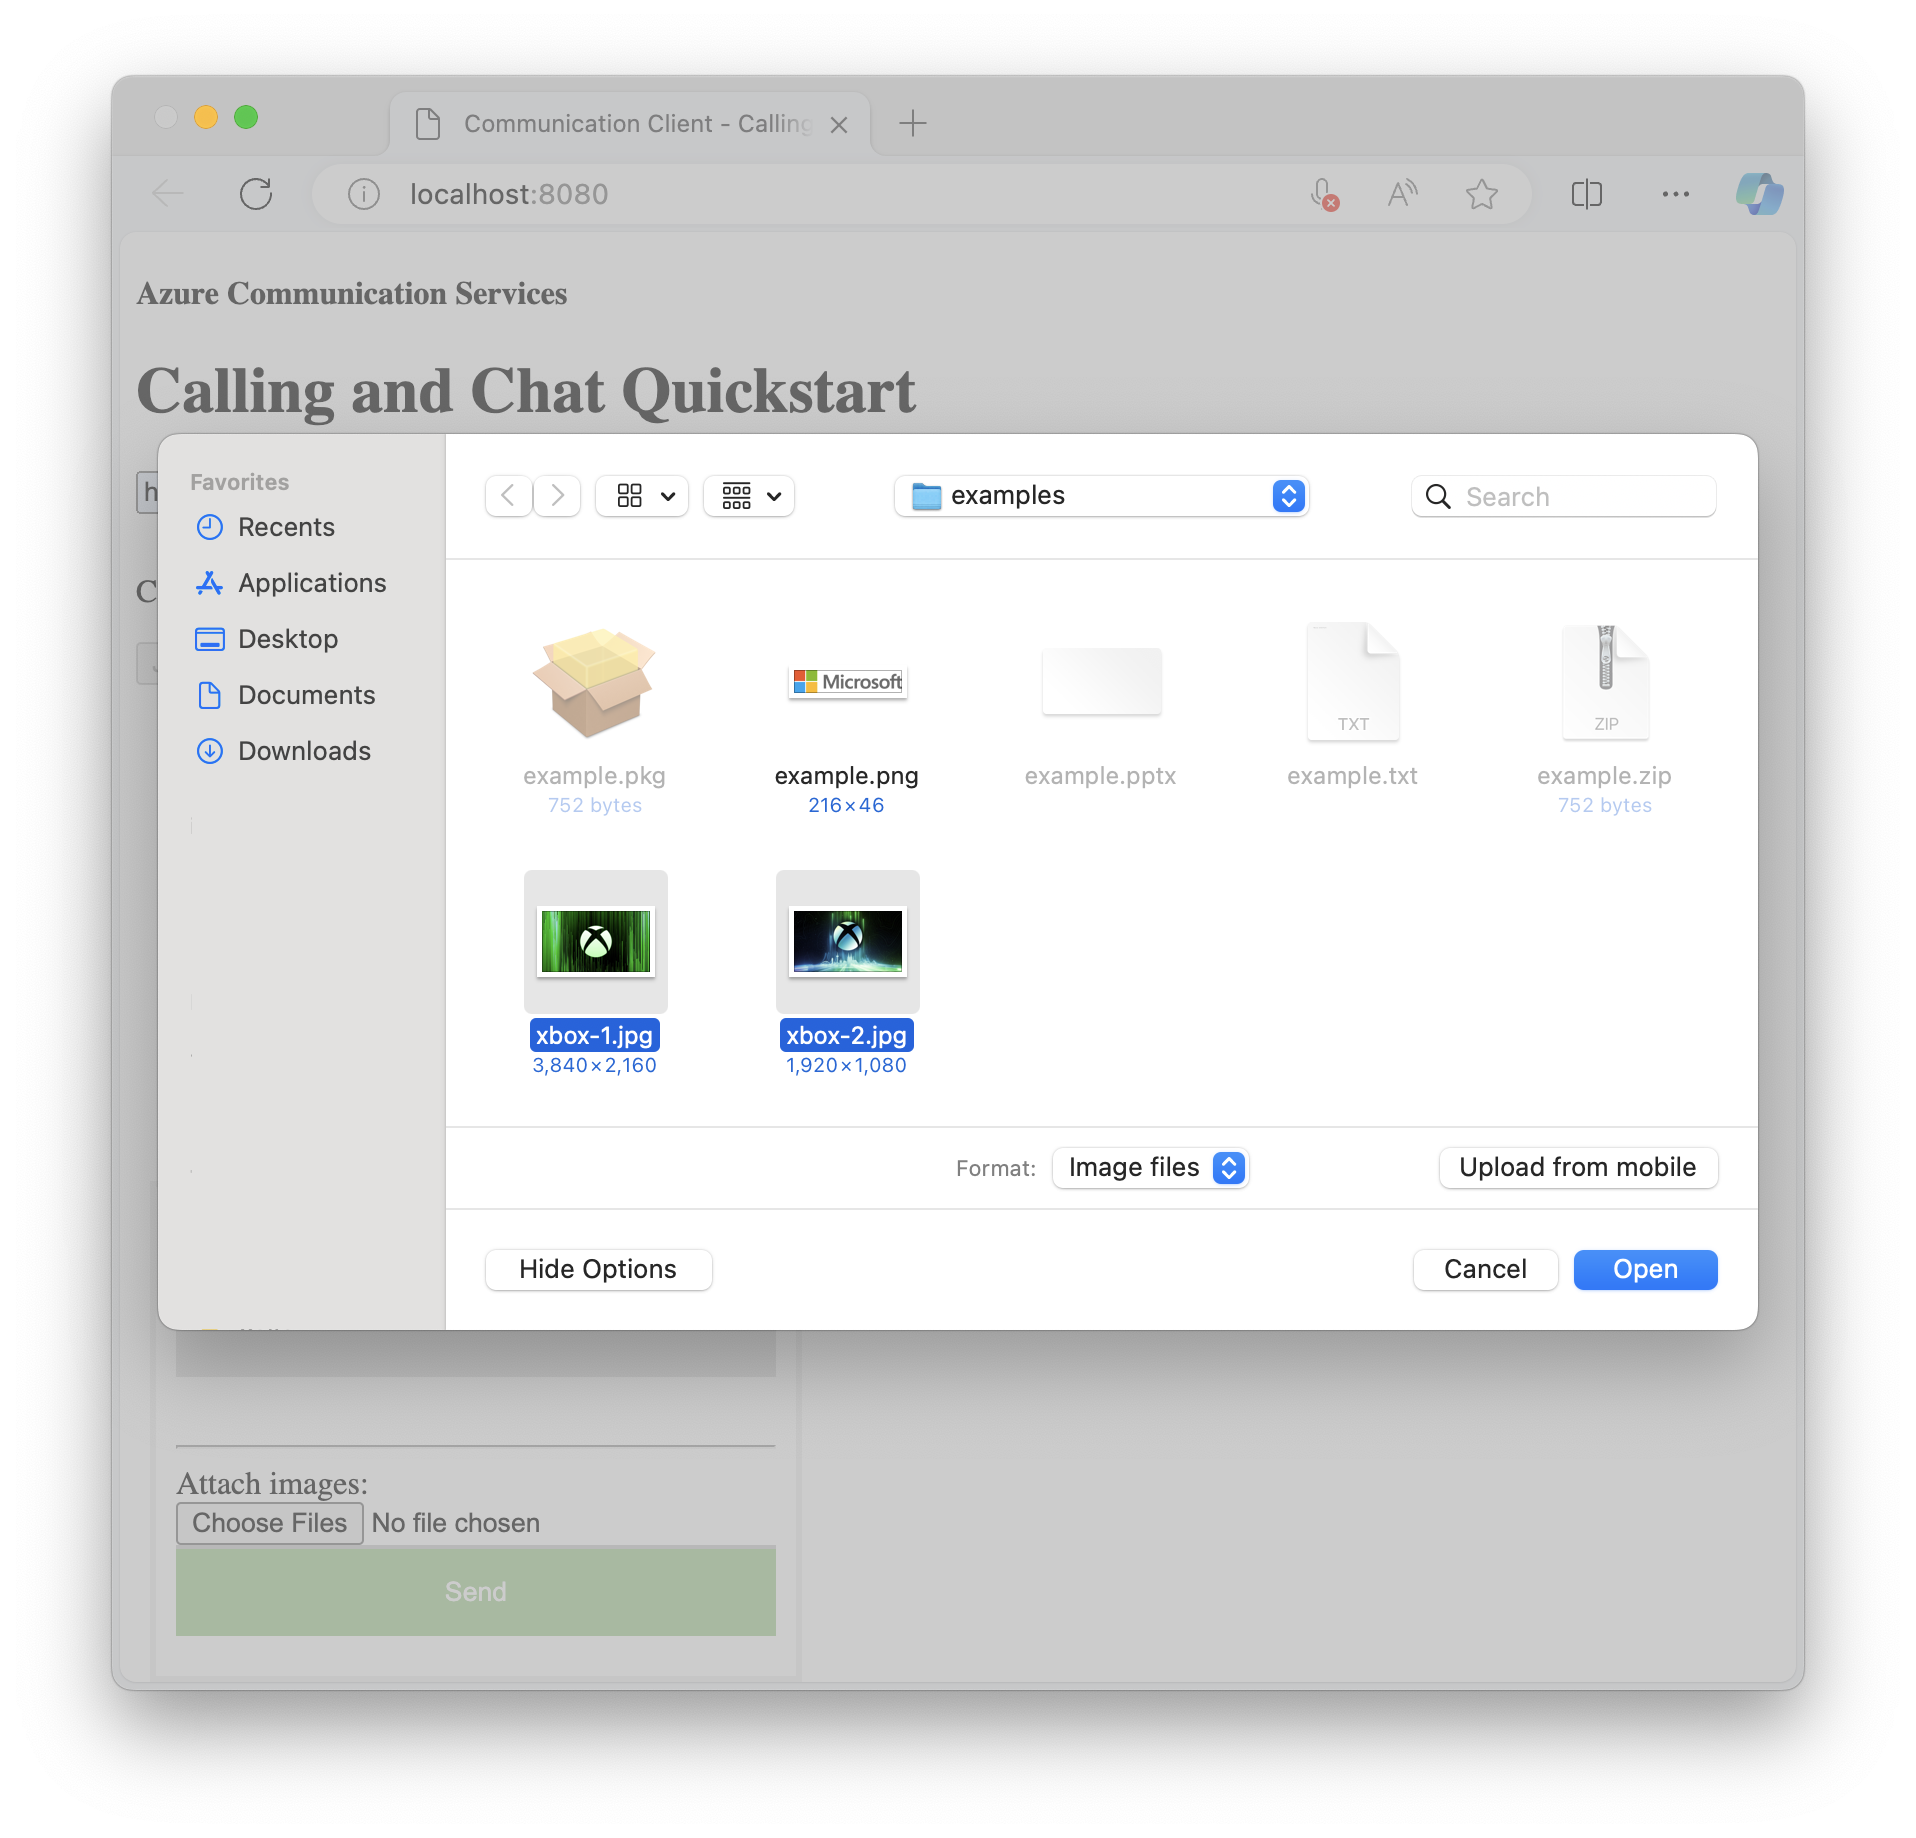
Create a new file picker that accepts images:
<label for="myfile">Attach images:</label>
<input id="upload" type="file" id="myfile" name="myfile" accept="image/*" multiple>
<input style="display: none;" id="upload-result"></input>
Now set up an event listener for when there's a state change:
document.getElementById("upload").addEventListener("change", uploadImages);
You need to create a new function for when state changes:
var uploadedImageModels = [];

async function uploadImages(e) {
  const files = e.target.files;
  if (files.length === 0) {
    return;
  }
  for (let key in files) {
    if (files.hasOwnProperty(key)) {
        await uploadImage(files[key]);
    }
}
}

async function uploadImage(file) {
  const buffer = await file.arrayBuffer();
  const blob = new Blob([new Uint8Array(buffer)], {type: file.type });
  const url = window.URL.createObjectURL(blob);
  document.getElementById("upload-result").innerHTML += `<img src="${url}" height="auto" width="100" />`;
  let uploadedImageModel = await chatThreadClient.uploadImage(blob, file.name, {
    imageBytesLength: file.size
  });
  uploadedImageModels.push(uploadedImageModel);
}
In this example, you created a FileReader to read each image as base64-encoded images, then create a Blob before calling the ChatSDK API to upload them. You created a global uploadedImageModels to save the data models of uploaded images from the Chat SDK.
Lastly, you need to modify the sendMessageButton event listener you created previously to attach the images you uploaded.
sendMessageButton.addEventListener("click", async () => {
  let message = messagebox.value;
  let attachments = uploadedImageModels;

    // Inject image tags for images we have selected
  // so they can be treated as inline images
  // Alternatively, we can use some third-party libraries
  // to have a rich text editor with inline image support
  message += attachments.map((attachment) => `<img id="${attachment.id}" />`).join("");

  let sendMessageRequest = {
    content: message,
    attachments: attachments,
  };

  let sendMessageOptions = {
    senderDisplayName: "Jack",
    type: "html"
  };

  let sendChatMessageResult = await chatThreadClient.sendMessage(
    sendMessageRequest,
    sendMessageOptions
  );
  let messageId = sendChatMessageResult.id;
  uploadedImageModels = [];

  messagebox.value = "";
  document.getElementById("upload").value = "";
  console.log(`Message sent!, message id:${messageId}`);
});
That's it. Now run the code to see it in action.
Run the code
Webpack users can use webpack-dev-server to build and run your app. Run the following command to bundle your application host on a local web server:
npx webpack-dev-server --entry ./client.js --output bundle.js --debug --devtool inline-source-map
Demo
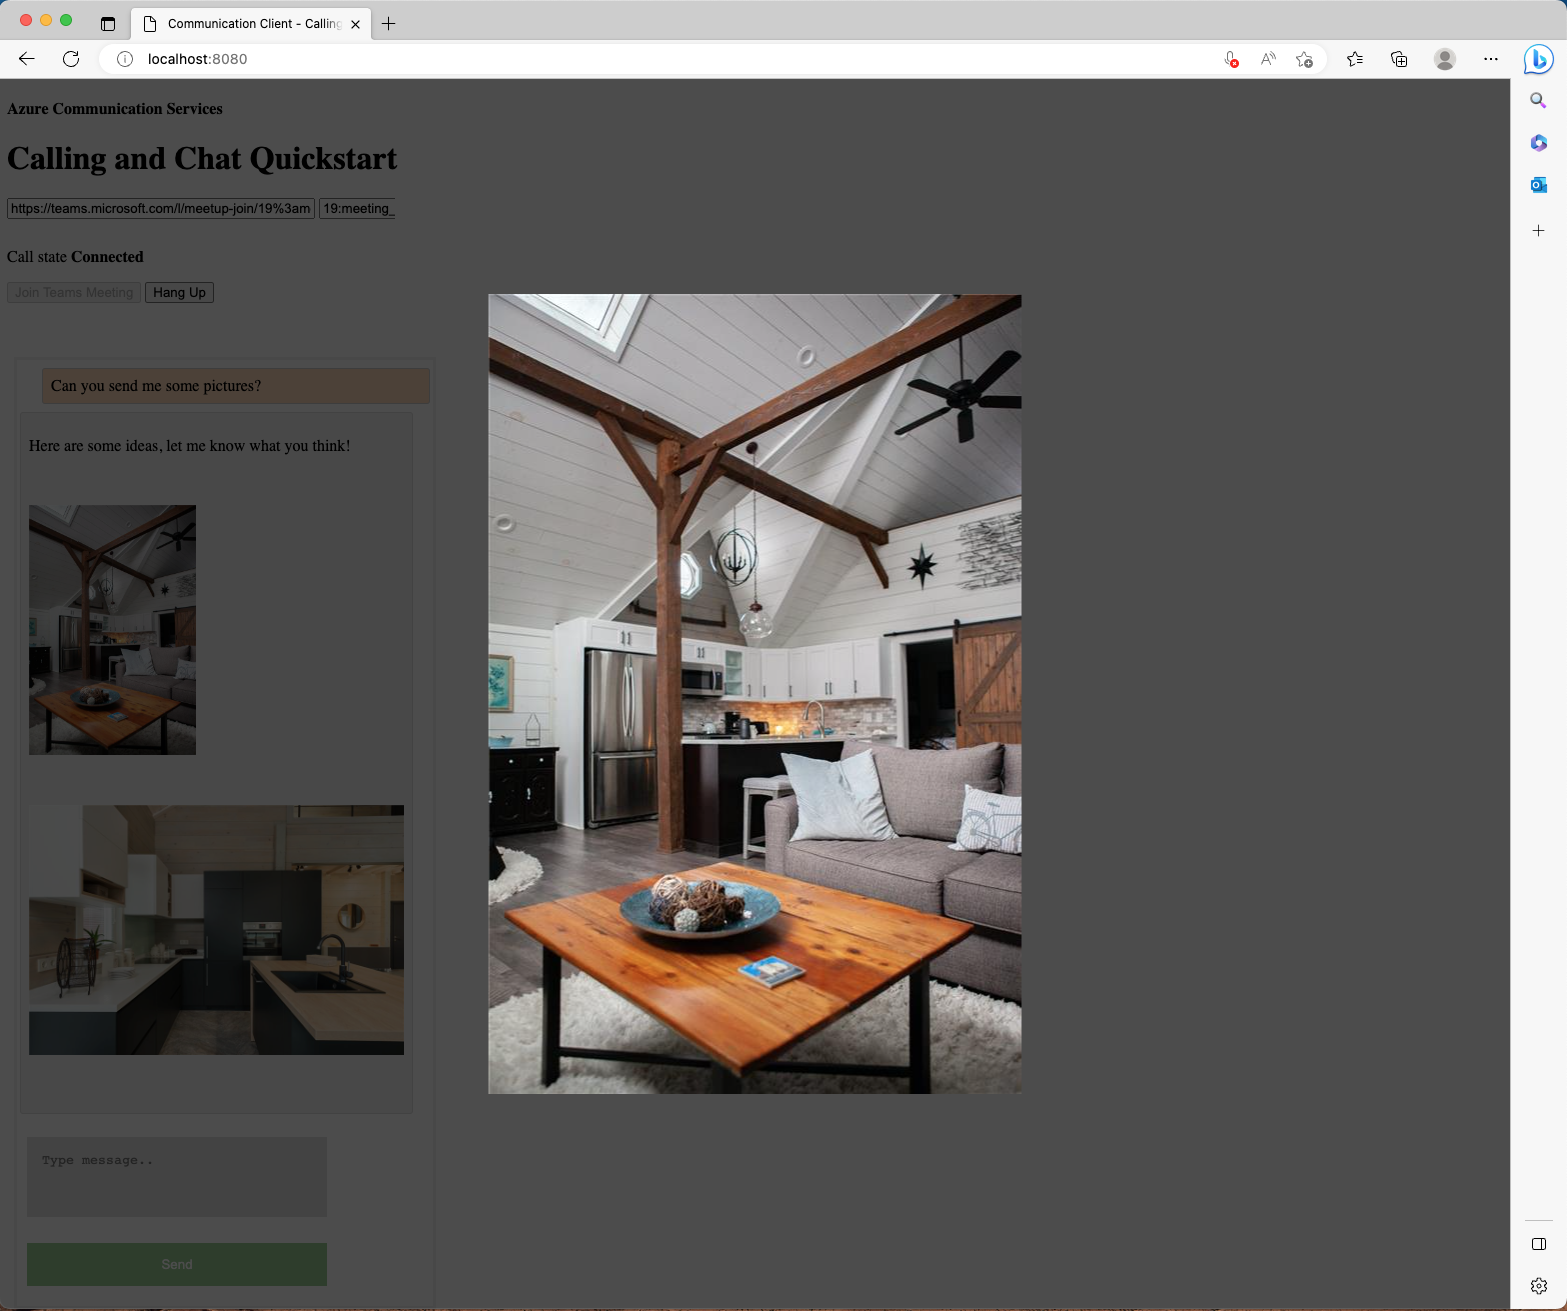
Open your browser and go to http://localhost:8080/. You have a new section in the send box to attach images.
Next, you can select the images you want to attach.
The Teams user should now receive the image you just sent out when they select Send.
This tutorial shows you how to enable inline image support by using the Azure Communication Services Chat SDK for C#.
In this tutorial, you learn how to:
- Handle inline images for new messages.
Prerequisites
- Review the quickstart Join your chat app to a Teams meeting.
- Create an Azure Communication Services resource. For more information, see Create an Azure Communication Services resource. You need to record your connection string for this tutorial.
- Set up a Teams meeting by using your business account and have the meeting URL ready.
- Use Chat SDK for C# (Azure.Communication.Chat) 1.3.0 or the latest. For more information, see Azure Communication Chat client library for .NET.
Goal
- Grab the
previewUriproperty for inline image attachments.
Handle inline images for new messages
In the quickstart, you poll for messages and append new messages to the messageList property. You build on this functionality later to include parsing and fetching of the inline images.
  CommunicationUserIdentifier currentUser = new(user_Id_);
  AsyncPageable<ChatMessage> allMessages = chatThreadClient.GetMessagesAsync();
  SortedDictionary<long, string> messageList = [];
  int textMessages = 0;
  await foreach (ChatMessage message in allMessages)
  {
      if (message.Type == ChatMessageType.Html || message.Type == ChatMessageType.Text)
      {
          textMessages++;
          var userPrefix = message.Sender.Equals(currentUser) ? "[you]:" : "";
          var strippedMessage = StripHtml(message.Content.Message);
          messageList.Add(long.Parse(message.SequenceId), $"{userPrefix}{strippedMessage}");
      }
  }
From the incoming event of type ChatMessageReceivedEvent, the property named attachments contains information about the inline image. It's all you need to render inline images in your UI.
public class ChatAttachment
{
    public ChatAttachment(string id, ChatAttachmentType attachmentType)
    public ChatAttachmentType AttachmentType { get }
    public string Id { get }
    public string Name { get }
    public System.Uri PreviewUrl { get }
    public System.Uri Url { get }
}

public struct ChatAttachmentType : System.IEquatable<AttachmentType>
{
    public ChatAttachmentType(string value)
    public static File { get }
    public static Image { get }
}
The following JSON is an example of what ChatAttachment might look like for an image attachment:
"attachments": [
    {
        "id": "9d89acb2-c4e4-4cab-b94a-7c12a61afe30",
        "attachmentType": "image",
        "name": "Screenshot.png",
        "url": "https://contoso.communication.azure.com/chat/threads/19:9d89acb29d89acb2@thread.v2/images/9d89acb2-c4e4-4cab-b94a-7c12a61afe30/views/original?api-version=2023-11-03",
        "previewUrl": "https://contoso.communication.azure.com/chat/threads/19:9d89acb29d89acb2@thread.v2/images/9d89acb2-c4e4-4cab-b94a-7c12a61afe30/views/small?api-version=2023-11-03"
      }
]
Now go back and replace the code to add extra logic to parse and fetch the image attachments:
  CommunicationUserIdentifier currentUser = new(user_Id_);
  AsyncPageable<ChatMessage> allMessages = chatThreadClient.GetMessagesAsync();
  SortedDictionary<long, string> messageList = [];
  int textMessages = 0;
  await foreach (ChatMessage message in allMessages)
  {
      // Get message attachments that are of type 'image'
      IEnumerable<ChatAttachment> imageAttachments = message.Content.Attachments.Where(x => x.AttachmentType == ChatAttachmentType.Image);

      // Fetch image and render
      var chatAttachmentImageUris = new List<Uri>();
      foreach (ChatAttachment imageAttachment in imageAttachments)
      {
          client.DefaultRequestHeaders.Authorization = new System.Net.Http.Headers.AuthenticationHeaderValue("Bearer", communicationTokenCredential.GetToken().Token);
          var response = await client.GetAsync(imageAttachment.PreviewUri);
          var randomAccessStream = await response.Content.ReadAsStreamAsync();
          await Dispatcher.RunAsync(CoreDispatcherPriority.Normal, async () =>
          {
              var bitmapImage = new BitmapImage();
              await bitmapImage.SetSourceAsync(randomAccessStream.AsRandomAccessStream());
              InlineImage.Source = bitmapImage;
          });

          chatAttachmentImageUris.Add(imageAttachment.PreviewUri);
      }

      // Build message list
      if (message.Type == ChatMessageType.Html || message.Type == ChatMessageType.Text)
      {
          textMessages++;
          var userPrefix = message.Sender.Equals(currentUser) ? "[you]:" : "";
          var strippedMessage = StripHtml(message.Content.Message);
          var chatAttachments = chatAttachmentImageUris.Count > 0 ? "[Attachments]:\n" + string.Join(",\n", chatAttachmentImageUris) : "";
          messageList.Add(long.Parse(message.SequenceId), $"{userPrefix}{strippedMessage}\n{chatAttachments}");
      }
In this example, you grab all attachments from the message of type Image and then fetch each one of the images. You must use your Token in the Bearer portion of the request header for authorization purposes. After the image is downloaded, you can assign it to the InlineImage element of the view.
You also include a list of the attachment URIs to be shown along with the message in the text message list.
Demo
- Run the application from the integrated development environment (IDE).
- Enter a Teams meeting link.
- Join the meeting.
- Admit the user on the Teams side.
- Send a message from the Teams side with an image.
The URL included with the message appears in the message list. The last received image is rendered at the bottom of the window.
Next steps
- Learn more about other supported interoperability features.
- Check out our Chat hero sample.
- Learn more about how Chat works.
Feedback
Coming soon: Throughout 2024 we will be phasing out GitHub Issues as the feedback mechanism for content and replacing it with a new feedback system. For more information see: https://aka.ms/ContentUserFeedback.
Submit and view feedback for