Create and manage a dev box with Dev Home Preview
In this article, you learn how to use Dev Home Preview to create, manage, and connect to your dev box. Dev Home is a Windows application that helps you manage and interact with your dev boxes.
Important
Microsoft Dev Home is currently in PREVIEW. This information relates to a prerelease product that may be substantially modified before it's released. Microsoft makes no warranties, expressed or implied, with respect to the information provided here.
Prerequisites
To complete the steps in this article, you must:
- Have a dev center configured with a dev box definition, dev box pool, and dev box project configured so that you can create a dev box.
- Be a member of Dev Box Users for at least one project.
Install or update Dev Home
You might see Dev Home in the Start menu. If you see it there, you can select it to open the app.
Dev Home is available in the Microsoft Store. To install or update Dev Home, go to the Dev Home (Preview) page in the Microsoft Store and select Get or Update.
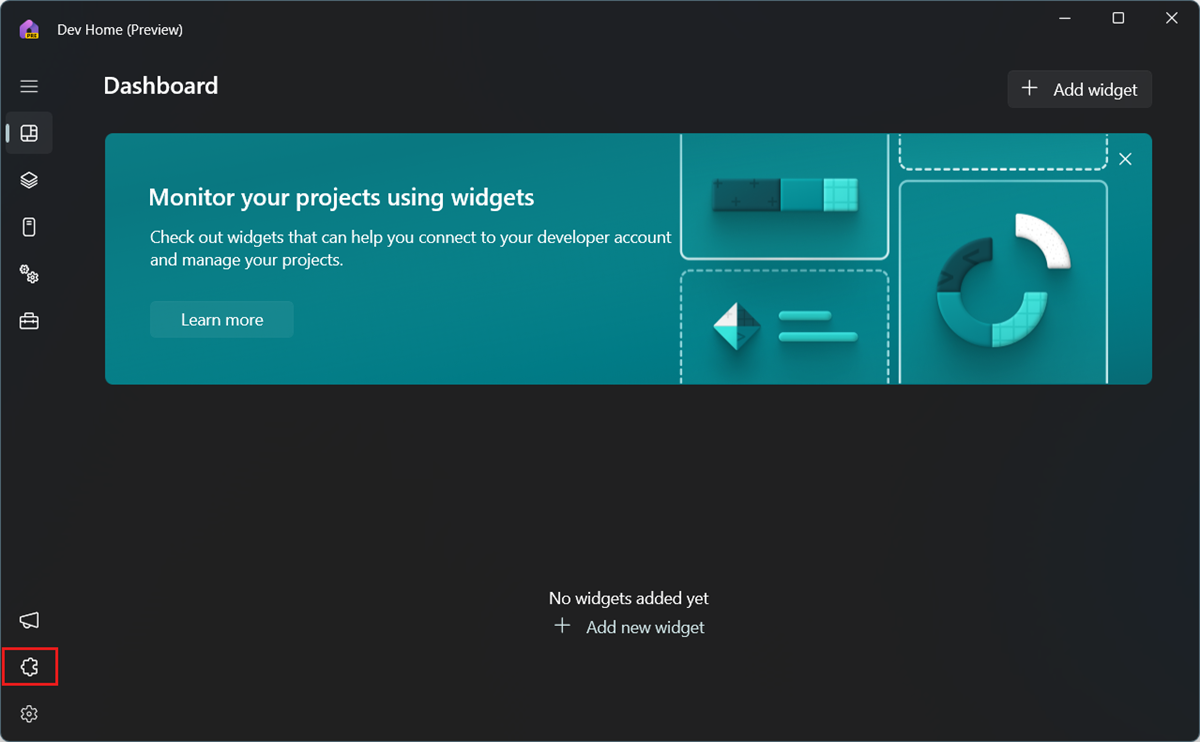
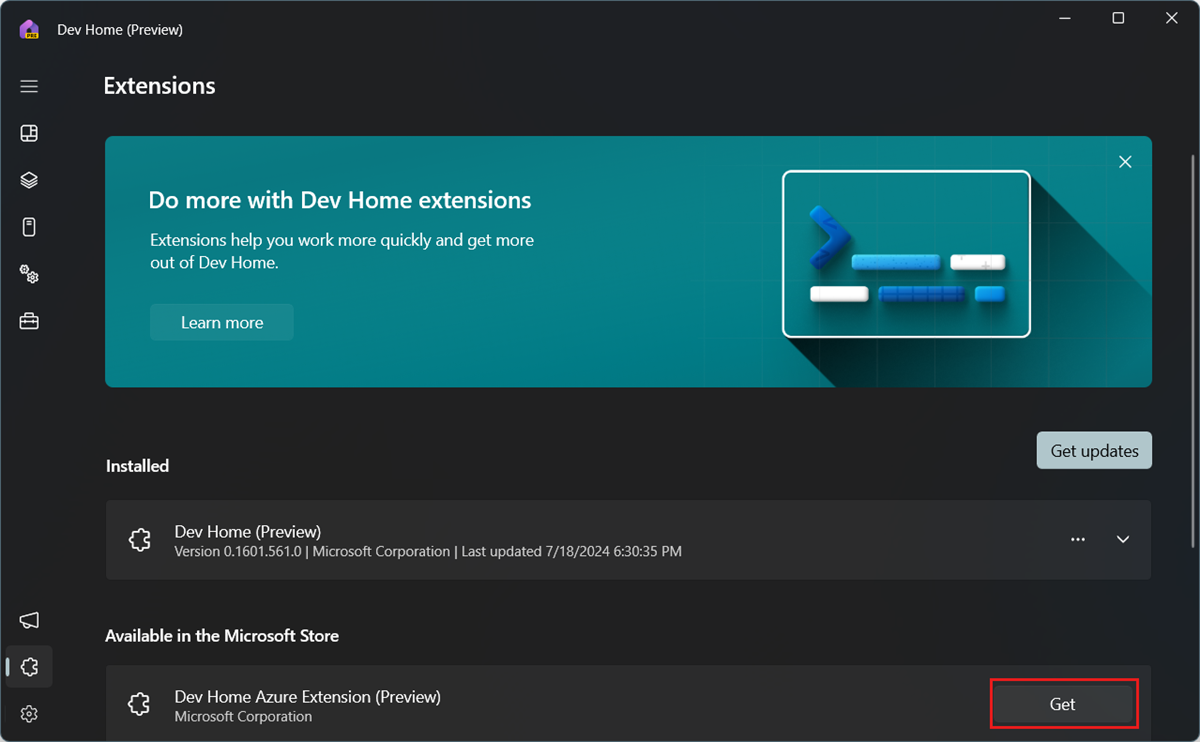
Add extensions
Dev Home uses extensions to provide more functionality. To support the Dev Box features, you need to install the Dev Home Azure Extension.
To add an extension:
In Dev Home, from the left menu, select Extensions.
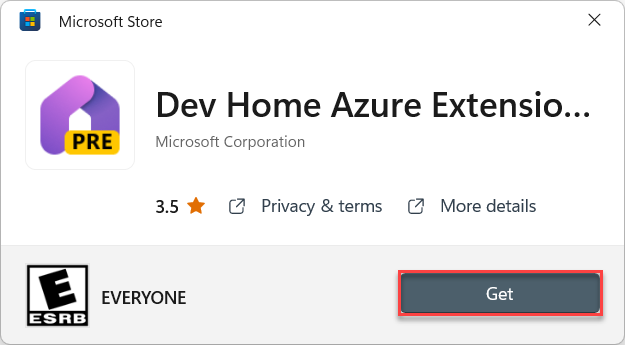
In the list of extensions Available in the Microsoft Store, on the Dev Home Azure Extension (Preview), select Get.
In the Microsoft Store dialog, select Get to install the extension.
Sign in to Dev Home
Dev Home allows you to work with many different services, like Microsoft Hyper-V, Windows Subsystem for Linux (WSL), and Microsoft Dev Box. To access your chosen service, you must sign in to your Microsoft account, or your Work or School account.
To sign in:
Open Dev Home.
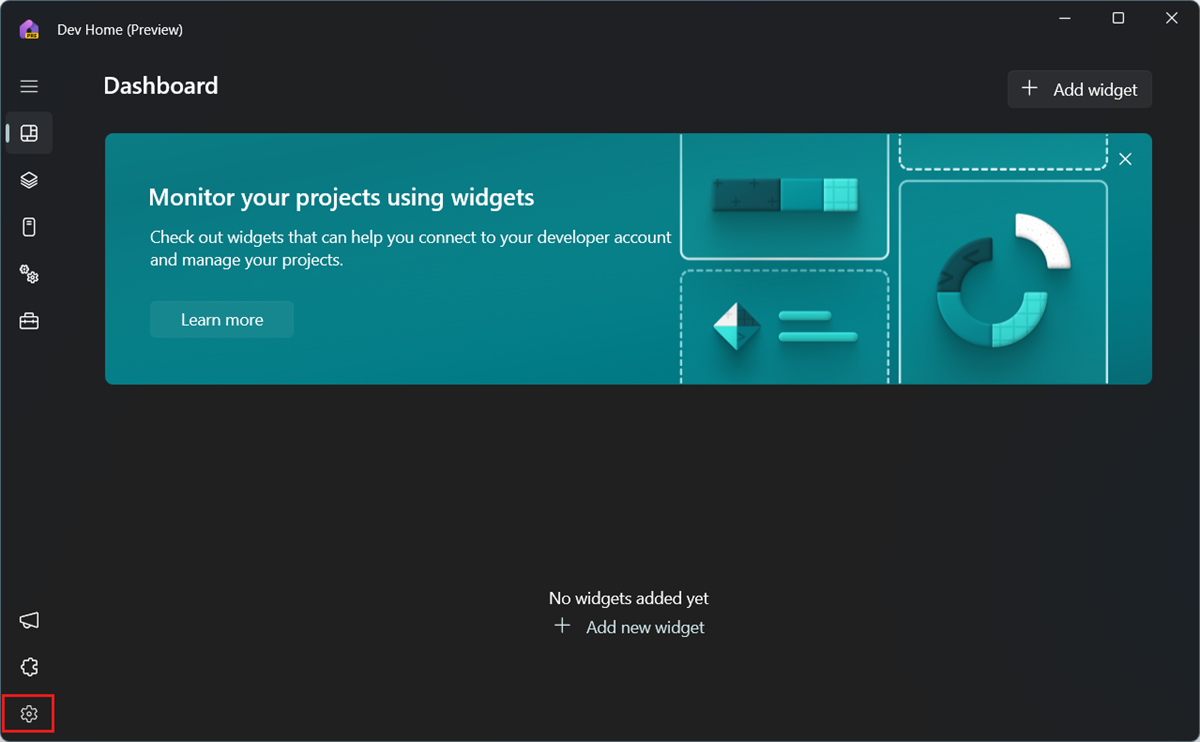
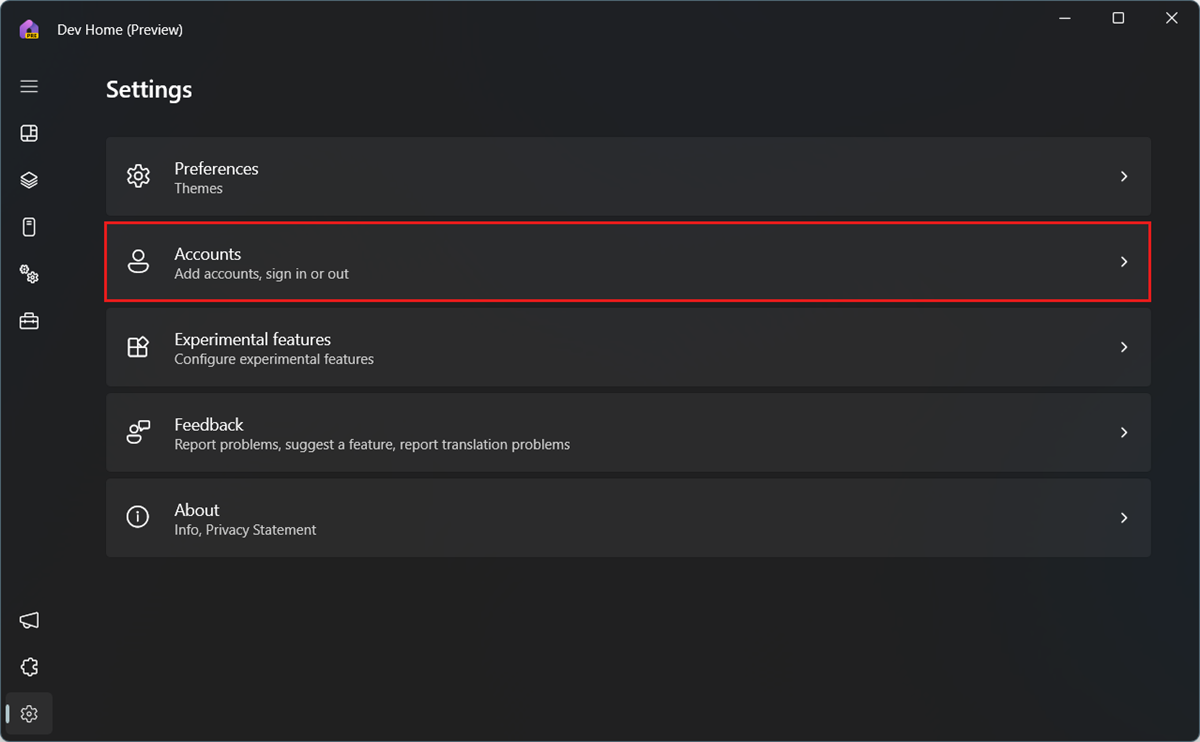
From the left menu, select Settings.
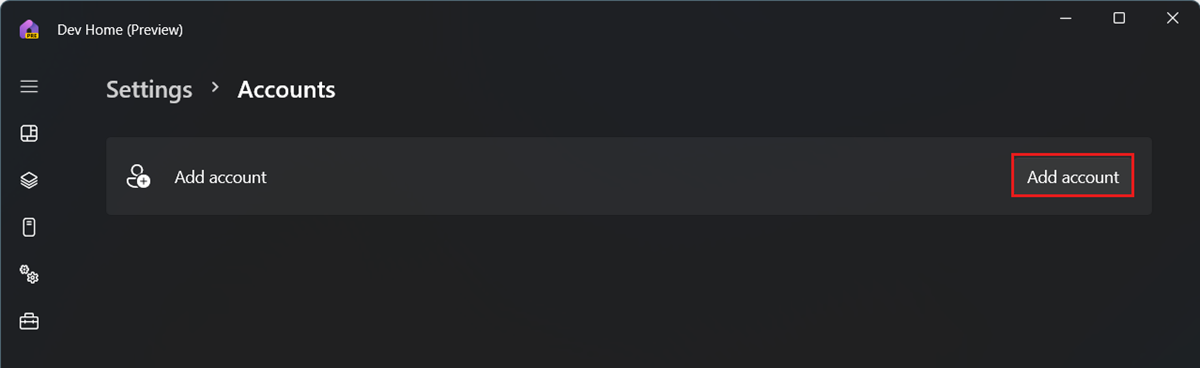
Select Accounts.
Select Add account and follow the prompts to sign in.
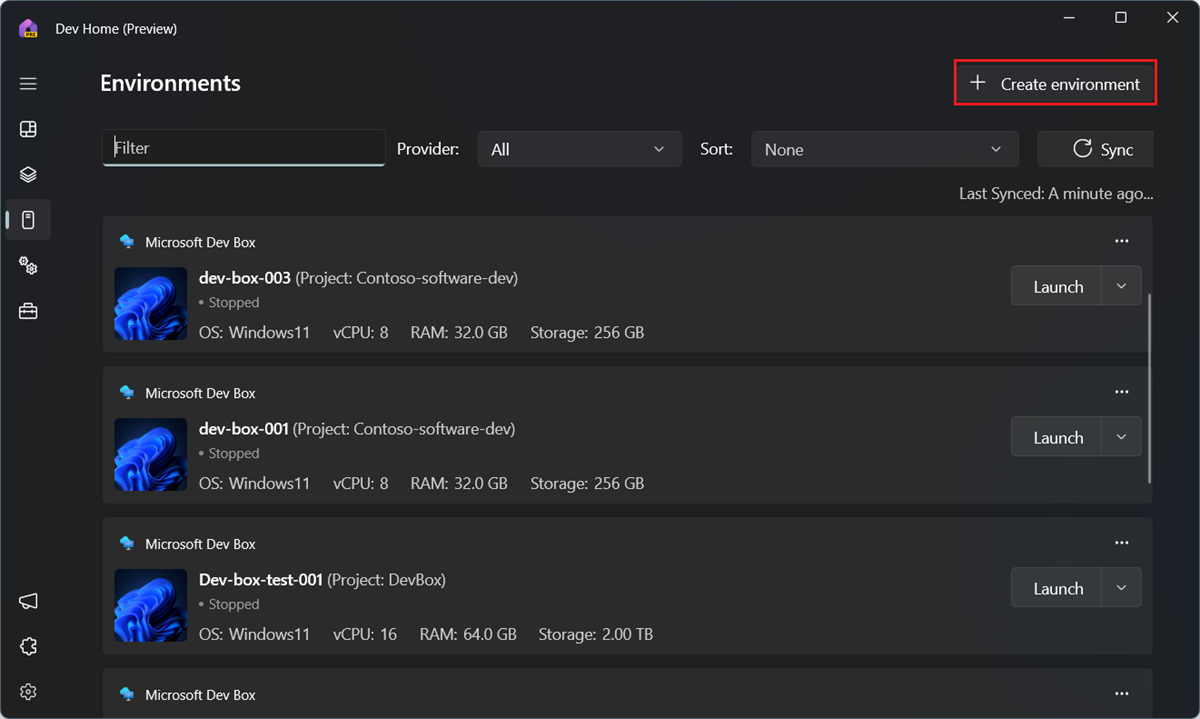
Create a dev box
Dev Home provides a guided way for you to create a new dev box.
Note
Dev Home uses the term Environments to refer to all local and cloud virtual machines.
To create a new dev box:
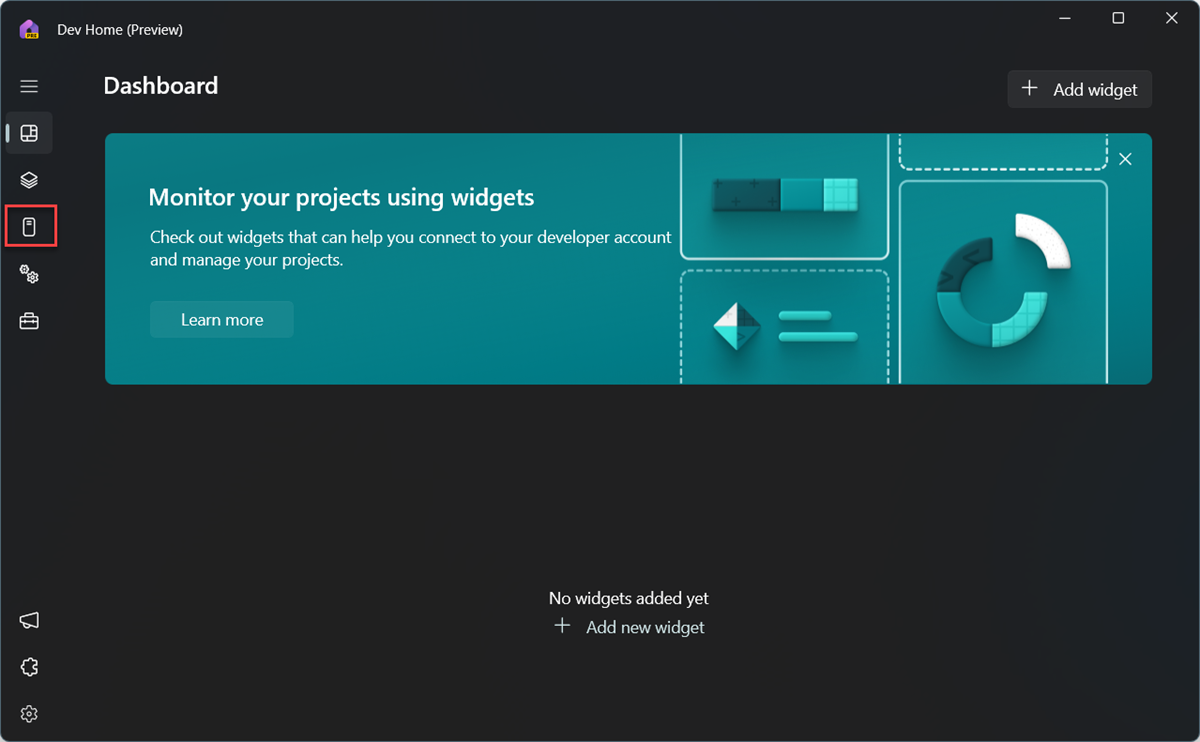
In Dev Home, from the left menu, select Environments.
Select Create Environment.
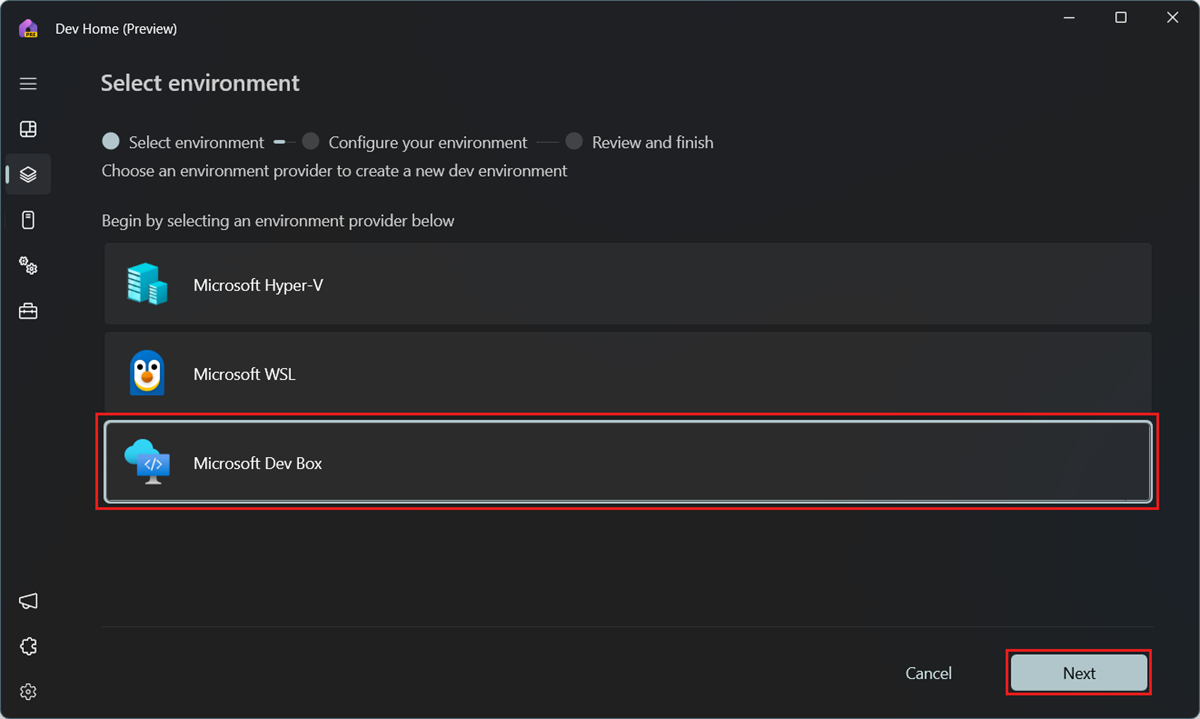
On the Select environment page, select Microsoft DevBox, and then select Next.
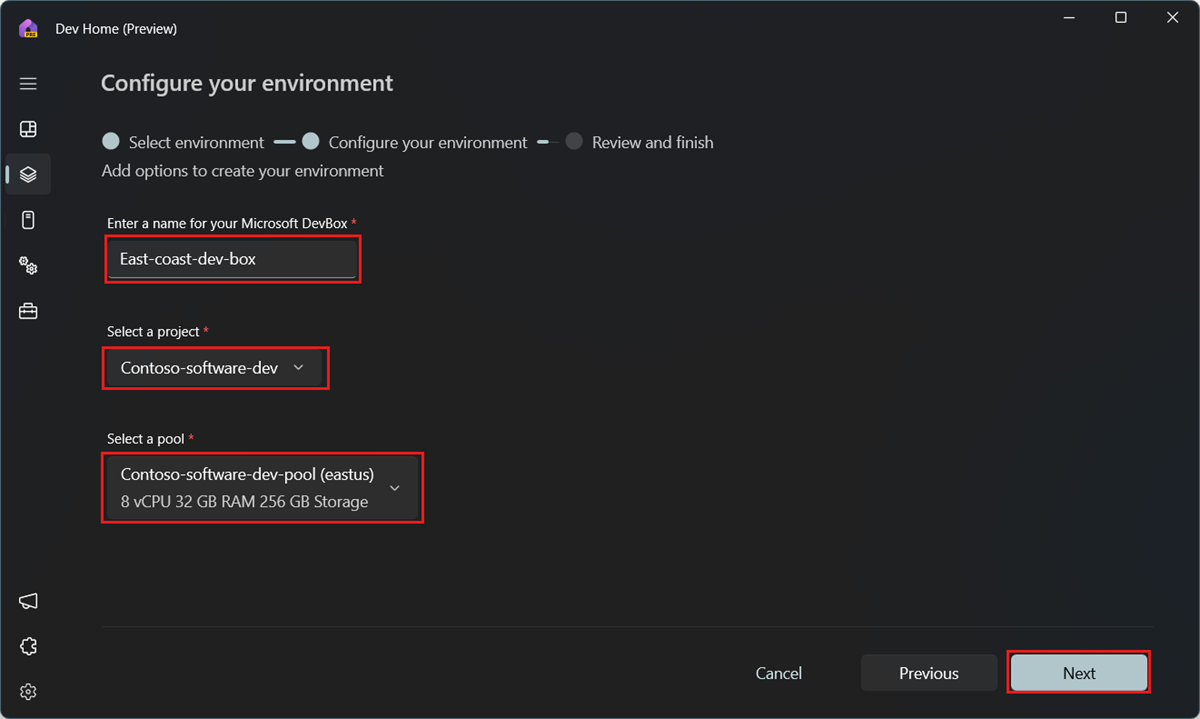
On the Configure your environment page:
Enter a name for your dev box.
Select the Project you want to create the dev box in.
Select the DevBox Pool where you want to create the dev box. Select a pool located close to you to reduce latency.
Select Next.
On the Review your environment page, review the details and select Create environment.

Select Go to Environments to see the status of your dev box.
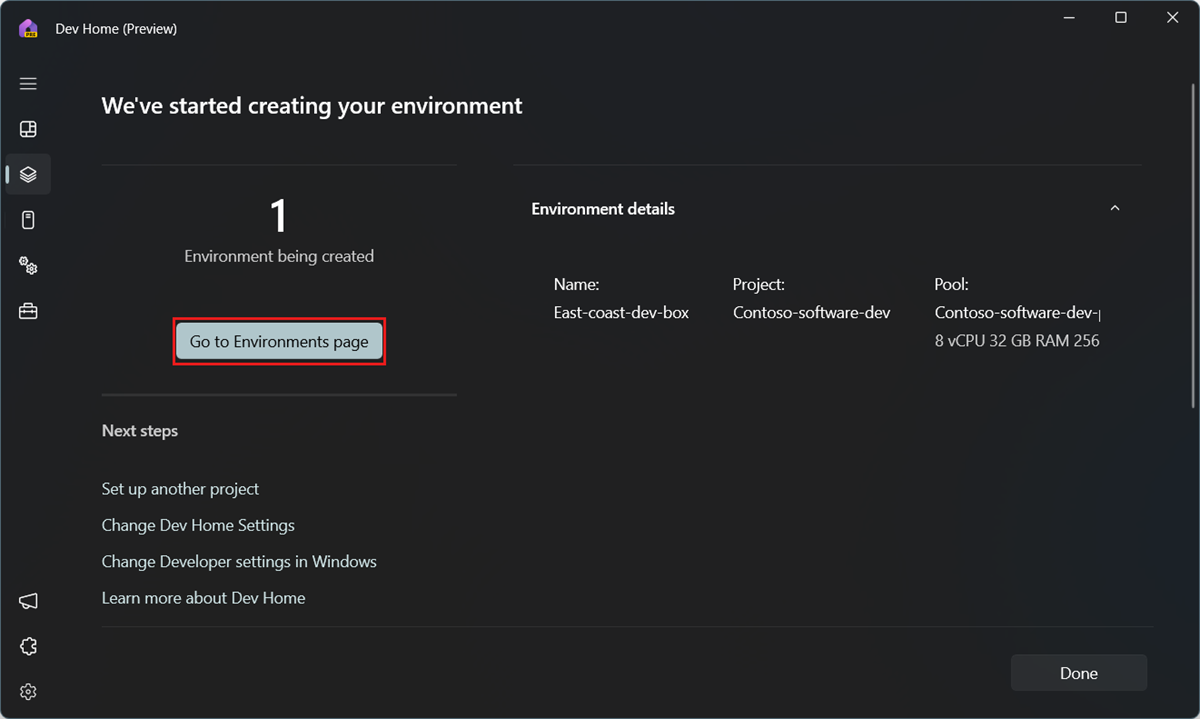
Important
A dev box is automatically started and running when the creation process finishes. Dev boxes incur costs whenever they're running.
Connect to your dev box
Dev Home provides a seamless way for you to use the Windows App to connect to your Dev Box from any device of your choice. You can customize the look and feel of the Windows App to suit the way you work, and switch between multiple services across accounts.
If the Windows App isn't installed, selecting Launch takes you to the web client to launch the Dev Box. Dev Home provides a way to launch your dev box straight from the app.
Install the Windows App
- Go to the Microsoft store and search for Windows App or use this download link:.
- Download the app and install it.
Launch your dev box
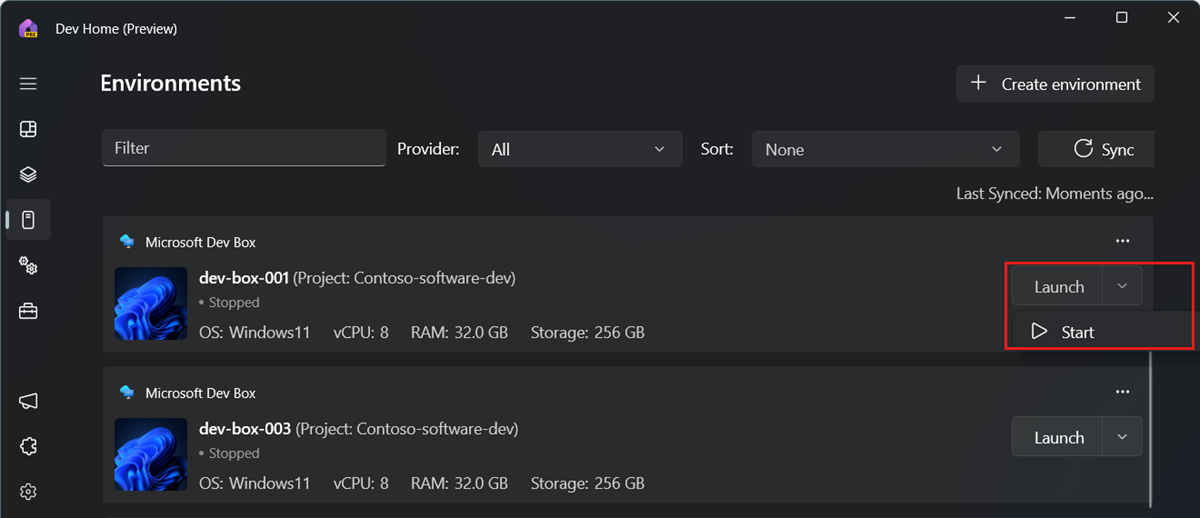
In Dev Home, from the left menu, select Environments.
For the dev box you want to launch, select Launch.
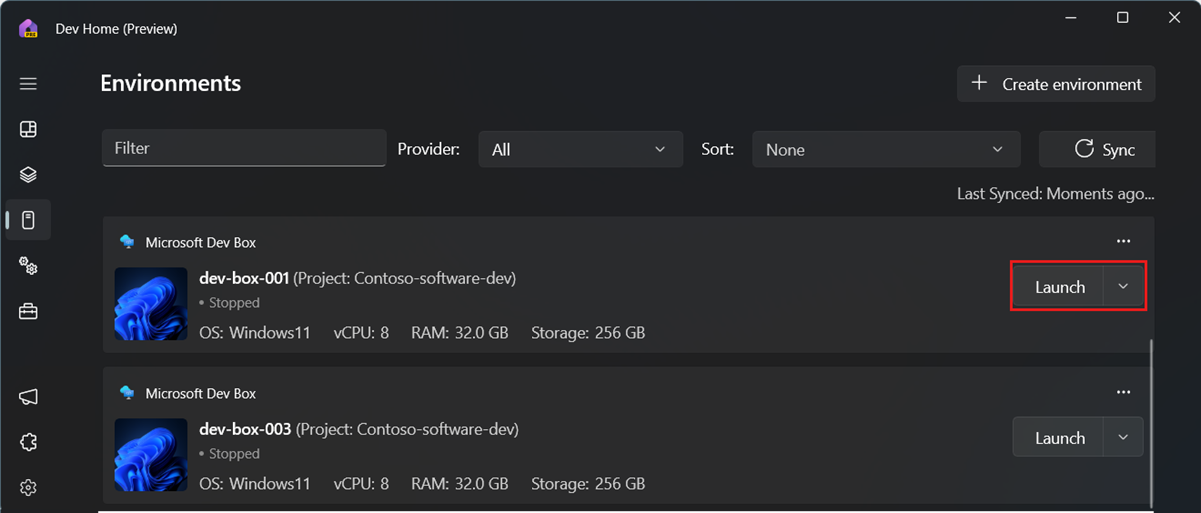
You can also start and stop the dev box from the Launch menu.
For more information on the Windows App, see Windows App.
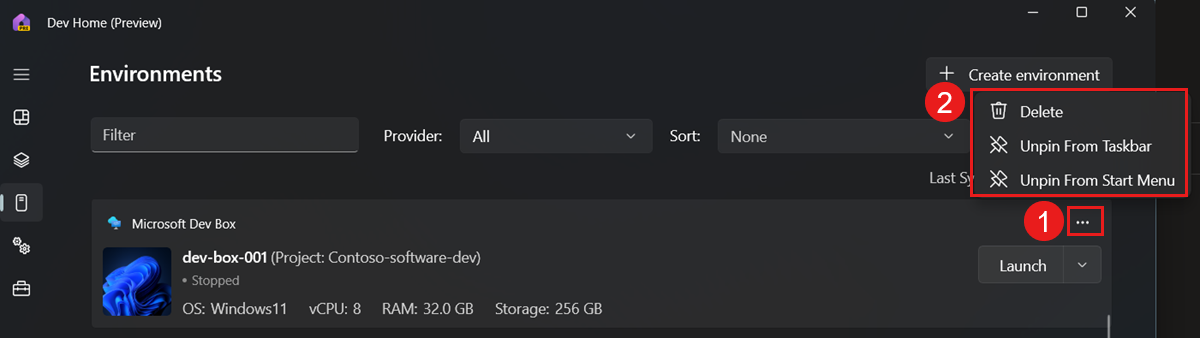
Manage your dev box
Dev home enables you to pin your dev box to the start menu or task bar, and to delete your dev box.
Open Dev Home.
From the left menu, select Environments.
Select the dev box you want to manage.
Select Pin to start, Pin to taskbar, or Delete.