Authenticate JavaScript apps to Azure services during local development using service principals
When you create cloud applications, developers need to debug and test applications on their local workstation. When an application is run on a developer's workstation during local development, it still must authenticate to any Azure services used by the app. This article covers how to set up dedicated application service principal objects to be used during local development.

Dedicated application service principals for local development allow you to follow the principle of least privilege during app development. Since permissions are scoped to exactly what is needed for the app during development, app code is prevented from accidentally accessing an Azure resource intended for use by a different app. This method also prevents bugs from occurring when the app is moved to production because the app was overprivileged in the dev environment.
An application service principal is set up for the app when the app is registered in Azure. When registering apps for local development, it's recommended to:
- Create separate app registrations for each developer working on the app. This method creates separate application service principals for each developer to use during local development and avoid the need for developers to share credentials for a single application service principal.
- Create separate app registrations per app. This scopes the app's permissions to only what is needed by the app.
During local development, environment variables are set with the application service principal's identity. The Azure SDK for JavaScript reads these environment variables and uses this information to authenticate the app to the Azure resources it needs.
1 - Register the application in Azure
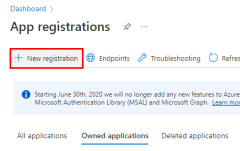
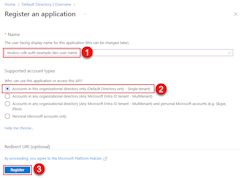
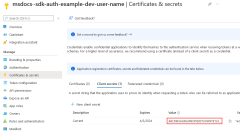
Application service principal objects are created with an app registration in Azure. You can create service principals using either the Azure portal or Azure CLI.
Sign in to the Azure portal and follow these steps.
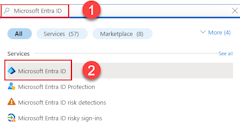
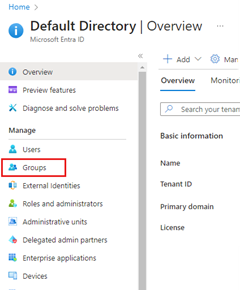
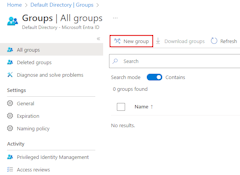
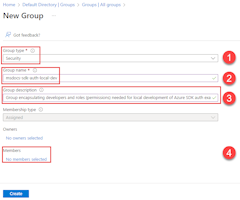
2 - Create a Microsoft Entra security group for local development
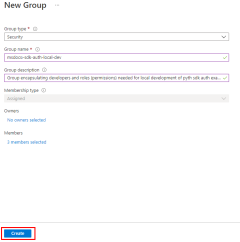
Since there typically multiple developers who work on an application, it's recommended to create a Microsoft Entra group to encapsulate the roles (permissions) the app needs in local development rather than assigning the roles to individual service principal objects. This offers the following advantages.
- Every developer is assured to have the same roles assigned since roles are assigned at the group level.
- If a new role is needed for the app, it only needs to be added to the Microsoft Entra group for the app.
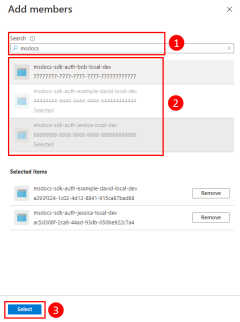
- If a new developer joins the team, a new application service principal is created for the developer and added to the group, assuring the developer has the right permissions to work on the app.
3 - Assign roles to the application
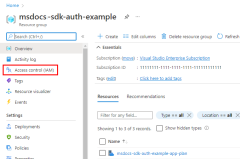
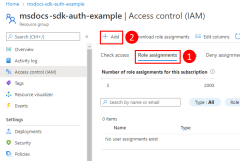
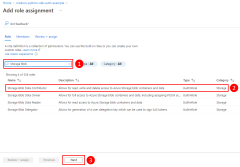
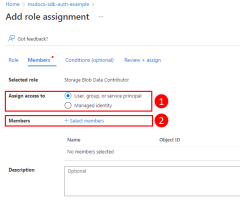
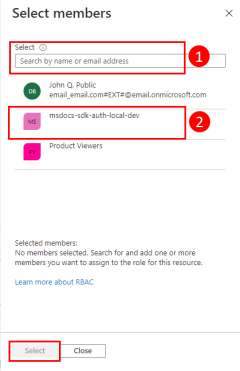
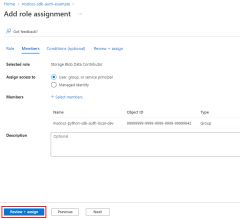
Next, you need to determine what roles (permissions) your app needs on what resources and assign those roles to your app. In this example, the roles are assigned to the Microsoft Entra group created in step 2. Roles can be assigned a role at a resource, resource group, or subscription scope. This example shows how to assign roles at the resource group scope since most applications group all their Azure resources into a single resource group.
4 - Set local development environment variables
The DefaultAzureCredential object looks for the service principal information in a set of environment variables at runtime. Since most developers work on multiple applications, it's recommended to use a package like dotenv to access environment from a .env file stored in the application's directory during development. This scopes the environment variables used to authenticate the application to Azure such that they can only be used by this application.
The .env file is never checked into source control since it contains the application secret key for Azure. The standard .gitignore file for JavaScript automatically excludes the .env file from check-in.
To use the dotenv package, first install the package in your application.
npm install dotenv
Then, create a .env file in your application root directory. Set the environment variable values with values obtained from the app registration process as follows:
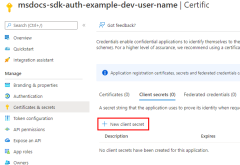
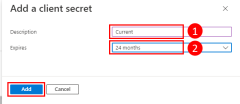
AZURE_CLIENT_ID→ The app ID value.AZURE_TENANT_ID→ The tenant ID value.AZURE_CLIENT_SECRET→ The password/credential generated for the app.
AZURE_CLIENT_ID=00001111-aaaa-2222-bbbb-3333cccc4444
AZURE_TENANT_ID=ffffaaaa-5555-bbbb-6666-cccc7777dddd
AZURE_CLIENT_SECRET=Aa1Bb~2Cc3.-Dd4Ee5Ff6Gg7Hh8Ii9_Jj0Kk1Ll2
Finally, in the startup code for your application, use the dotenv library to read the environment variables from the .env file on startup.
import 'dotenv/config'
5 - Implement DefaultAzureCredential in your application
To authenticate Azure SDK client objects to Azure, your application should use the DefaultAzureCredential class from the @azure/identity package. In this scenario, DefaultAzureCredential detects the environment variables AZURE_CLIENT_ID, AZURE_TENANT_ID, and AZURE_CLIENT_SECRET are set and read those variables to get the application service principal information to connect to Azure with.
Start by adding the @azure/identity package to your application.
npm install @azure/identity
Next, for any JavaScript code that creates an Azure SDK client object in your app, you'll want to:
- Import the
DefaultAzureCredentialclass from the@azure/identitymodule. - Create a
DefaultAzureCredentialobject. - Pass the
DefaultAzureCredentialobject to the Azure SDK client object constructor.
An example of this is shown in the following code segment.
// Azure authentication dependency
import { DefaultAzureCredential } from '@azure/identity';

// Azure resource management dependency
import { SubscriptionClient } from "@azure/arm-subscriptions";

// Acquire credential
const tokenCredential = new DefaultAzureCredential();

async function listSubscriptions() {
  try {

    // use credential to authenticate with Azure SDKs
    const client = new SubscriptionClient(tokenCredential);

    // get details of each subscription
    for await (const item of client.subscriptions.list()) {
      const subscriptionDetails = await client.subscriptions.get(
        item.subscriptionId
      );
      /*
        Each item looks like:

        {
          id: '/subscriptions/aaaa0a0a-bb1b-cc2c-dd3d-eeeeee4e4e4e',
          subscriptionId: 'aaaa0a0a-bb1b-cc2c-dd3d-eeeeee4e4e4e',
          displayName: 'YOUR-SUBSCRIPTION-NAME',
          state: 'Enabled',
          subscriptionPolicies: {
            locationPlacementId: 'Internal_2014-09-01',
            quotaId: 'Internal_2014-09-01',
            spendingLimit: 'Off'
          },
          authorizationSource: 'RoleBased'
        },
    */
      console.log(subscriptionDetails);
    }
  } catch (err) {
    console.error(JSON.stringify(err));
  }
}

listSubscriptions()
  .then(() => {
    console.log("done");
  })
  .catch((ex) => {
    console.log(ex);
  });
DefaultAzureCredential will automatically detect the authentication mechanism configured for the app and obtain the necessary tokens to authenticate the app to Azure. If an application makes use of more than one SDK client, the same credential object can be used with each SDK client object.

