Configure Terraform in Azure Cloud Shell with Bash
Terraform enables the definition, preview, and deployment of cloud infrastructure. Using Terraform, you create configuration files using HCL syntax. The HCL syntax allows you to specify the cloud provider - such as Azure - and the elements that make up your cloud infrastructure. After you create your configuration files, you create an execution plan that allows you to preview your infrastructure changes before they're deployed. Once you verify the changes, you apply the execution plan to deploy the infrastructure.
This article presents you with the options to authenticate to Azure for use with Terraform.
In this article, you learn how to:
- Configure Cloud Shell
- Display current Azure account
- Understand common Terraform and Azure authentication scenarios
- Authenticate via a Microsoft account from Cloud Shell (using Bash or PowerShell)
- Authenticate via a Microsoft account from Windows (using Bash or PowerShell)
- Create a service principal using the Azure CLI
- Create a service principal using Azure PowerShell
- Specify service principal credentials in environment variables
- Specify service principal credentials in a Terraform provider block
1. Configure your environment
- Azure subscription: If you don't have an Azure subscription, create a free account before you begin.
2. Open Cloud Shell
If you already have a Cloud Shell session open, you can skip to the next section.
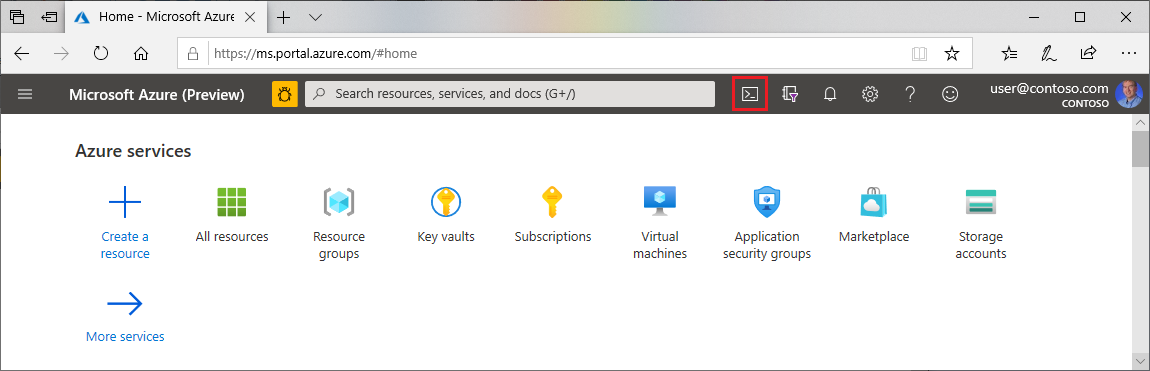
Browse to the Azure portal
If necessary, log in to your Azure subscription and change the Azure directory.
Open Cloud Shell.
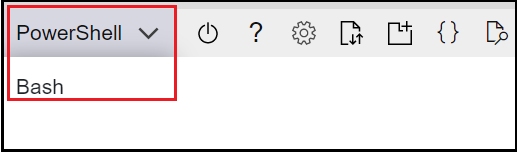
If you haven't previously used Cloud Shell, configure the environment and storage settings.
Select the command-line environment.
3. Install latest version of Terraform in Azure Cloud Shell
Cloud Shell automatically updates to the latest version of Terraform. However, the updates come within a couple of weeks of release. This article shows you how to download and install the current version of Terraform.
Determine the version of Terraform being used in Cloud Shell.
terraform versionIf the Terraform version installed in Cloud Shell isn't the latest version, you see a message indicating that the version of Terraform is out of date.
If you're fine working with the indicated version, skip to the next section. Otherwise, continue with the following steps.
Browse to the Terraform downloads page.
Scroll down to the Linux download links.
Move your mouse over the 64-bit link. This link is for the latest 64-bit Linux AMD version, which is appropriate for Cloud Shell.
Copy the URL.
Run
curl, replacing the placeholder with the URL from the previous step.curl -O <terraform_download_url>Unzip the file.
unzip <zip_file_downloaded_in_previous_step>If the directory doesn't exist, create a directory named
bin.mkdir binMove the
terraformfile into thebindirectory.mv terraform bin/Close and restart Cloud Shell.
Verify that the downloaded version of Terraform is first in the path.
terraform version
4. Verify the default Azure subscription
When you log in to the Azure portal with a Microsoft account, the default Azure subscription for that account is used.
Terraform automatically authenticates using information from the default Azure subscription.
Run az account show to verify the current Microsoft account and Azure subscription.
az account show
Any changes you make via Terraform are on the displayed Azure subscription. If that's what you want, skip the rest of this article.
Troubleshoot Terraform on Azure
Troubleshoot common problems when using Terraform on Azure