Create and target environments
Azure DevOps Services | Azure DevOps Server 2022 | Azure DevOps Server 2020
This article explains how to create and target Azure Pipelines environments. An environment is a collection of resources that you can target with deployments from a pipeline.
An environment represents a logical target where your pipeline deploys software. Typical environment names are Dev, Test, QA, Staging, and Production.
Note
Azure DevOps environments aren't available in Classic pipelines. For Classic pipelines, deployment groups offer similar functionality.
Environments provide the following benefits:
Deployment history. Pipeline name and run details are recorded for deployments to an environment and its resources. In the context of multiple pipelines targeting the same environment or resource, you can use deployment history of an environment to identify the source of changes.
Traceability of commits and work items. You can view jobs within the pipeline run that target an environment. You can also view the commits and work items that were newly deployed to the environment. Traceability also lets you track whether a code change commit or feature/bug-fix work item reached an environment.
Diagnostic resource health. You can validate whether the application is functioning at its desired state.
Security. You can secure environments by specifying which users and pipelines are allowed to target an environment.
An environment is a grouping of resources where the resources themselves represent actual deployment targets. Azure Pipelines environments currently support the Kubernetes and virtual machine resource types.
If a YAML pipeline refers to an environment that doesn't exist:
When the user performing the operation is known and permissions can be assigned, Azure Pipelines automatically creates the environment.
When Azure Pipelines doesn't have information about the user performing the operation, for example in a YAML update from an external code editor, the pipeline fails.
Prerequisites
To add an environment, you need the following prerequisites:
- An Azure DevOps organization and project.
- The Creator role for environments in your project.
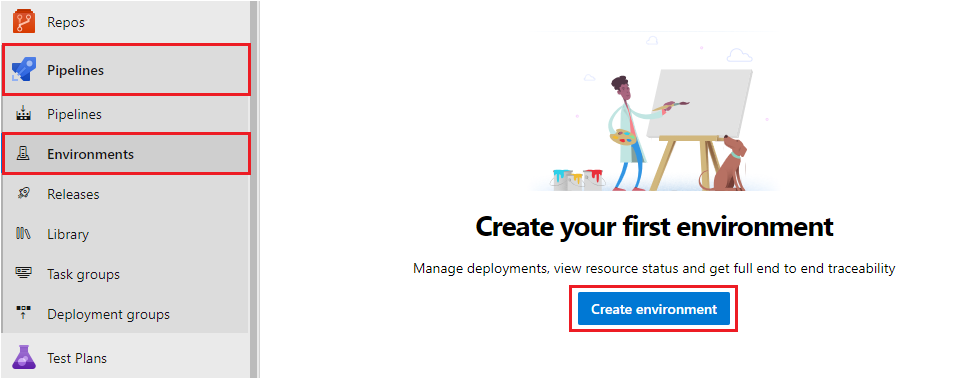
Create an environment
To create your first environment:
Sign in to your Azure DevOps organization at
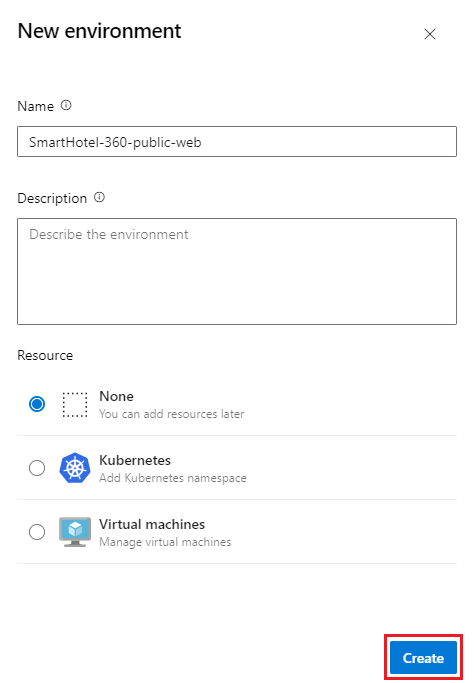
https://dev.azure.com/{yourorganization}and open your project.Select Pipelines > Environments > Create environment.
Enter information for the environment, and then select Create. You can add resources to an existing environment later.
Tip
You can create an empty environment and reference it from deployment jobs so you can record deployment history against the environment.
You can use Azure Pipelines to deploy to environments. For more information, see Build and deploy to Azure Kubernetes Service with Azure Pipelines.
Target an environment from a deployment job
A deployment job is a collection of steps that run sequentially. You can use a deployment job to target an entire environment group of resources, as shown in the following example YAML snippet. The pipeline runs on the myVM machine because that resource name is specified.
- stage: deploy
  jobs:
  - deployment: DeployWeb
    displayName: deploy Web App
    pool:
      vmImage: 'Ubuntu-latest'
    # creates an environment if it doesn't exist
    environment:
      name: 'smarthotel-dev'
      resourceName: myVM
      resourceType: virtualMachine
    strategy:
      runOnce:
        deploy:
          steps:
          - script: echo Hello world
Target a specific environment resource from a deployment job
You can scope the deployment target to a particular resource within the environment, so you can record deployment history on the specific resource. The steps of the deployment job automatically inherit the service connection details from the resource the deployment job targets.
In the following example, the value for the kubernetesServiceConnection automatically passes down to the task from the environment.resource input.
environment:
  name: 'smarthotel-dev.bookings'
strategy:
 runOnce:
   deploy:
     steps:
     - task: KubernetesManifest@0
       displayName: Deploy to Kubernetes cluster
       inputs:
         action: deploy
         namespace: $(k8sNamespace)
         manifests: $(System.ArtifactsDirectory)/manifests/*
         imagePullSecrets: $(imagePullSecret)
         containers: $(containerRegistry)/$(imageRepository):$(tag)
Use manual approval checks
To control deployments to production environments, Azure Pipelines supports manual approval checks on environments. Approval checks are available to resource owners to control when a stage in a pipeline consumes the resource. Resource owners can define approvals and checks that must be satisfied before a stage consuming that resource can begin.
The environment Creator, Administrator, and User roles, but not the Reader role, can manage approvals and checks. As an environment owner, you can manually control when a stage should run by using approval checks. For more information, see Define approvals and checks.
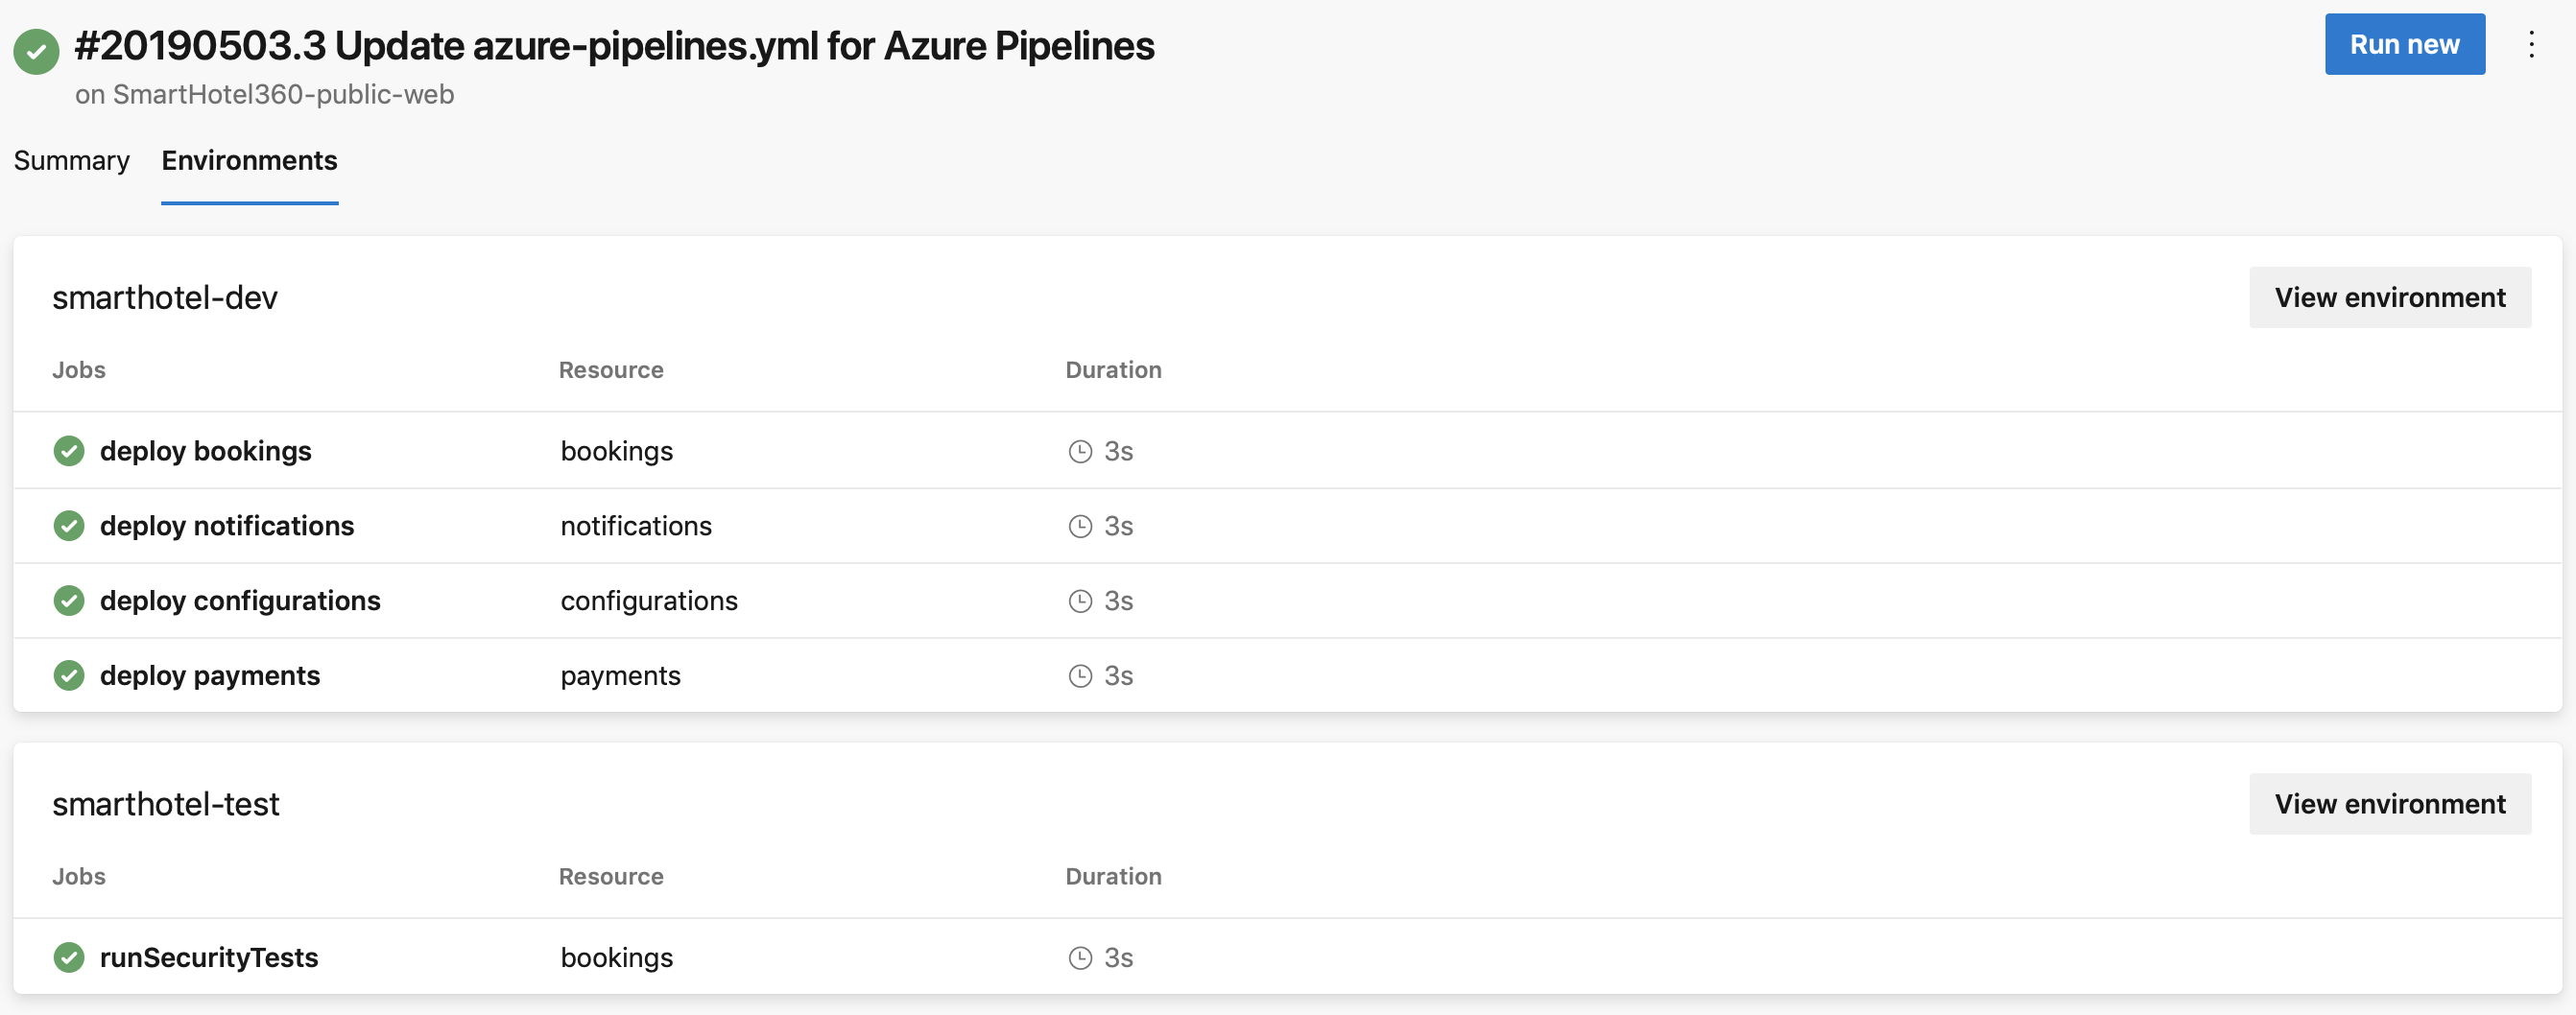
See environments in run details
Under the Environments tab of the pipeline run details, you can see all environments that were targeted by deployment jobs of a pipeline run.
Note
If you're using an Azure Kubernetes Service (AKS) private cluster, the Environments tab isn't available.
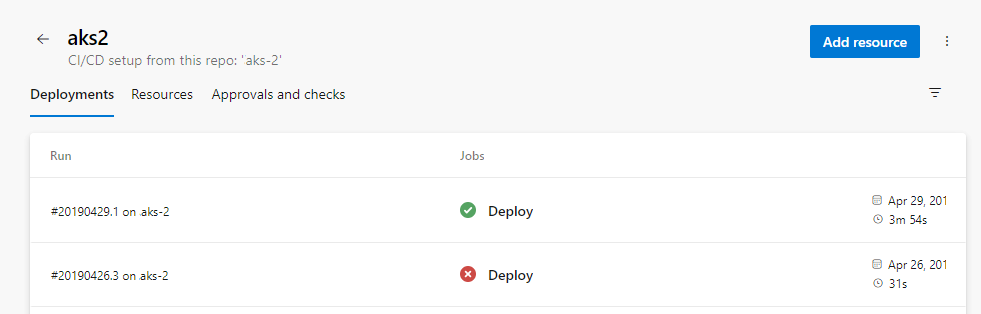
View deployment history
You can select the Deployments tab in the Azure Pipelines Environments section to view deployment history.
View jobs from all pipelines that target a specific environment. For example, two microservices that each have their own pipeline can deploy to the same environment. The deployment history helps identify all pipelines that affect the environment, and also helps visualize the sequence of deployments by each pipeline.
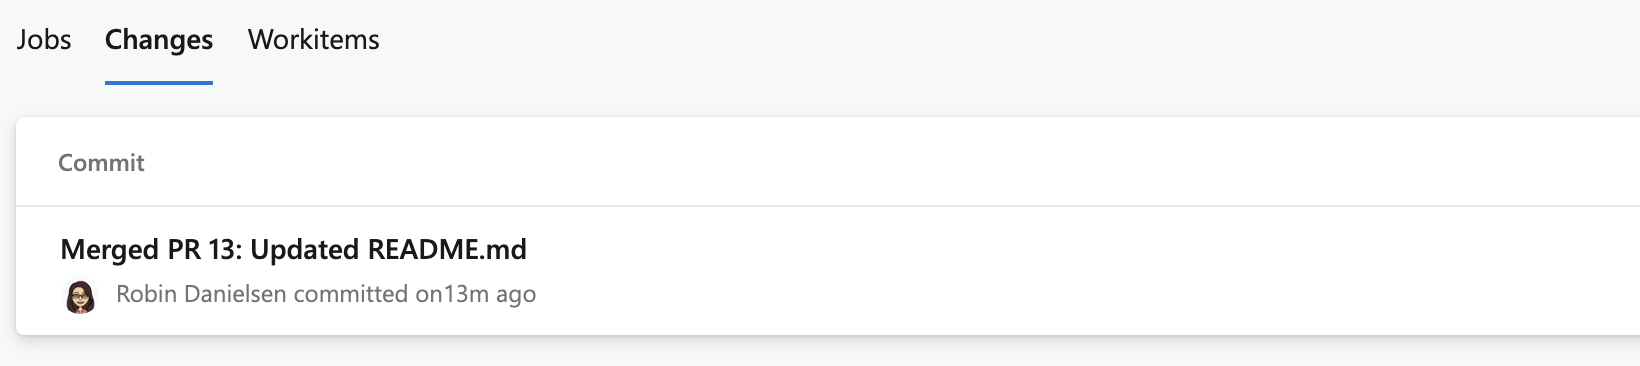
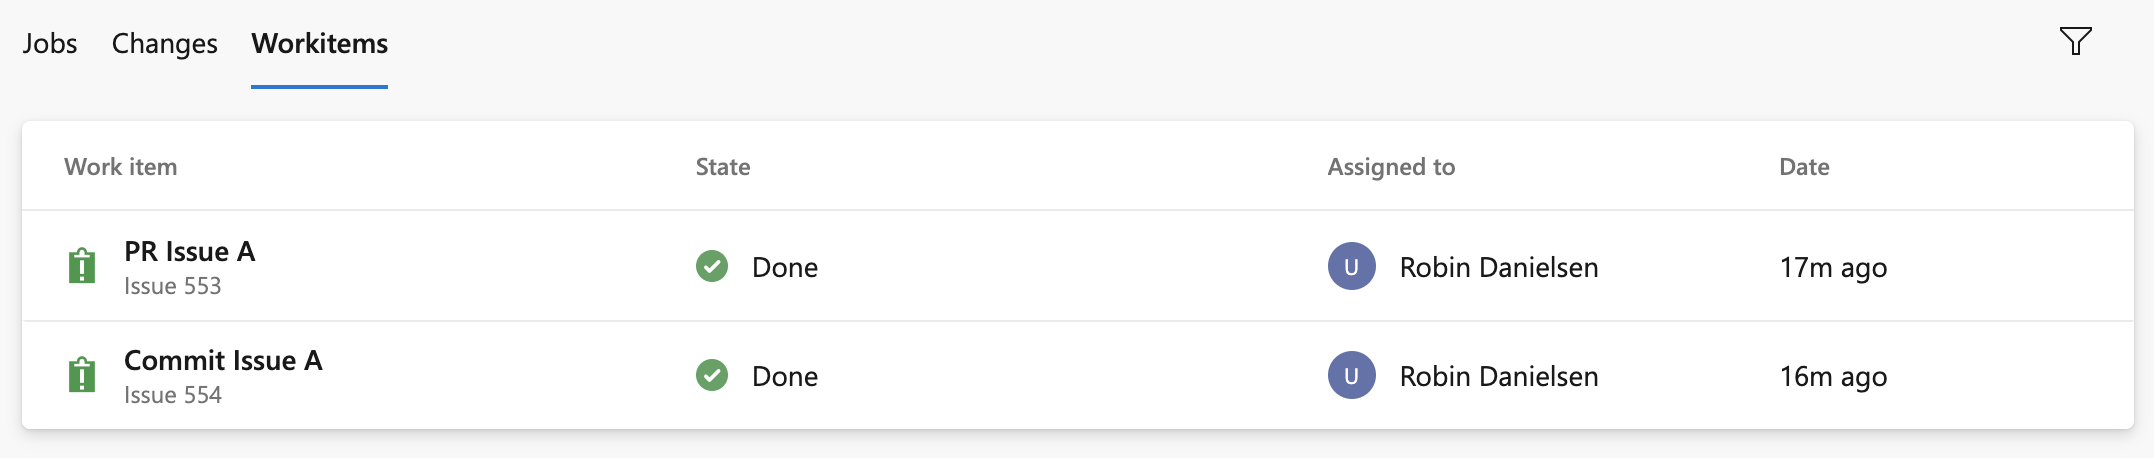
To drill down into the job details, select the Changes and Work items tabs on a deployment page. The tabs show lists of commits and work items that deployed to the environment. Each list item represents new items in that deployment.
On the Changes tab, the first listing includes all the commits to that point, and the following listings include just the changes for that job. If multiple commits are tied to the same job, there are multiple results on the Changes tab.
If multiple work items are tied to the same job, there are multiple results on the Work items tab.
Security
You can secure your environments by setting user permissions and pipeline permissions.
User permissions
You can control who can create, view, use, and manage environments with user permissions. There are four roles: Creator with a scope of all environments, Reader, User, and Administrator.
To add a user by using an environment's User permissions panel, go to the specific Environment you want to authorize, select the More actions icon, and select Security.
In the User permissions panel of the Security page, select Add and then select a User or group and suitable Role.
In the User permissions panel, you can also set the permissions that are inherited, and override the roles for your environment.
| Role | Description |
|---|---|
| Creator | Global role, available from environments hub security option. Members of this role can create the environment in the project. Contributors are added as members by default. Required to trigger a YAML pipeline when the environment does not already exist. |
| Reader | Members of this role can view the environment. |
| User | Members of this role can use the environment when creating or editing YAML pipelines. |
| Administrator | Members of this role can administer permissions, create, manage, view and use environments. For a particular environment, its creator is added as Admininistrator by default. Administrators can also open access to an environment to all pipelines. |
Important
When you create an environment, only the creator has the administrator role.
| Role | Description |
|---|---|
| Creator | Global role, available from environments hub security option. Members of this role can create the environment in the project. Contributors are added as members by default. Required to trigger a YAML pipeline when the environment does not already exist. |
| Reader | Members of this role can view the environment. |
| User | Members of this role can use the environment when creating or editing YAML pipelines. |
| Administrator | In addition to using the environment, members of this role can manage membership of all other roles for the environment. Creators are added as members by default. |
Pipeline permissions
Use the Pipeline permissions panel of the Security page to authorize all or selected pipelines for deployment to the environment.
To remove open access on the environment or resource, select Restrict permission in Pipeline permissions.
When permissions are restricted, you can allow specific pipelines to deploy to the environment or to a specific resource. Select + and choose from the list of pipelines to allow.
FAQ
Why do I get an error message when I try to create an environment?
If you see the message Access denied: {User} needs Create permissions to do the action, go to Organization Settings > Users to check if you have the Stakeholder role. The Stakeholder role can't create environments because stakeholders don't have access to the repository.
Change your access level and then check to see if you can create environments. For more information, see User and permissions management FAQ.
Why do I get an error that an environment can't be found?
If you see the message Job XXXX: Environment XXXX could not be found. The environment does not exist or has not been authorized for use., there are several possible reasons for the failure.
Runtime parameters don't work when creating environments, because the parameters are expanded only at run time. You can use variables to create an environment or use templateContext to pass properties to templates.
Azure Pipelines might not have information about the user creating the environment.
When you refer to an environment that doesn't exist in a YAML pipeline file, Azure Pipelines automatically creates the environment in the following cases:
- You use the YAML pipeline creation wizard in the Azure Pipelines web experience and refer to an environment that isn't created yet.
- You update the YAML file by using the Azure Pipelines web editor and save the pipeline after adding the reference to the environment.
In the following cases, Azure Pipelines doesn't have information about the user creating the environment, so the pipeline fails.
- You update the YAML file by using another external code editor.
- You add a reference to an environment that doesn't exist, and then cause a manual or continuous integration pipeline to be triggered.
Previously, Azure Pipelines handled these cases by adding all the project contributors to the administrator role of the environment. Any member of the project could then change these permissions and prevent others from accessing the environment. To prevent this outcome, Azure Pipelines now fails these jobs.
Related articles
Feedback
Coming soon: Throughout 2024 we will be phasing out GitHub Issues as the feedback mechanism for content and replacing it with a new feedback system. For more information see: https://aka.ms/ContentUserFeedback.
Submit and view feedback for