Create a new course
A Course is a collection of lessons and assessments. Once a course is created, you can upload content and add assessments in a structured format for learners to complete through the web portal or mobile application.
During course creation, the course administrator will have complete control over configuration options like course description, enrollment and certification.
In this lesson, you will learn how to create single and multiple course(s) on the platform.
Permissions Level
The Community Training portal provides role-based permission levels.
The table below shows which administrative roles can create courses.
| Access Level | Create a new course |
|---|---|
| Global Administrator | Yes |
| Organization Administrator | Yes |
| Learning path Administrator | Yes |
| Course Administrator | No |
| Category Administrator | Yes |
| Group Administrator | No |
Option 1 - Create a single course in a category
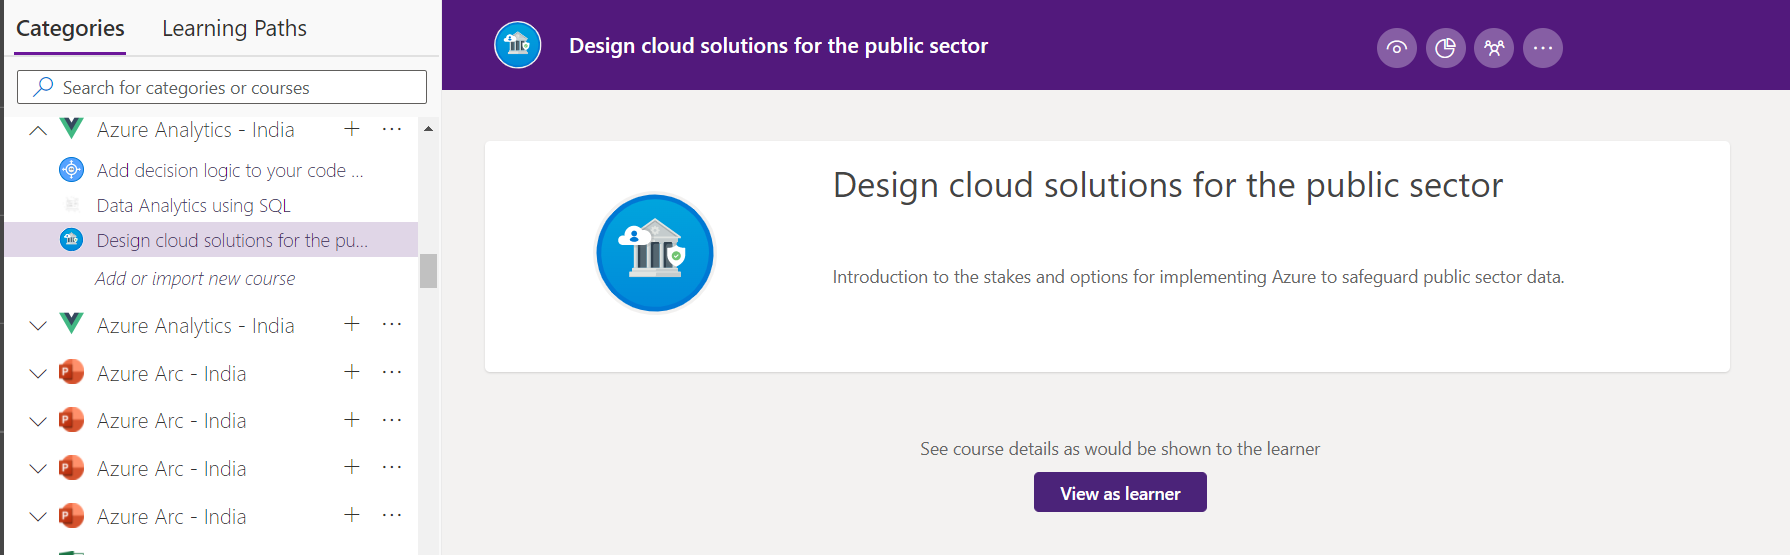
In this section, you will learn how to create a single course in the Community Training platform. You will need to View as an administrator on the training portal.
Click the
 on the category list pane to create course under a category.
.png)
Enter the Course Name. This is the title learners will see on the web portal and mobile app. For example: AI for Agriculture.
Enter the Course Description. A short description about the course content, for example: Farming in Agriculture.
Choose Enable certificate to award a certificate after the course completion.
Note
Organizations can customize the certificate template awarded to the learners at the time of course completion.
Choose Restrict lesson ordering to force the lessons in to be completed in sequence. Learners will NOT be able to skip lessons within a course if this option is enabled.
Tip
You can use restrict lesson ordering to create learning paths on the platform to customize the learning experience for each learner.
For example, trainers can pre-assess a learner's existing knowledge of the topic in the initial lessons and ungraded assessment and then guide the learner to continue in the current course or advice to first complete another course(s) on the platform before returning to the current course.
Select the Learner Enrollment type from the three available options:
Automatically enroll all learners: This option ensures that all the learners are automatically registered to a course when logged in and it enables the administrator to mandate some of the courses to the learners.
Self-enroll (Allow users to enroll on their own): This option allows the administrator to create courses that allow the learners to search and self-register to the course.
Note
If Organization feature is enabled, then Self-enroll courses of an Organization will be visible to learners of that organization only. Users can register from Course library
Only admin can enroll learners: This option allows the content to be kept private whilst being prepared. You can make the courses available for a wider audience when requried. These courses are not shown in the course library.
Tip
All the mandatory courses should be marked as auto-enrolled. Also, if there are advanced courses on any topics, then mark them as Admin enrolled and assign the course manually to the learners who have completed the basic course.
Click Upload select an image file as the Course Thumbnail.
Click Create to create the course.
Note
Once a course is created, the administrator can start uploading the content for the course.
Tip
Use numbering as prefix like 01, 02, 03, 04, 05 etc in the course name as they are alphabetically stacked. Order of courses can be changed by editing the name or numbers in edit course dialogue box.
Option 2 - Add Course via Content Marketplace
In this topic, you will learn to import courses from the Content Marketplace.
Log in to the Community Training portal and View as an administrator.
Select the Content icon on the left bar then Categories.
Select Marketplace on the bottom-left of the page.
Choose from the content available, selecting the provider and using the search facility to find the course you require if necessary.
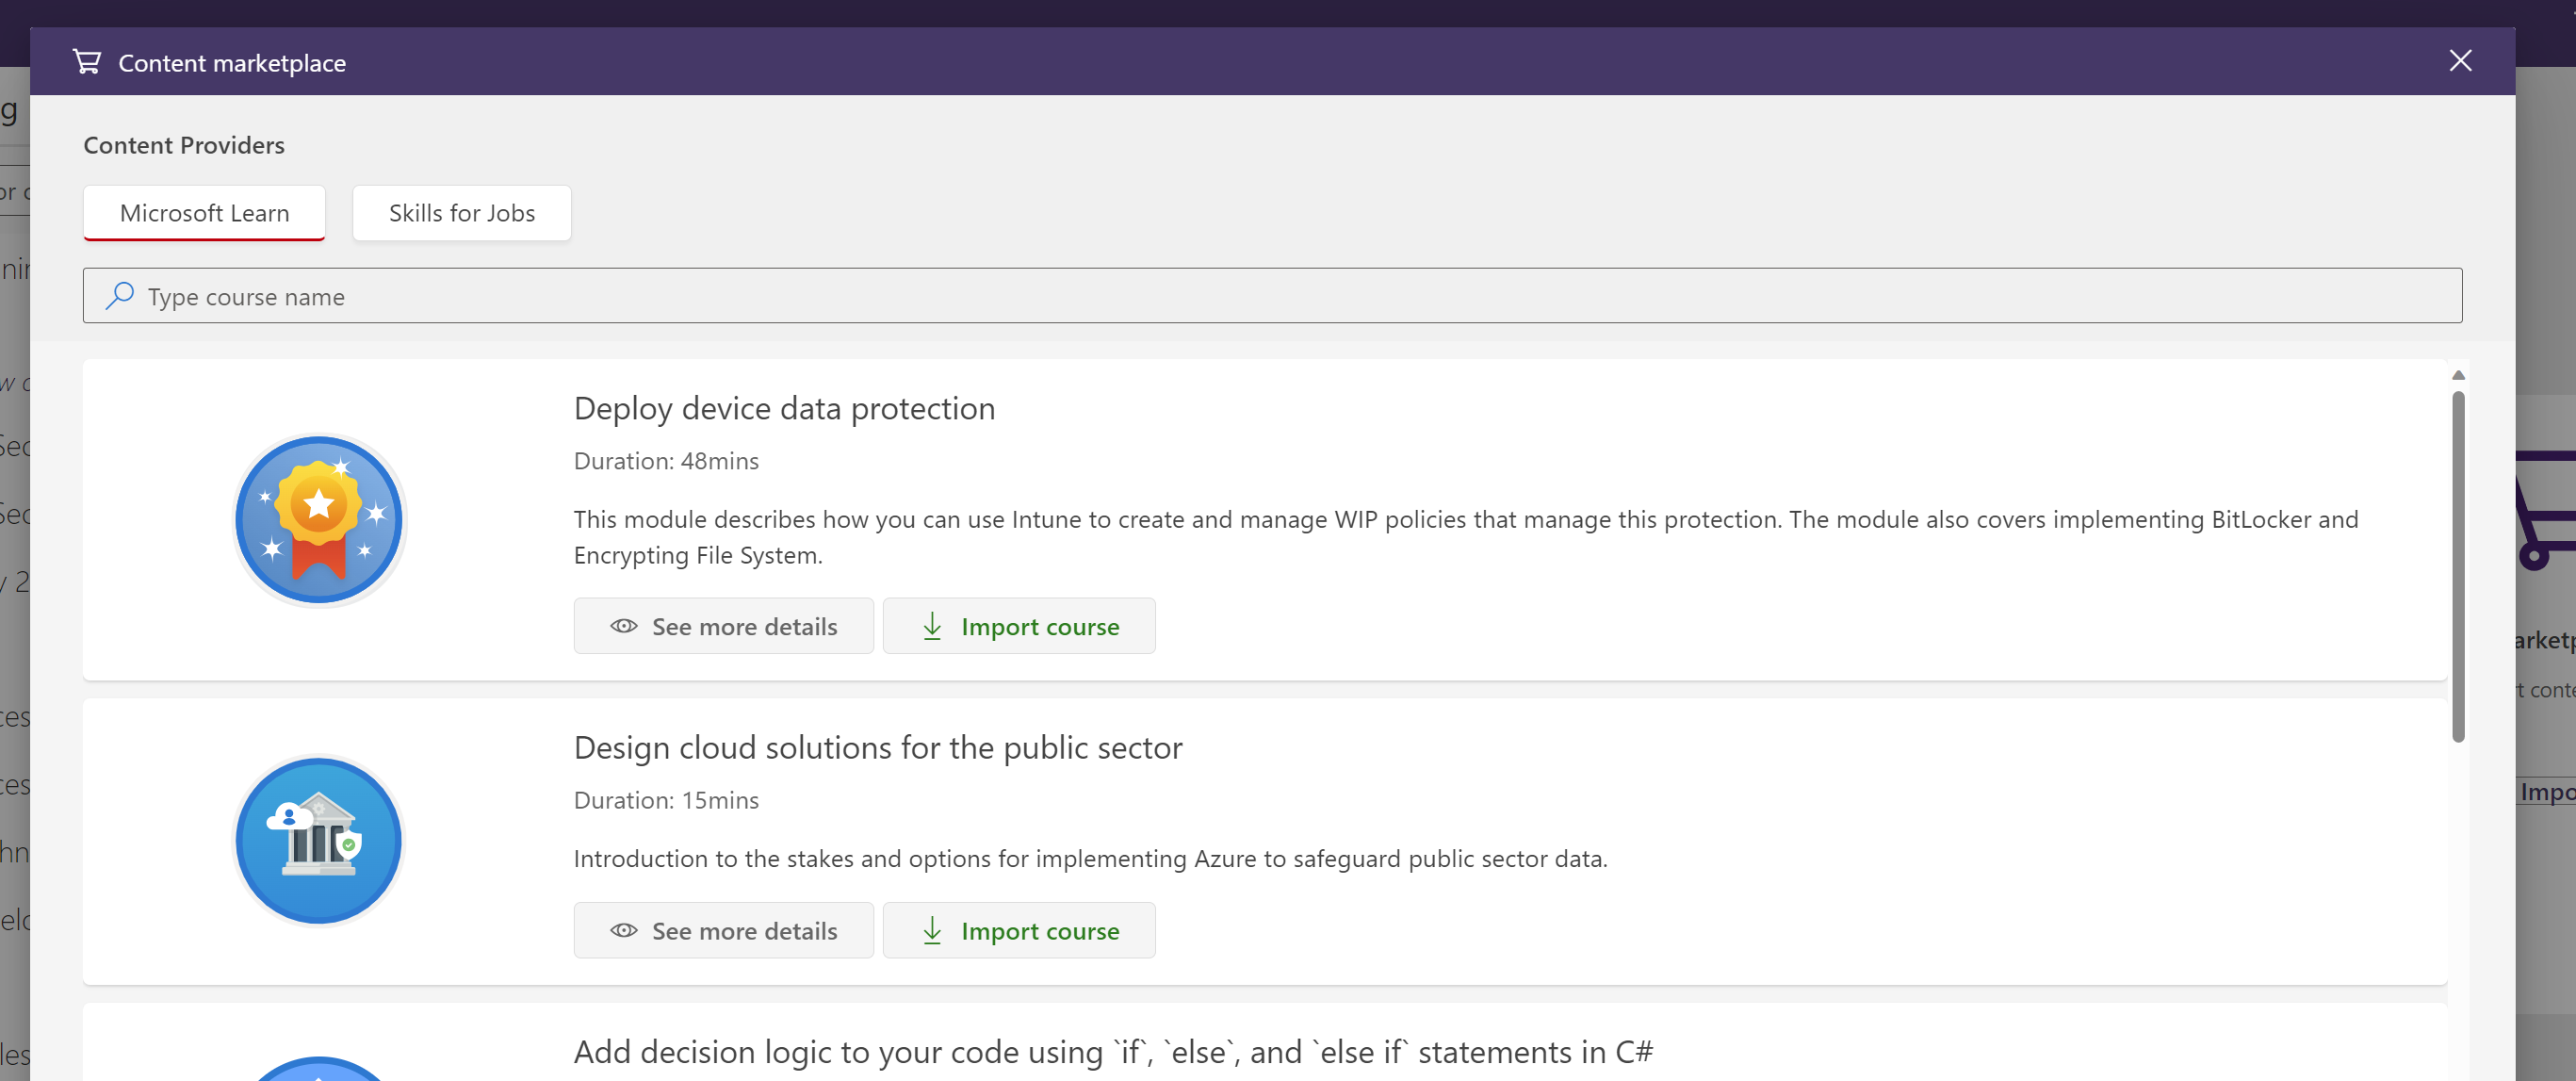
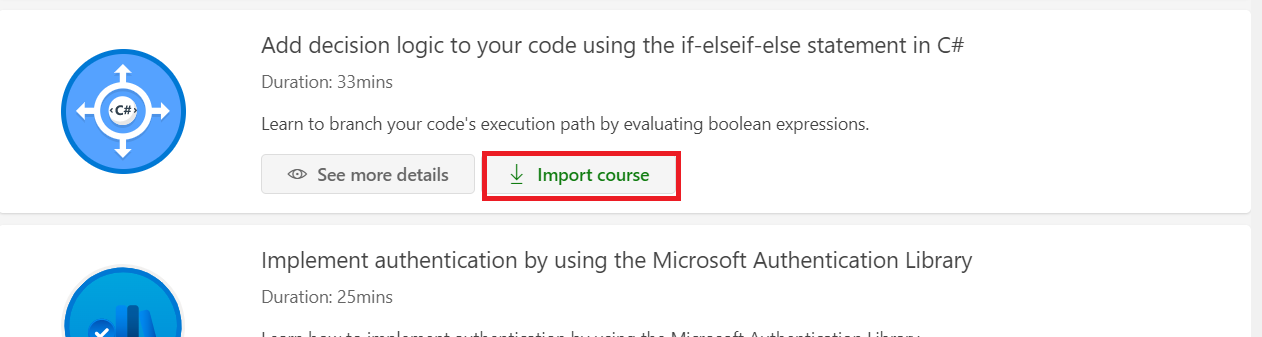
When you have located the content required, click on Import course button on the course panel.
Choose the category you want to import the course to using the search facility if necessary.
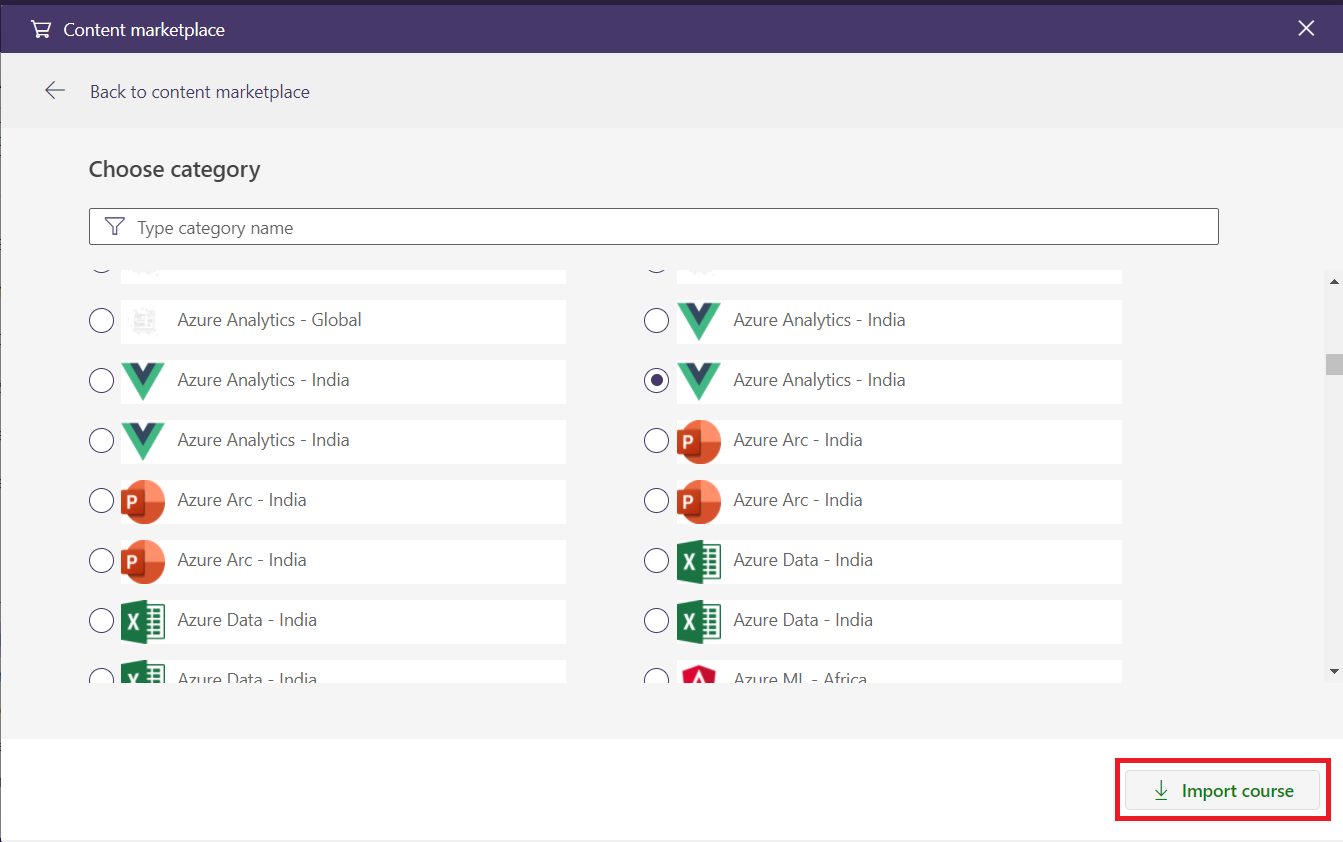
The course will be imported to selected category as shown.
Option 3 - Create multiple courses in a category
The easiest way to create courses and upload content in the learning portal is to use the Bulk Upload Courses feature which allows you to create multiple courses and upload the content together.
In this topic, you will learn how to create multiple courses under a category in the management portal. Before executing the below steps, switch to administrator view on the learning portal.
Prerequisite for using Bulk Upload Courses feature
The course content must be structured correctly and available in the required file format on your local machine. Follow the steps below to prepare your content.
Create a folder on your local machine with the course name you want to show on the portal.
Copy the lessons to the course in the new folder.
Repeat steps 1 and 2 for each course to be uploaded multiple courses together.
Ensure that there are no sub-folders inside any folder with course names. Folders with course names should only contain lessons files as shown in the image below:
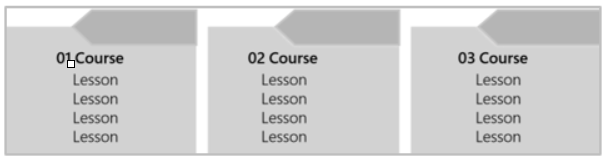
Select all the folders you want to upload and compress them into a ZIP file. Right click > Send to > Compressed (zipped) folder.
Once the ZIP file is created, your content is ready for bulk upload. You can rename the ZIP file if required.
Important
You will need to add Course Details (like thumbnail, description, enrollment type, etc.) and assessments manually later unless you are exporting courses from one instance to another.
Steps for bulk upload courses to the portal
Find the catgory you want to add a course to and click Bulk Upload Courses.
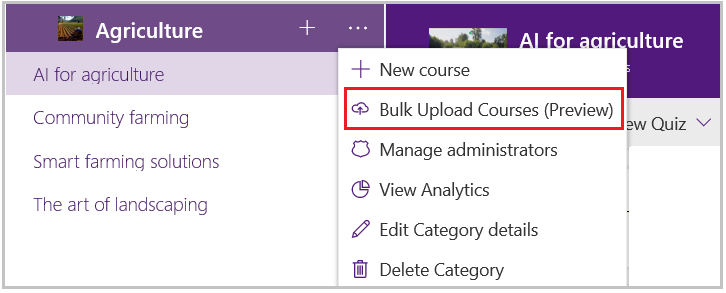
Click Bulk Upload Course (Preview) from the drop-down menu.
Using the file picker, select the ZIP file which contains your course content.
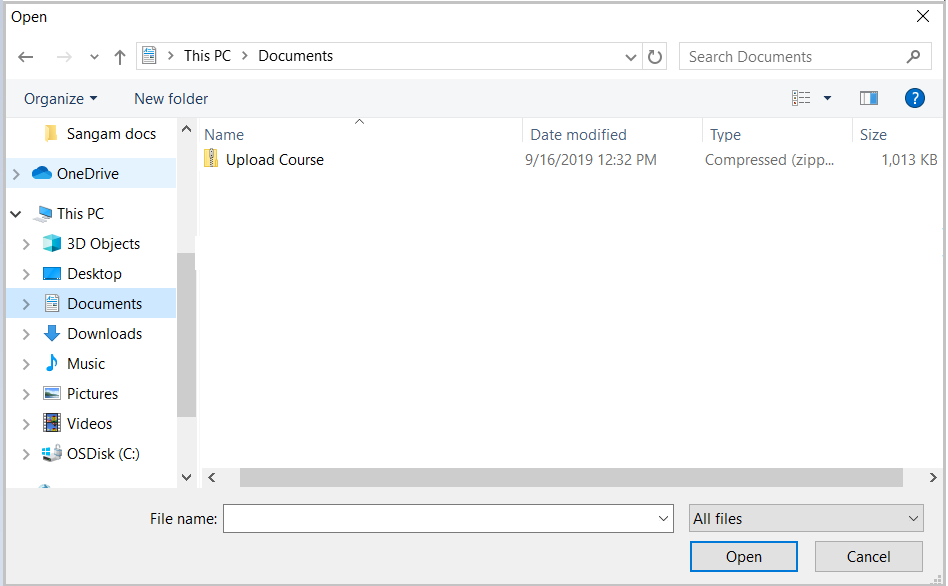
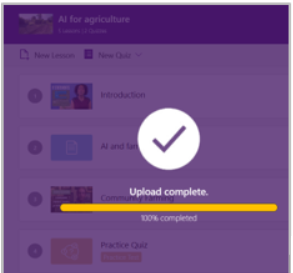
Wait for file upload operation to be completed. Do not close the browser window at this point.
Note
Depending upon your network connectivity and size of the ZIP file, it can take some time to complete the upload operation.
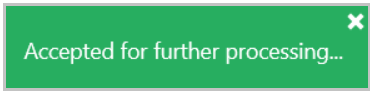
You will see the following message on the top-right corner indicating that the content file was successfully uploaded to the portal for processing.
Warning
If there are issues with the content or structure of the zip file then the upload operation will fail.
On the course details page, progress status will be updated at regular interval. Refresh the page (Press F5) in case you don't see the newly uploaded courses on the portal.
Note
For video content, processing can take hours depending upon the number of videos, their size and the configuration of the media service end point. This processing is a non-blocking operation and admins are allowed to do other tasks.
Once the content is processed, you can add a course description, change the enrollment type, enable certificates, etc. as required. By default, course details are set to the following:
- Course Name – Folder Name
- Lesson Name – File Name
- Course Description – Null
- Course Thumbnail - Null
- Enable certificate – unchecked
- Restrict lesson ordering - unchecked
- Enrollment type – Self enrollment
Note
Once the course is uploaded, you can add assessments or publish the course for learners to consume the content via the web portal or mobile application.
Option 4 - Create multiple translations for a Course
You can create multiple translations for a course once it has been created either as a single course or as part of a bulk course upload. This functionality is not available for content uploaded from the Marketplace.
Note
The default version of the course can be accessed from the left vertical browsing panel. For a learner, if a course translation is not available in the selected language, the default version of the course will open.
Understanding Course Translations
Course translations are an important tool for administrators for the scenarios where the same course can be made available to learners in their language of their choice.
The impact of course translation for administrators and learners is explained in the following example.
Let us assume that a course is created in English and its subsequent translations are created in Spanish and Italian.
Impact on Administrator: An administrator will now only need to manage the default version of the course,
- Content Assignment: Only the default version to be assigned to the learners individually or via groups. Deep links can be shared only for the default version.
- Progress Tracking: Analytics will be available against the default course on the platform irrespective of which translation a learner consumes.
Impact on Learner: A learner can select any of the enabled languages on the platform,
- If the learner enables either of English, Spanish or Italian - the respective course translation will be available to the learner in My Courses and Course Library.
- If the learner enables another language, such as French, the default version in English will be available to the learner in My Courses and Course Library.
Note
You can only translate coures into the languages that are enabled on the platform. Administrators can enable multiple languages on the platform.
Creating Course Translations
In this topic, you will learn how to translate a course in the Community Training Platform. Log in to the portal and switch to administrator view.
To create a translation for a course, click on + Add course in a different language.
.png)
Warning
Courses with enrollment type Automatically enroll all learners can NOT be translated.
Enter the Course Name. The course name is the course translation's title that learners would see on the web portal and mobile app. For example: AI for Agriculture - Spanish.
.png)
Enter the Course Description. The course description is a short summary which informs a learner about course content at the time of registration. For example: Italian translation for the course AI for Agriculture.
Choose Enable Certificate. This option enables the administrator to award certificate to learners after the course completion. Administrators can select one of the certificates from the list for the course.
Tip
You can create certificate templates in different languages and enable them basis the course language.
Choose Course Language. This is the language in which the course will be translated.
.png)
Important
The following details will be used as that of the default version of the course:
- Learner Registration type
- Restrict lesson ordering setting
- Feedback form setting
Once a course translation is created, the administrator can start uploading the content for the course as per the translation's defined language.
Please reach out to us via HelpDesk if you have any further queries.