Use built-in persistent storage in Azure Spring Apps
Note
The Basic, Standard, and Enterprise plans will be deprecated starting from mid-March, 2025, with a 3 year retirement period. We recommend transitioning to Azure Container Apps. For more information, see the Azure Spring Apps retirement announcement.
The Standard consumption and dedicated plan will be deprecated starting September 30, 2024, with a complete shutdown after six months. We recommend transitioning to Azure Container Apps. For more information, see Migrate Azure Spring Apps Standard consumption and dedicated plan to Azure Container Apps.
This article applies to: ✔️ Java ✔️ C#
This article applies to: ✔️ Basic/Standard ❌ Enterprise
Azure Spring Apps provides two types of built-in storage for your application: persistent and temporary.
By default, Azure Spring Apps provides temporary storage for each application instance. Temporary storage is limited to 5 GB per instance with /tmp as the default mount path.
Warning
If you restart an application instance, the associated temporary storage is permanently deleted.
Persistent storage is a file-share container managed by Azure and allocated per application. All instances of an application share data stored in persistent storage. An Azure Spring Apps instance can have a maximum of 10 applications with persistent storage enabled. Each application is allocated 50 GB of persistent storage. The default mount path for persistent storage is /persistent.
Enable or disable built-in persistent storage
You can enable or disable built-in persistent storage using the Azure portal or Azure CLI.
Use the following steps to enable or disable built-in persistent storage using the Azure portal.
Go to your Azure Spring Apps instance in the Azure portal.
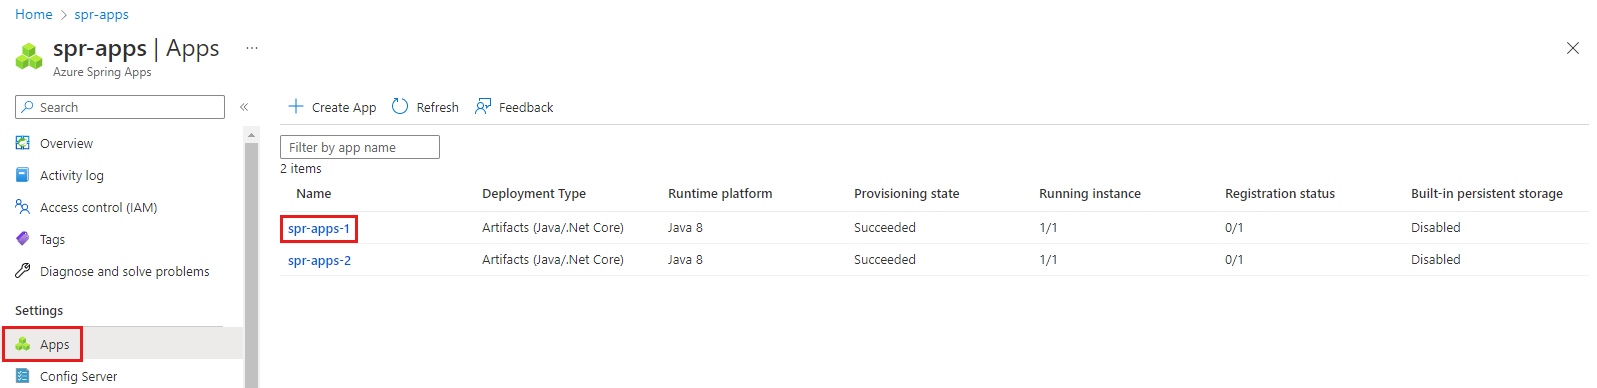
Select Apps to view apps for your service instance, and then select an app to display the app's Overview page.
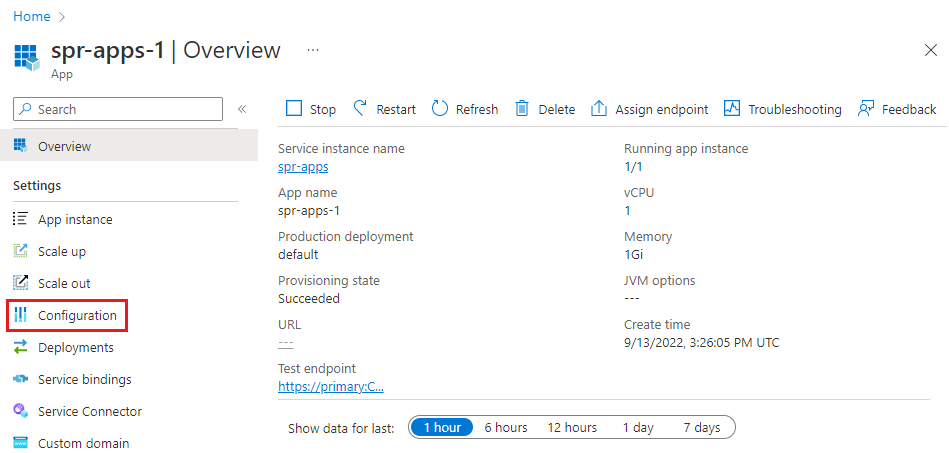
On the Overview page, select Configuration.
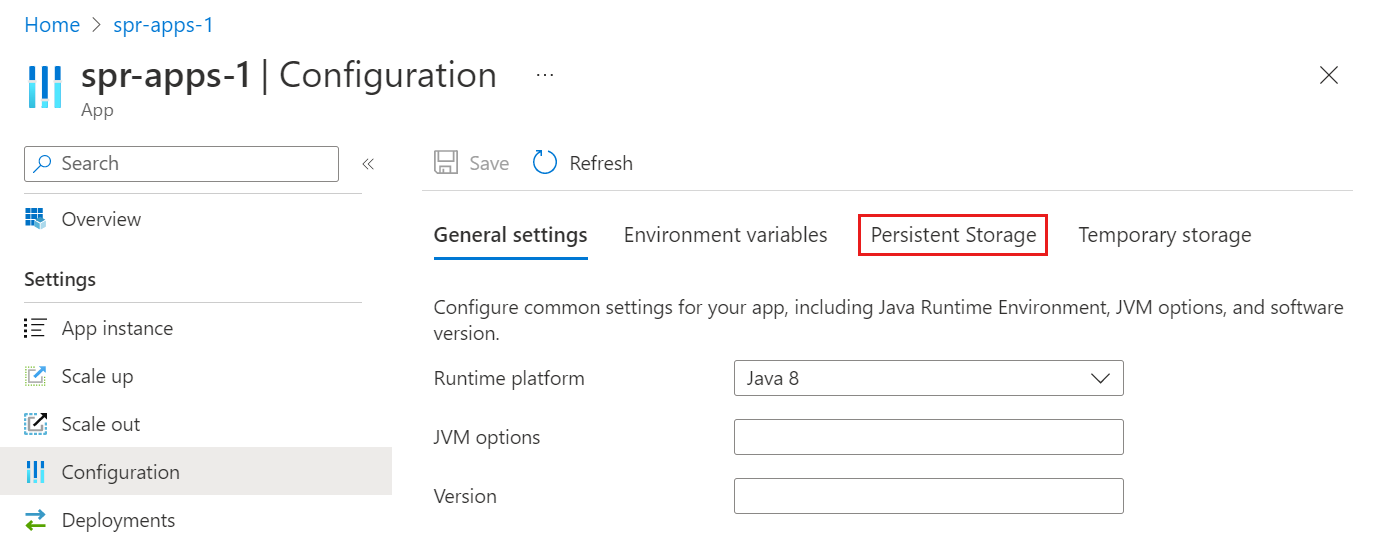
On the Configuration page, select Persistent Storage.
On the Persistent Storage tab, select Enable to enable persistent storage, or Disable to disable persistent storage.
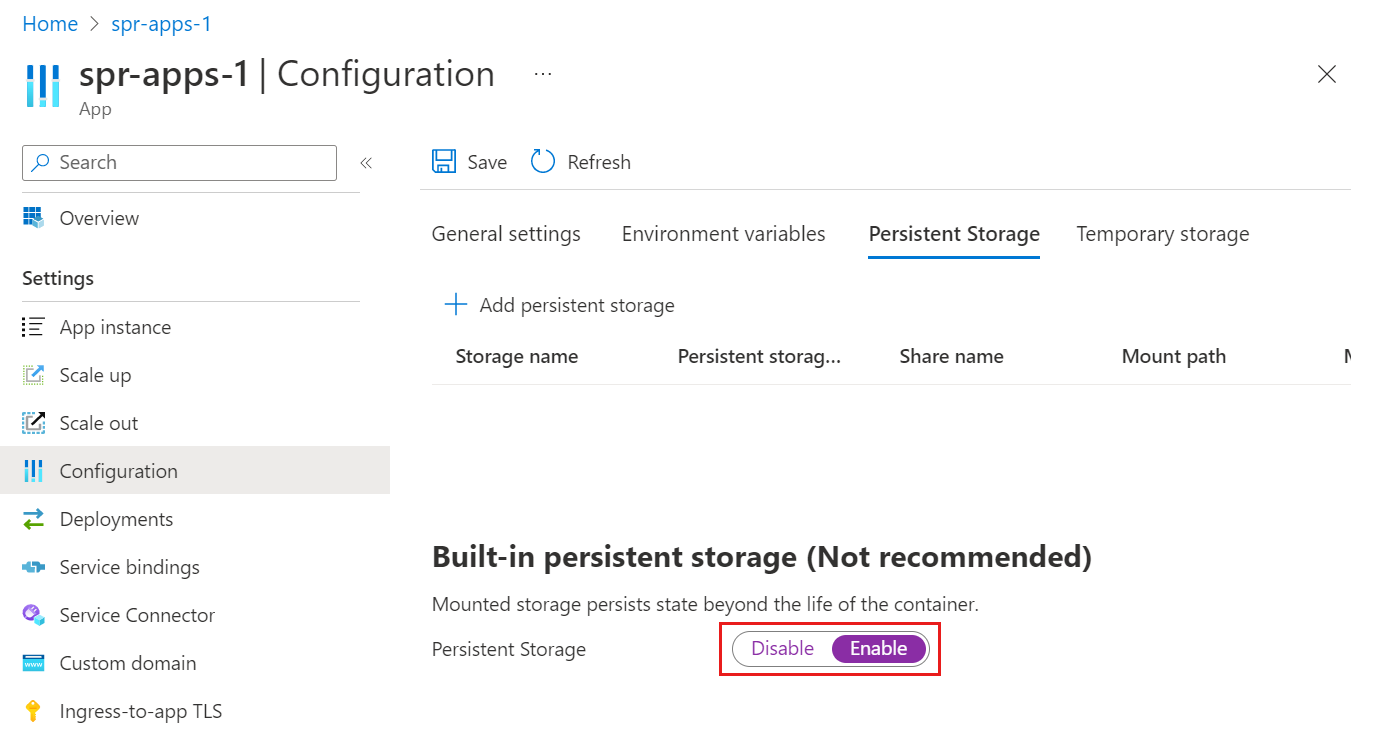


If persistent storage is enabled, the Persistent Storage tab displays the storage size and path.
Warning
If you disable an application's persistent storage, all of that storage is deallocated and all of the stored data is permanently lost.