Deploy your web app to Azure Static Web Apps
In this article, you create a new web app with the framework of your choice, run it locally, then deploy to Azure Static Web Apps.
Prerequisites
To complete this tutorial, you need:
| Resource | Description |
|---|---|
| Azure subscription | If you don't have one, you can create an account for free. |
| Node.js | Install version 20.0 or later. |
| Azure CLI | Install version 2.6x or later. |
You also need a text editor. For work with Azure, Visual Studio Code is recommended.
You can run the app you create in this article on the platform of your choice including: Linux, macOS, Windows, or Windows Subsystem for Linux.
Create your web app
- Open a terminal window.
Select an appropriate directory for your code, then run the following commands.
npm create vite@latest swa-vanilla-demo -- --template=vanilla
cd swa-vanilla-demo
npm install
npm run dev
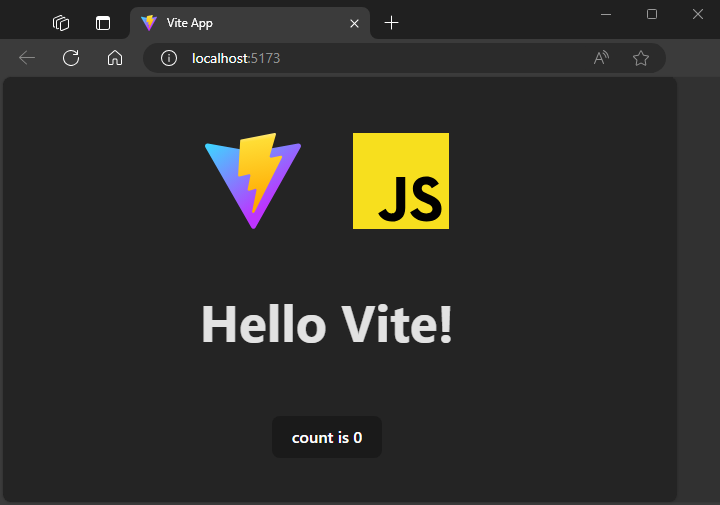
As you run these commands, the development server prints the URL of your website. Select the link to open it in your default browser.

Select an appropriate directory for your code, then run the following commands.
npx --package @angular/cli@latest ng new swa-angular-demo --ssr=false --defaults
cd swa-angular-demo
npm start
As you run these commands, the development server prints the URL of your website. Select the link to open it in your default browser.

Select an appropriate directory for your code, then run the following commands.
npm create vite@latest swa-react-demo -- --template react
cd swa-react-demo
npm install
npm run dev
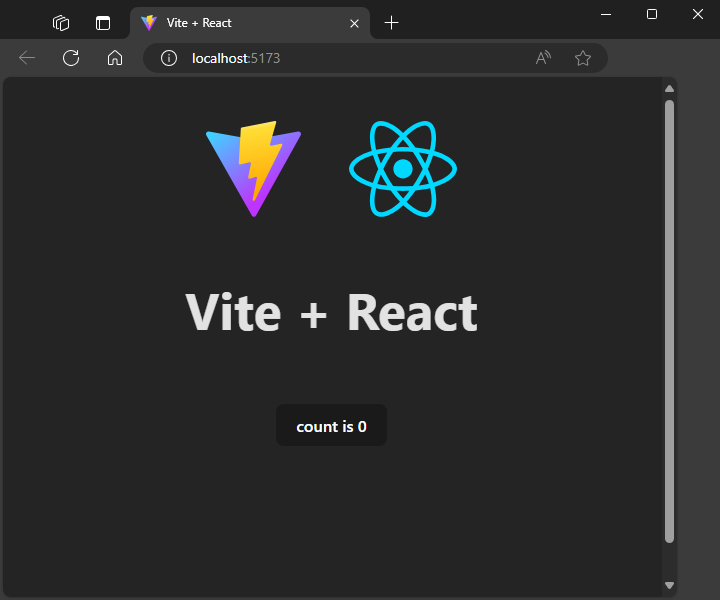
As you run these commands, the development server prints the URL of your website. Select the link to open it in your default browser.

Select an appropriate directory for your code, then run the following commands.
npm create vite@latest swa-vue-demo -- --template vue
cd swa-vue-demo
npm install
npm run dev
As you run these commands, the development server prints the URL of your website. Select the link to open it in your default browser.

- Select Cmd/Ctrl+C to stop the development server.
Create a static web app on Azure
You can create a static web app using the Azure portal, Azure CLI, Azure PowerShell, or Visual Studio Code (with the Azure Static Web Apps extension). This tutorial uses the Azure CLI.
Sign into the Azure CLI:
az loginBy default, this command opens a browser to complete the process. The Azure CLI supports various methods for signing in if this method doesn't work in your environment.
If you have multiple subscriptions, you might need to select a subscription. You can view your current subscription using the following command:
az account showTo select a subscription, you can run the
az account setcommand.az account set --subscription "<SUBSCRIPTION_NAME_OR_ID>"Create a resource group.
Resource groups are used to group Azure resources together.
az group create -n swa-tutorial -l centralus --query "properties.provisioningState"The
-nparameter refers to the site name, and the-lparameter is the Azure location name. The command concludes with--query "properties.provisioningState"so the command only returns a success or error message.Create a static web app in your newly created resource group.
az staticwebapp create -n swa-demo-site -g swa-tutorial --query "defaultHostname"The
-nparameter refers to the site name, and the-gparameter refers to the name of the Azure resource group. Make sure you specify the same resource group name as in the previous step. Your static web app is globally distributed, so the location isn't important to how you deploy your app.The command is configured to return the URL of your web app. You can copy the value from your terminal window to your browser to view your deployed web app.
Configure for deployment
Add a
staticwebapp.config.jsonfile to your application code with the following contents:{ "navigationFallback": { "rewrite": "/index.html" } }Defining a fallback route allows your site to server the
index.htmlfile for any requests made against the domain.Check this file into your source code control system (such as git) if you're using one.
Install the Azure Static Web Apps (SWA) CLI in your project.
npm install -D @azure/static-web-apps-cliThe SWA CLI helps you develop and test your site locally before you deploy it to the cloud.
Create a new file for your project and name it
swa-cli.config.json.The
swa-cli.config.jsonfile describes how to build and deploy your site.Once this file is created, you can generate its contents using the
npx swa initcommand.npx swa init --yesBuild your application for distribution.
npx swa buildUse the SWA CLI to sign into Azure.
npx swa login --resource-group swa-tutorial --app-name swa-demo-siteUse the same resource group name and static web app name that you created in the previous section. As you attempt to log in, a browser opens to complete the process if necessary.
Warning
Angular v17 and later place the distributable files in a subdirectory of the output path that you can choose. The SWA CLI doesn't know the specific location of the directory. The following steps show you how to set this path correctly.
Locate the generated index.html file in your project in the dist/swa-angular-demo/browser folder.
Set the
SWA_CLI_OUTPUT_LOCATIONenvironment variable to the directory containing the index.html file:export SWA_CLI_OUTPUT_LOCATION="dist/swa-angular-demo/browser"
Deploy your site to Azure
Deploy your code to your static web app:
npx swa deploy --env production
It might take a few minutes to deploy the application. Once complete, the URL of your site is displayed.

On most systems, you can select the URL of the site to open it in your default browser.
Clean up resources (optional)
If you're not continuing with other tutorials, remove the Azure resource group and resources:
az group delete -n swa-tutorial
When you remove a resource group, you delete all the resources that it contains. You can't undo this action.