Tutorial: Configure the geographic traffic routing method using Traffic Manager
The Geographic traffic routing method allows you to direct traffic to specific endpoints based on the geographic location where the requests originate. This tutorial shows you how to create a Traffic Manager profile with this routing method and configure the endpoints to receive traffic from specific geographies.
In this tutorial, you learn how to:
- Create a Traffic Manager profile with geographic routing.
- Configure a Nested endpoint.
- Use the Traffic Manager profile.
- Delete Traffic Manager profile.
Prerequisites
- An Azure account with an active subscription. Create an account for free.
Create a Traffic Manager Profile
From a browser, sign in to the Azure portal.
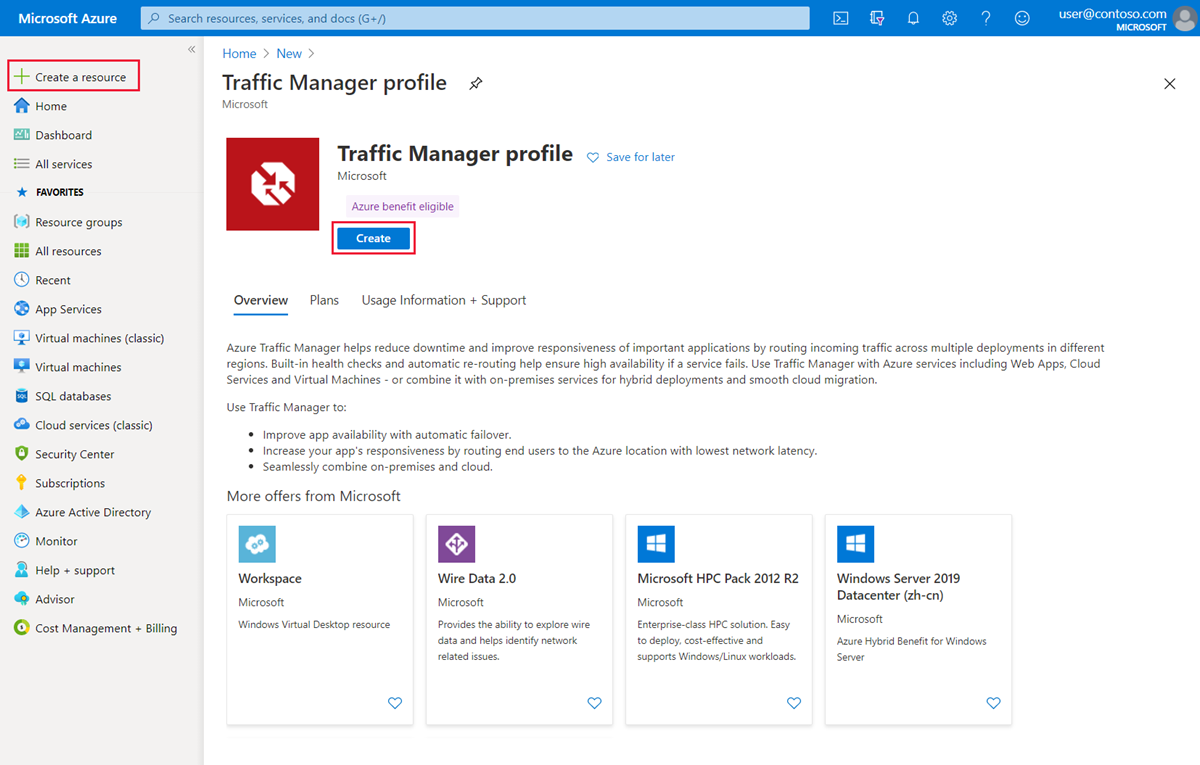
Select + Create a resource on the left side. Search for Traffic Manager profile and select Create.
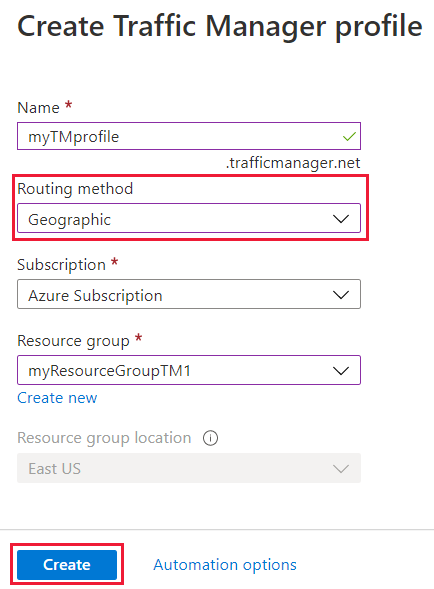
In the Create Traffic Manager profile page define the following settings:
Setting Value Name Provide a name for your profile. This name needs to be unique within the trafficmanager.net zone. To access your Traffic Manager profile, you use the DNS name <profilename>.trafficmanager.net.Routing method Select Geographic. Subscription Select your subscription. Resource group Use an existing resource group or create a new resource group to place this profile under. If you choose to create a new resource group, use the Resource Group location dropdown to specify the location of the resource group. This setting refers to the location of the resource group, and has no impact on the Traffic Manager profile that's deployed globally. Select Create to deploy your Traffic Manager profile.
Add endpoints
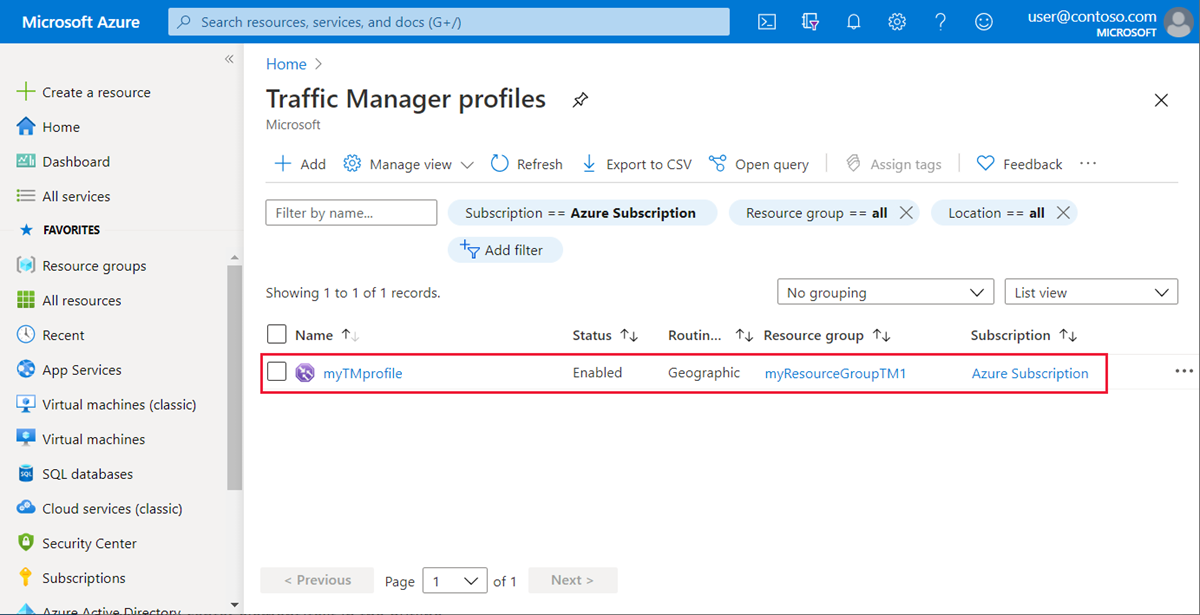
Select the Traffic Manager profile from the list.
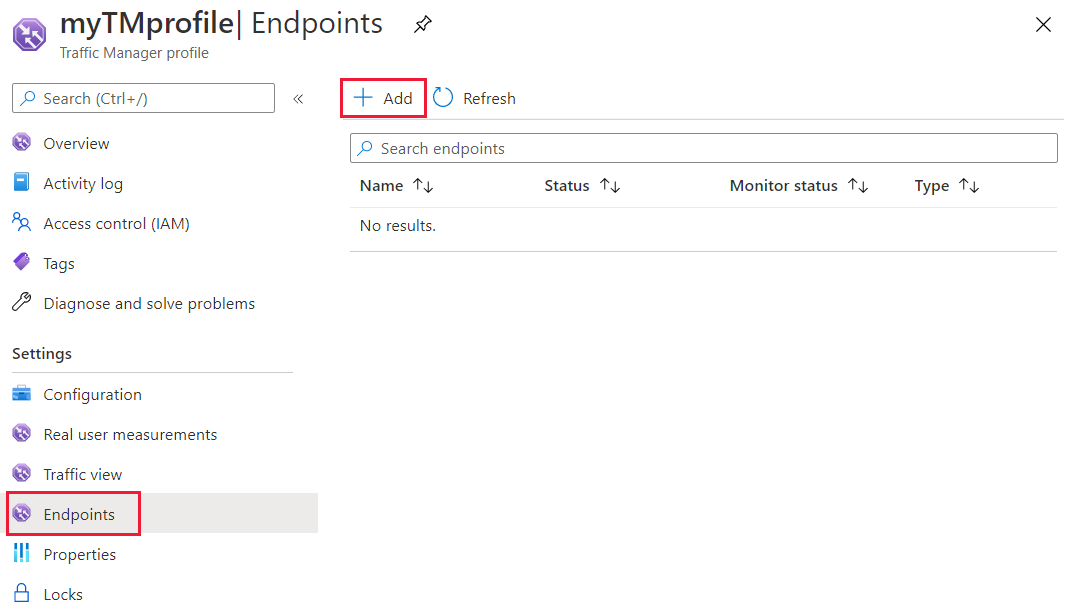
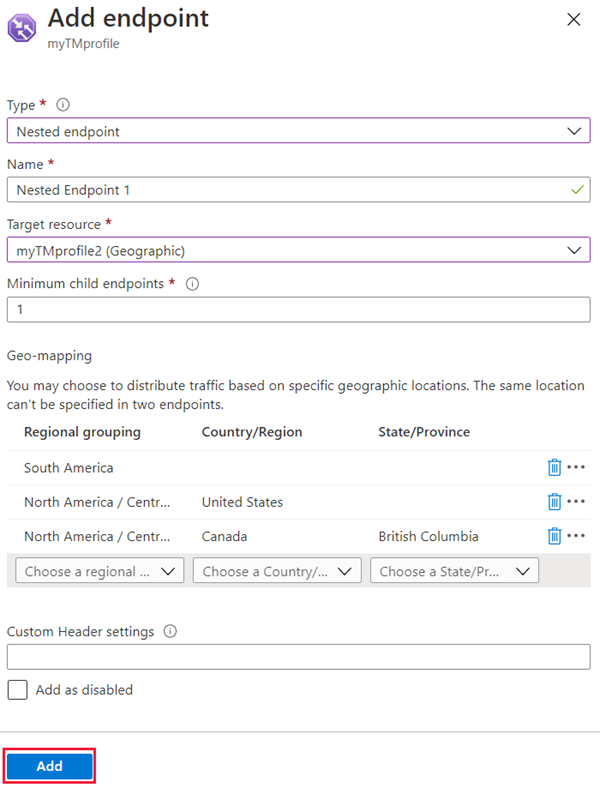
Select Endpoints under Settings and select + Add to add a new endpoint.
Select or enter the following settings:
Setting Value Type Select the endpoint type. For geographic routing profiles used in production, we strongly recommend using nested endpoint types containing a child profile with more than one endpoint. For more information, see FAQs about geographic traffic routing methods. Name Give a name to identify this endpoint. Target resource type Select the resource type for the target. Target resource Select the resource from the list. Note
Certain fields on this page depend on the type of endpoint you are adding:
- If you are adding an Azure endpoint, select the Target resource type and the Target based on the resource you want to direct traffic to
- If you are adding an External endpoint, provide the Fully-qualified domain name (FQDN) for your endpoint.
- If you are adding a Nested endpoint, select the Target resource that corresponds to the child profile you want to use and specify the Minimum child endpoints count.
In the Geo-mapping section, use the drop-down to add the regions from where you want traffic to be sent to this endpoint. At least one region must be added. You can have multiple regions mapped.
Repeat the last step for all endpoints you want to add under this profile and then select Save.
Use the Traffic Manager profile
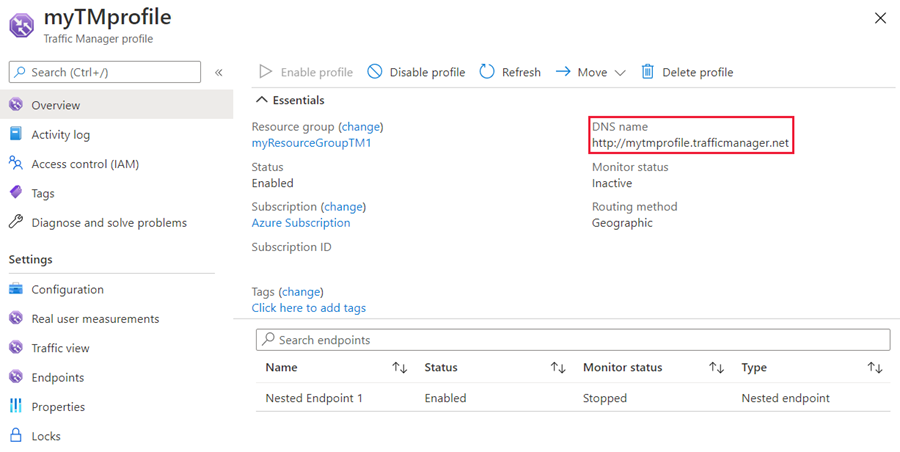
In the portal’s search bar, search for the Traffic Manager profile name that you created in the preceding section and select on the traffic manager profile in the results that the displayed.

The Traffic Manager profile displays the DNS name of your newly created Traffic Manager profile. The name can be used by any clients (for example, by navigating to it using a web browser) to get routed to the right endpoint as determined by the routing type. With geographic routing, Traffic Manager looks at the source IP of the incoming request and determines the region from which it's originating. If that region is mapped to an endpoint, traffic is routed to there. If this region isn't mapped to an endpoint, then Traffic Manager returns a NODATA query response.
Clean up resources
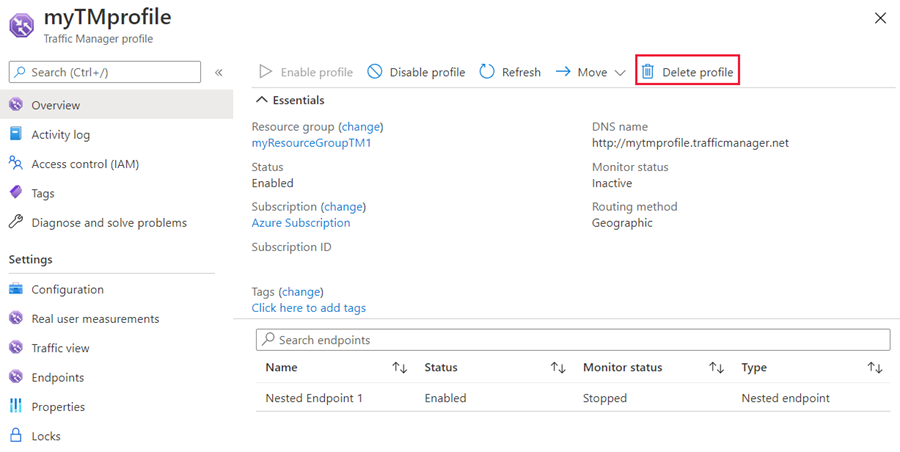
If you not longer need the Traffic Manager profile, locate the profile and select Delete profile.
Next steps
To learn more about geographic routing method, see: