Quickstart: Deploy WebLogic Server on Azure Virtual Machines (VMs)
This article shows you how to quickly deploy WebLogic Server (WLS) on an Azure Virtual Machine (VM) with the simplest possible set of configuration choices using the Azure portal. In this quickstart, you learn how to:
- Deploy WebLogic Server with Administration Server enabled on a VM using the Azure portal.
- Deploy a sample Java application with the WebLogic Server Administration Console.
- Connect to the VM running WebLogic using SSH.
If you're interested in providing feedback or working closely on your migration scenarios with the engineering team developing WebLogic on Azure solutions, fill out this short survey on WebLogic migration and include your contact information. The team of program managers, architects, and engineers will promptly get in touch with you to initiate close collaboration.
Prerequisites
- If you don't have an Azure subscription, create an Azure free account before you begin.
Deploy WebLogic Server with Administration Server on a VM
The following steps show you how to deploy WebLogic Server on a VM using the single instance with an admin server offer on the Azure portal. There are other offers that meet different scenarios such as WebLogic cluster on multiple VMs.
In the search bar at the top of the portal, enter weblogic. In the autosuggested search results, in the Marketplace section, select WebLogic Server with Admin Console on VM. You can also go directly to the offer using the portal link.

On the offer page, select Create. You then see the Basics pane.
On the Basics pane, ensure the value shown in the Subscription field is the same one that you used to sign in to the Azure portal.
The offer must be deployed in an empty resource group. In the Resource group field, select Create new and fill in a value for the resource group. Because resource groups must be unique within a subscription, pick a unique name. An easy way to have unique names is to use a combination of your initials, today's date, and some identifier. For example, ejb0802wls.
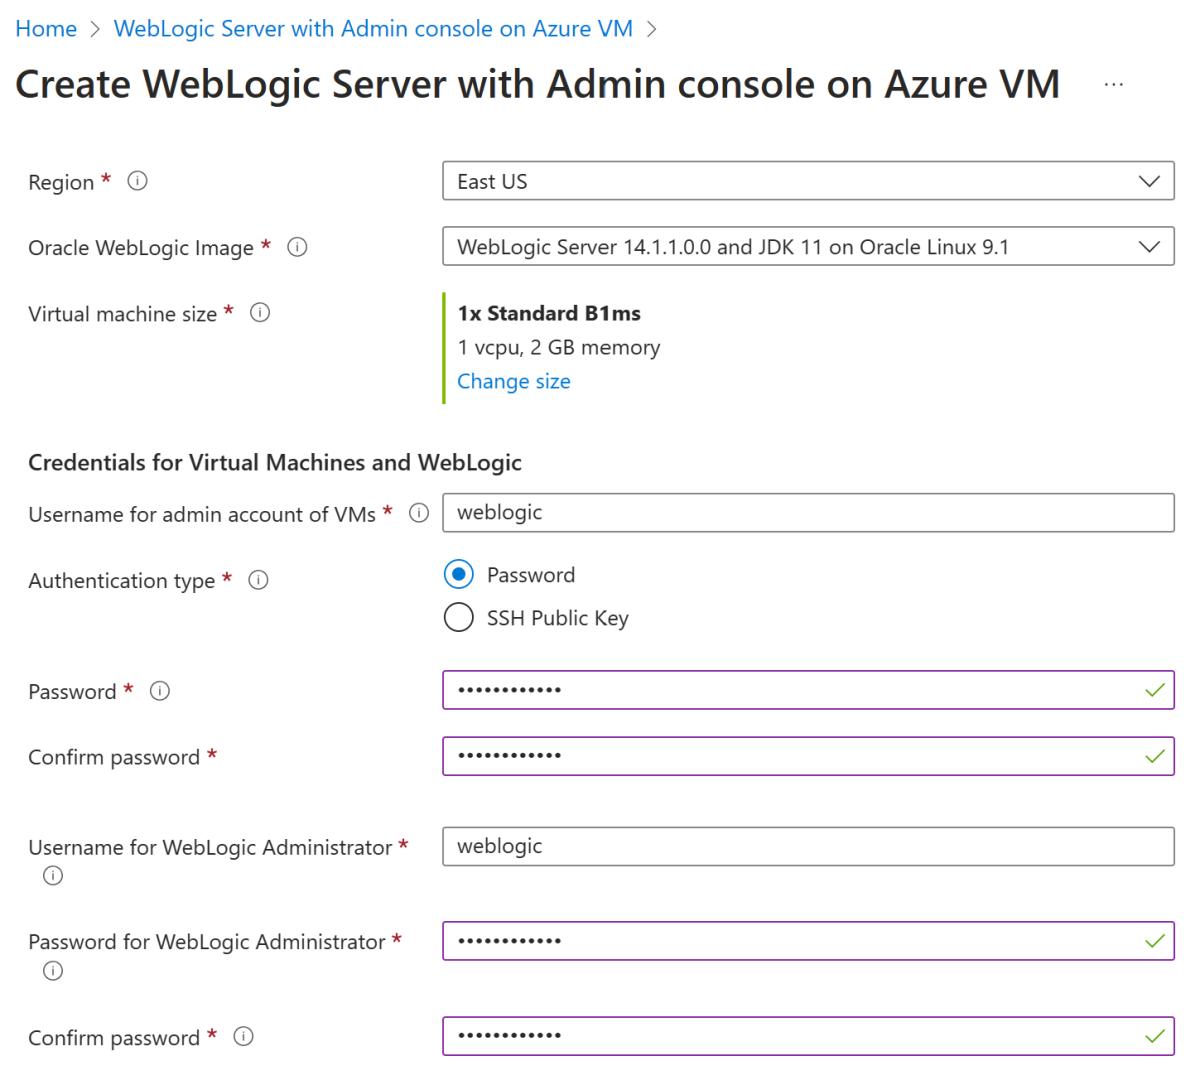
Under Instance details, select the region for the deployment.
Accept the default value in Oracle WebLogic Image.
Accept the default value in Virtual machine size.
If the default size isn't available in your region, choose an available size by selecting Change size, then select one of the listed sizes.
Under Credentials for Virtual Machines and WebLogic, leave the default value for Username for admin account of VMs.
Next to Authentication type, select Password. This article uses a user name and password pair for the authentication. If you want to use SSH, see Create and use an SSH public-private key pair for Linux VMs in Azure. Fill in wlsVmCluster2022 for Password. Use the same value for the confirmation.
Leave the default value for Username for WebLogic Administrator.
Fill in wlsVmCluster2022 for the Password for WebLogic Administrator. Use the same value for the confirmation.
Select Review + create.
Ensure the green Validation Passed message appears at the top. If it doesn't, fix any validation problems and select Review + create again.
Select Create.
Track the progress of the deployment in the Deployment is in progress page.


Depending on network conditions and other activity in your selected region, the deployment might take up to 30 minutes to complete.
Examine the deployment output
The steps in this section show you how to verify the deployment successfully completed.
If you navigated away from the Deployment is in progress page, the following steps show you how to get back to that page. If you're still on the page that shows Your deployment is complete, you can skip to step 5, after the screenshot.
In the corner of any portal page, select the hamburger menu and select Resource groups.
In the box with the text Filter for any field, enter the first few characters of the resource group you created previously. If you followed the recommended convention, enter your initials, then select the appropriate resource group.
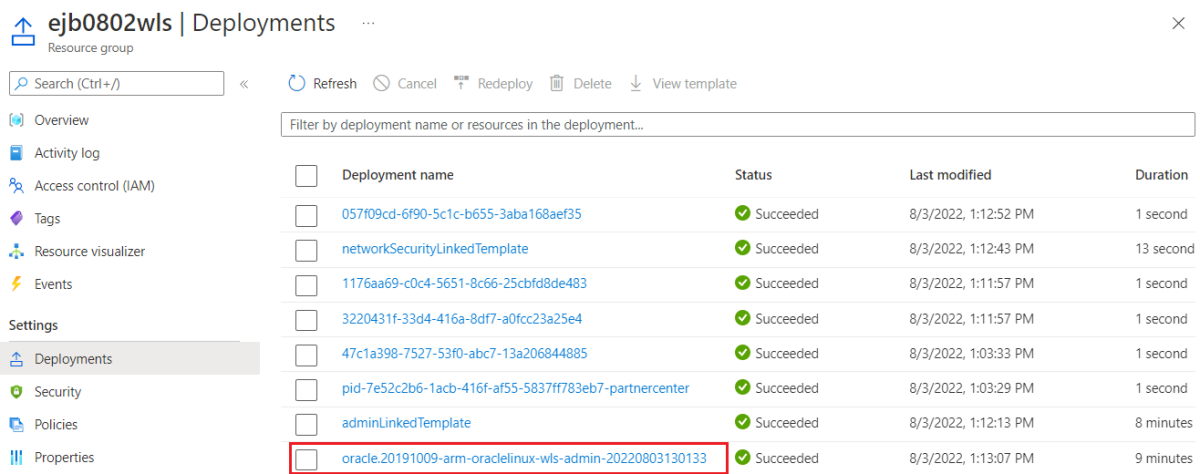
In the left navigation pane, in the Settings section, select Deployments. You can see an ordered list of the deployments to this resource group, with the most recent one first.
Scroll to the oldest entry in this list. This entry corresponds to the deployment you started in the preceding section. Select the oldest deployment, as shown in the following screenshot: x
In the left panel, select Outputs. This list shows useful output values from the deployment.
The sshCommand value is the fully qualified SSH command to connect to the VM that runs WebLogic Server. Select the copy icon next to the field value to copy the link to your clipboard. Save this value aside for later.
The adminConsoleURL value is the fully qualified public internet visible link to the WebLogic Server admin console. Select the copy icon next to the field value to copy the link to your clipboard. Save this value aside for later.

Deploy a Java application from Administration Console
Use the following steps to run a sample application on the WebLogic Server:
Download a sample application as a .war or .ear file. The sample app should be self contained and not have any database, messaging, or other external connection requirements. The sample app from the WebLogic Kubernetes Operator documentation is a good choice. You can download it from Oracle. Save the file to your local filesystem.
Paste the value of adminConsoleURL in an internet-connected web browser. You should see the familiar WebLogic Server admin console login screen as shown in the following screenshot:
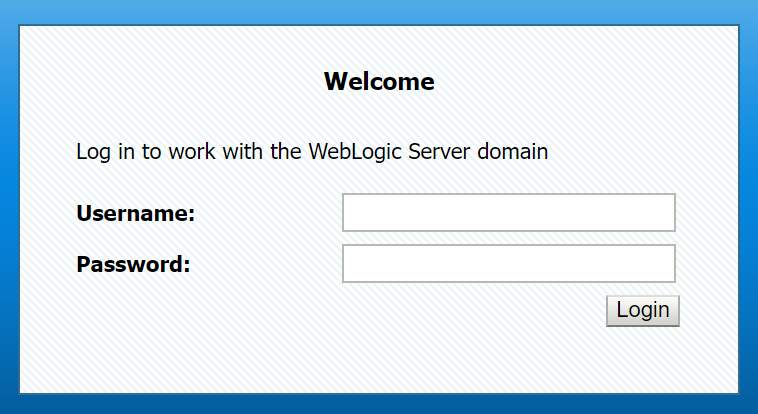
Log in with user name weblogic and your password (this article uses wlsVmCluster2022). You can see the WebLogic Server Administration Console overview page.
Under Change Center on the top left corner, select Lock & Edit, as shown in the following screenshot:
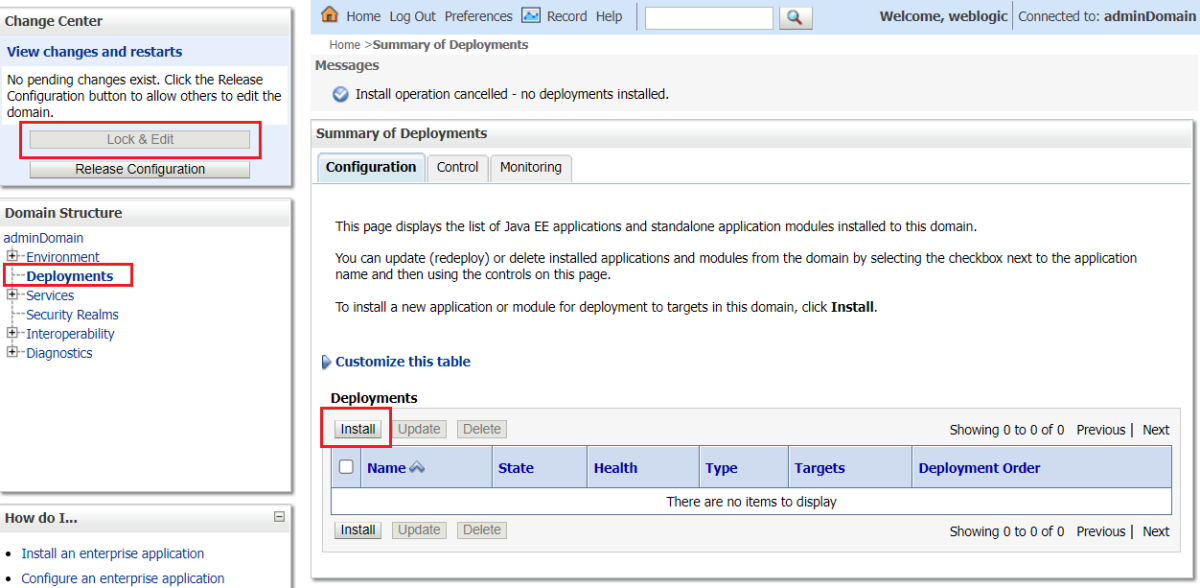
Under Domain Structure on the left side, select Deployments.
Under Configuration, select Install. There's an Install Application Assistant to guide you to finish the installation.
- Under Locate deployment to install and prepare for deployment, select Upload your file(s).
- Under Upload a deployment to the Administration Server, select Choose File and upload your sample application. Select Next.
- Accept the defaults in the next few screens and select Finish.
- On the application configuration screen, select Save.
Under Change Center on the top left corner, select Activate Changes. You can see the message All changes have been activated. No restarts are necessary.
Under Summary of Deployments, select Control. Select the checkbox near the application name to select the application. Select Start and then select Servicing all requests.
Under Start Application Assistant, select Yes. If no error happens, you can see the message Start requests have been sent to the selected deployments.
Construct a fully qualified URL for the sample app, such as
http://<vm-host-name>:<port>/<your-app-path>. You can get the host name and port from adminConsoleURL by removing/console/. If you're using the recommended sample app, the URL should behttp://<vm-host-name>:<port>/testwebapp/, which should be similar tohttp://wls-5b942e9f2a-admindomain.westus.cloudapp.azure.com:7001/testwebapp/.Paste the fully qualified URL in an internet-connected web browser. If you deployed the recommended sample app, you should see a page that looks similar to the following screenshot:


Connect to the virtual machine
If you want to manage the VM, you can connect to it with SSH command. Before accessing the machine, make sure you enabled port 22 for the SSH agent.
Use the following steps to enable port 22:
Navigate back to your working resource group in the Azure portal. In the overview page, you can find a network security group named wls-nsg. Select wls-nsg.
In the left panel, select Settings, then Inbound security rules. If there's a rule to allow port
22, then you can jump to step 4.In the top of the page, select Add.
- Under Destination port ranges, fill in the value 22.
- Fill in the rule name Port_SSH for Name.
- Leave the default value for the other fields.
- Select Add.
After the deployment completes, you can SSH to the VM.
Connect to the VM with the value of sshCommand and your password (this article uses wlsVmCluster2022).
Clean up resources
If you're not going to continue to use the WebLogic Server, navigate back to your working resource group in the Azure portal. At the top of the page, under the text Resource group, select Delete resource group.
Next steps
Continue to explore options to run WebLogic Server on Azure.
For more information about the Oracle WebLogic offers at Azure Marketplace, see Oracle WebLogic Server on Azure. These offers are all Bring-Your-Own-License. They assume that you already have the appropriate licenses with Oracle and are properly licensed to run offers in Azure.
Feedback
Coming soon: Throughout 2024 we will be phasing out GitHub Issues as the feedback mechanism for content and replacing it with a new feedback system. For more information see: https://aka.ms/ContentUserFeedback.
Submit and view feedback for