Create a virtual network with encryption by using the Azure portal
Article
Azure Virtual Network encryption is a feature of Azure Virtual Network. With Virtual Network encryption, you can seamlessly encrypt and decrypt internal network traffic over the wire, with minimal effect to performance and scale. Virtual Network encryption protects data that traverses your virtual network from virtual machine to virtual machine and from virtual machine to on-premises.
Install Azure PowerShell locally or use Azure Cloud Shell.
Sign in to Azure PowerShell and select the subscription with which you want to use this feature. For more information, see Sign in with Azure PowerShell.
Ensure that your Az.Network module is 4.3.0 or later. To verify the installed module, use the command Get-InstalledModule -Name Az.Network. If the module requires an update, use the command Update-Module -Name Az.Network, if necessary.
If you choose to install and use PowerShell locally, this article requires the Azure PowerShell module version 5.4.1 or later. Run Get-Module -ListAvailable Az to find the installed version. If you need to upgrade, see Install Azure PowerShell module. If you're running PowerShell locally, you also need to run Connect-AzAccount to create a connection with Azure.
If you prefer to run CLI reference commands locally, install the Azure CLI. If you're running on Windows or macOS, consider running Azure CLI in a Docker container. For more information, see How to run the Azure CLI in a Docker container.
If you're using a local installation, sign in to the Azure CLI by using the az login command. To finish the authentication process, follow the steps displayed in your terminal. For other sign-in options, see Sign in with the Azure CLI.
When you're prompted, install the Azure CLI extension on first use. For more information about extensions, see Use extensions with the Azure CLI.
Run az version to find the version and dependent libraries that are installed. To upgrade to the latest version, run az upgrade.
This article requires version 2.31.0 or later of the Azure CLI. If you're using Azure Cloud Shell, the latest version is already installed.
To encrypt traffic, Virtual Network encryption requires supported virtual machine versions in the virtual network. The setting dropUnencrypted drops traffic between unsupported virtual machine versions if they're deployed in the virtual network. For more information, see Azure Virtual Network encryption requirements.
Use the following steps to enable encryption for a virtual network.
In the search box at the top of the portal, begin to enter Virtual networks. When Virtual networks appears in the search results, select it.
Select vnet-1 to open the vnet-1 pane.
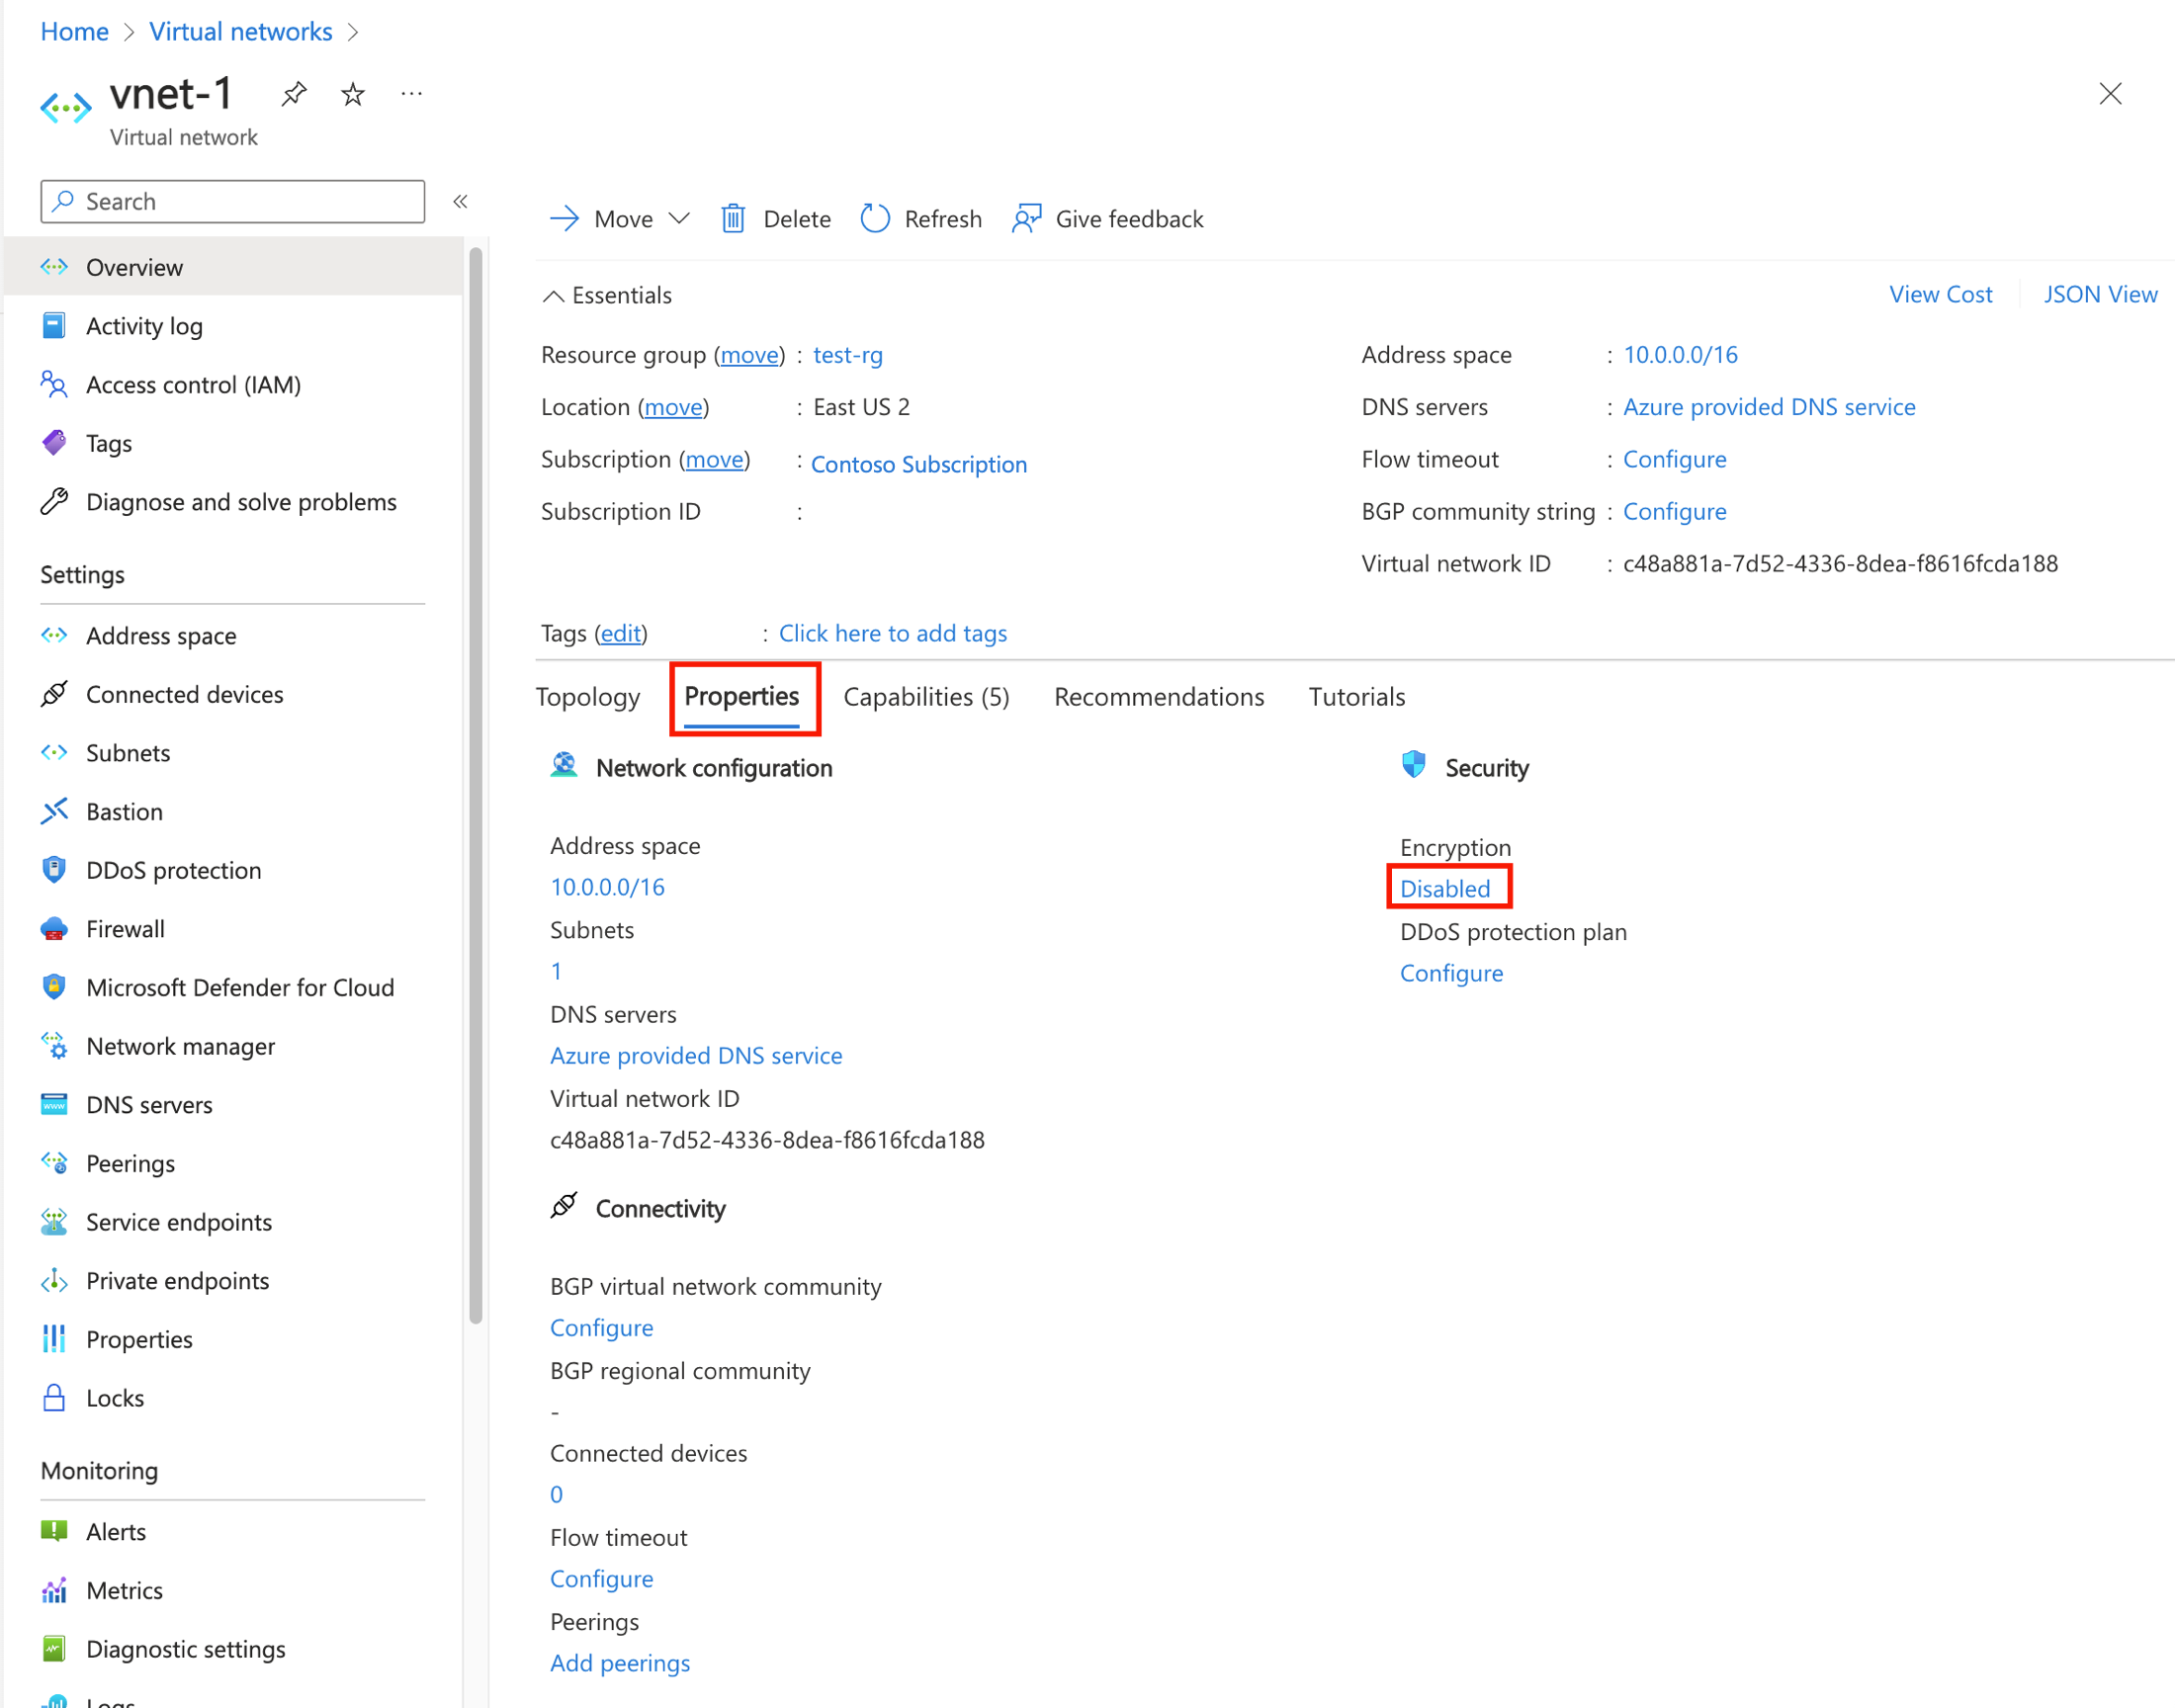
On the service menu, select Overview, and then select the Properties tab.
Under Encryption, select Disabled.
Select the box next to Virtual network encryption.
Select Save.
You can also enable encryption on an existing virtual network by using Set-AzVirtualNetwork. This step isn't necessary if you created the virtual network with encryption enabled in the previous steps.
## Place the virtual network configuration into a variable. ##
$net = @{
    Name = 'vnet-1'
    ResourceGroupName = 'test-rg'
}
$vnet = Get-AzVirtualNetwork @net

## Enable encryption on the virtual network ##
$vnet.Encryption = @{
    Enabled = 'true'
    Enforcement = 'allowUnencrypted'
}
$vnet | Set-AzVirtualNetwork
You can also enable encryption on an existing virtual network by using az network vnet update. This step isn't necessary if you created the virtual network with encryption enabled in the previous steps.
In the search box at the top of the portal, begin to enter Virtual networks. When Virtual networks appears in the search results, select it.
Select vnet-1 to open the vnet-1 pane.
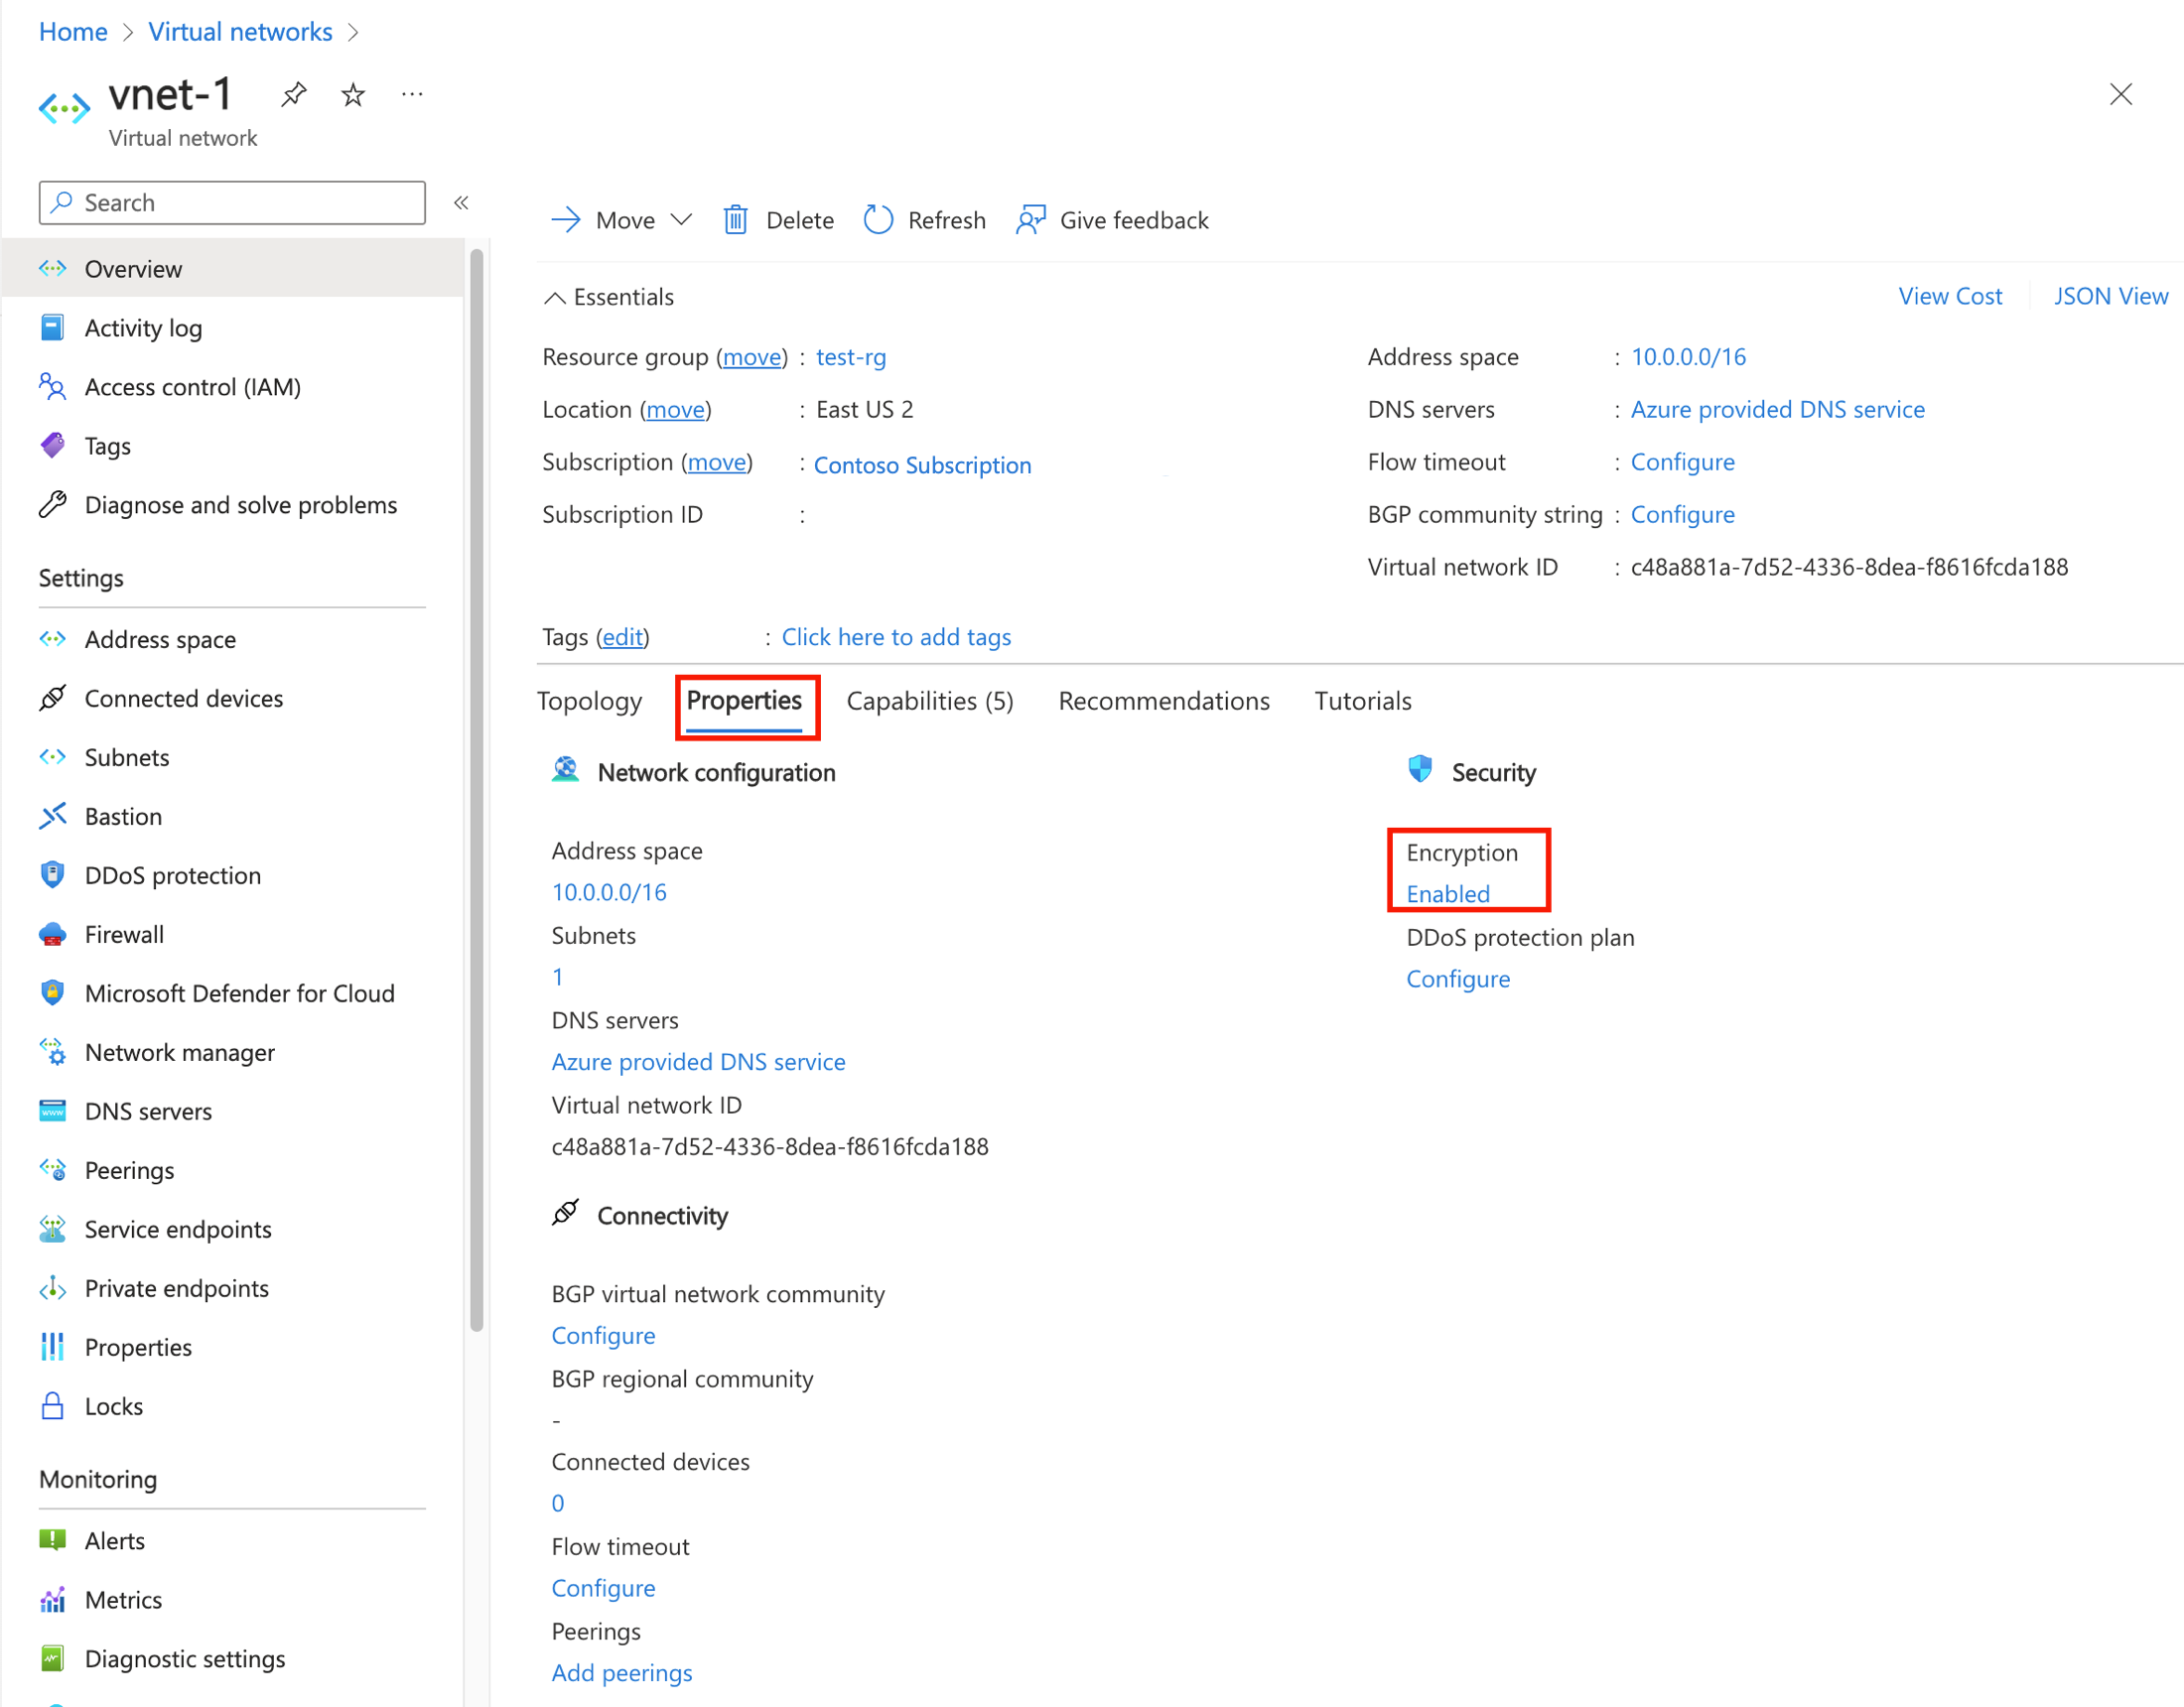
On the service menu, select Overview, and then select the Properties tab.
Verify that Encryption is set to Enabled.
Use Get-AzVirtualNetwork to view the encryption parameter for the virtual network you created previously.
## Place the virtual network configuration into a variable. ##
$net = @{
    Name = 'vnet-1'
    ResourceGroupName = 'test-rg'
}
$vnet = Get-AzVirtualNetwork @net
To view the parameter for encryption, enter the following information: