Create customer service schedule and define the work hours
To define when your service or support team is available for providing support to customers, create a customer service schedule in Dynamics 365 Customer Service. A customer service schedule determines the business hours for each day in a week and also the weekly off. Customer Service uses these details for time tracking of service-level agreements (SLAs).
For SLA time tracking, make sure you add a holiday schedule to the customer service schedule, and associate this customer service schedule to the SLA record.
You can create the service schedule and define work hours in Dynamics 365 Customer Engagement (on-premises) 9.1 also. More information: New features in Dynamics 365 Customer Engagement (on-premises)
Create a customer service schedule
Make sure that you assign the Customer Service Manager, System Administrator, System Customizer security role, or equivalent permissions at the user level only.
Check your security role
Follow the steps in View your user profile.
Don’t have the correct permissions? Contact your system administrator.
Navigate to the Customer Service admin center app, and perform the following steps:
In the site map, select Calendar in Operations. The Calendar page appears.
In the Customer service calendar section, select Manage. The All Customer Service Calendars view is displayed. You can switch between various system views using the drop-down list.
To create a customer service schedule, select New.
To edit an existing schedule, select the schedule in the list of records, and then select Edit on the command bar.
In the Name field of the Create Customer Service Schedule dialog, enter a meaningful name for the schedule such as “APAC Customer Schedule", and then select Create.
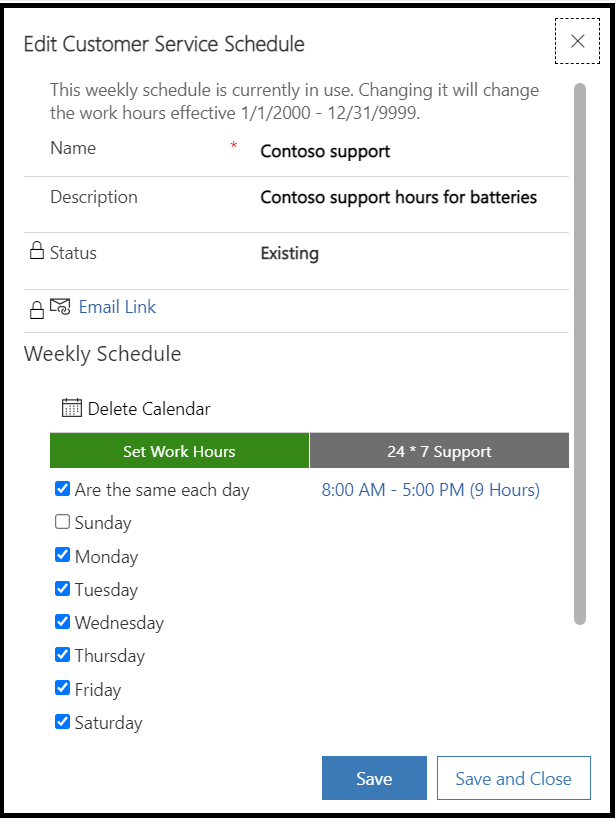
In the Weekly Schedule dialog, follow these steps:
For work hours, select one of these options:
Are the same each day: The schedule is the same for every day of the week. After you select this option, to select the days of the week that the customer support is available, select Set Work Hours.
To set the work hours for the days, select Set Work Hours. For more information, see Define work hours for the customer service schedule.
Vary by day: The new schedule is different for one or more days of the week. After you select this option, select the days of the week that the customer support is available, and also specify the work hours for each day.
24 x 7 support: The customer support is available 24 hours a day and all days of the week.
For Work Days, select the checkbox for each day that the customer support resources will be available and working.
For Holiday Schedule, select Observe to specify when your service organization will be closed.
If you selected Observe, select a holiday schedule from the lookup box. More information:Set up a holiday schedule
In the Time Zone dropdown box, under Select the time zone, select the time zone in which your customer support resources will work. If applicable, the daylight saving time is taken into account for the selected time zone.
Select Save.

Define the work hours for the schedule
In the Set Work Hours dialog, complete the following fields, and then select OK.
Start: Select the time the work day starts.
End: Select the time the work day ends.
To add a break in the work hours, like a lunch break, select Add Break, and then select the start and end time of the break.