Create optimization schedules in Resource Scheduling Optimization
After you create a scope and a goal, you can combine and schedule them in an optimization schedule. An optimization schedule defines when Resource Scheduling Optimization automatically starts to optimize requirements and bookings. For example, an optimization schedule might specify that optimization occurs at 1:00 AM on weekdays. In this way, schedules are updated before the team starts to work, and there is minimal disruption during working hours.
Create an optimization schedule
In Resource Scheduling Optimization, go to Tools > Optimization Schedules.
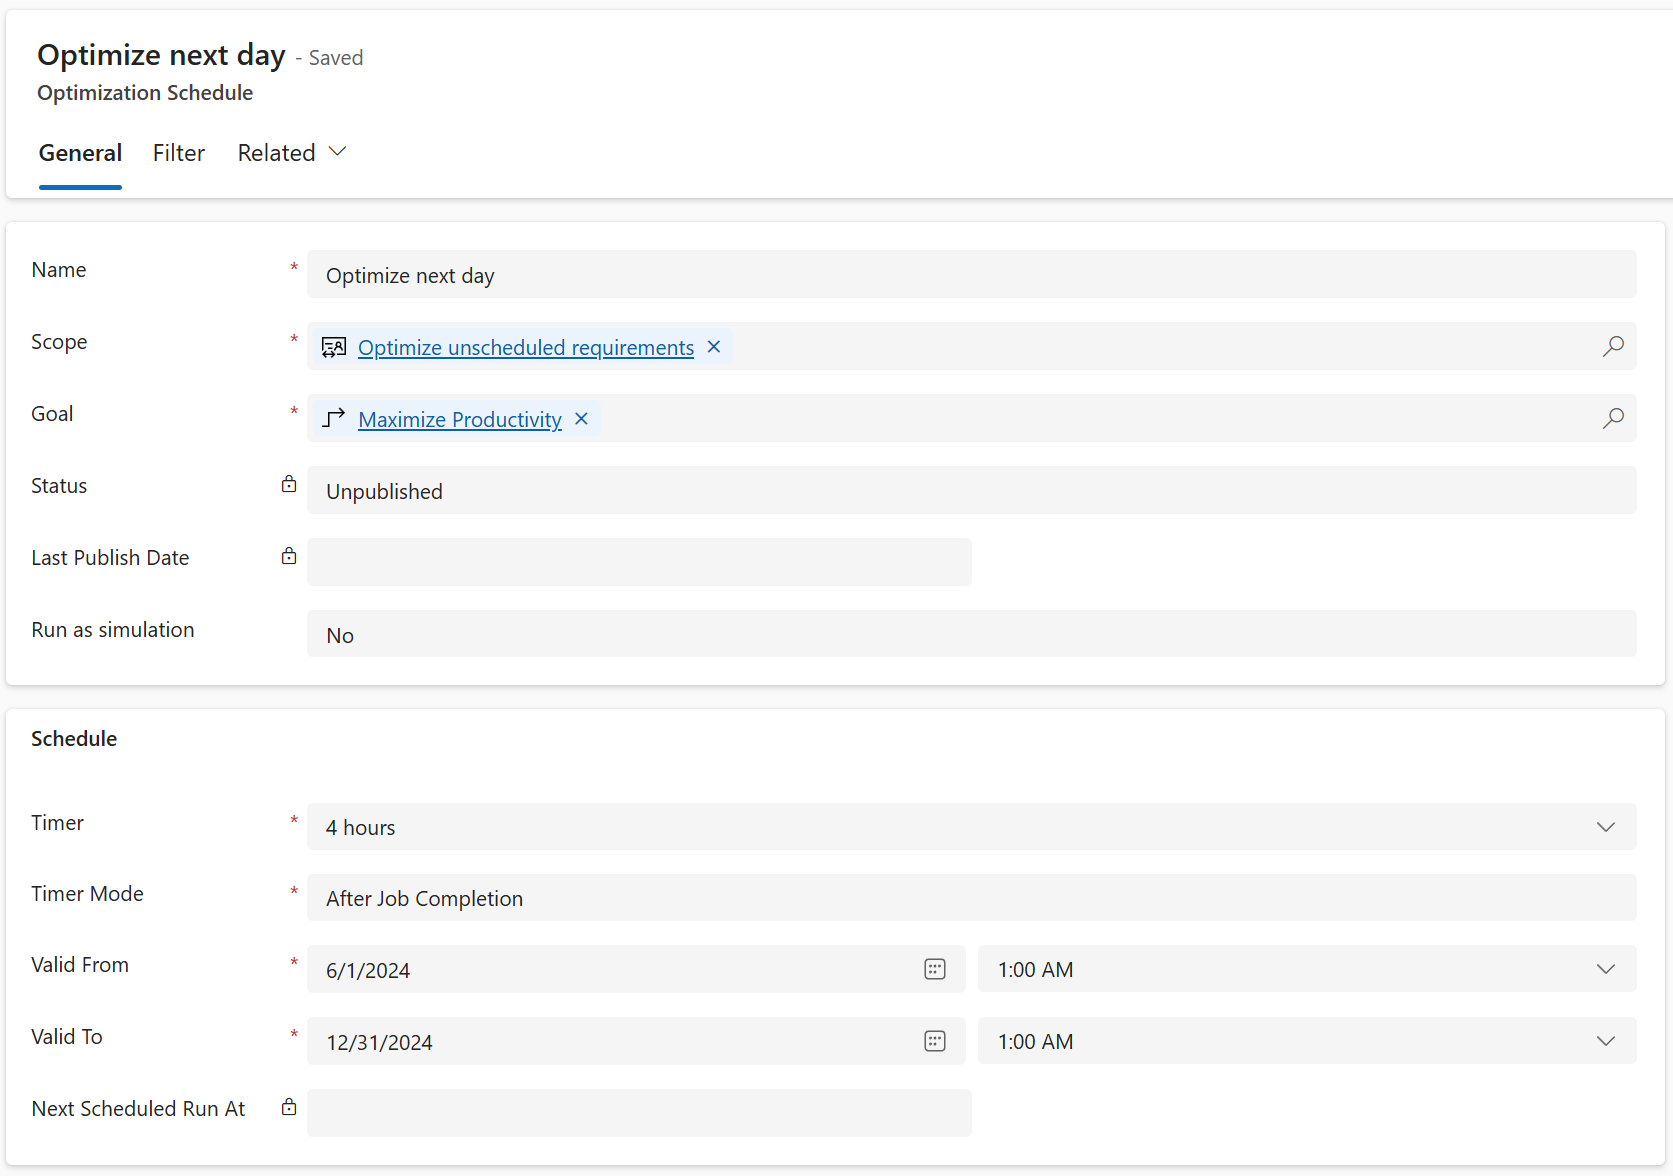
On the General tab, in the Name field, enter a name for the schedule.
In the Scope field, select an optimization scope for the schedule.
In the Goal field, select an optimization goal for the schedule.
In the Timer field, select how often the optimization schedule runs.
In the Timer Mode field, select one of the following values:
- Fixed: Optimization runs occur after every specified time interval.
- After Job Completion: Optimization runs wait for the specified time interval after the last Resource Scheduling Optimization job is completed.
Use the Valid From and Valid To fields to define the date and time range that the schedule is active during.
On the Filter tab, you can specify more details to define when the schedule runs during the specified time range. Filters can be helpful if you want to run optimizations only on specific days.
Review all the values. If they are correct, select Publish on the command bar to activate the schedule.
Optimization schedule statuses
- Unpublished: This status is the default status when a schedule is created or reset.
- Publishing: The system is trying to publish schedules.
- Published: The system published a schedule, and it's ready to run.
- Out of Sync: The schedule must be published again because of changes that were made against it.
- Under Maintenance: Someone is upgrading Resource Scheduling Optimization to a newer version.
- Failed: The system failed to publish schedules. You can find error details on the schedule page. If you receive an error message that states, "A SASKey has not been configured for ServiceEndpoint RSO Data Sync," Azure resources for Resource Scheduling Optimization aren't set up correctly.
Reset an optimization schedule
To unpublish a schedule and cancel all pending jobs that are related to it, you can reset the schedule.
- In Resource Scheduling Optimization, go to Tools > Optimization Schedules.
- Open a published schedule.
- On the command bar, select Reset Resource Scheduling Optimization.
Review optimization requests
Every time a schedule triggers an optimization job, it creates a scheduling optimization request record. You can open these records to review details about the associated resources and bookings.
- View which resources are being optimized and which aren't, together with the reason.
- View booking details and charts that compare travel time to the scheduled work hours for the job run.
Tip
If one of your schedules runs for a long time and seems stuck, reset it. If a reset of a single optimization schedule doesn't work, or if it becomes stuck too, reset and republish all your schedules.