Managing access
To access Microsoft eCDN Portal the following conditions must be met.
- The user belongs to a tenant with a Microsoft eCDN License.
- The user has a supported role.
- Built-in roles
- App roles
Built-in roles
The following is a list of the M365/Teams users roles that grant access to the Microsoft eCDN Admin Console and their respective permissions.
| Role | View Analytics & Reports | Account Configuration | Silent Tester |
|---|---|---|---|
| Global Administrator | Yes | Modify | Modify |
| Teams Administrator | Yes | Modify | Modify |
| Teams Communications Administrator | Yes | Modify | Modify |
| Teams Communications Support Engineer | Yes | Read | Read |
| Teams Communications Support Specialist | Yes | Read | Read |
| Global Reader | Yes | Read | Read |
| Reports Reader | Yes | None | Read |
Need to update a user's role? Go to the Role Assignment page in the Microsoft 365 admin console and make sure the intended users of Microsoft eCDN have the appropriate role assigned to them.
Important
Microsoft recommends that you use roles with the fewest permissions. This helps improve security for your organization. Global Administrator is a highly privileged role that should be limited to emergency scenarios when you can't use an existing role.
For more information about roles and permissions in Microsoft 365 and Teams, see the following links:
App roles
An alternative way to grant access to the Microsoft eCDN Admin Console is by using Microsoft eCDN app roles. The following roles are available.
- Microsoft eCDN Reader - Read only access to all non-administrative features
- Microsoft eCDN Writer - Write access to all non-administrative features
- Microsoft eCDN Admin - Full admin access to all features
Note
At present, the Microsoft eCDN Writer and Microsoft eCDN Admin roles do not differ in the privileges they grant.
Assigning app role to a user through Azure portal
| Step | Description | Image |
|---|---|---|
| 1. | Sign in to the Azure portal. | |
| 2. | In Microsoft Entra ID, select Enterprise applications in the left-hand navigation menu. |
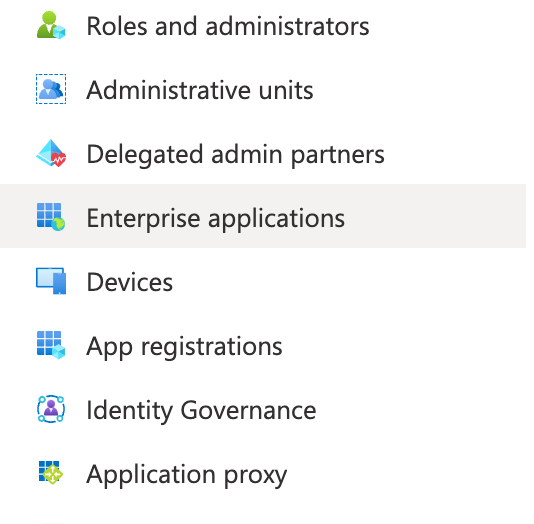
|
| 3. | Select All applications to view a list of all your applications. | |
| 4. | Remove the "Application type == Enterprise Applications" filter. |

|
| 5. | Search for and select Microsoft eCDN. If you can’t find the app, see Manually Creating Service Principal. |

|
| 6. | Under Manage, select Users and groups. |
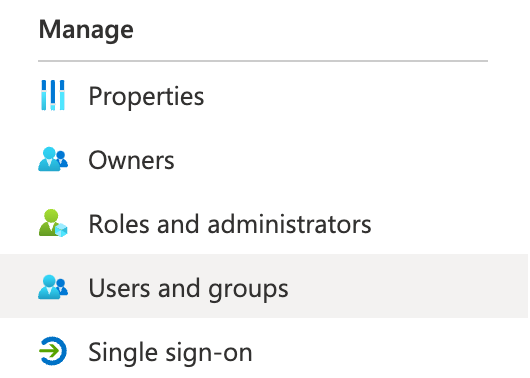
|
| 7. | Select Add user to open the Add Assignment pane. | |
| 8. | Select the Users and groups selector from the Add Assignment pane. A list of users and security groups is displayed. You can search for a certain user or group and select multiple users and groups that appear in the list. | |
| 9. | After selecting users and groups, select the Select button to proceed. | |
| 10. | Continuing in the Add assignment pane, select Select a role. All your defined roles for the application are displayed. |

|
| 11. | Choose a role and select the Select button. | |
| 12. | Select the Assign button to finish the assignment of users and groups to the app. |
Manually creating service principal
If you don't see the Microsoft eCDN app under Enterprise Application, it means your tenant is missing the Service Principal for the app. A Service Principal can be created by running the following PowerShell commands as a tenant admin. After the Service Principal is created, go back to Azure portal and search again for the Microsoft eCDN application.
# Install Microsoft Graph Powershell module
Install-Module Microsoft.Graph -Scope CurrentUser

# Login as a Microsoft Entra user -- the user needs to have permission to create Service Principal
Connect-MgGraph -Scopes "Directory.ReadWrite.All"

# Create Service Principal for Microsoft eCDN app id
New-MgServicePrincipal -AppId 4b84634b-ff80-426f-bdc2-4299b1584916