Get data for Data Activator from Power BI
Important
Data Activator is currently in preview.
You can get data for use in Data Activator from many sources. This article describes how to get data from Power BI.
Get data from Power BI
You can use Data Activator to trigger notifications when conditions are met about data in a Power BI report. For example, if you have a report displaying daily sales per store, you could send a notification at the end of the day if daily sales for any store fall beneath a threshold. You can send notifications to yourself, or to others in your organization. This section explains how notifications can be created and triggered.
Prerequisites
Before you begin, you need a Power BI report that is published online to a Fabric workspace in a Premium capacity.
Create a Data Activator trigger from a Power BI visual
This section, and the sections within it, describes how to create a Data Activator from a Power BI visual.
Select Set alert on your Power BI visual
To begin creating a trigger from a Power BI report:
- Open your Power BI report.
- Choose a visual on the report for Data Activator to monitor.
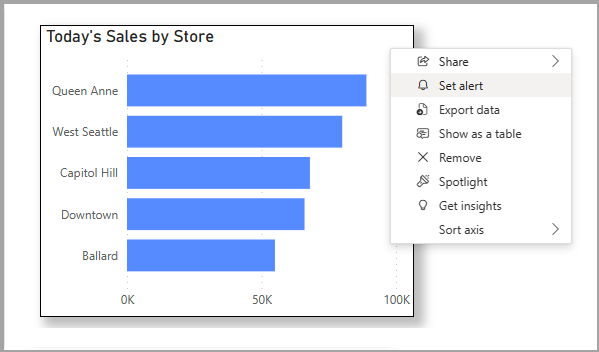
- Select the ellipsis (…) at the top-right of the visual, and select Set Alert. You can also use the Set Alert button in the Power BI toolbar.
The following image shows an example of how to trigger an action from a visual that displays today’s sales for each store in a retail chain:
Create your Data Activator trigger
Next, define your trigger conditions and to create your trigger. In the Set Alert pane that appears, take the following steps:
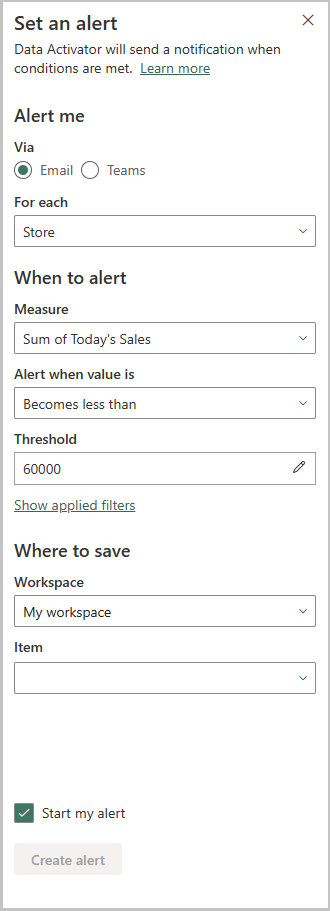
- Fill out the Alert Me section, to say whether you want to be alerted by email or Teams. If your visual has a dimension, fill out the For each dropdown with the dimension to monitor. Data Activator checks the value of the measure separately for each value of the For Each dimension that you select.
- Fill out the When to alert section, to define your trigger condition. Whenever this condition is met, Data Activator sends a notification.
- Fill out the Where to save section, to tell Power BI where to save your Data Activator trigger. You can choose an existing reflex item, or you can create a new reflex item.
- Choose Create alert, to create your Data Activator trigger, and open it within your reflex item. Optionally, you can uncheck Start my alert if you want to edit your trigger in Data Activator before starting it.
Then with the example from step 1, the following image shows how you would create a trigger that fires daily if the sales for any store drop to under $60,000:
Optional: edit your trigger in Data Activator
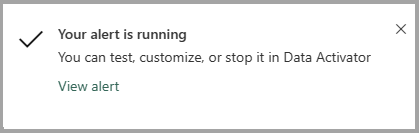
When your trigger is ready, Power BI notifies you and gives you the option to edit your trigger in Data Activator.
Editing your trigger in Data Activator can be useful if you want to define a more complex alert condition than is possible in Power BI, or if you want to trigger a Power Automate flow when your trigger fires. Refer to Create triggers in design mode for information on how to edit triggers in Data Activator.
Related content
- What is Data Activator?
- Get started with Data Activator
- Assign data to objects in Data Activator
- Create Data Activator triggers in design mode
- Detection conditions in Data Activator
- Use Custom Actions to trigger Power Automate Flows
- Data Activator tutorial using sample data
You can also learn more about Microsoft Fabric:
Feedback
Coming soon: Throughout 2024 we will be phasing out GitHub Issues as the feedback mechanism for content and replacing it with a new feedback system. For more information see: https://aka.ms/ContentUserFeedback.
Submit and view feedback for