Configure and manage data engineering and data science settings for Fabric capacities
Applies to: ![]() Data Engineering and Data Science in Microsoft Fabric
Data Engineering and Data Science in Microsoft Fabric
When you create Microsoft Fabric from the Azure portal, it is automatically added to the Fabric tenant that's associated with the subscription used to create the capacity. With the simplified setup in Microsoft Fabric, there's no need to link the capacity to the Fabric tenant. Because the newly created capacity will be listed in the admin settings pane. This configuration provides a faster experience for admins to start setting up the capacity for their enterprise analytics teams.
To make changes to the Data Engineering/Science settings in a capacity, you must have admin role for that capacity. To learn more about the roles that you can assign to users in a capacity, see Roles in capacities.
Use the following steps to manage the Data Engineering/Science settings for Microsoft Fabric capacity:
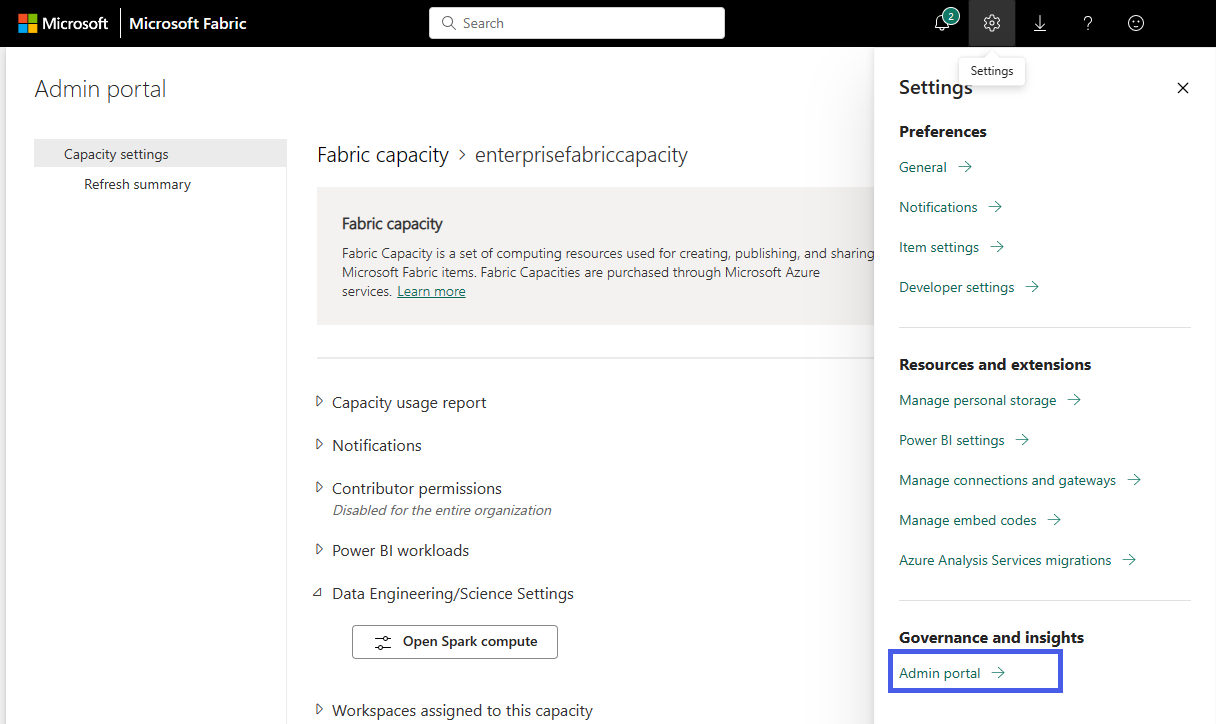
Select the Settings option to open the setting pane for your Fabric account. Select Admin portal under Governance and insights section
Choose the Capacity settings option to expand the menu and select Fabric capacity tab. Here you should see the capacities that you have created in your tenant. Choose the capacity that you want to configure.
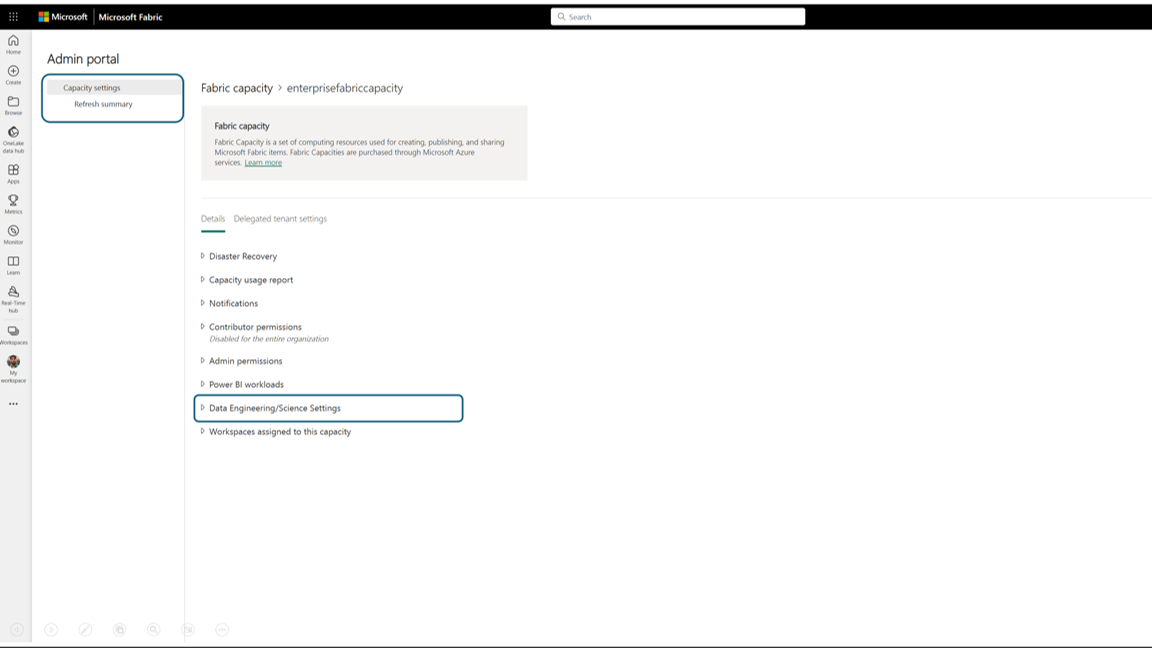
You are navigated to the capacities detail pane, where you can view the usage and other admin controls for your capacity. Navigate to the Data Engineering/Science Settings section and select Open Spark Compute. Configure the following parameters:

Note
Atleast one workspace should be attached to the Fabric Capacity to explore the Data Engineering/Science Settings from the Fabric Capacity Admin Portal.
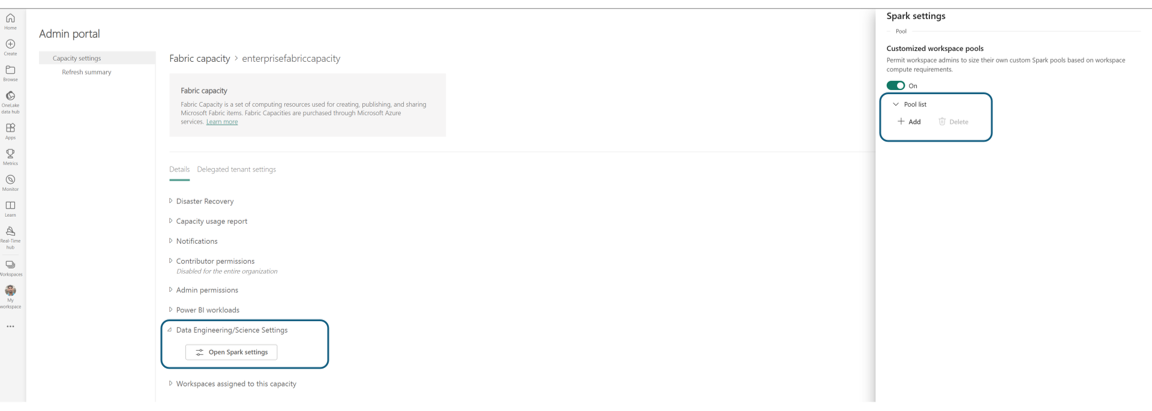
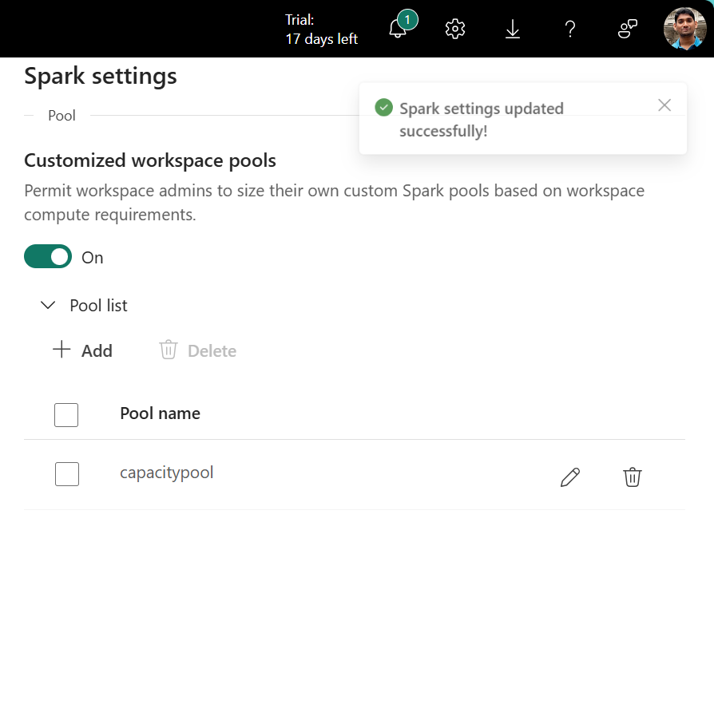
- Customized workspace pools: You can restrict or democratize compute customization to workspace admins by enabling or disabling this option. Enabling this option allows workspace admins to create, update, or delete workspace level custom spark pools. Additionally, it allows you to resize them based on the compute requirements within the maximum cores limit of a capacity.
Capacity Pools for Data Engineering and Data Science in Microsoft Fabric (Public Preview)
In the Pool List section of Spark Settings, by clicking on the Add option, you can create a Custom pool for your Fabric Capacity.
- You are navigated to the Pool creation section, where you specify the Pool name, Node family, select the Node size and set the Min and Max nodes for your custom pool, enable/disable autoscale, and dynamic allocation of executors.
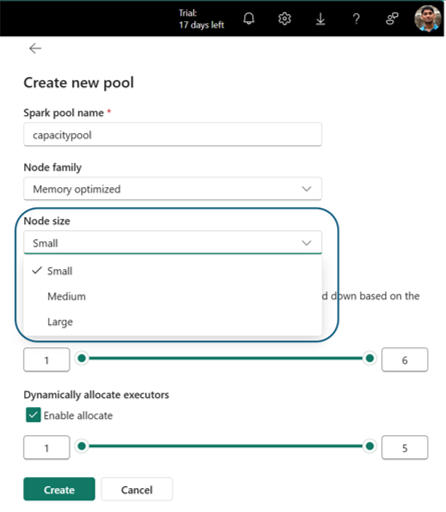
- Click Create and Save the settings.
Note
The custom pools created in the capacity settings, will have a 2 to 3 minute session start latency as these are on-demand sessions unlike the sessions served through Starter Pools.
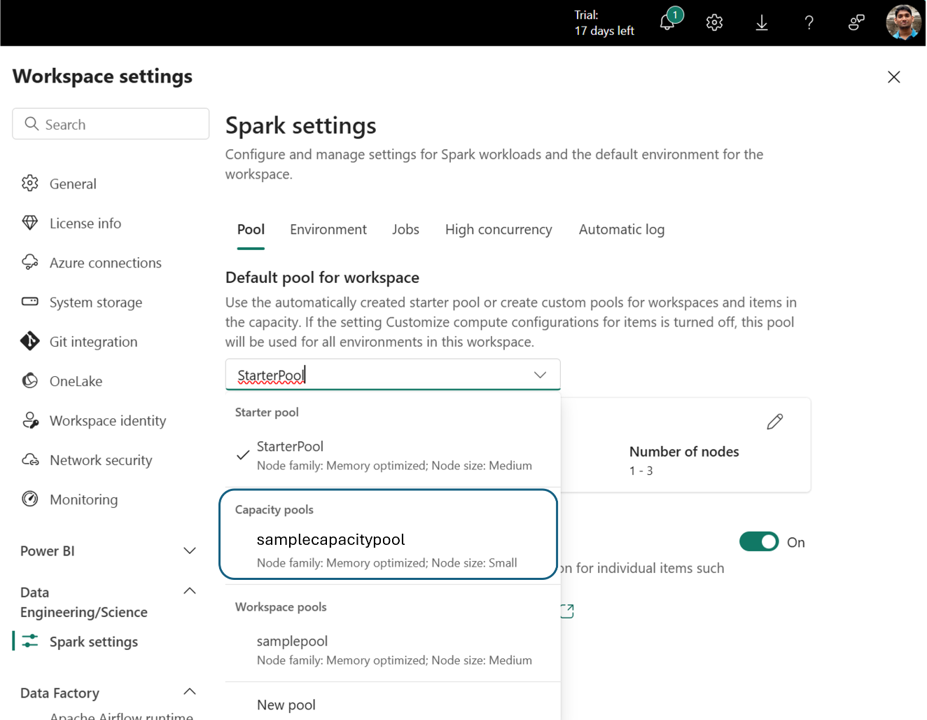
- Now the newly created Capacity pool is available as a Compute option in the Pool Selection menu in all the workspaces attached to this Fabric capacity.
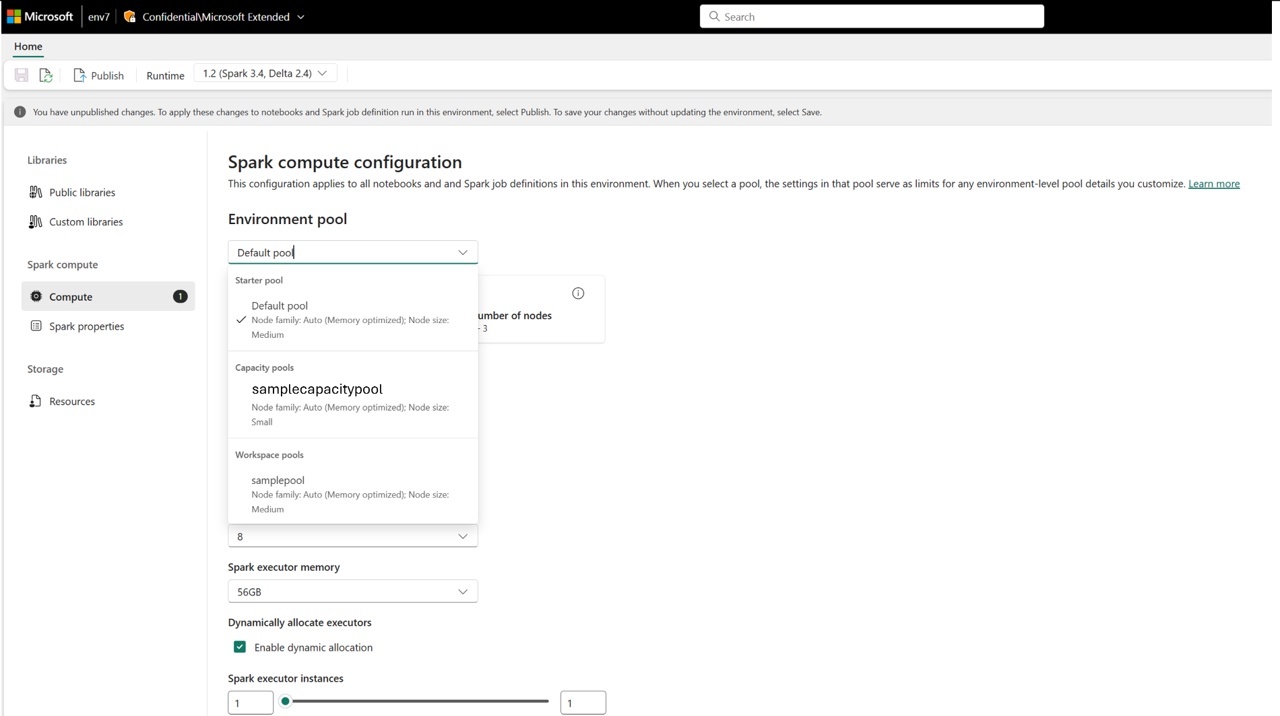
- You can also view the created capacity pool as a compute option in the environment item within the workspaces.
- This provides additional administrative controls to manage compute governance for your Spark compute in Microsoft Fabric. As a capacity admin, you can create Pools for workspaces and disable workspace-level customization, which would prevent workspace admins from creating custom pools.
Related content
Feedback
Coming soon: Throughout 2024 we will be phasing out GitHub Issues as the feedback mechanism for content and replacing it with a new feedback system. For more information see: https://aka.ms/ContentUserFeedback.
Submit and view feedback for