Create an API for GraphQL in Fabric and add data
Note
Microsoft Fabric API for GraphQL is in preview.
Get started with the Fabric API for GraphQL by creating an API, then linking a data source to expose the data you chose through the API. Fabric builds the GraphQL schema automatically based on your data, and applications are ready to connect in minutes.
Prerequisites
- Fabric Premium or Trial capacity
- Enable the Tenant Admin Setting for API for GraphQL (Preview)
Creating an API for GraphQL
To create an API for GraphQL:
In the Fabric portal, select Data Engineering from the workload switcher at the bottom of the navigation bar. If you are in the Fabric home, you can also select the Data Engineering card.
Select API for GraphQL (Preview).
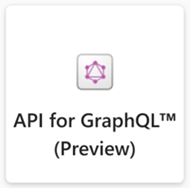
Alternatively, select New > API for GraphQL (Preview) from any workspace in Data Engineering.
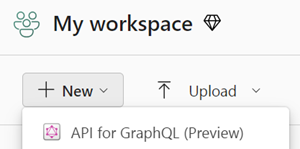
Enter a Name for your item and select Create.

You now have a fully functional API to access your data in Fabric.
Connect to a data source and build your schema
At this point, the API is ready but it's not exposing any data. APIs for GraphQL are defined in a schema organized in terms of types and fields, in a strongly typed system. Fabric automatically generates the necessary GraphQL schema based on the data you choose to expose to GraphQL clients.
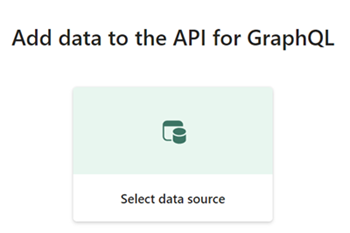
In your new API, choose a data source to expose by choosing Select data source.
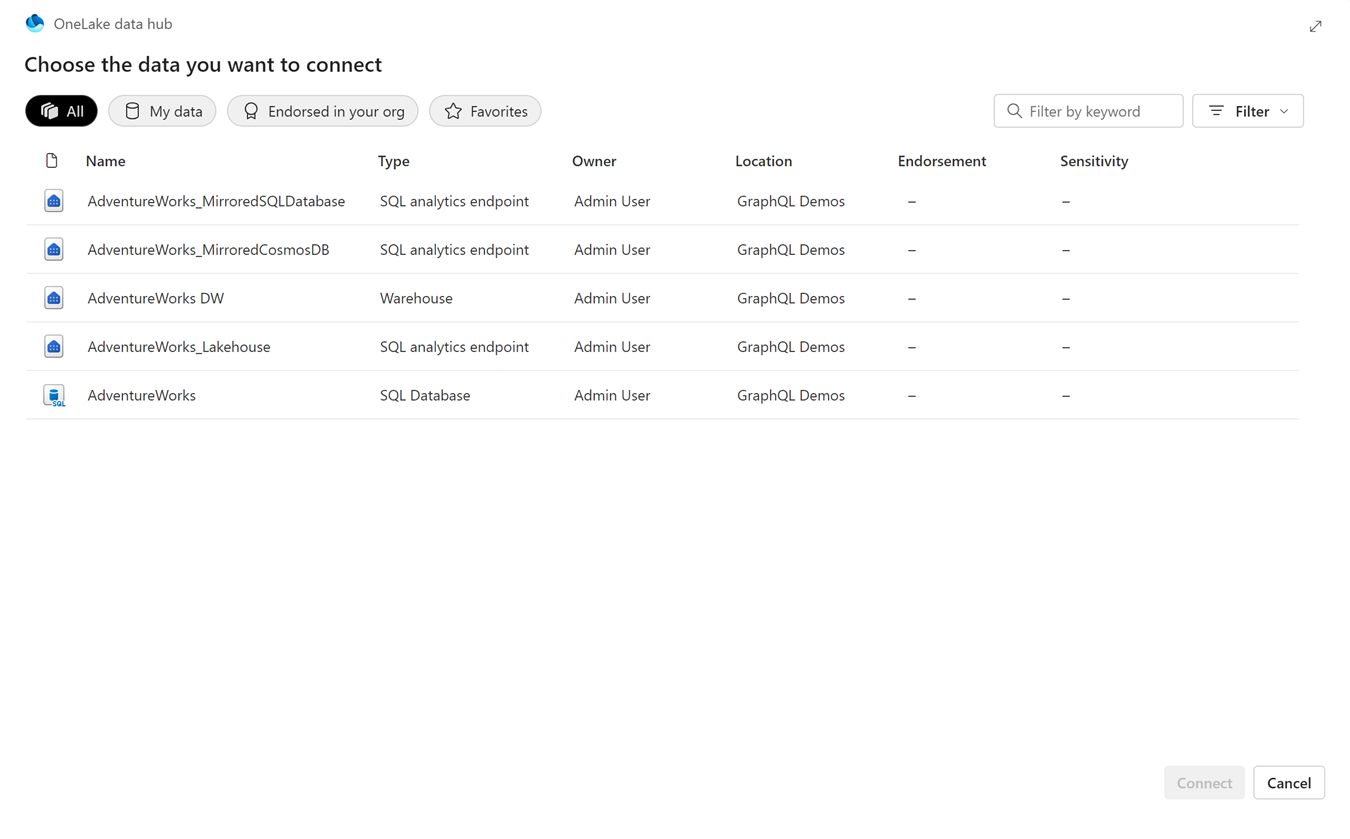
The OneLake data hub appears; choose the data source you want to connect to. For the following example, we choose a AdventureWorks SQL analytics endpoint linked to a mirrored database. Select Filter to see only specific types of Fabric data sources, or search by a specific keyword. When you're ready, select Connect.
The Get data screen appears, where you can choose which objects you want exposed in your GraphQL schema.
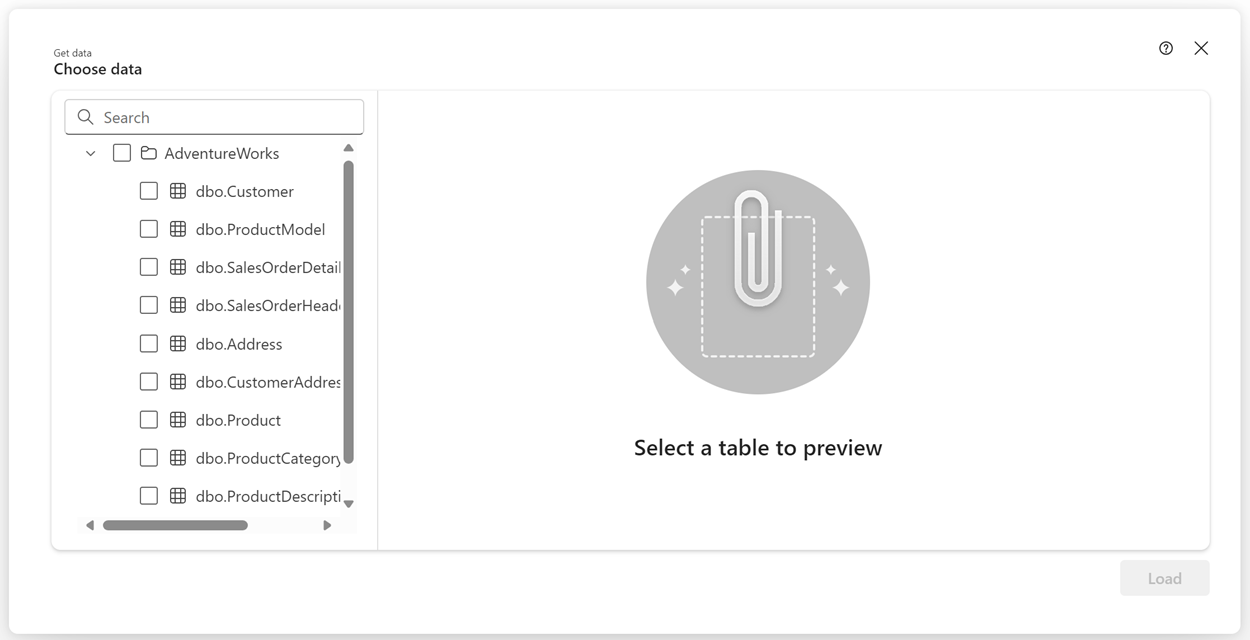
Select the checkboxes next to the individual tables or stored procedures you want to expose in the API. To select all the objects in a folder, select the checkbox with the data source name at the top.
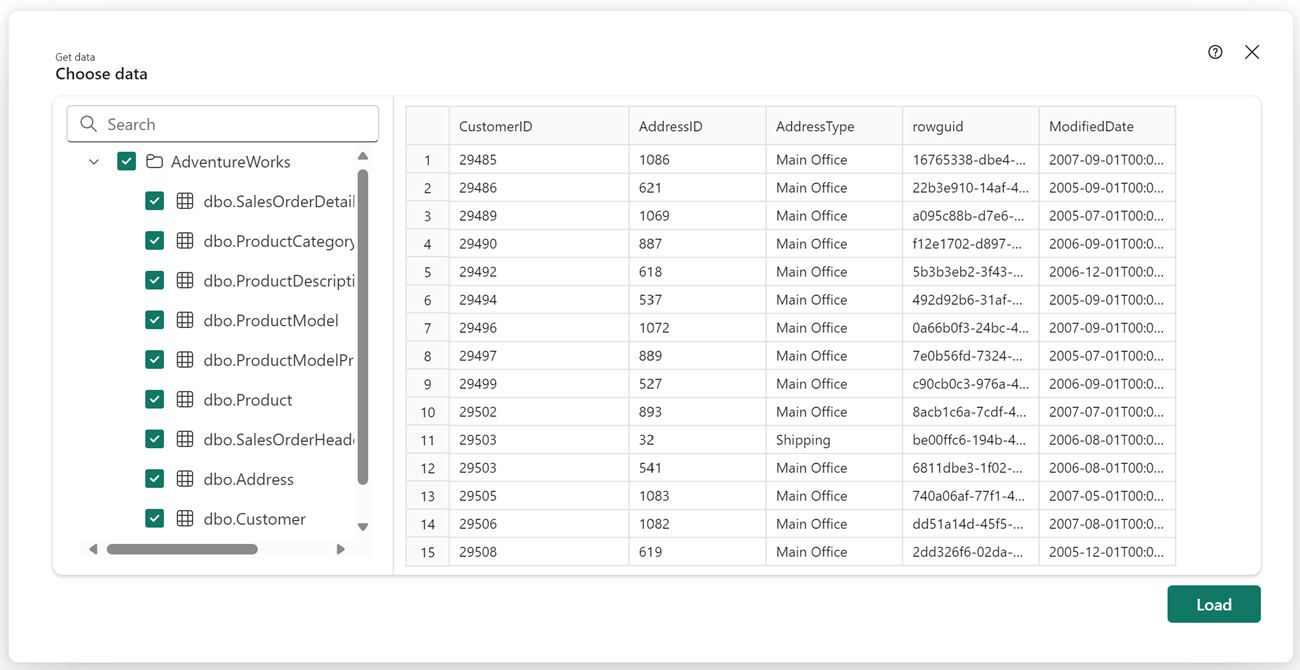
Select Load to start the GraphQL schema generation process.
The schema is generated and you can start prototyping GraphQL queries (read, list) or mutations (create, update, delete) to interact with your data.


Your API for GraphQL is now ready to accept connections and requests. You can use the API editor to test and prototype GraphQL queries and the Schema explorer to verify the data types and fields exposed in the API.
Related content
Feedback
Coming soon: Throughout 2024 we will be phasing out GitHub Issues as the feedback mechanism for content and replacing it with a new feedback system. For more information see: https://aka.ms/ContentUserFeedback.
Submit and view feedback for