Set up your Azure SQL Database connection
This article outlines how to set up a connection to Azure SQL Database.
Supported authentication types
The Azure SQL Database connector supports the following authentication types for copy and Dataflow Gen2 respectively.
| Authentication type | Copy | Dataflow Gen2 |
|---|---|---|
| Basic | √ | √ |
| Organizational account | √ | √ |
| Service Principal | √ |
Set up your connection in Dataflow Gen2
Data Factory in Microsoft Fabric uses Power Query connectors to connect Dataflow Gen2 to an Azure SQL database. The following links provide the specific Power Query connector information you need to connect to an Azure SQL database in Dataflow Gen2:
- To get started using the Azure SQL Database connector in Dataflow Gen2, go to Get data from Data Factory in Microsoft Fabric.
- Be sure to install or set up any Azure SQL Database prerequisites before connecting to the Azure SQL Database connector.
- To connect to the Azure SQL Database connector from Power Query, go to Connect to Azure SQL database from Power Query Online.
In some cases, the Power Query connector article might include advanced options, troubleshooting, known issues and limitations, and other information that could also prove useful.
Set up your connection in a data pipeline
To create a connection in a data pipeline:
From the page header in the Data Factory service, select Settings
 > Manage connections and gateways.
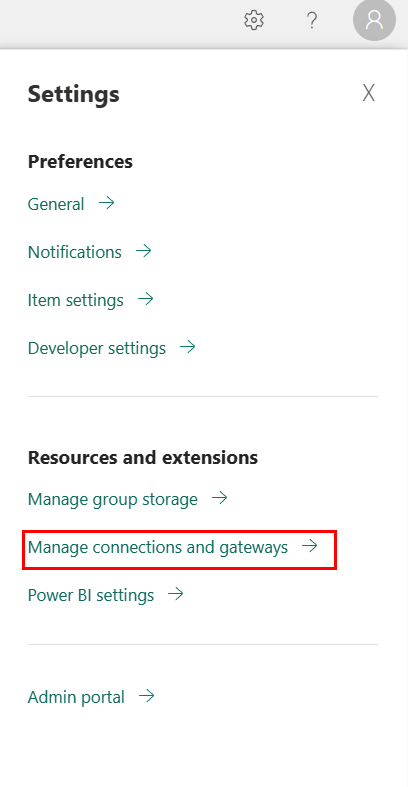
Select New at the top of the ribbon to add a new data source.
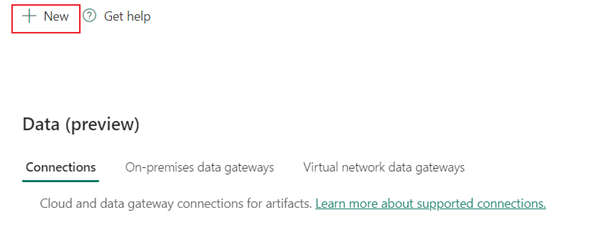
The New connection pane opens on the left side of the page.


Set up your connection
Step 1: Specify the connection name, connection type, account, and domain
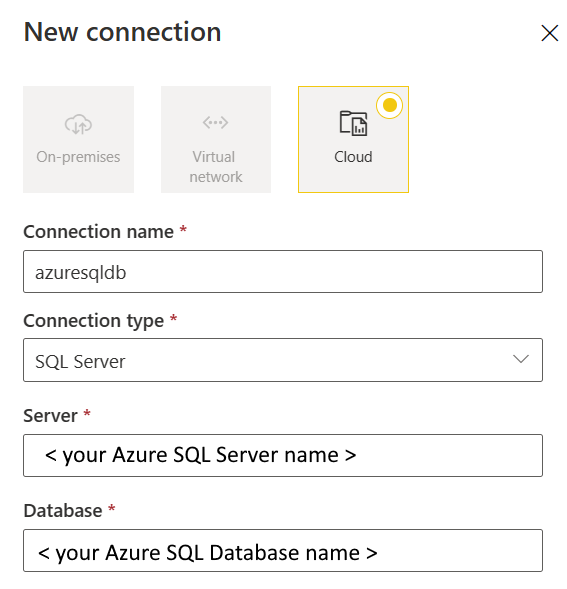
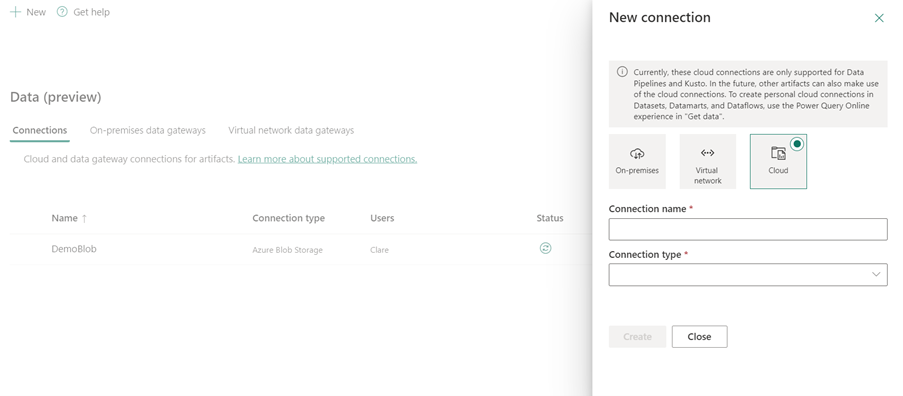
In the New connection pane, choose Cloud, and specify the following fields:
- Connection name: Specify a name for your connection.
- Connection type: Select SQL Server.
- Server: Enter your Azure SQL server name. You can find it in the Overview page of your Azure SQL server.
- Database: Enter your Azure SQL Database name.
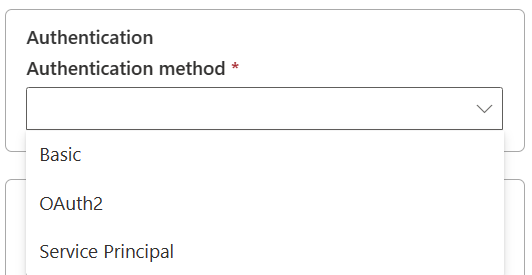
Step 2: Select and set your authentication
Under Authentication method, select your authentication from the drop-down list and complete the related configuration. The Azure SQL Database connector supports the following authentication types.
Basic authentication
Select Basic under Authentication method.
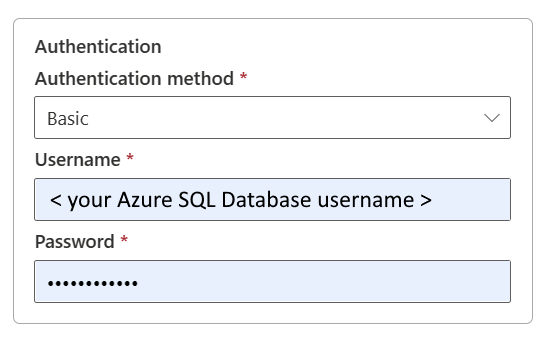
- Username: Specify the user name of your Azure SQL Database.
- Password: Specify the password of your Azure SQL Database.
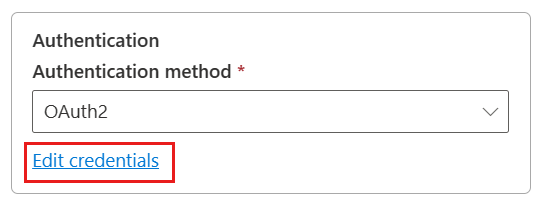
OAuth2 authentication
Open Edit credentials. You'll notice the sign in interface. Enter your account and password to sign in your account. After signing in, go back to the New connection page.
Service Principal authentication
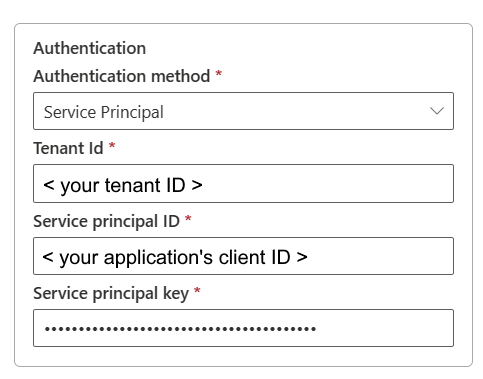
- Tenant Id: Specify the tenant information (domain name or tenant ID) under which your application resides. Retrieve it by hovering over the upper-right corner of the Azure portal.
- Service principal ID: Specify the application's client ID.
- Service principal key: Specify your application's key.
To use service principal authentication, follow these steps:
Create a Microsoft Entra application from the Azure portal. Make note of the application name and the following values that define the connection:
- Tenant ID
- Application ID
- Application key
Provision a Microsoft Entra administrator for your server on the Azure portal if you haven't already done so. The Microsoft Entra administrator must be a Microsoft Entra user or Microsoft Entra group, but it can't be a service principal. This step is done so that, in the next step, you can use a Microsoft Entra identity to create a contained database user for the service principal.
Create contained database users for the service principal. Connect to the database from or to which you want to copy data by using tools like SQL Server Management Studio, with a Microsoft Entra identity that has at least ALTER ANY USER permission. Sign in to your Azure SQL Database through Active Directory authentication and run the following T-SQL:
CREATE USER [your application name] FROM EXTERNAL PROVIDER;Grant the service principal needed permissions as you normally do for SQL users or others. Run the following code. For more options, go to ALTER ROLE (Transact-SQL).
ALTER ROLE [role name] ADD MEMBER [your application name];Configure an Azure SQL Database connection.
Step 3: Specify the privacy level that you want to apply
In the General tab, select the privacy level that you want apply in Privacy level drop-down list. Three privacy levels are supported. For more information, go to privacy levels.
Step 4: Create your connection
Select Create. Your creation is successfully tested and saved if all the credentials are correct. If not correct, the creation fails with errors.
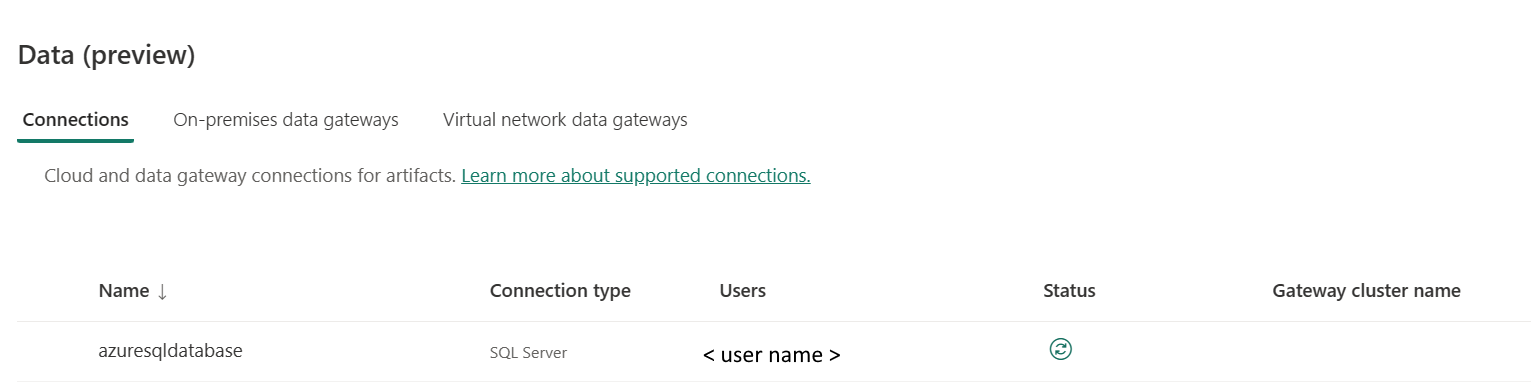
Table summary
The following connector properties in the table are supported in pipeline copy.
| Name | Description | Required | Property | Copy |
|---|---|---|---|---|
| Connection name | A name for your connection. | Yes | ✓ | |
| Connection type | Select a type for your connection. Select SQL Server. | Yes | ✓ | |
| Server | Azure SQL server name. | Yes | ✓ | |
| Database | Azure SQL Database name. | Yes | ✓ | |
| Authentication | Go to Authentication | Yes | Go to Authentication | |
| Privacy Level | The privacy level that you want to apply. Allowed values are Organizational, Privacy, Public | Yes | ✓ |
Authentication
The following properties in the table are the supported authentication types.
| Name | Description | Required | Property | Copy |
|---|---|---|---|---|
| Basic | ✓ | |||
| - Username | The user name of your Azure SQL Database. | Yes | ||
| - Password | The password of your Azure SQL Database. | Yes | ||
| OAuth2 | ✓ | |||
| Service Principal | ✓ | |||
| - Tenant ID | The tenant information (domain name or tenant ID). | Yes | ||
| - Service Principal ID | The application's client ID. | Yes | ||
| - Service Principal key | The application's key. | Yes |
Related content
Feedback
Coming soon: Throughout 2024 we will be phasing out GitHub Issues as the feedback mechanism for content and replacing it with a new feedback system. For more information see: https://aka.ms/ContentUserFeedback.
Submit and view feedback for